How to add IDXAddons widgets to my real estate website?
- Last Updated Feb 14, 2025
Welcome to the IDXAddons Widget Guide!
Are you ready to take your real estate website to the next level? With IDXAddons, you can easily integrate powerful widgets that enhance property listings, improve user experience, and generate more leads. This guide will walk you through the process step by step, making it simple to add these tools to your website. Let's get started! 🚀
📺 Video Overview:
How to Add IDXAddons Widgets to Your Real Estate Website?
If you're looking to enhance your real estate website with powerful tools and widgets, IDXAddons offers a variety of options to help you 🔍 showcase properties, improve user experience, and generate leads. In this guide, we’ll walk you through the steps to add IDXAddons widgets to your website.
🔐 Step 1: Log in to Your IDXAddons DashboardFirst, access your IDXAddons account by logging into the dashboard. If you don’t have an account yet, sign up and choose the plan that best suits your needs.
📍 Login to IDXAddons
Go to your IDXAddons account
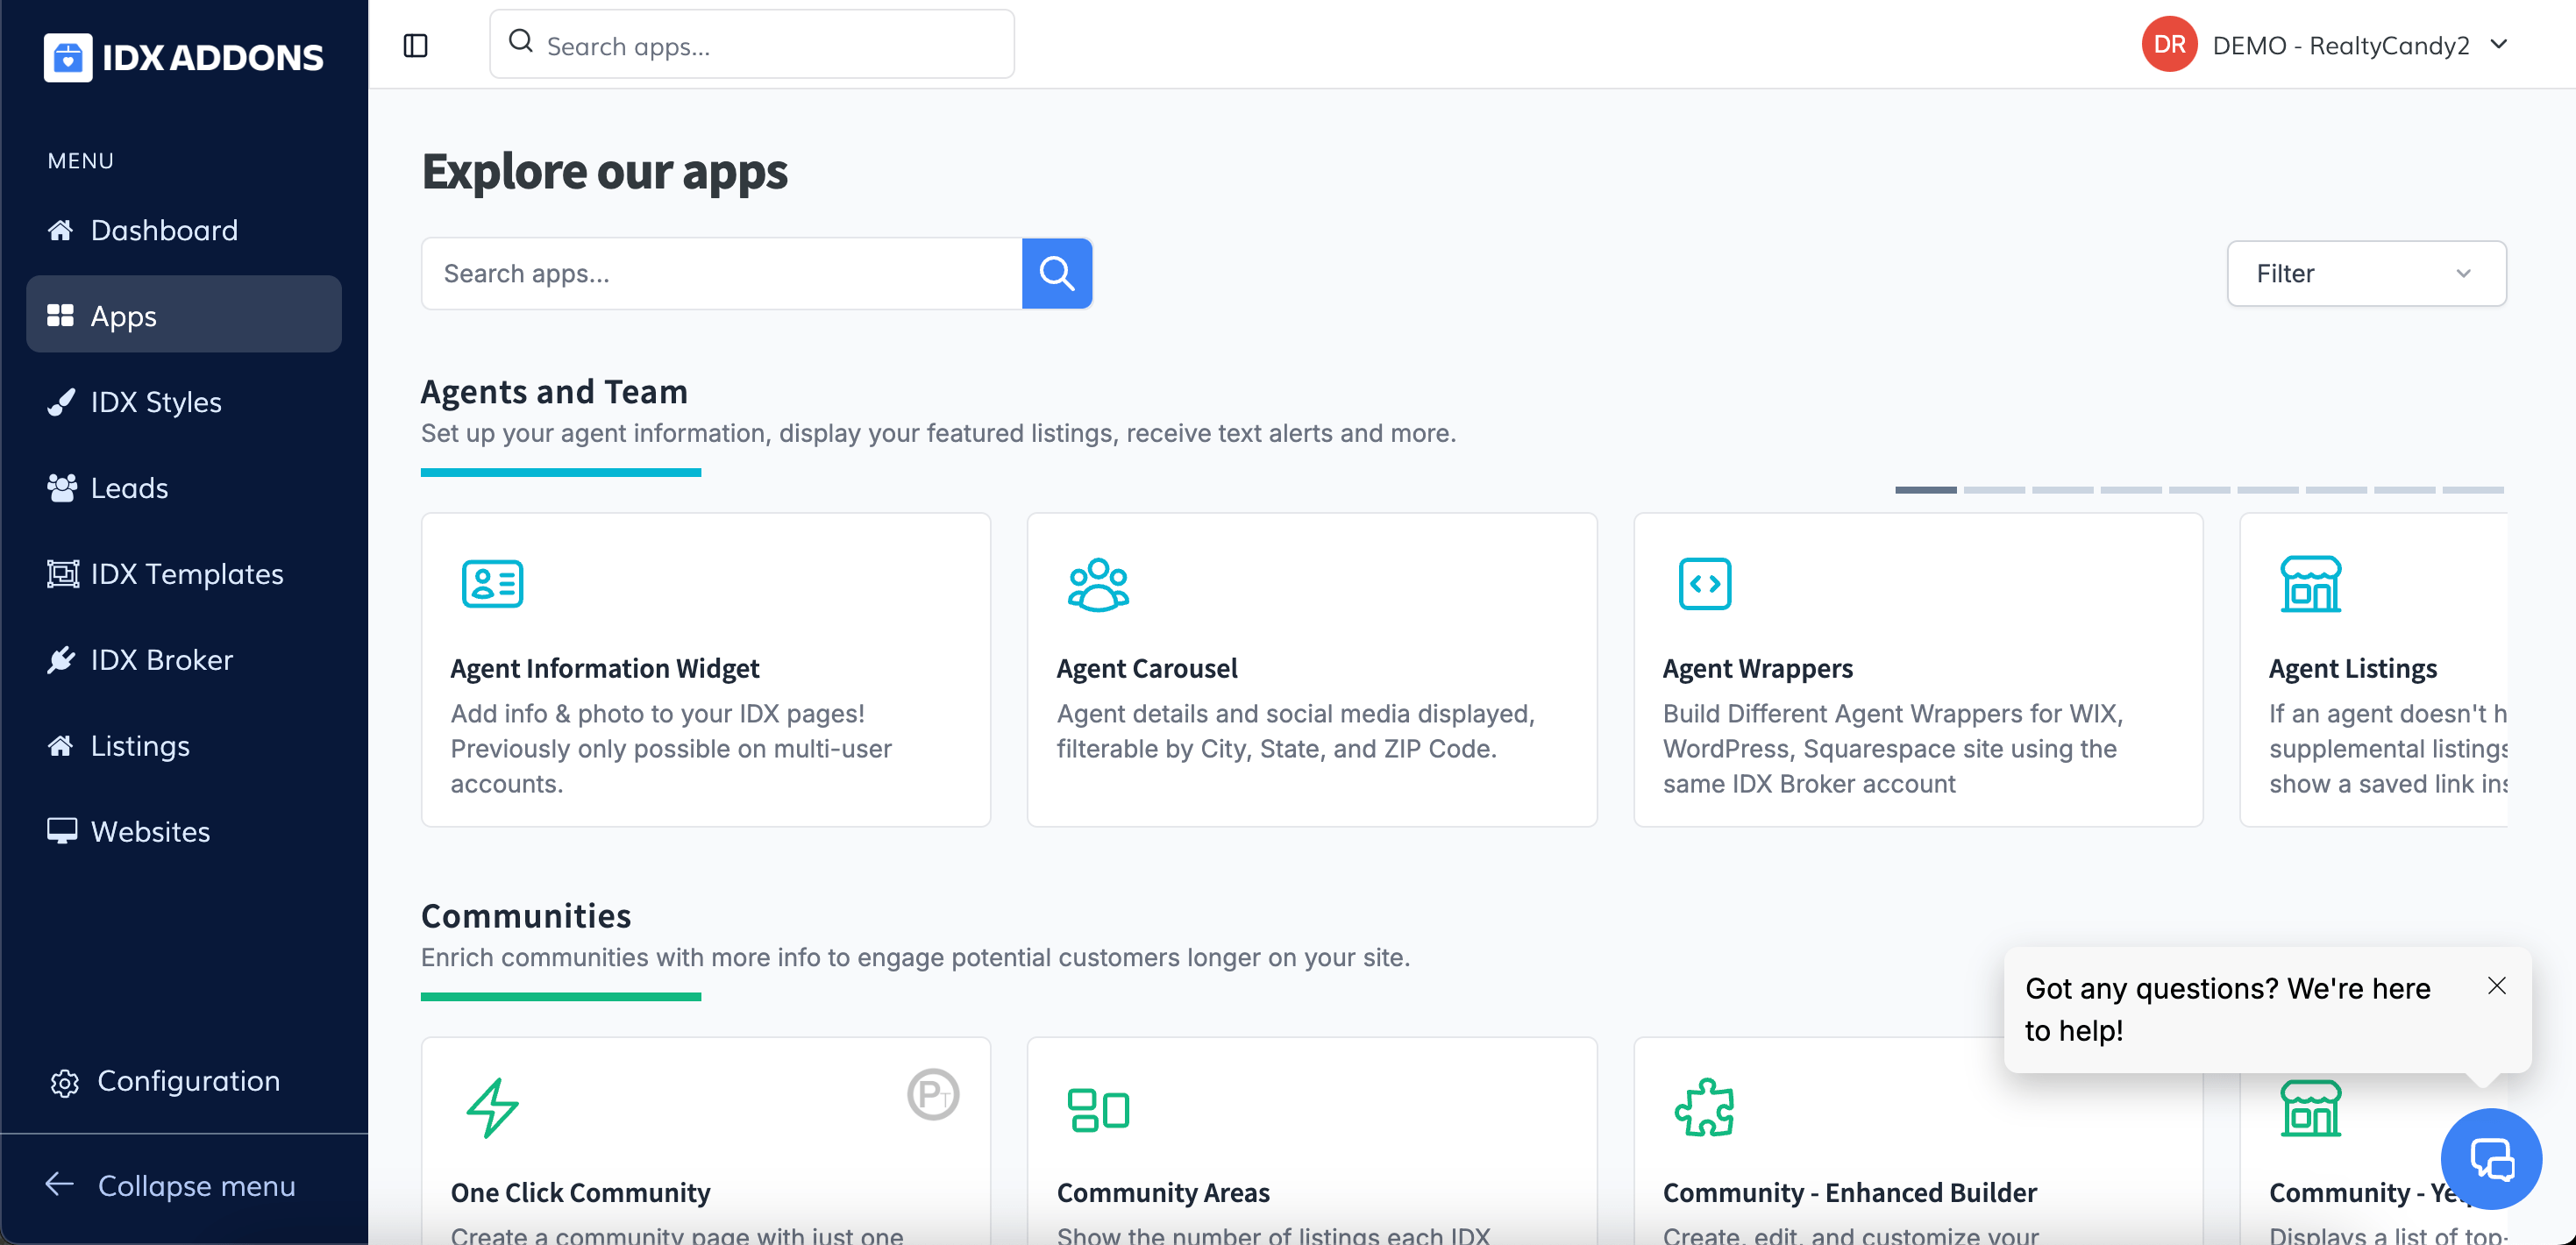
📝 Step 2: Navigate to the Apps SectionOnce logged in, locate the "Apps" section in the dashboard. This is where you’ll find all the available tools and integrations provided by IDXAddons. Not all apps are widget
 🌟 Step 3: Choose Your Desired App or Widget
Browse through the list of apps and select the one that fits your website’s needs. Some apps are designed as widgets (e.g., property search bars, featured listings, or mortgage calculators), while others may offer different functionalities.
 🎨 Step 4: Customize the Widget (if applicable)
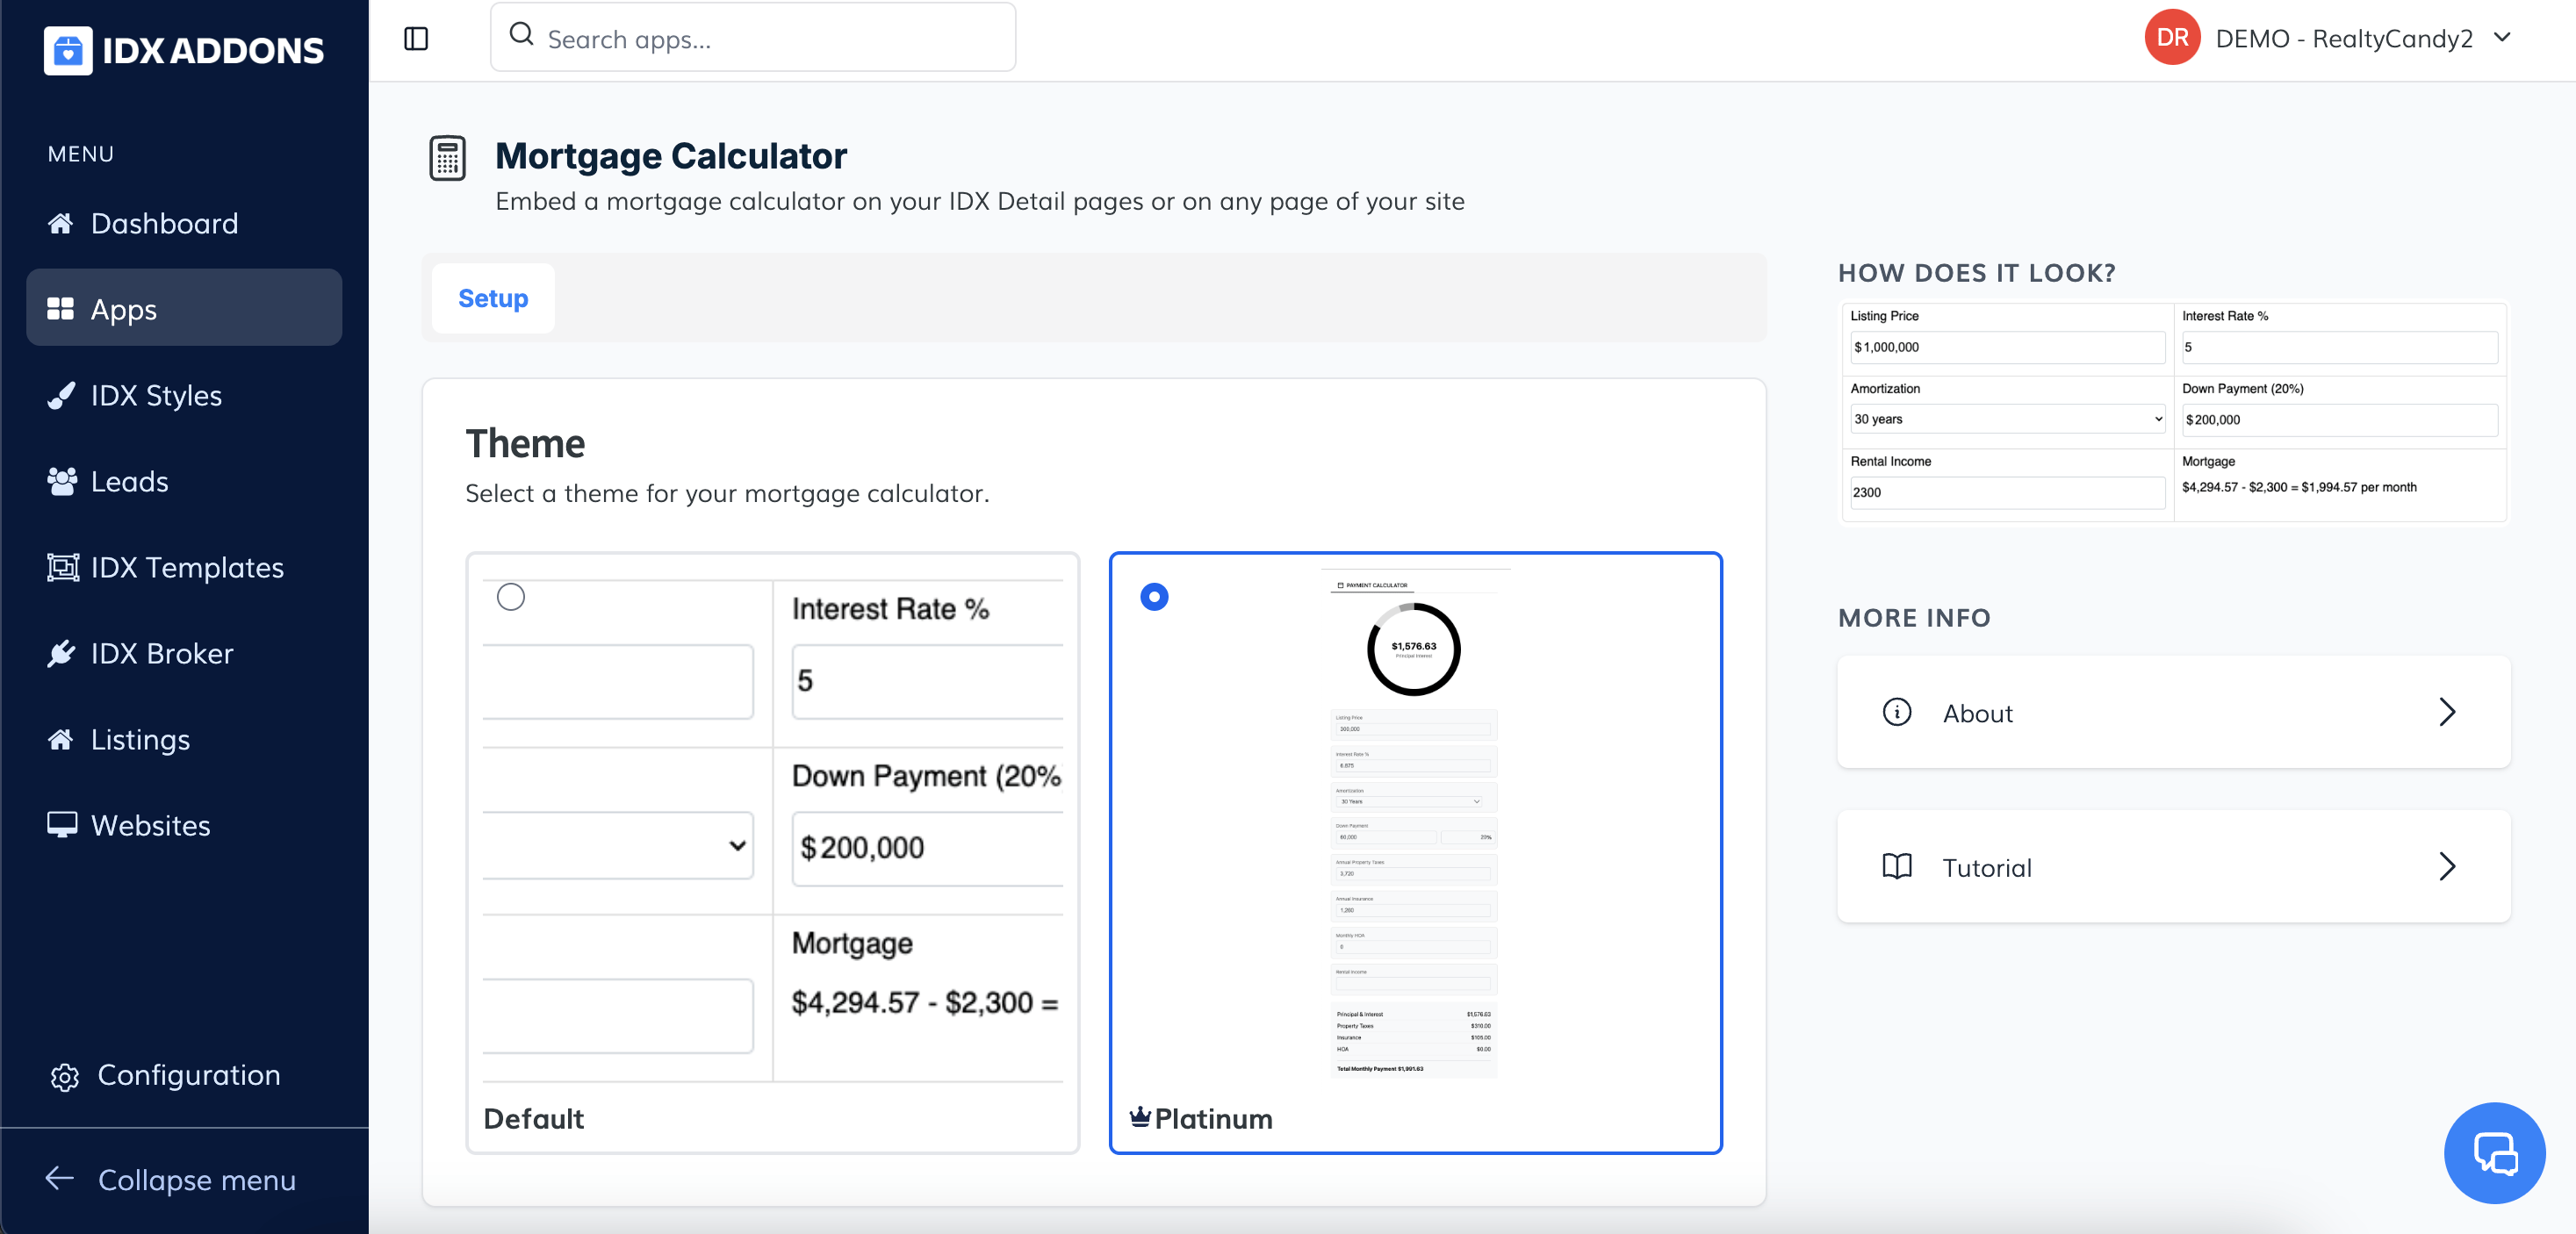
If the app you selected is a widget, you’ll have the option to customize it. Adjust the settings to match your website’s design and functionality requirements. You can change colors, fonts, sizes, and other elements to ensure the widget blends seamlessly with your site.
One example is the app search tool
 🗂 Step 5: Generate the Embed Code
Once you’re satisfied with the customization, click on the "Generate Code" button (or similar). This will provide you with an embed code snippet that you’ll need to add to your website.
🔗 Step 6: Add the Widget to Your WebsiteCopy the generated code and paste it into the HTML of your website where you want the widget to appear. If you’re using a content management system (CMS) like WordPress, you can use a custom HTML block or widget area to insert the code.
🛠 Step 7: Publish and TestAfter adding the widget, save your changes and publish your website. Make sure to test the widget to ensure it’s functioning correctly and displaying as expected.
📚 ConclusionAdding IDXAddons widgets to your real estate website is a straightforward process that can significantly enhance your site’s functionality and user experience. By following these steps, you’ll be able to integrate powerful tools that help you attract more visitors and convert them into leads.