-
Access the platform
Log in to your IDXAddons platform account
In the main menu, select the Agent Information Widget app option.

-
Introduction
The Agent Information widget is designed exclusively for single-agent accounts. If you do not have this type of account, you will not be able to access the app and will receive a corresponding message.

-
Setup Tab
If you have an active single agent account, you will see the Setup tab with the following options:
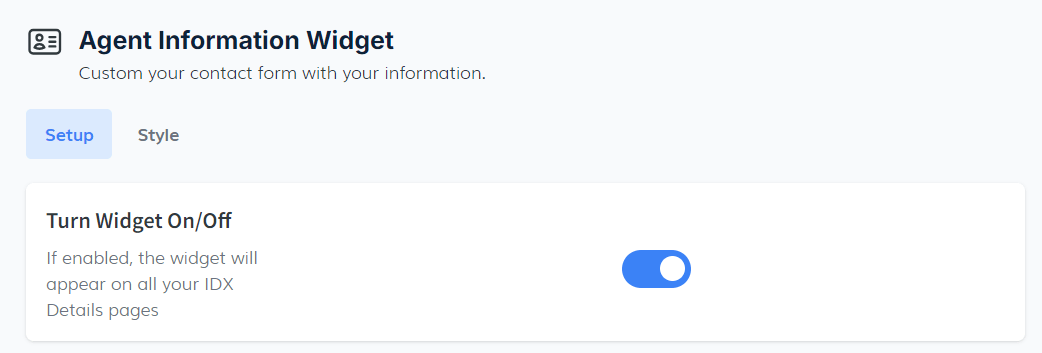
- Turn Widget On/Off: In this section, there is a button to activate or deactivate the widget. If activated, the widget will appear on all IDX details pages.
- Agent Image URL: This section allows you to add an agent's image. The specifications for the image are a 1:1 ratio, squared (e.g., 150x150). Once the URL is provided, the image will be displayed in the top left corner.
- Agent Video: To enable the agent video feature, click the toggle button. A menu will open where you can upload your .mp4 video to showcase your agent.
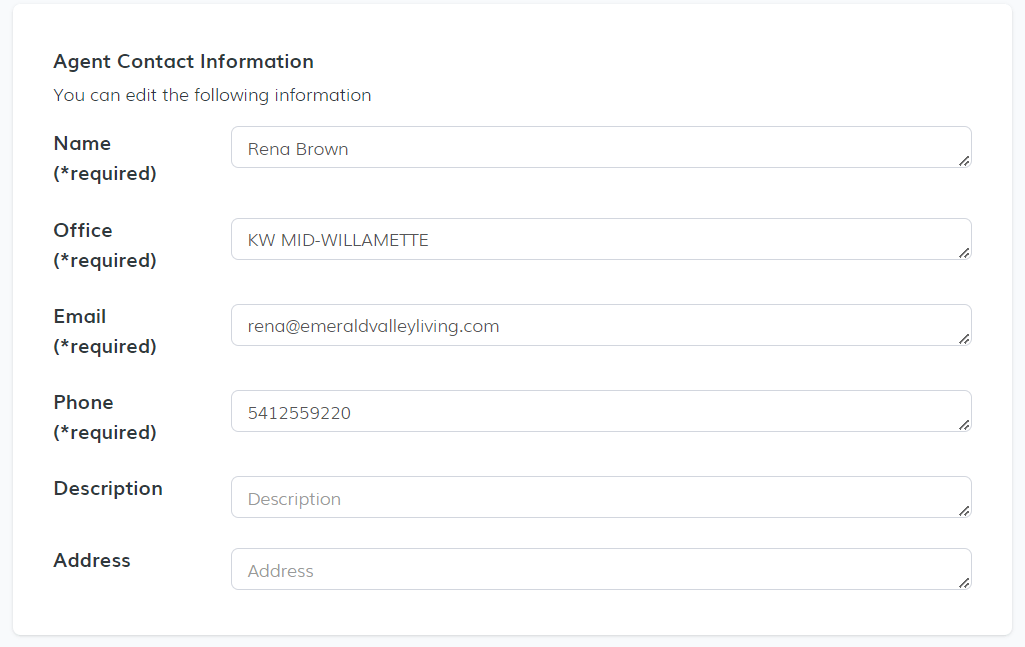
- Agent Contact Information: In this section, you can edit your agent's information, including:
- Name (required)
- Office (required)
- Email (required)
- Phone (required)
- Description (optional)
- Address
- Social Media: Here, you can add the URLs for all of your agent's social media profiles.


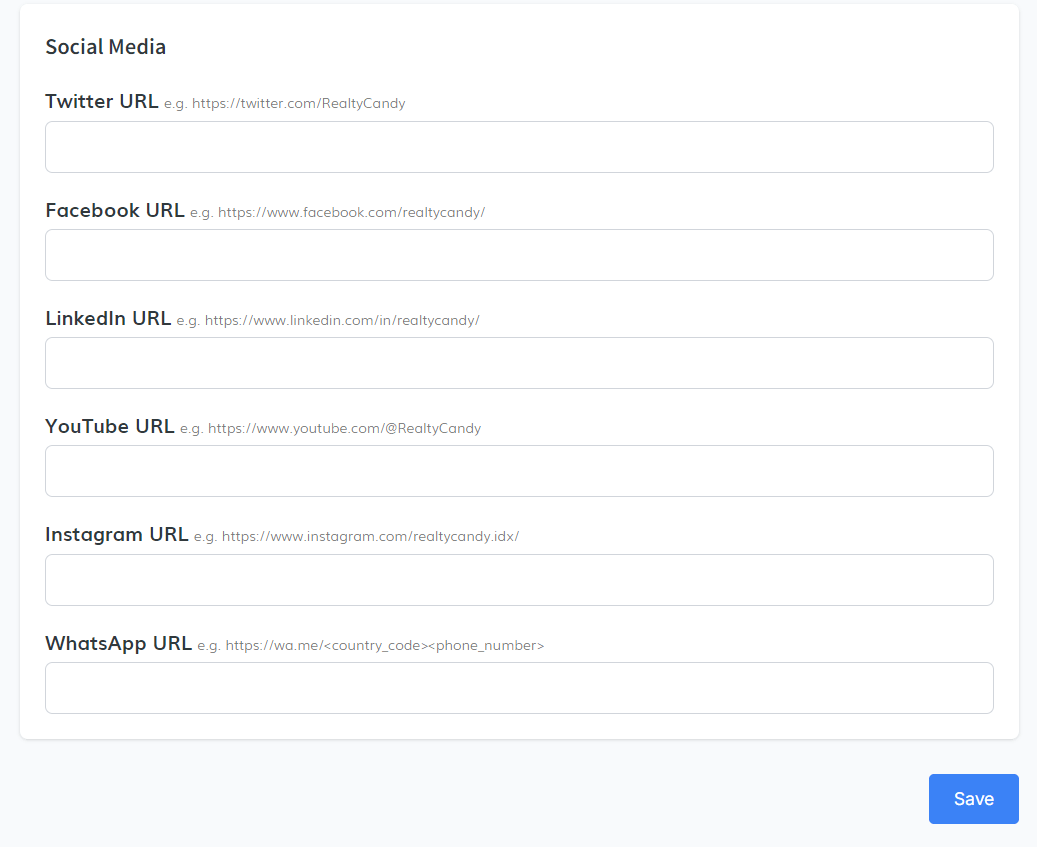
When you have entered all the information you require, click the save button to save the changes.
-
Style Tab
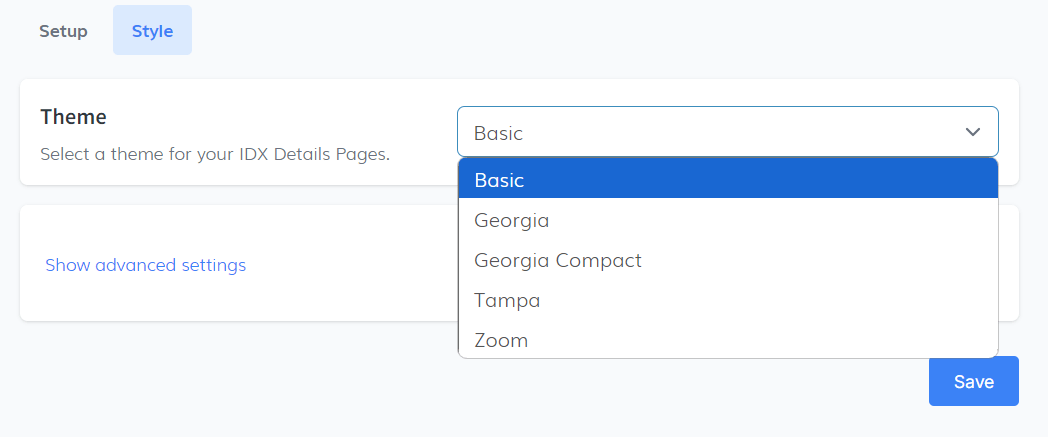
In the Style tab, you will find options to customize the appearance of your IDX details pages.
Theme SelectionIn the first section, you can select the theme for your IDX details pages. Click on the select dropdown to view and choose from various theme options.
 Show Advanced Settings
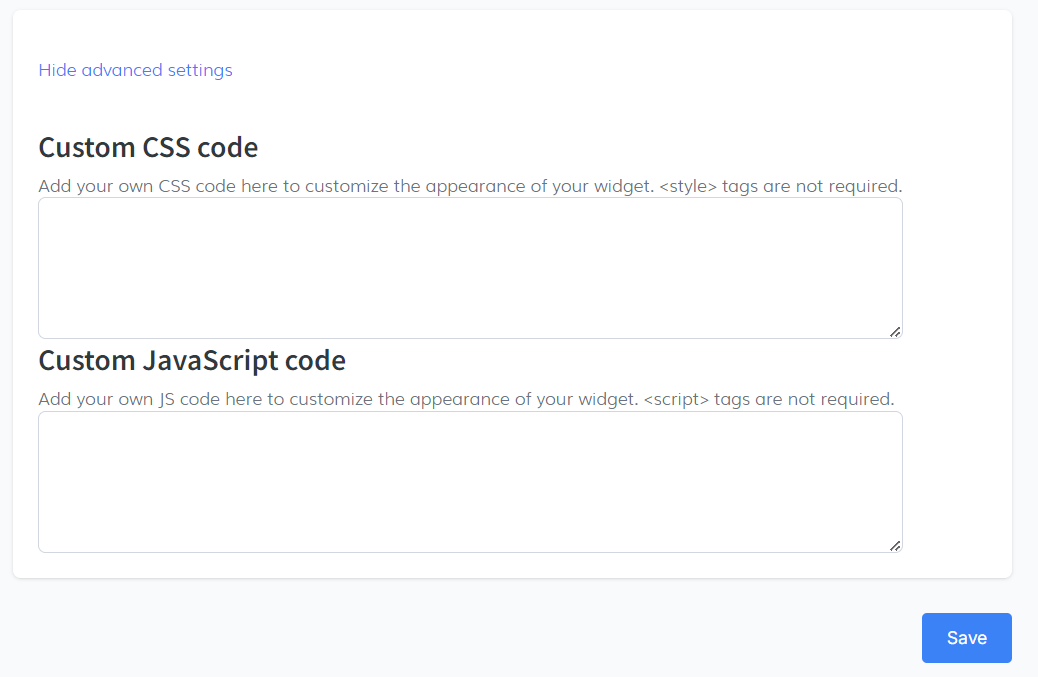
By clicking this option, two additional settings will be revealed:
- Custom CSS Code: Here, you can add your own CSS code to customize the widget's appearance. Note that style tags are not required.
- Custom JavaScript Code: This option allows you to add your own JavaScript code to further customize the widget's functionality. Similarly, script tags are not required.
Once you have made your selections and added any custom code, click the Save button to ensure that your changes are applied.
-
Save and Copy Code Snippet
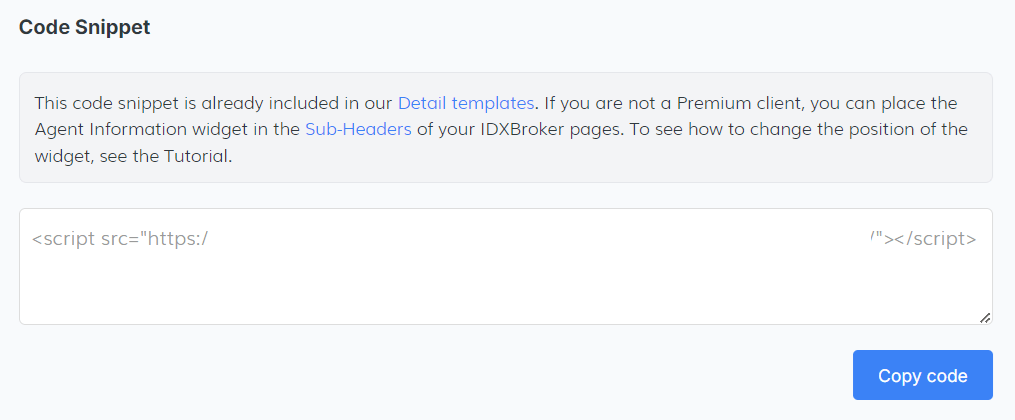
Once you are satisfied with the changes you have made, copy the code snippet provided to display the information on your website.
