-
Access the Platform
Log in to your IDXAddons platform account
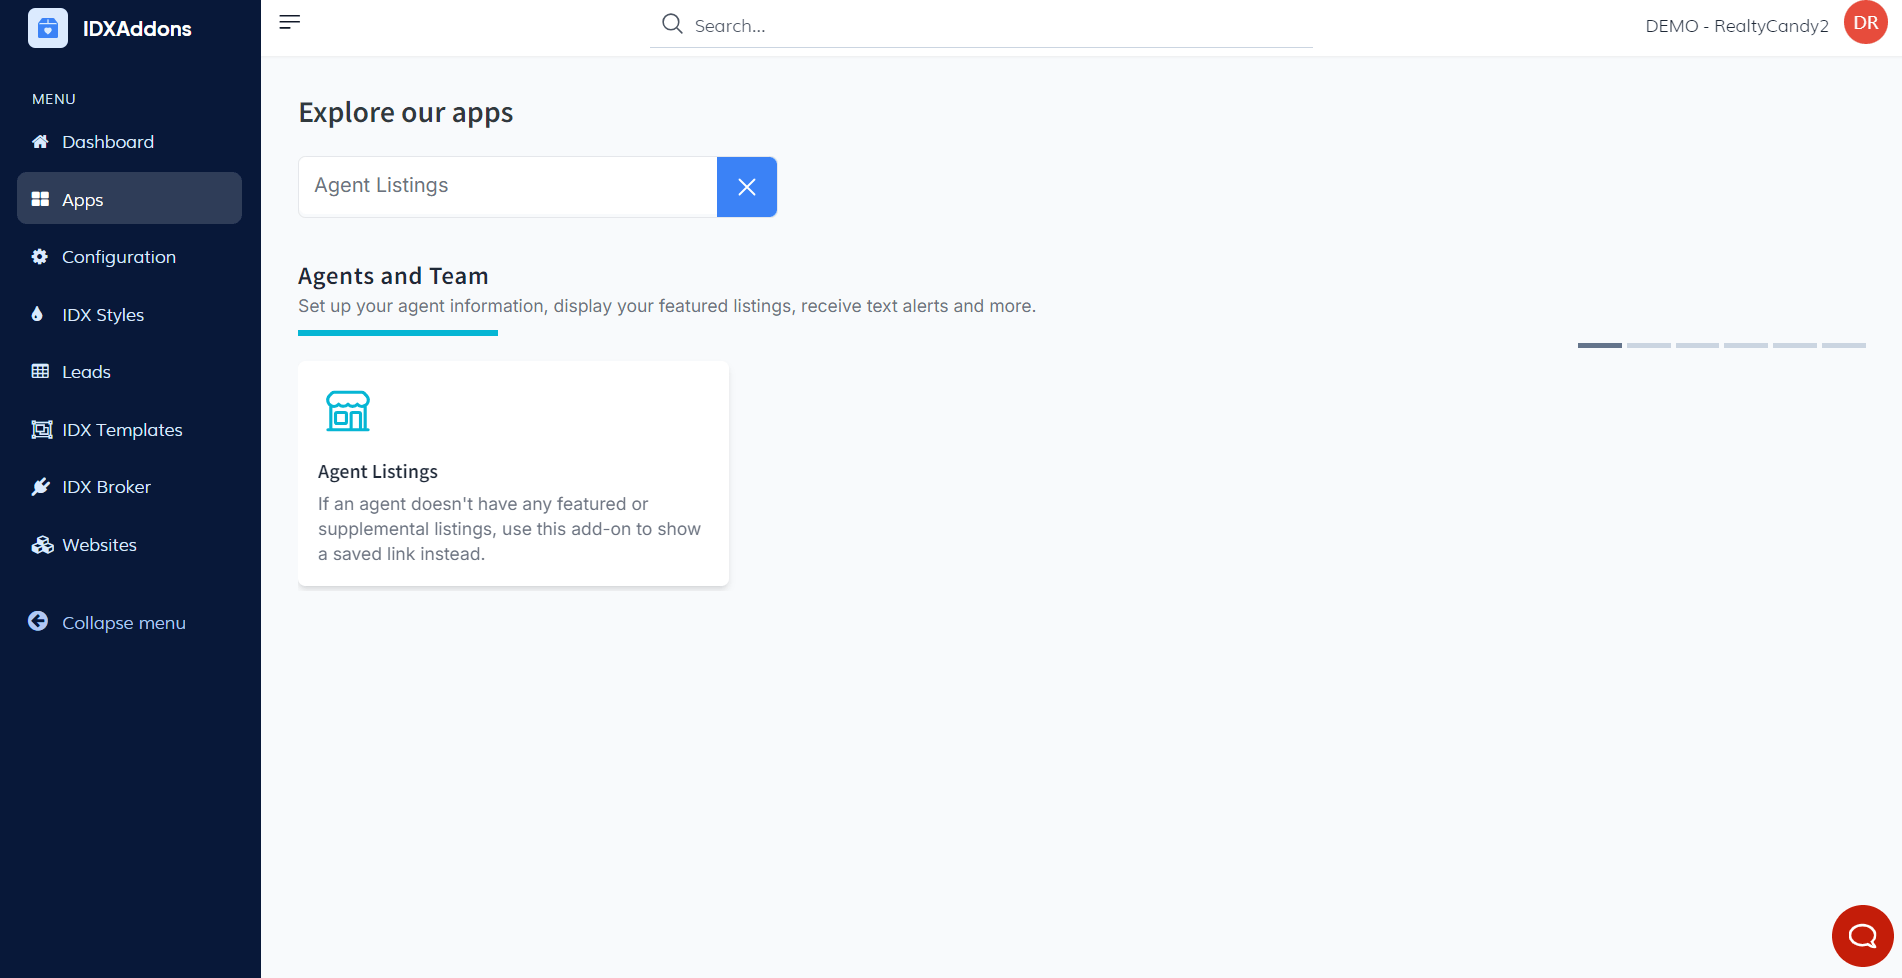
In the main menu, select the Agent Listings App option.
-
Introduction to the Agent Listings App
The Agent Listings App allows you to display and manage property listings for agents efficiently. You can choose between featured, supplemental, and sold/pending listings from your MLS and customize the appearance and behavior of the listings widget. This tutorial will guide you through the steps to set up and style your agent listings widget.
-
Setup Tab
Upon accessing the Setup tab, you'll find various options to configure your listings and agents. Here's a breakdown of each section:
ListingsThe Listings section allows you to select the type of listings you want to display in your widget. The options available are:
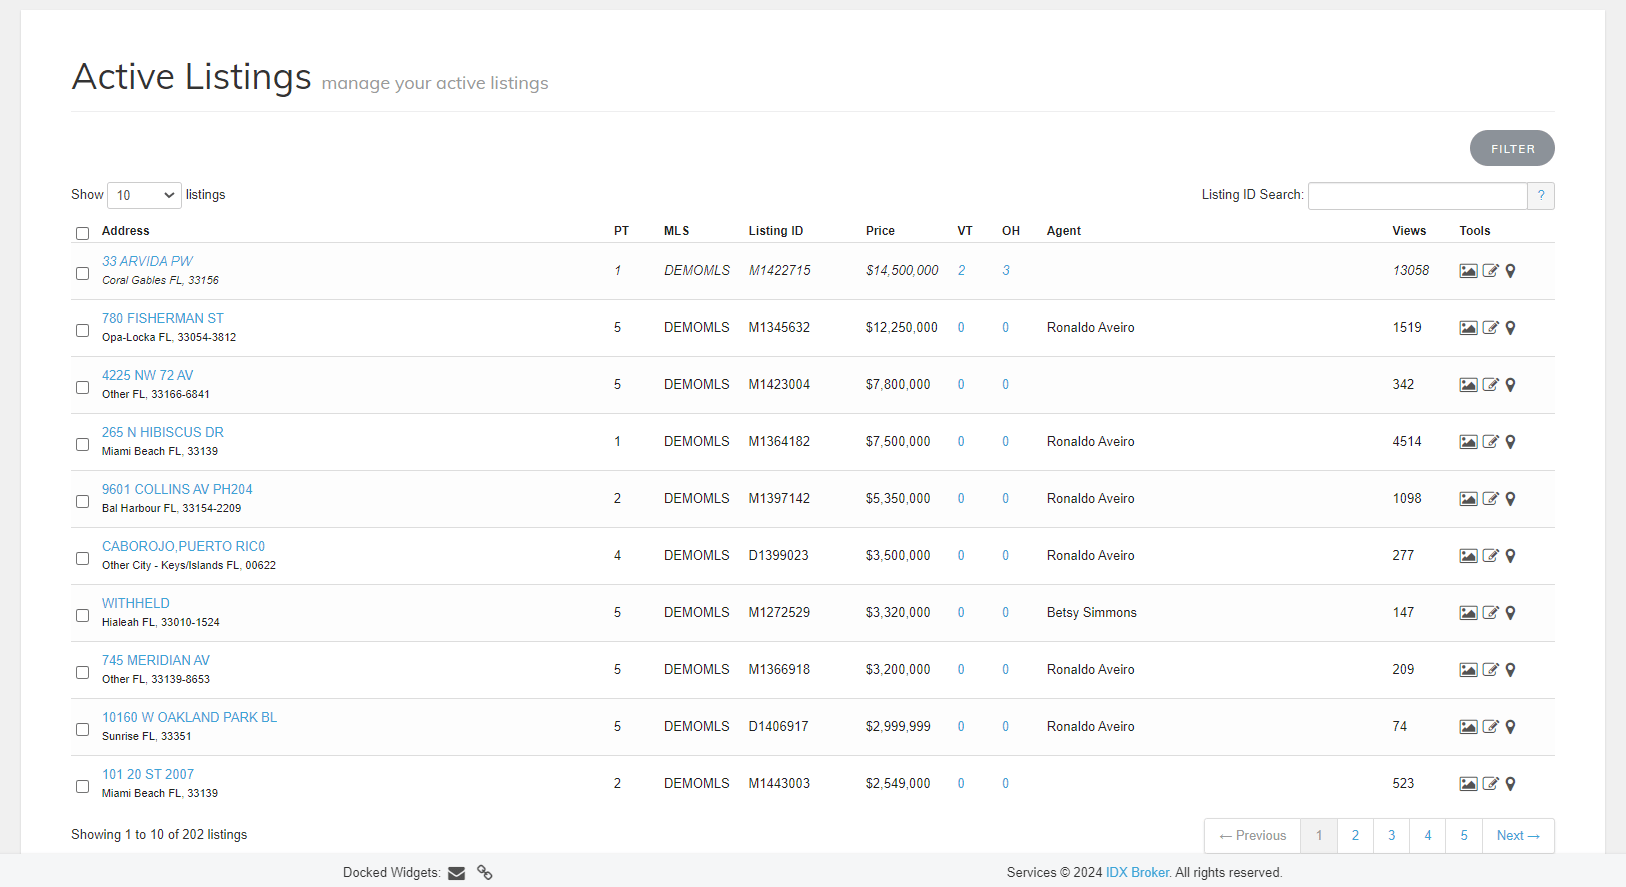
- Featured: This shows active listings from your MLS. You can view these listings in your IDX Broker account: Active Listings
- Supplemental: Displays properties you wish to include on your website but which are not listed in your MLS. You can view these in your IDX Broker account: Supplemental Listings
- Sold/Pending: Shows listings that are sold or pending.
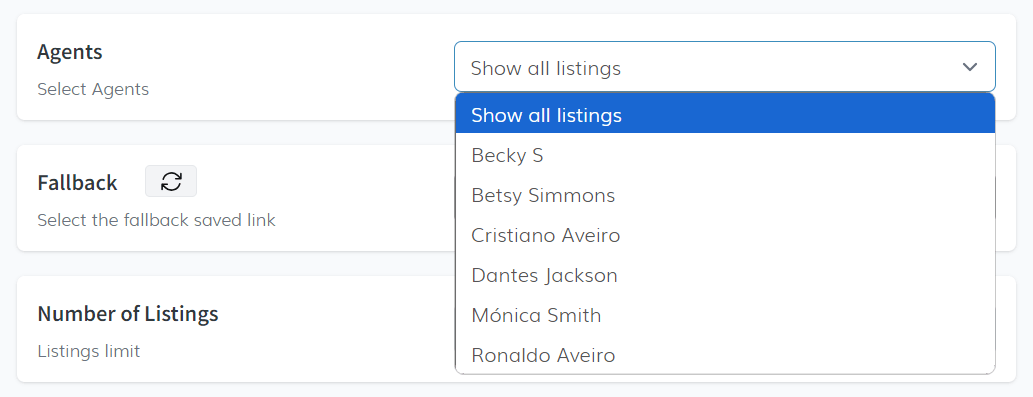
In the Agents section, you'll find a dropdown menu where you can select the agent whose listings will be displayed. Simply choose the agent from the list provided.
 Fallback
The Fallback option allows you to select a saved link that will be displayed if the selected agent has no featured or supplemental listings (based on the selection made in the Listings section). Clicking the refresh button will clear any selected fallback option.
 Number of Listings
Use the Number of Listings option to determine how many listings you want to display in your widget. You can adjust this number by using the up or down arrows.
 Open Links in New Tab
By activating this option, the listings will open in a new tab, displaying the listing limits.

Note: If the agent doesn't have any featured or supplemental listings, the saved fallback link will be displayed instead.
-
Style Tab
In the Style tab, you can customize the appearance of your agent listings widget. This section includes the following options:
Default StylesYou can enable Default Styles to apply the pre-configured styling for your widget. Simply toggle this option to apply the default appearance to your widget.
 Choose Theme
In the Choose Theme section, you can select a design theme for your listings widget. Clicking on the dropdown will display several theme options. Once you've selected the most appropriate theme, click the button to apply it.

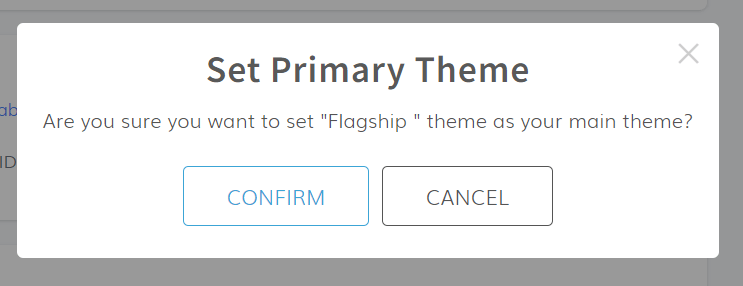
A confirmation window will appear asking if you're sure about setting this template as the primary one. If you're certain, click "Confirm" to finalize the selection.
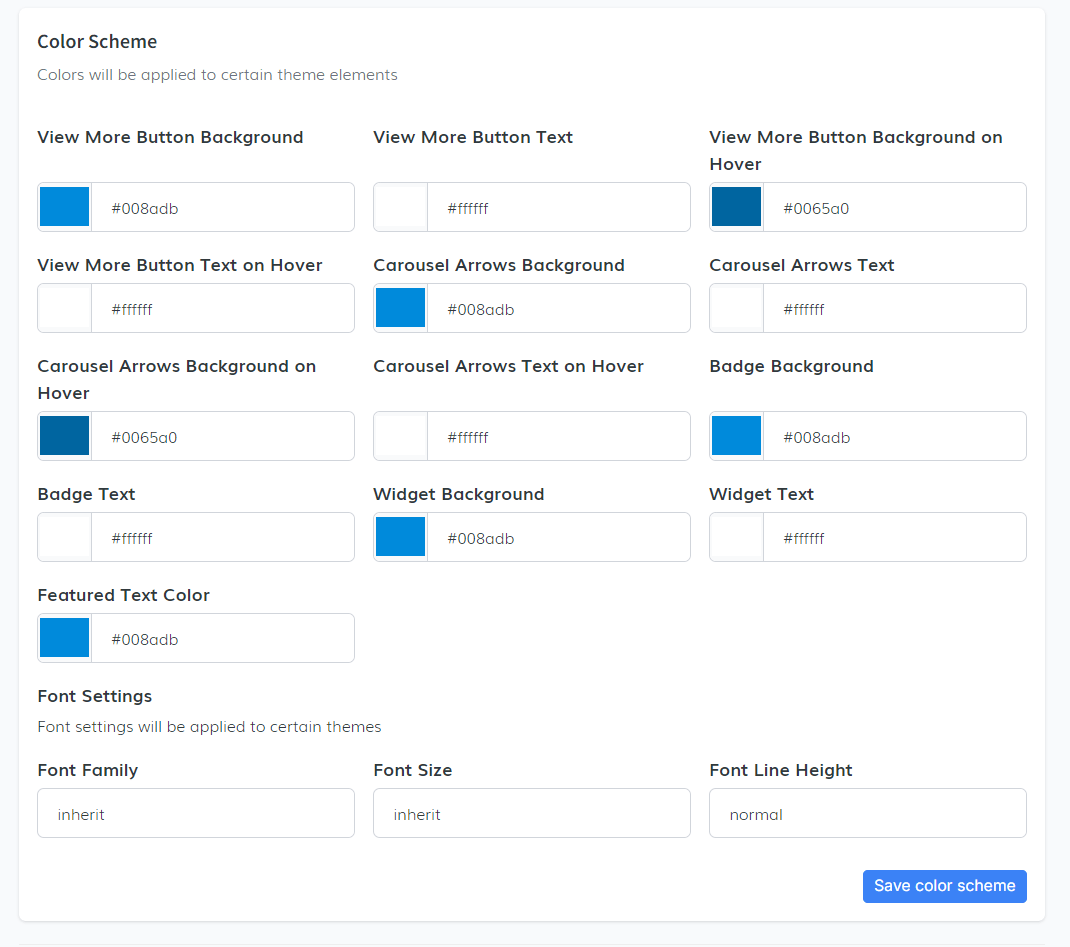
 Color Scheme
With the Color Scheme option, you can choose colors for various elements of the widget based on the selected theme. Keep in mind that only certain elements will apply these colors, depending on the theme you've chosen. Once you're satisfied with the color selections, click the "Save Color Scheme" button to apply your changes.
-
Advanced Tab
The Advanced tab offers more customization options, such as custom CSS and JavaScript. This allows for further personalization of your widgets:
Custom CSSIn the Custom CSS section, you can input custom CSS rules to style your themed widgets. After entering the necessary CSS code, click the "Save CSS" button to ensure the changes are applied across all your themed widgets.
 Javascript
The JavaScript section allows you to add custom JavaScript for further functionality and behavior customization. Once you've entered the desired JavaScript code, click the "Save JS" button to implement these changes across all your widgets.

-
Copy Code Snippet
After you've finalized your selections in the Setup, Style, and Advanced tabs, the last step is to copy the code snippet. This code can be pasted into your website to display your customized agent listings widget. Ensure everything is set to your liking before copying the snippet for use.
