-
Access the Platform
Log in to your IDXAddons Platform Account
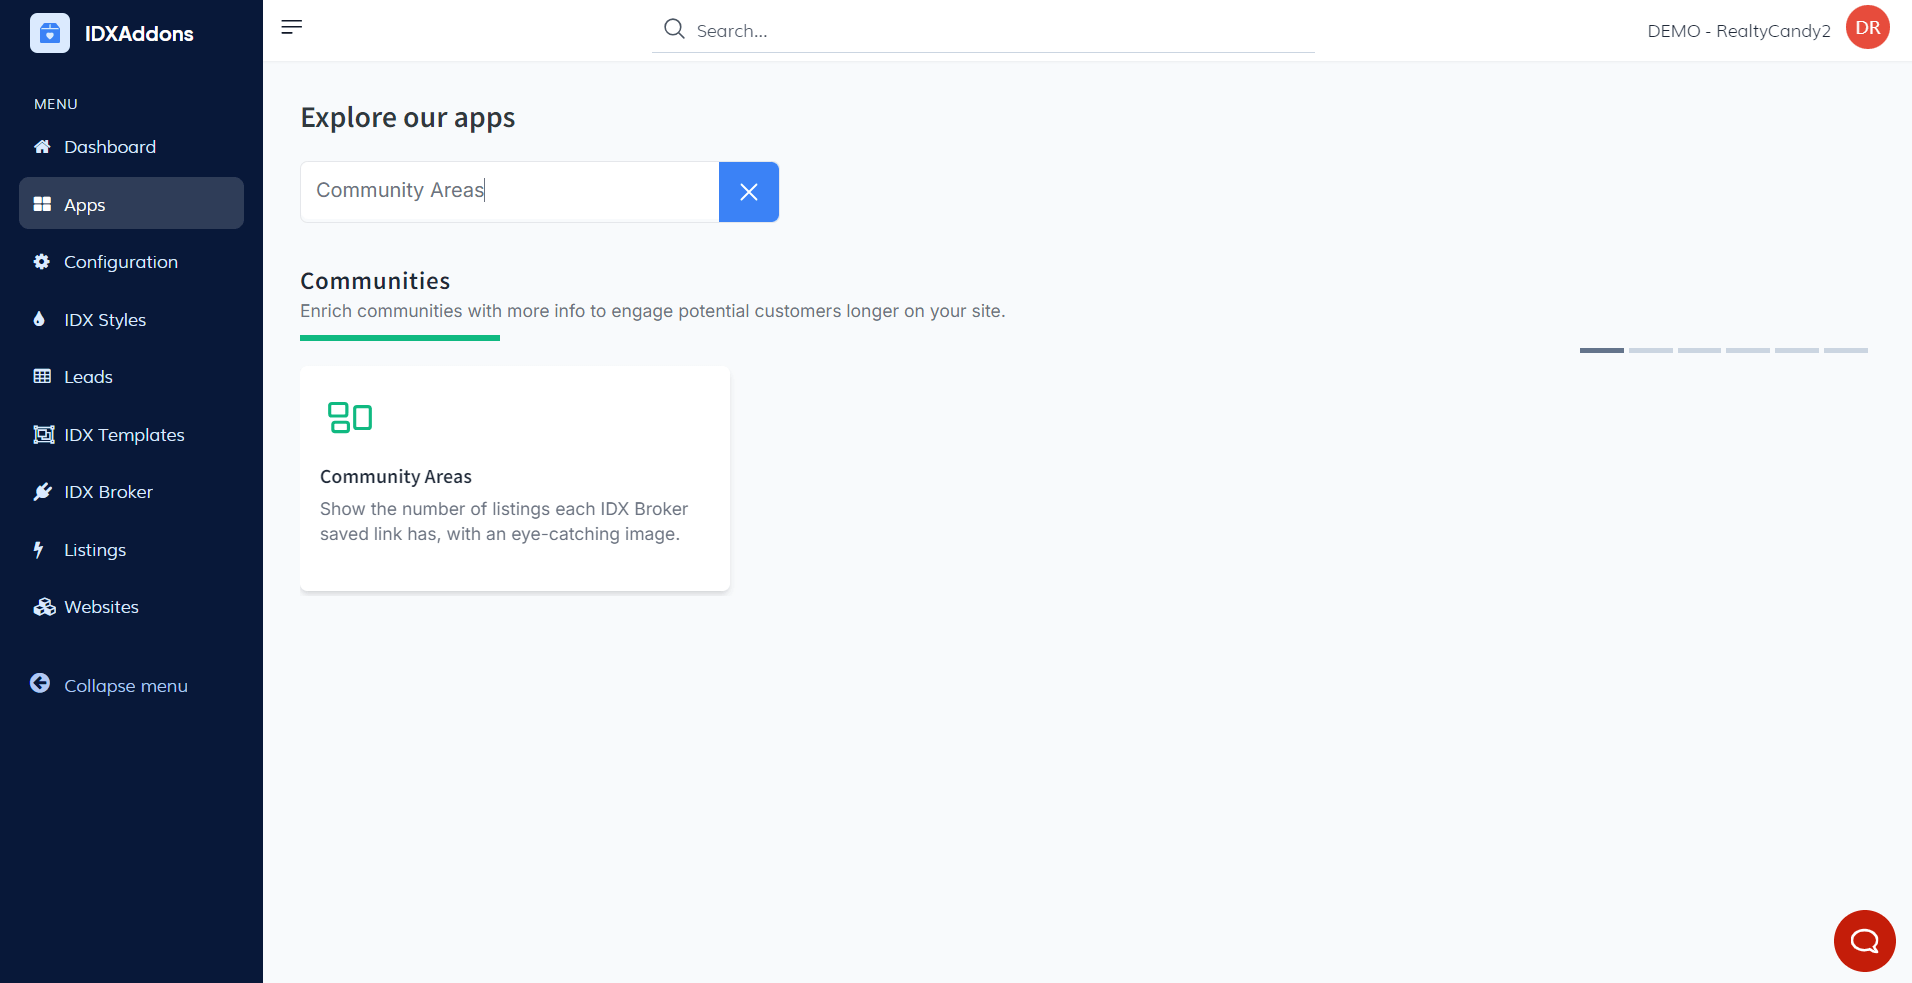
In the main menu, select the Community Areas App option.
-
Introduction
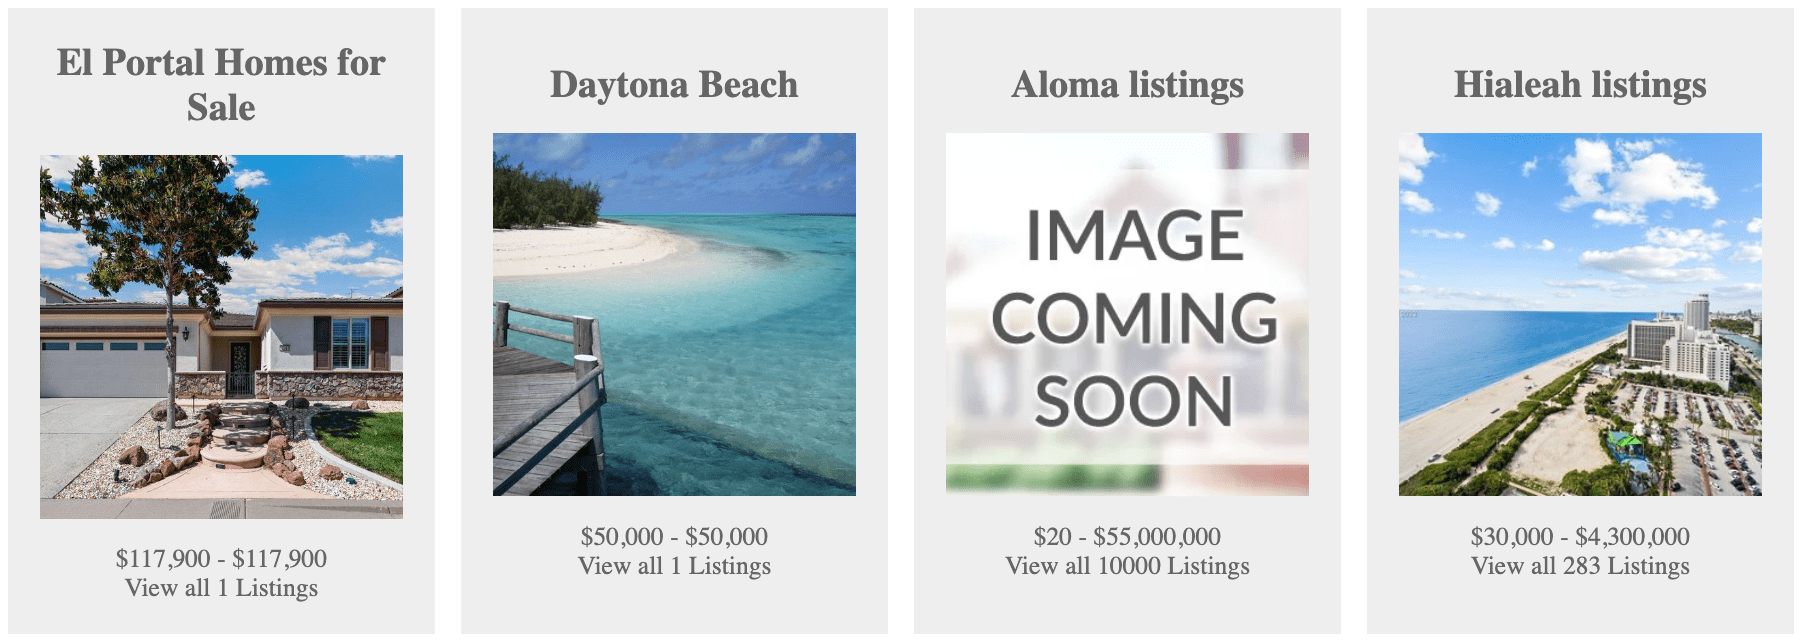
The Community Areas widget integrates with IDX Broker Saved Links to display curated community listings on your website. Before using this widget, make sure you have created some Saved Links based on the areas or listings you want to feature.
-
Create a Saved Link
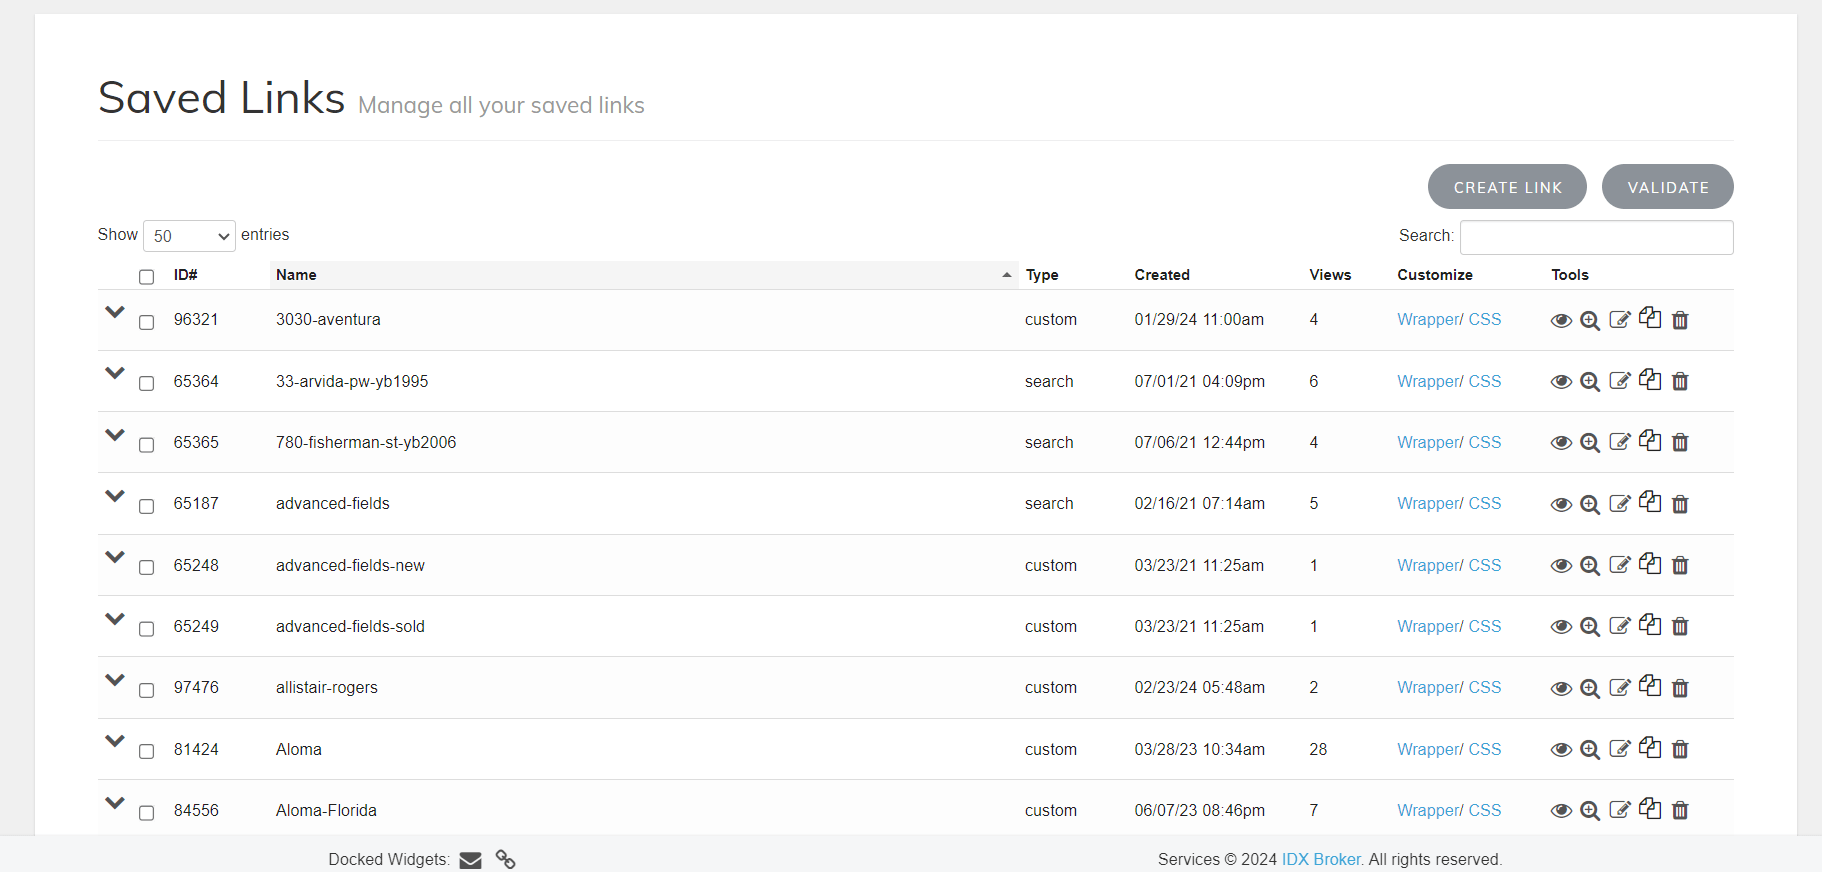
Before using the Community Areas app, you need to create a Saved Link in IDX Broker:
- Go to the "Saved Links" section in IDX Broker.
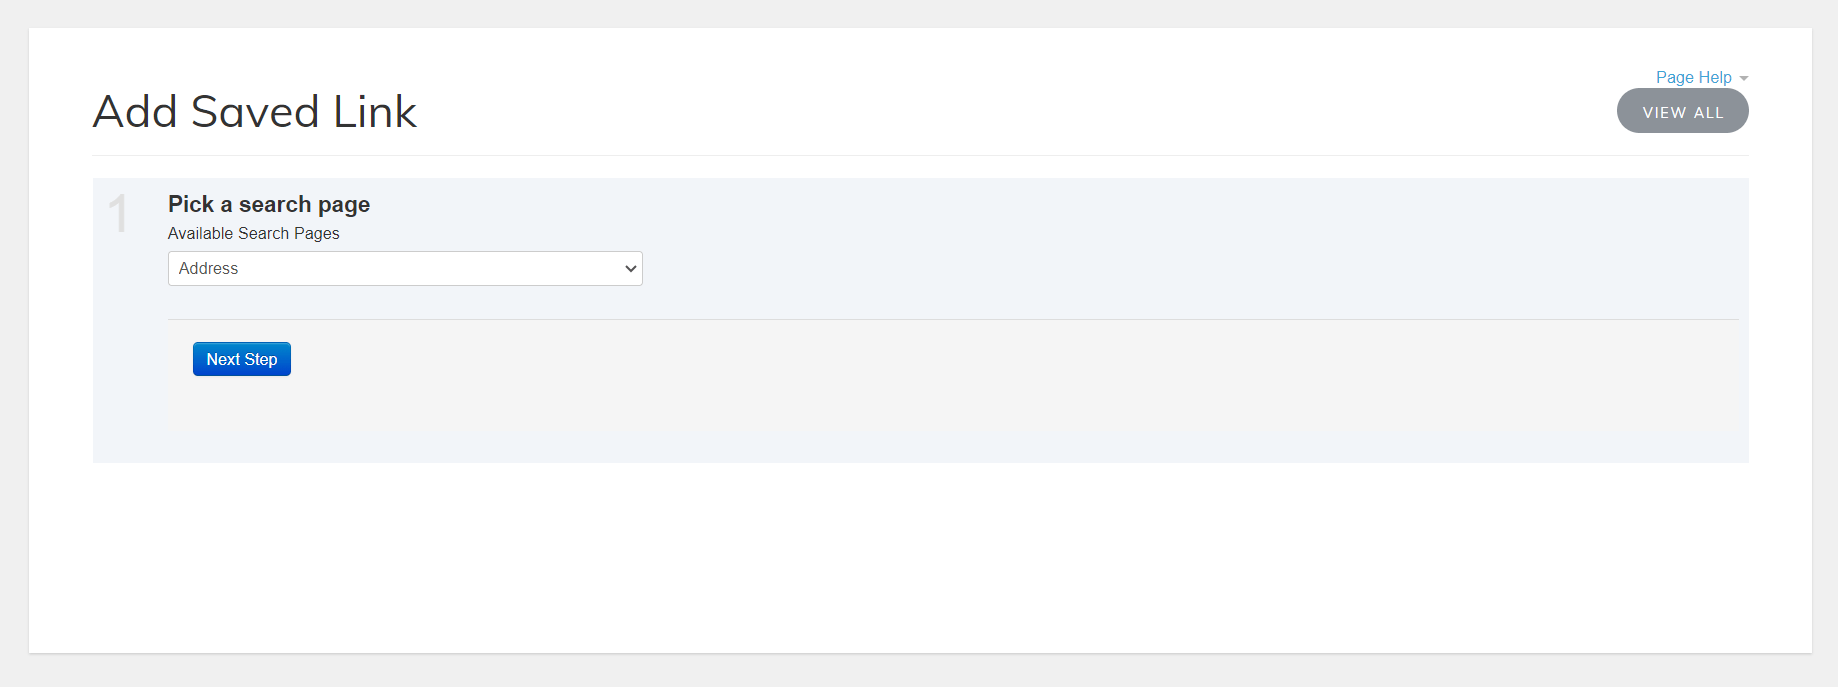
- Click on "Create Link" and follow the instructions to configure the link.
- Choose your search criteria, such as address, property type, city, county, postal code, and other filters based on your requirements.
- Fill out the page title and complete any additional required information.
- Click "Save" to finalize the creation of your Saved Link.
Once your Saved Links are created, they will appear in the Community Areas app for further customization.
Or if you prefer, you can use the Bulk Saved Link Creator app to create your Saved Links.
-
Set Up Your Community Areas
Once you enter the Community Areas app, you'll find the Setup tab, which contains a data table listing all the saved links. Each saved link will be displayed with the following fields:
- ID: The unique identifier for the saved link.
- Area Title: The title of the area/community.
- Saved Link Name: The name of the saved link as configured in IDX Broker.
- Times Viewed: How many times this saved link has been viewed.
- Last Updated: The most recent date when the saved link was updated.
- Category: The category assigned to the saved link.
- Action: Options to edit or delete the saved link.
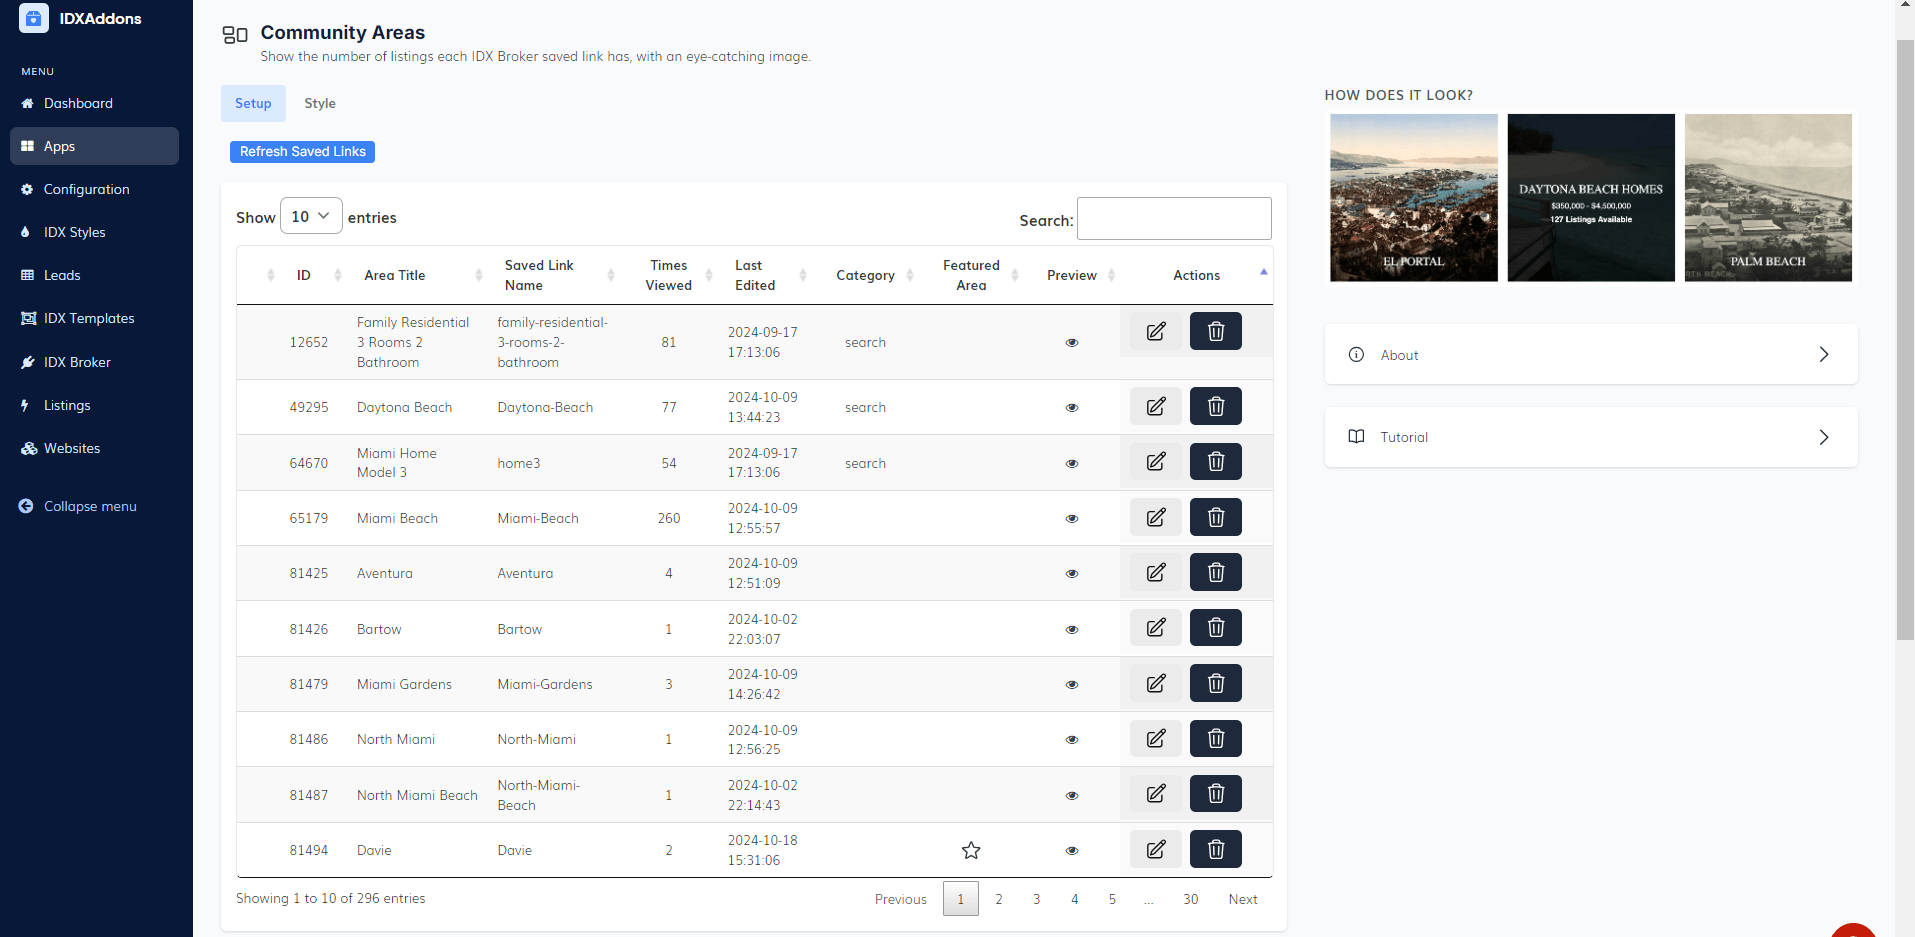 Adding a New Saved Link
To add a new saved link to your community grid:
- Click the "Add" button located above the data table.
- A confirmation window will appear, asking if you're sure you want to add the saved link.
- Click "Add" to confirm, and a message will notify you that the area is being added.
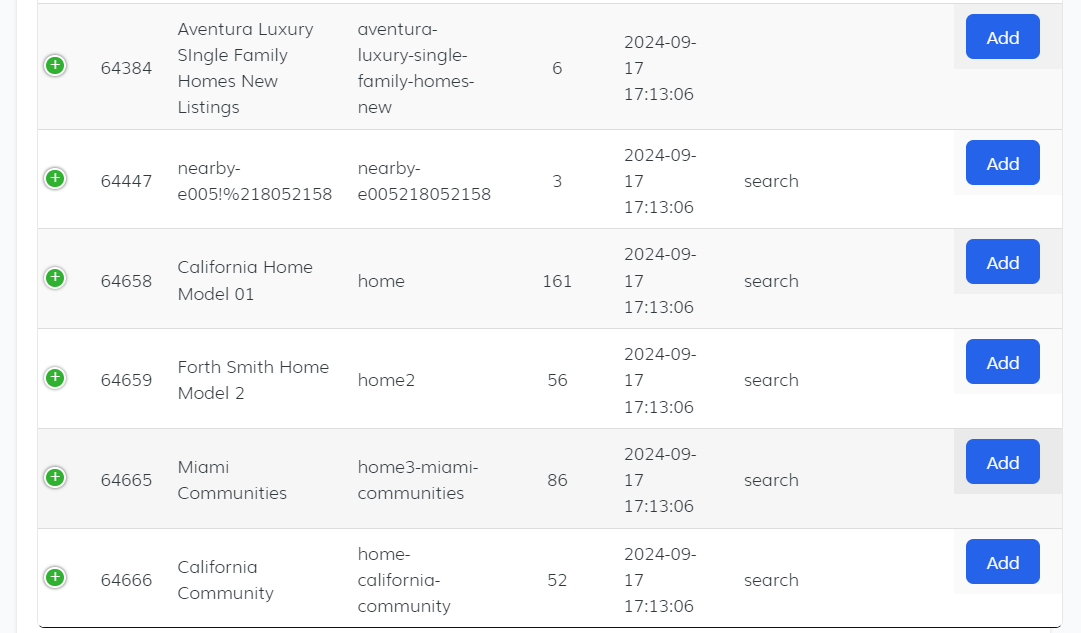

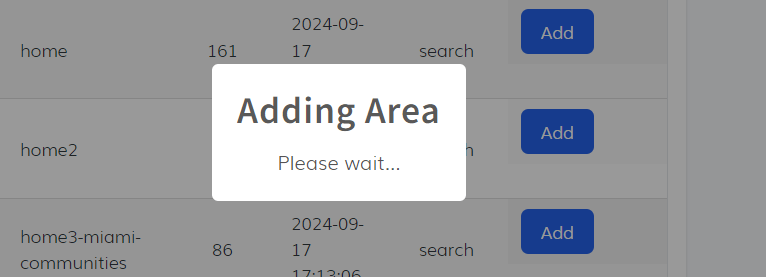
After the link is added, you’ll see it reflected in the data table with the ability to edit or delete the entry. This process integrates the saved link into your community areas widget, ready to be displayed as part of your community grid.
-
Edit or Remove a Saved Link
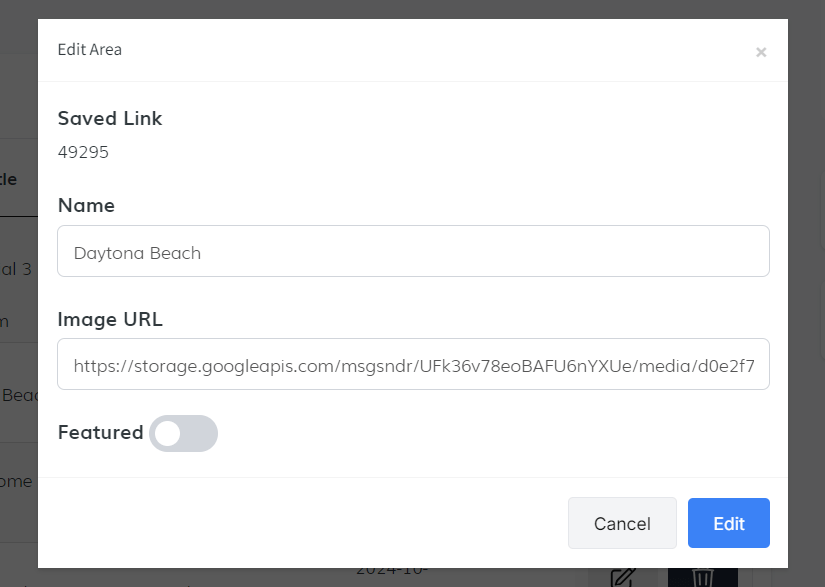
- Edit: Click the "Edit" button next to the Saved Link. A pop-up will appear where you can modify:
- Name: Update the area title.
- Image URL: Add or modify the image URL for the area.
- Featured: Mark this area as featured, so it can appear in a dedicated Featured widget.
Once you've made your edits, click "Save" to apply the changes.
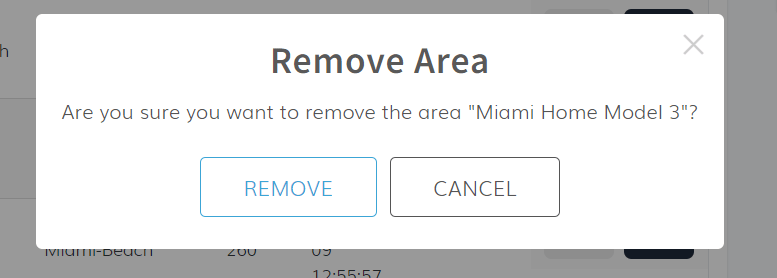
 Remove
If needed, you can delete the Saved Link from the grid by clicking the "Delete" button.
-
View Saved Link Details
On the dashboard, you'll notice a "+" icon next to each Saved Link. Clicking this icon will show more detailed information about the Saved Link, including:
- Featured Area: If the area is marked as featured, this will be indicated.
- Preview: A preview button is available to view how the Saved Link looks.
-
Filter Communities
In the Filter Communities section, you can filter the displayed communities by:
- All: Displays all community areas.
- Featured: Shows only communities marked as featured areas.

-
Sort Communities
In the Sort By section, you can organize the communities by:
- None: Lists communities in the order they were added.
- Alphabetically: Sorts communities by their names in alphabetical order.

-
Agent Assignment
If you have an Office Account, you can assign agents to the widget so the leads can be assigned to them. To do this, follow these steps:
-
Style Your Widget
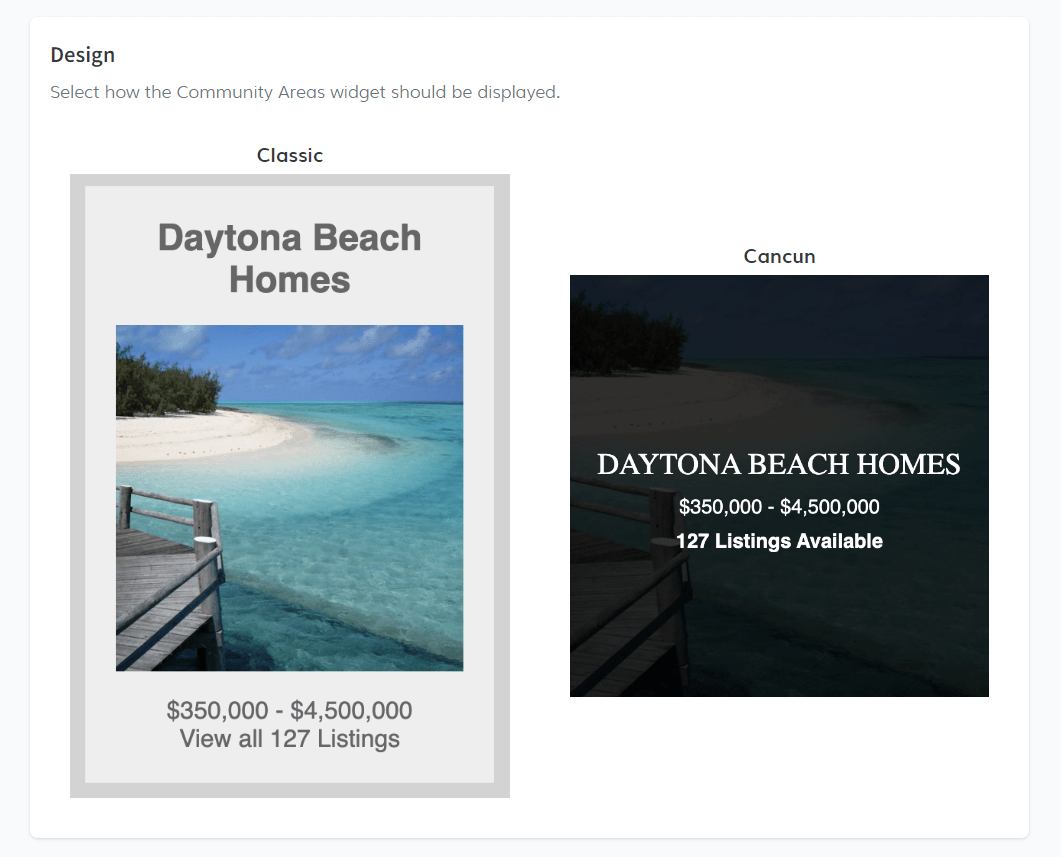
In the Style tab, you’ll begin by selecting the design for your Community Areas widget. You have two options to choose from: Cancun and Classic. Select the style that best fits your preference.
 Custom Style
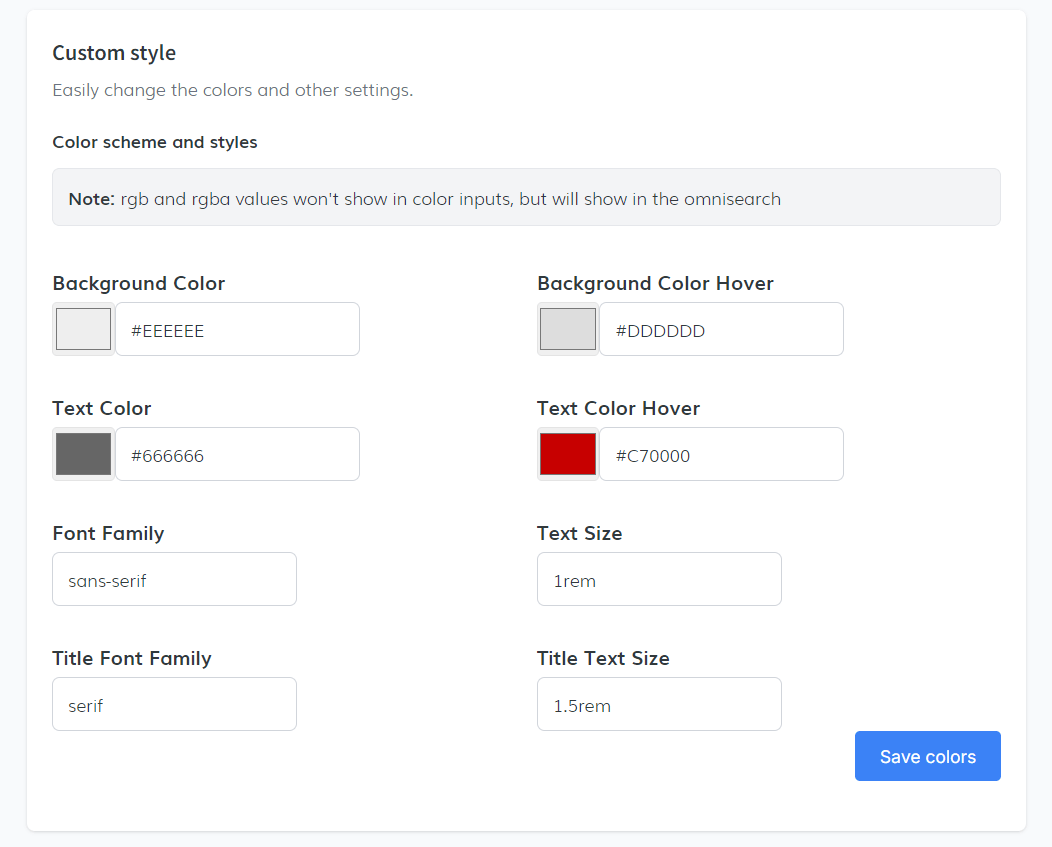
Next, you can personalize the widget's appearance by choosing specific colors and typography settings. You’ll be able to adjust:
- Background Color & Background Color Hover
- Text Color & Text Color Hover
- Font Family
- Text Size
- Title Font Family
- Title Text Size
Once you've made your selections, click Save Colors to apply and save your changes.
 Show Advanced Settings
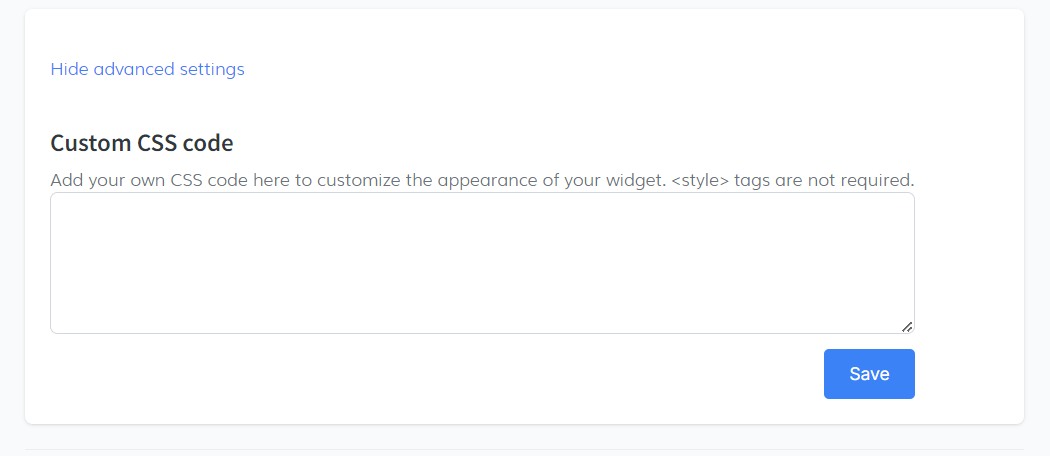
If you want to take your customization even further, click on Show Advanced Settings. This will reveal a section where you can add your own Custom CSS Code. This is useful for further tweaking the look and feel of your widget beyond the standard options.
 Copy Code Snippet
When you're satisfied with all the changes, you can copy the generated code snippet. Click the Copy Code button, and the snippet will be saved to your clipboard, ready to be added to your website to display the widget with your selected styles and customizations.
