-
Access the Platform
Log in to your IDXAddons platform account
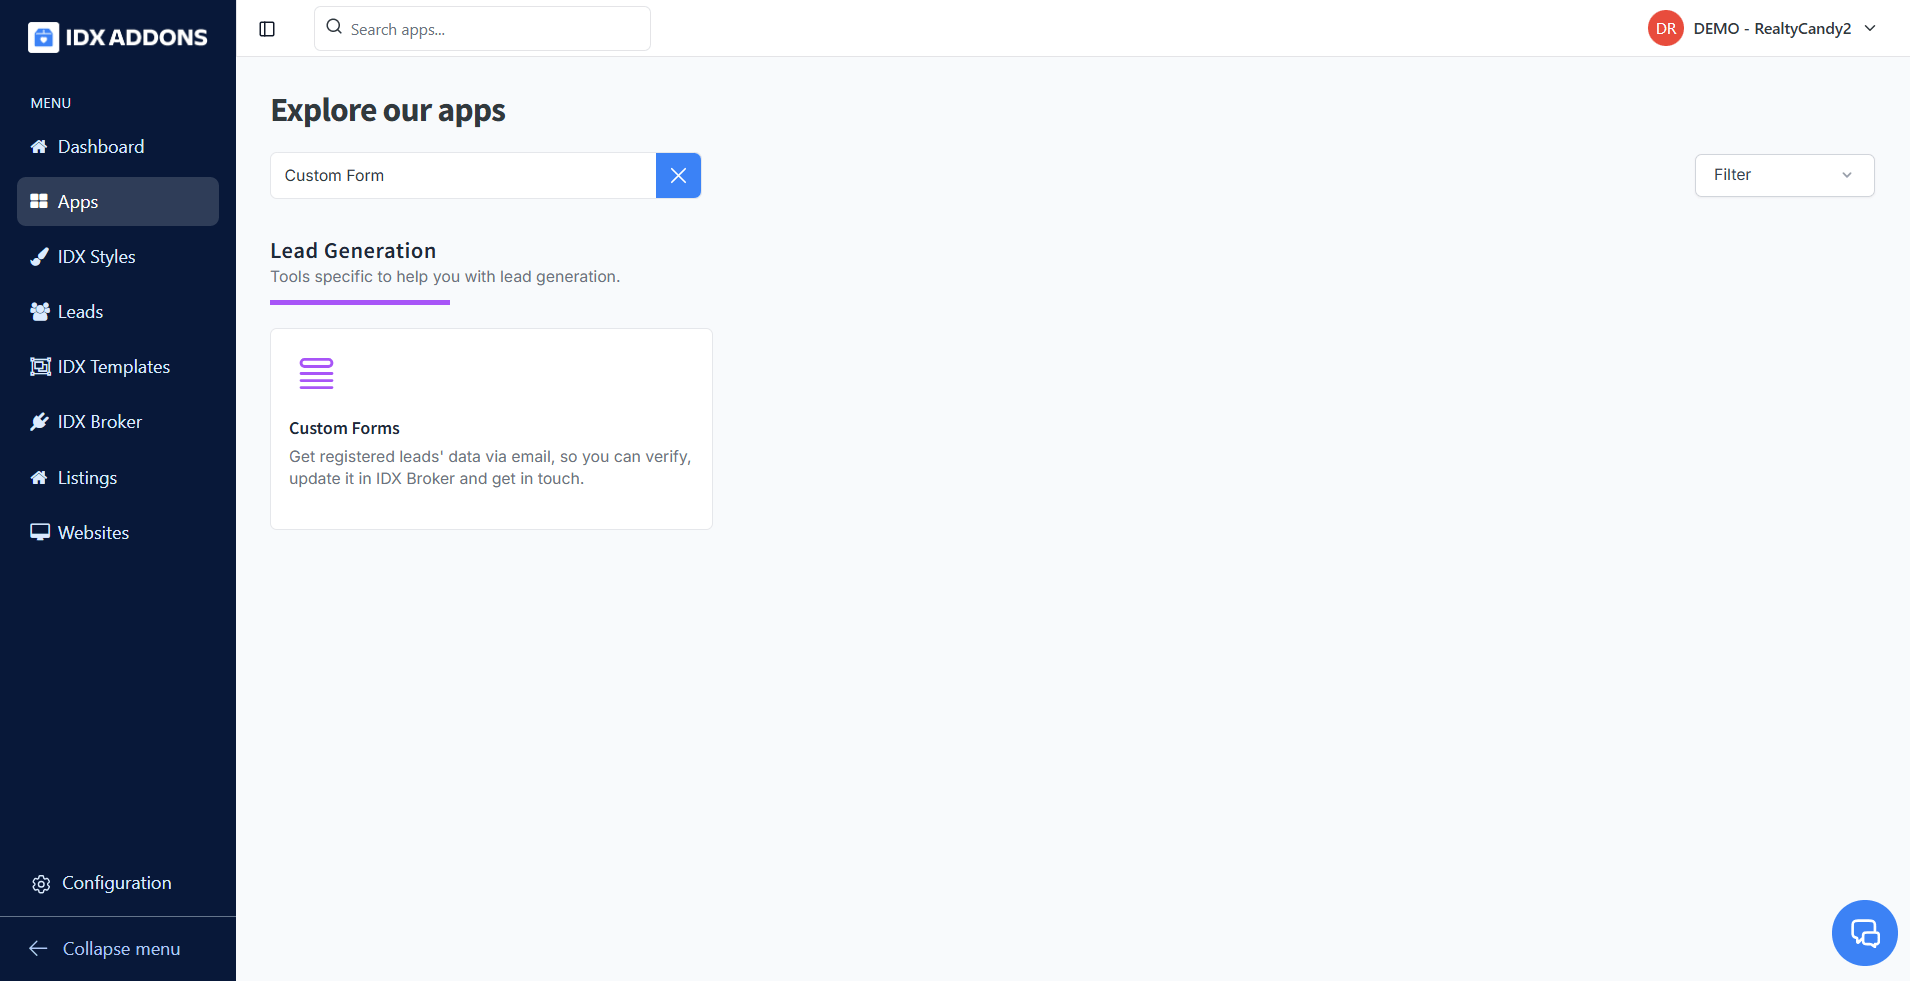
In the main menu, select Custom Forms App option.
-
Sign Up Custom Form
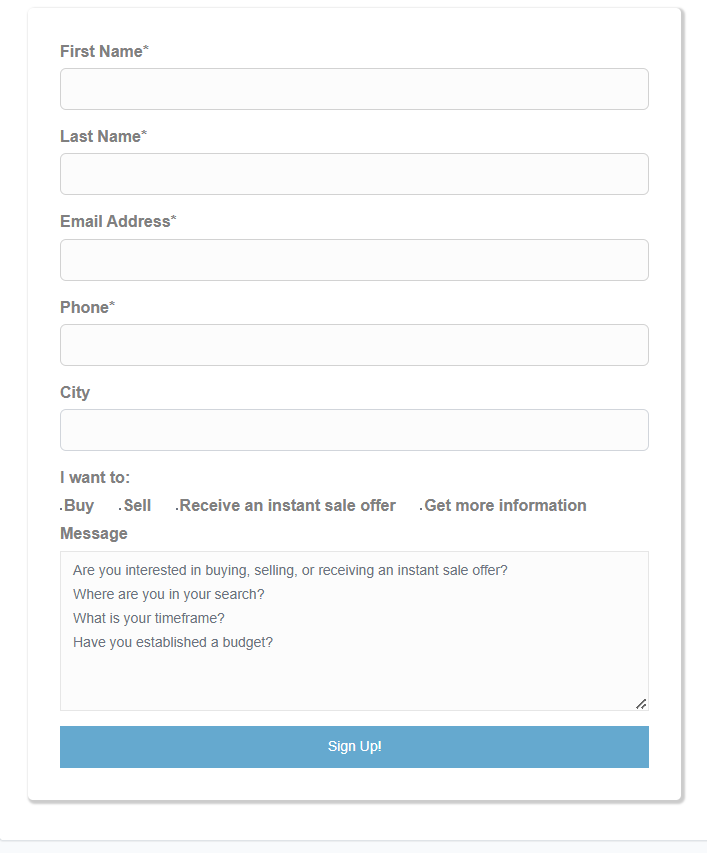
The custom form for leads sign up will look like this in your website:
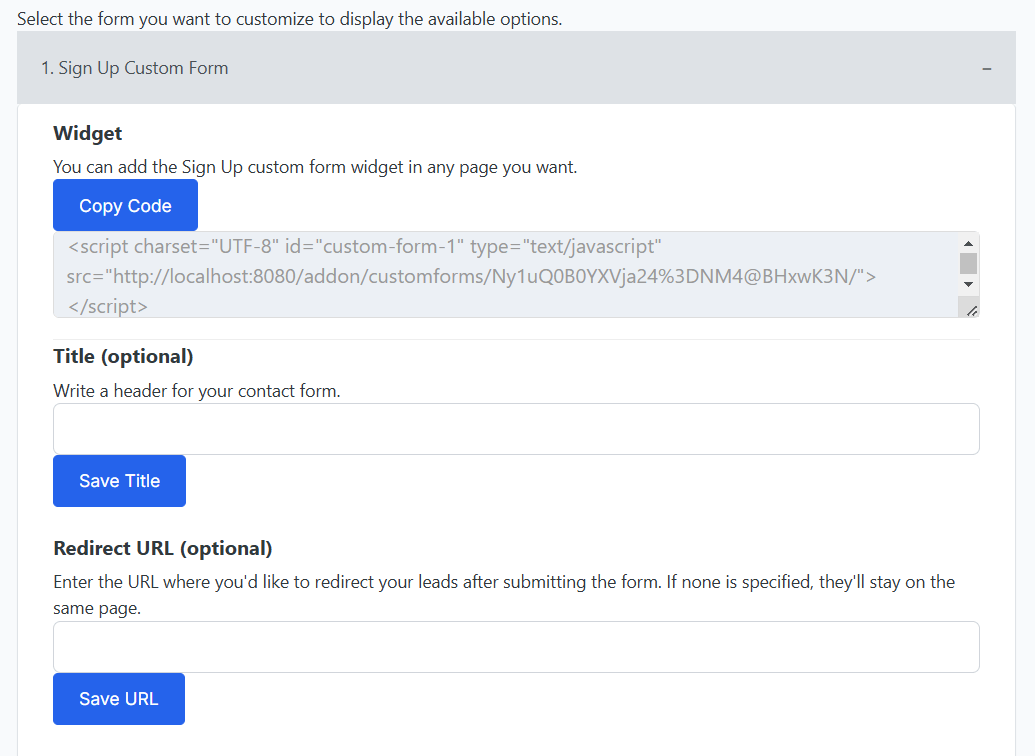
To start customizing your custom form, follow these steps:
- Widget Option: The first option is the widget. Here, you can add your Sign-Up Custom Form Widget to any page you need. Simply click the Copy Code button to proceed.
- Title Option (optional): You can write the name you want to appear on the form. To save and apply the changes, click the Save Title button.
- Redirect URL (optional): Enter the URL where you'd like to redirect your leads after they submit the form. If no URL is specified, leads will remain on the same page. To save and apply this change, click the Save URL button.
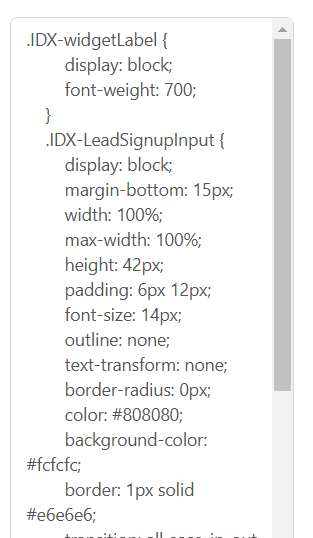
CSS Customization: You can further customize the form's appearance using CSS. Once you're done, simply click the Save Changes button to apply all updates.
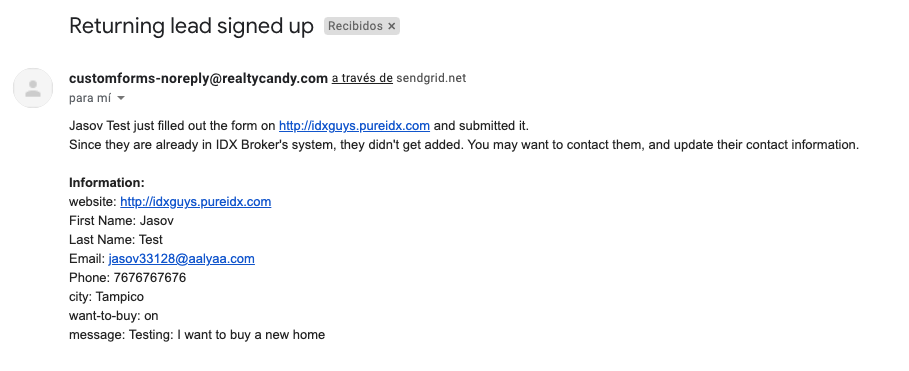
After your leads submit the form, you'll receive an email like the following:
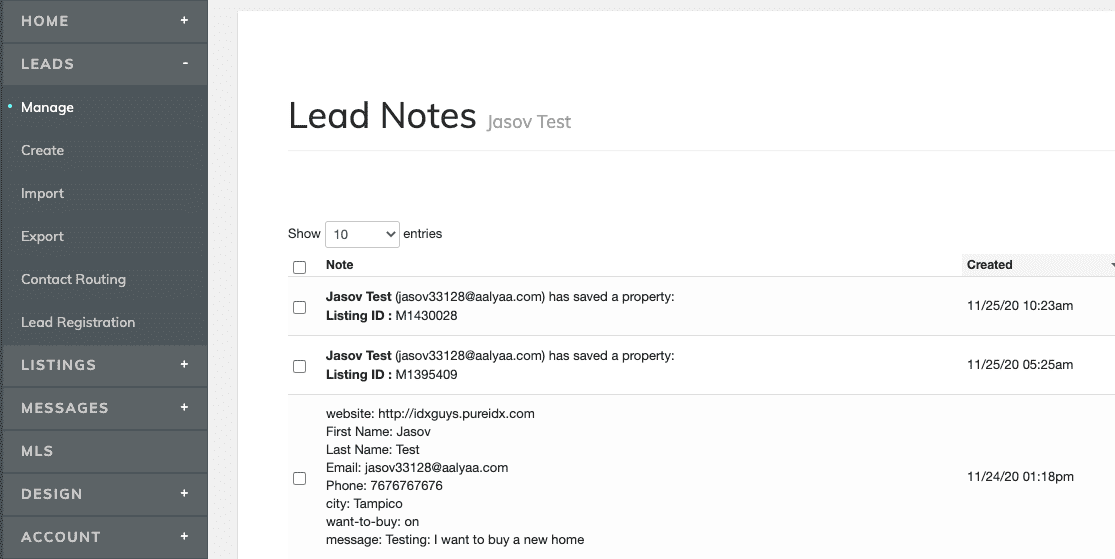
The information will also be added to the lead notes.
-
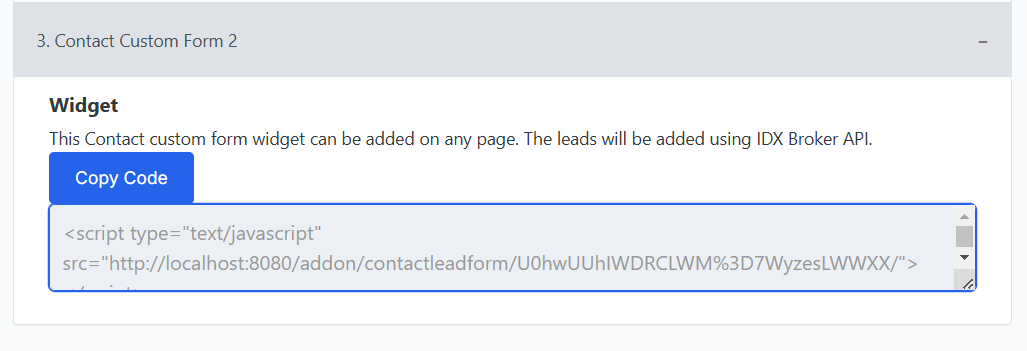
Contact Custom Form 2
Allows you to add a custom contact form to any page on your website. Leads submitted through the form are automatically registered using the IDX Broker API, streamlining the management and tracking of contact data.
