-
Wizard Setup
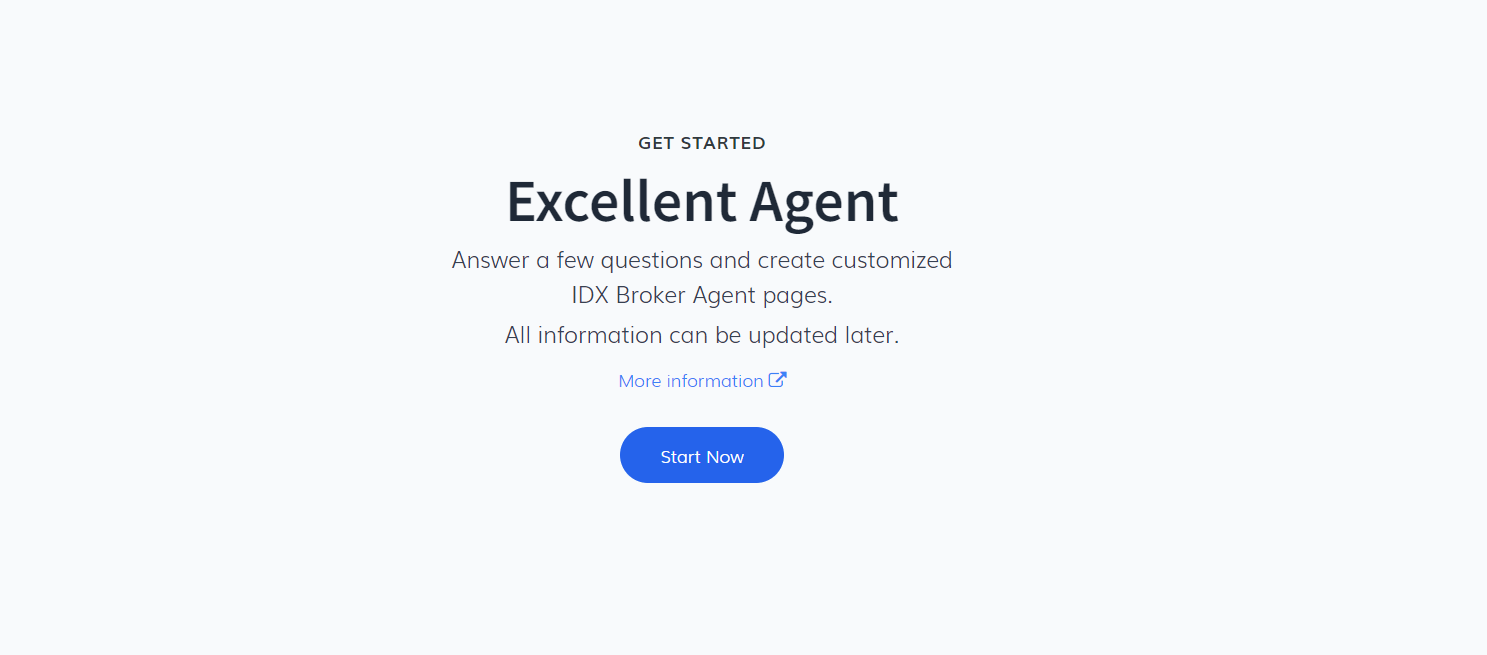
When you first enter the Excellent Agent app, you will go through a wizard that will guide you step by step to create customized IDX Broker Agent pages. Follow the instructions below to complete the setup:
Start the Wizard: Click the Start Now button to begin the setup process.
 Choose a Template
You will be prompted to select a template for your agent pages. The platform offers two options:
- Minimalist.
- Search Focused.

Choose the template that best fits your style, then click the Next button to proceed.
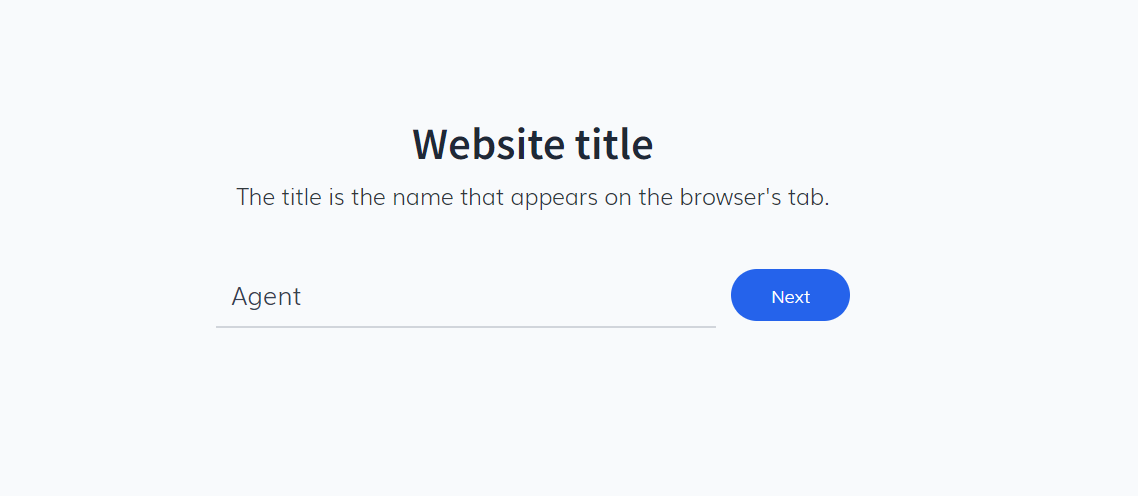
Website TitleIn this step, you will enter the Website Title. This is the name that will appear on the browser's tab. After entering your desired title, click Next to continue.
 Navigation Menu
Here, you will update the name of the navigation menu items. These names will be the same for all agents on your website. When a menu item is clicked, it will lead to the relevant section.
- Listings
- About
- Home Valuation
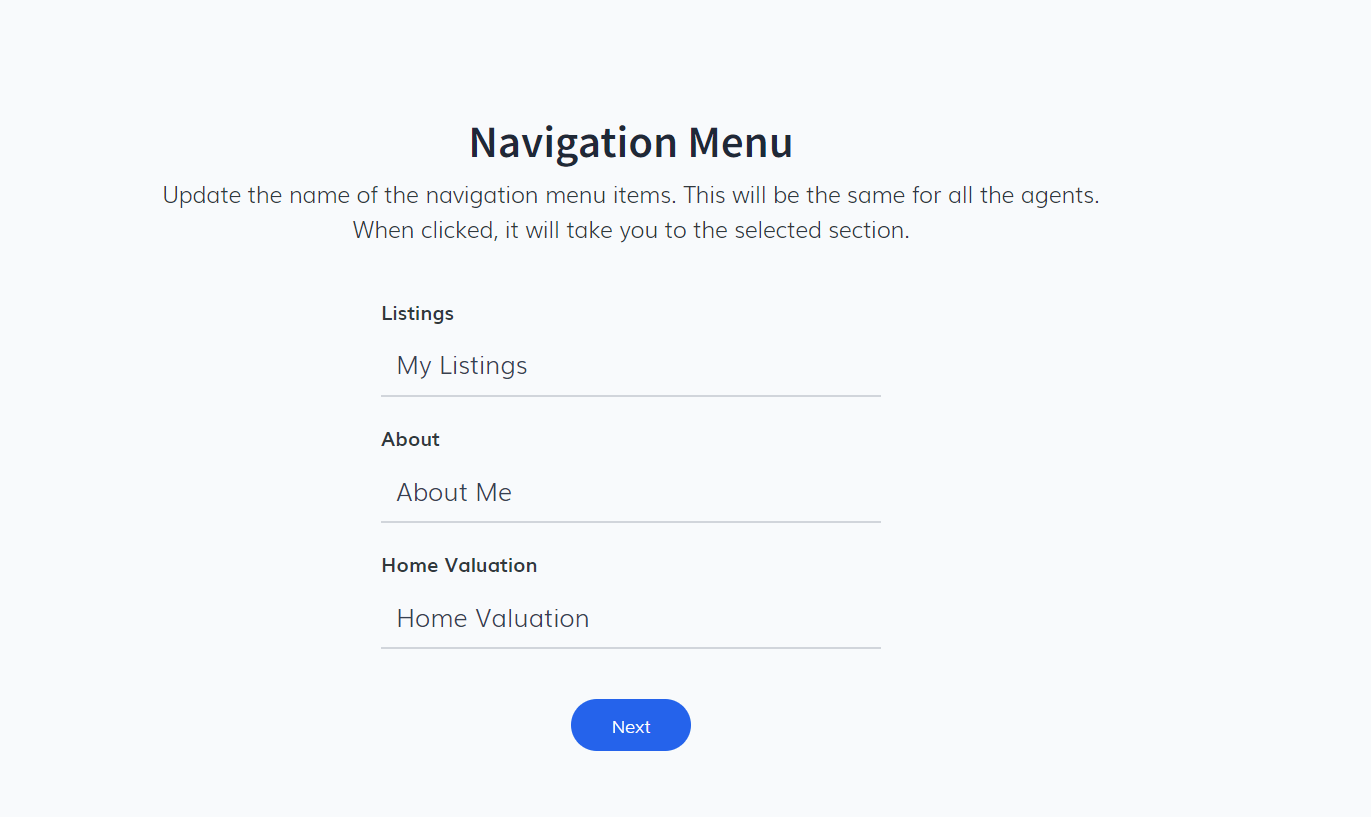
After setting up the menu items, click the Next button.
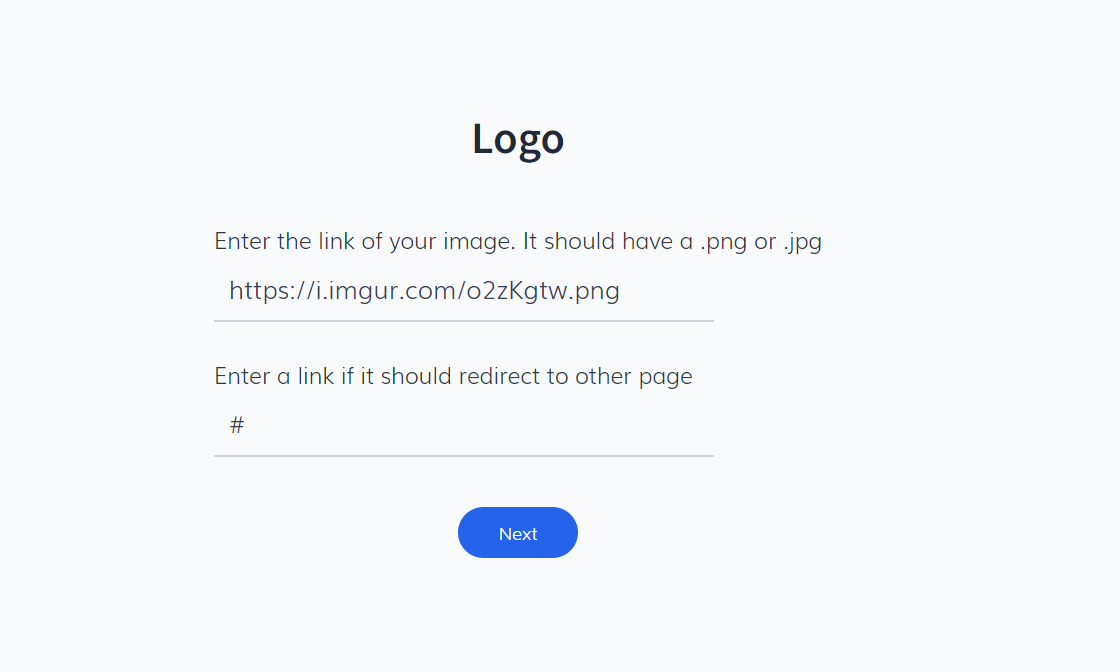
LogoYou will need to input the link to your logo image. Ensure the image is in either .png or .jpg format. Once you've entered the logo link, click Next to proceed.
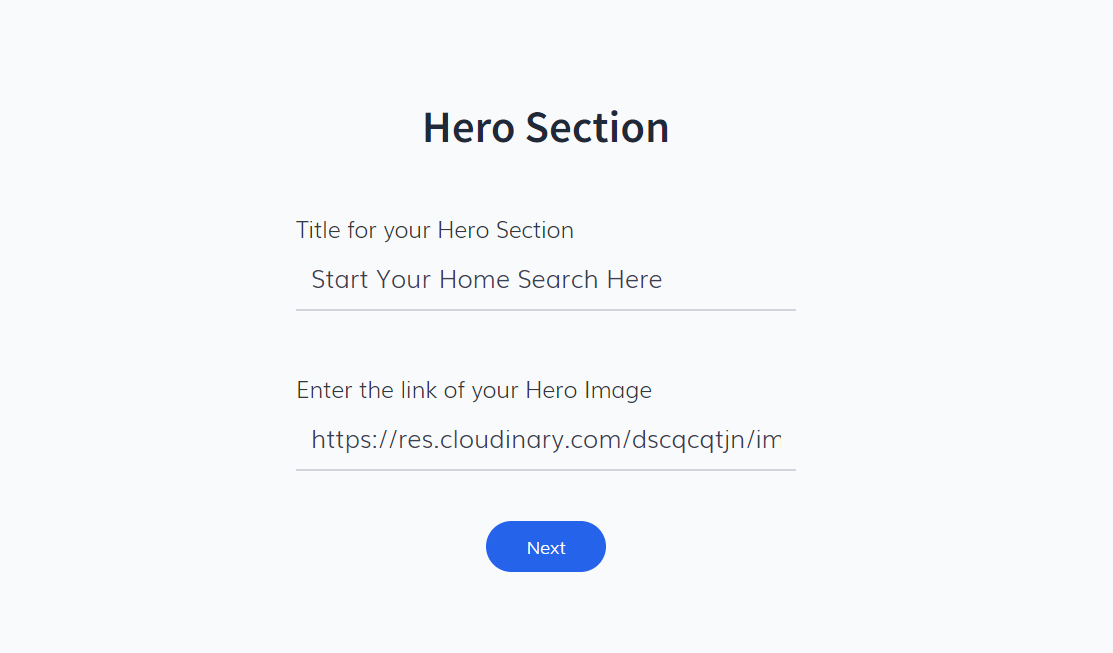
 Hero Section
In this section, you'll provide the Title and the link for the Hero Image. Once you've entered this information, click Next.
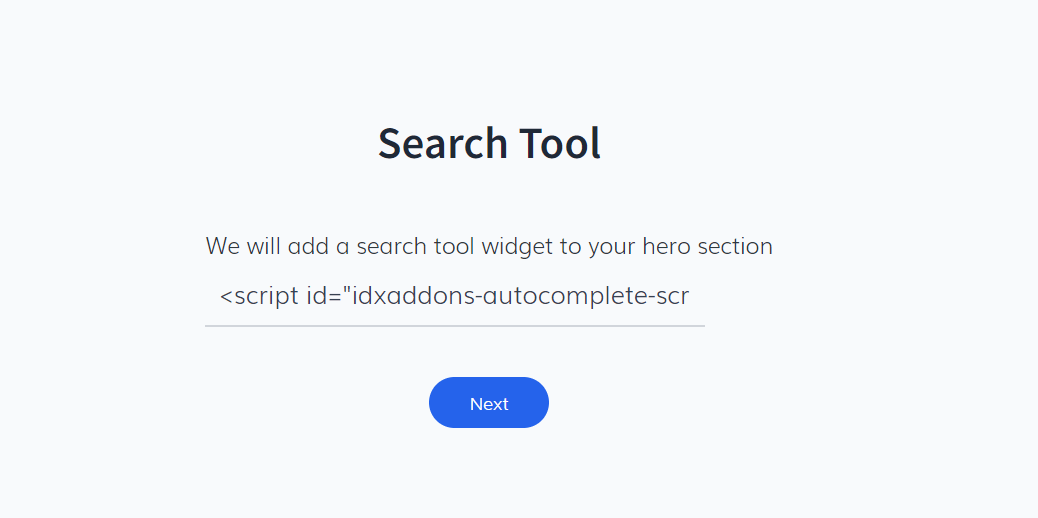
 Search Tool
The wizard will prompt you to add a search tool widget to your hero section. Simply click Next to continue.
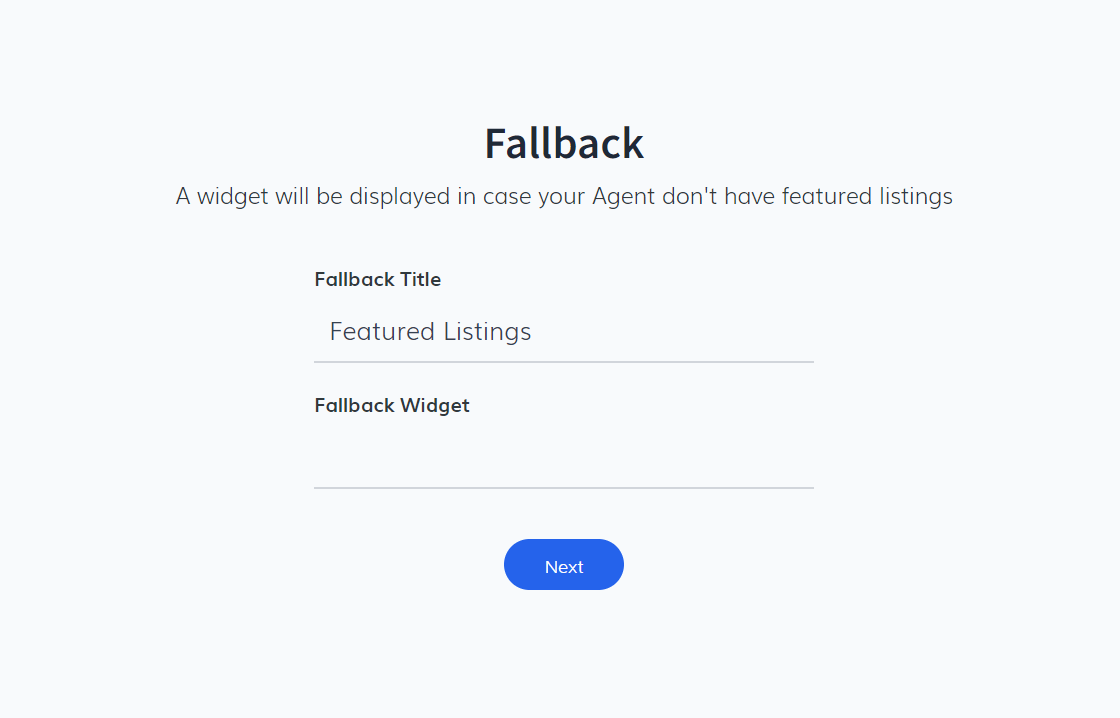
 Fallback Widget
A fallback widget is displayed when your agent doesn't have featured listings. Here, you will enter a Title and configure the Fallback Widget. After completing this section, click Next.
 Social Media Links
Finally, you will provide the social media links for your primary brokerage. Once you've entered all the necessary information, click the Generate Wrapper button to complete the setup.
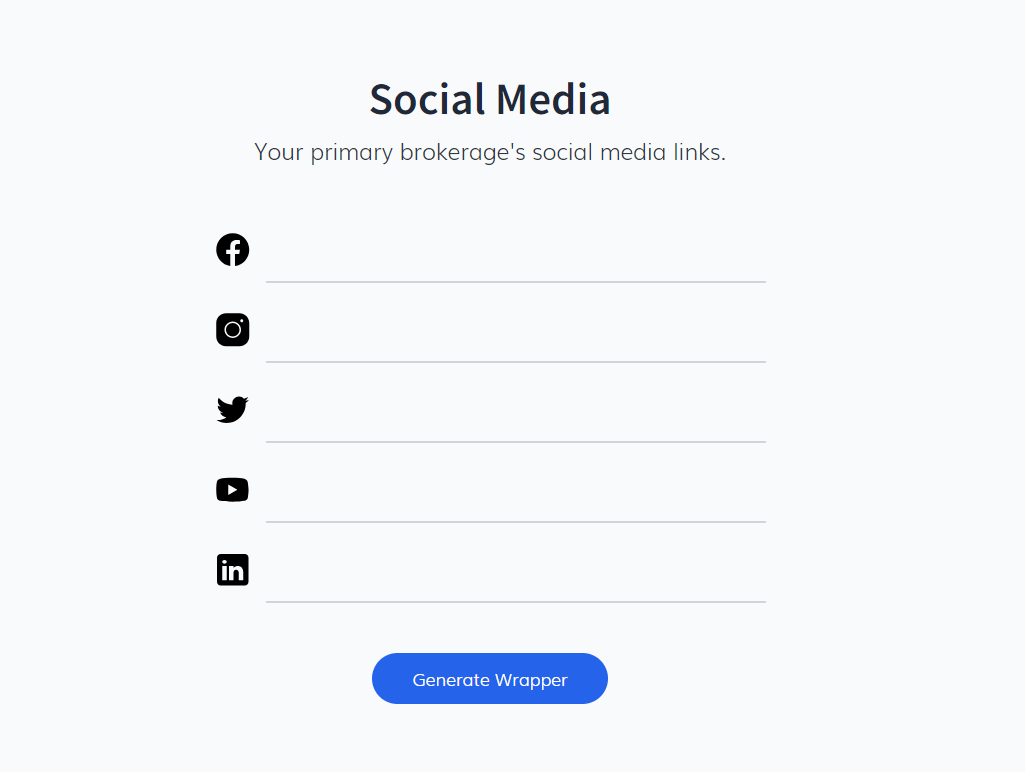
At the end you must click on the generate wrapper button.
-
Setting Up the App for IDXBroker
When you access the application, you will find the Setup tab. Here, a key component is the Wrapper, which is essential for integrating the app with IDXBroker.
Steps to add the Wrapper:
- Wrapper Location: A generated code corresponding to the Wrapper will appear.
- Brief Explanation: This Wrapper is a code snippet that must be placed in IDXBroker to ensure the app functions correctly.
- To install the Wrapper, follow this route in your IDXBroker dashboard: Design > Website > Wrappers > Pages > Results > Agent Bio & Listings
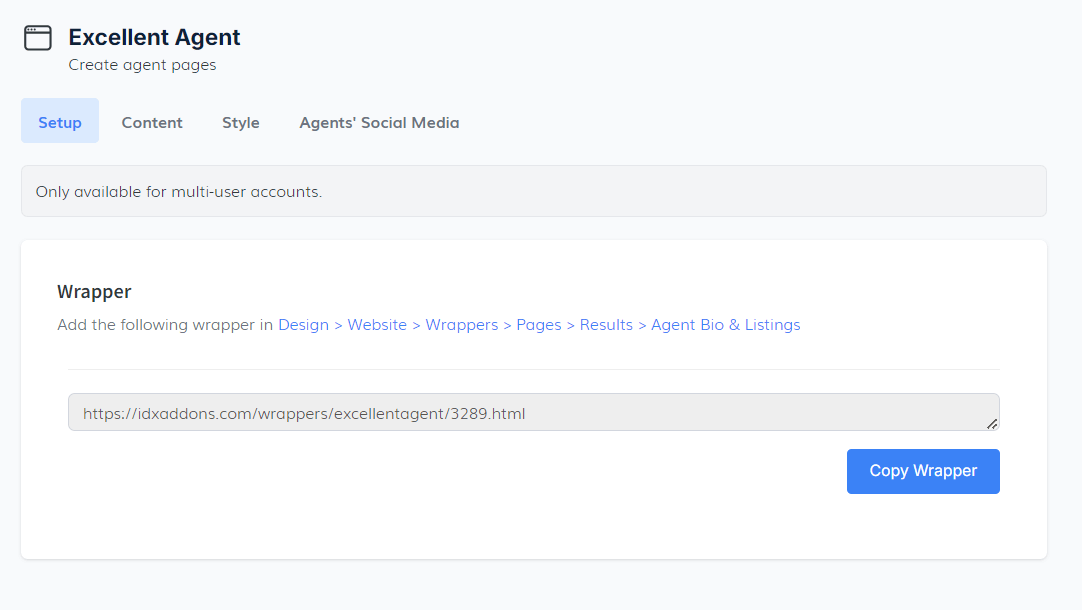
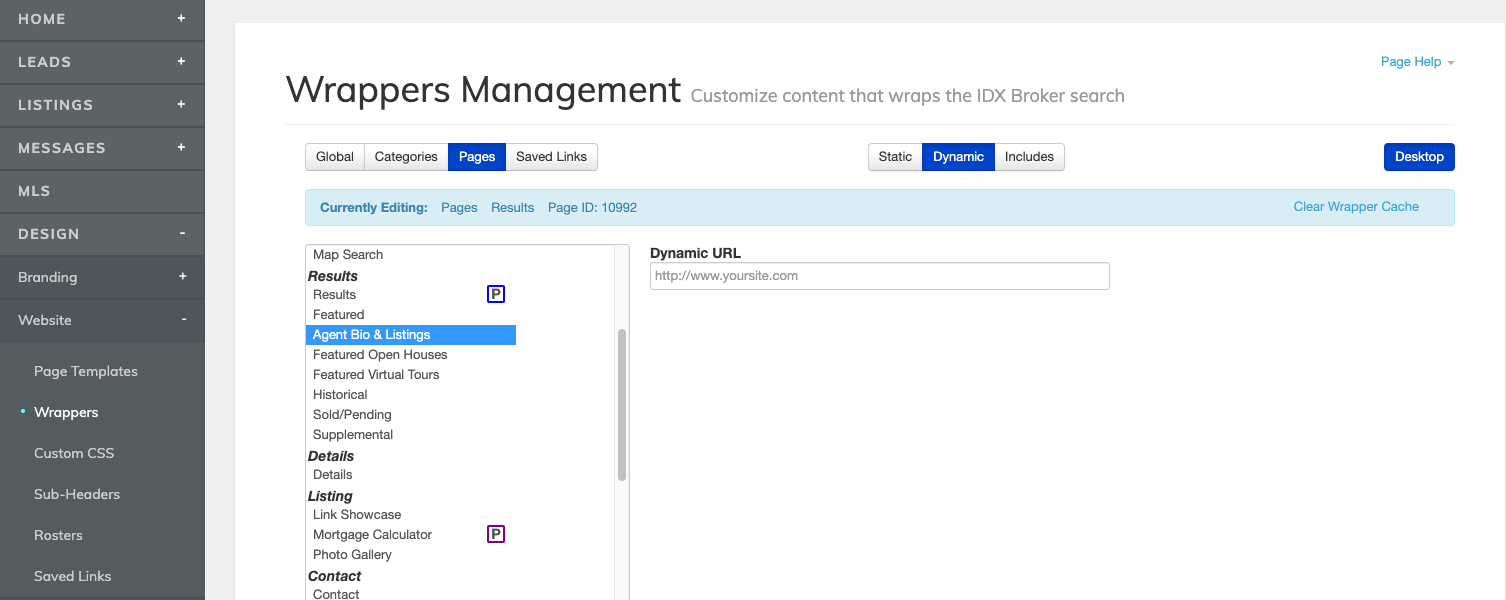
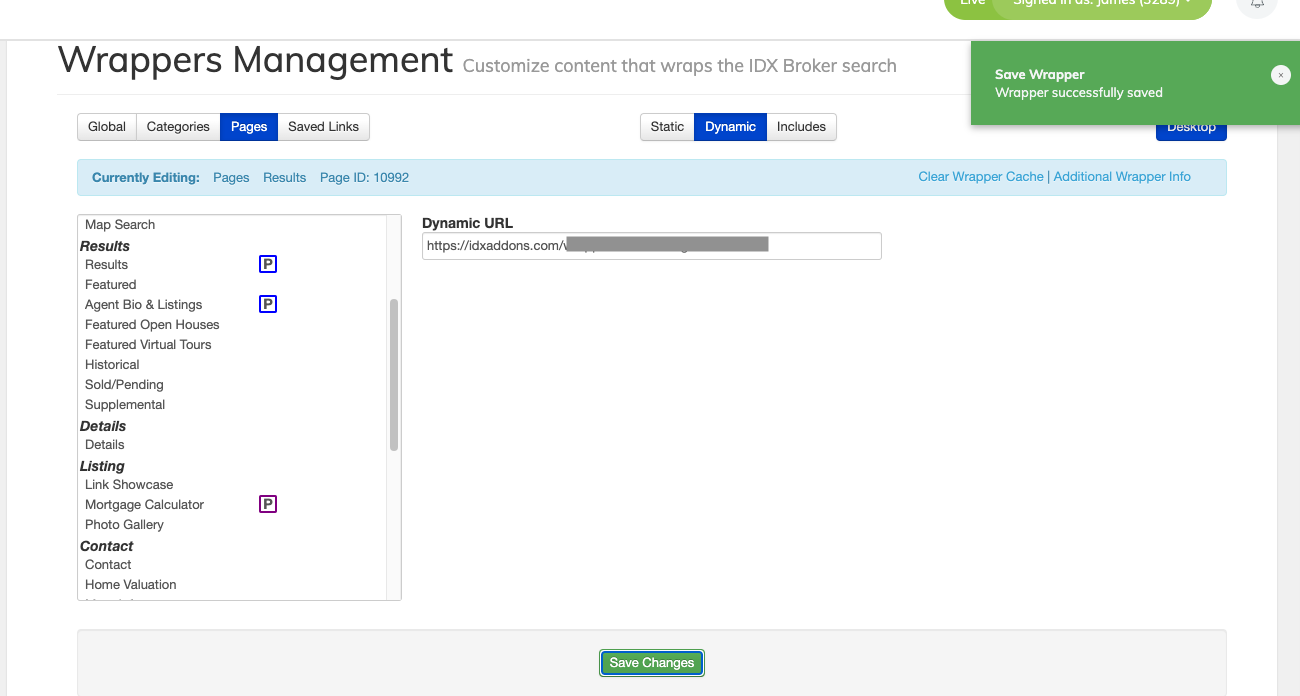
Add the Wrapper in the designated field to customize the agent bio and listing results pages.
-
Adding Sub-Headers Scripts in IDXBroker
In addition to the Wrapper, you also need to add specific sub-header scripts to ensure the proper functioning of the app.
Steps to add the Sub-Headers Code:
- Script Location: The script will be provided in the Setup tab under the section for sub-headers.
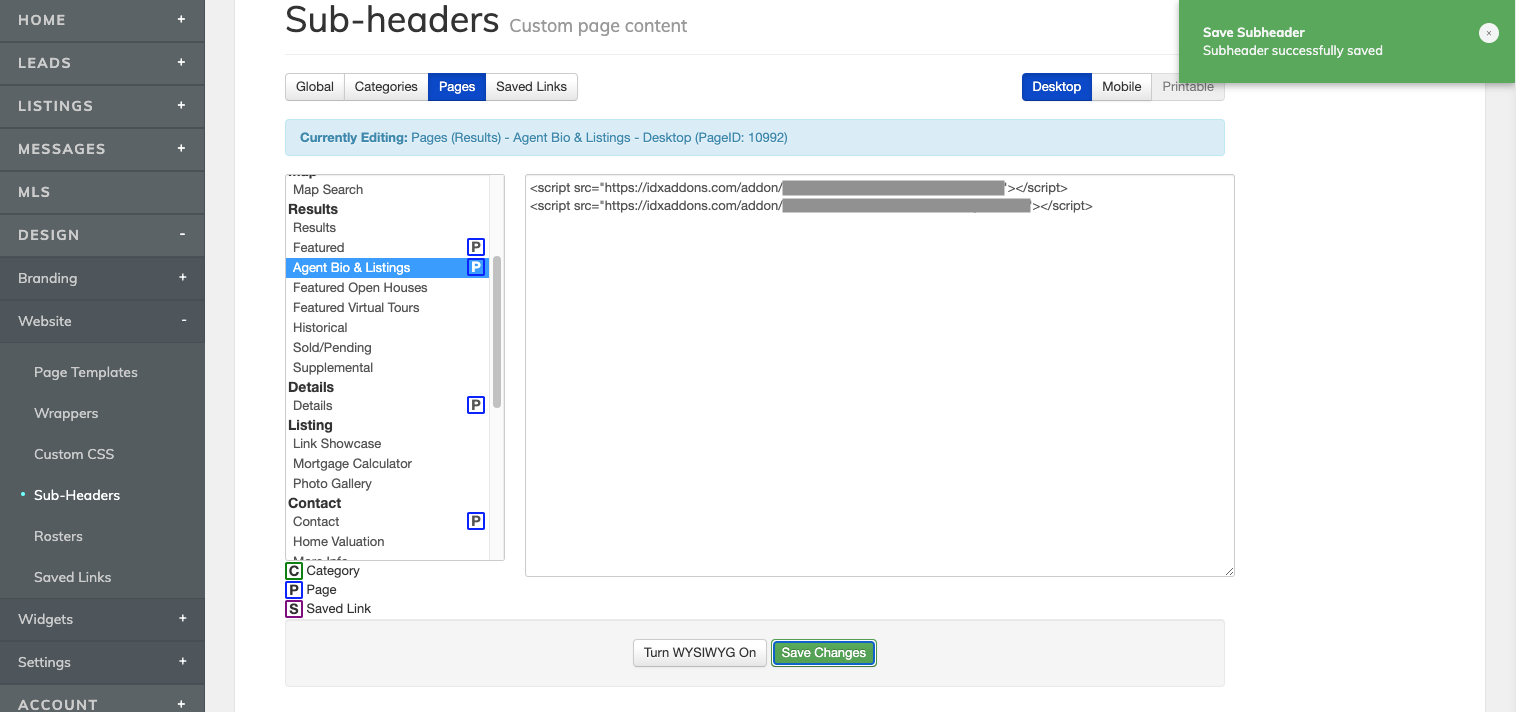
- Route in IDXBroker: To install the script, follow this route in your IDXBroker dashboard Design > Website > Sub-Headers > Pages > Results > Agent Bio & Listings

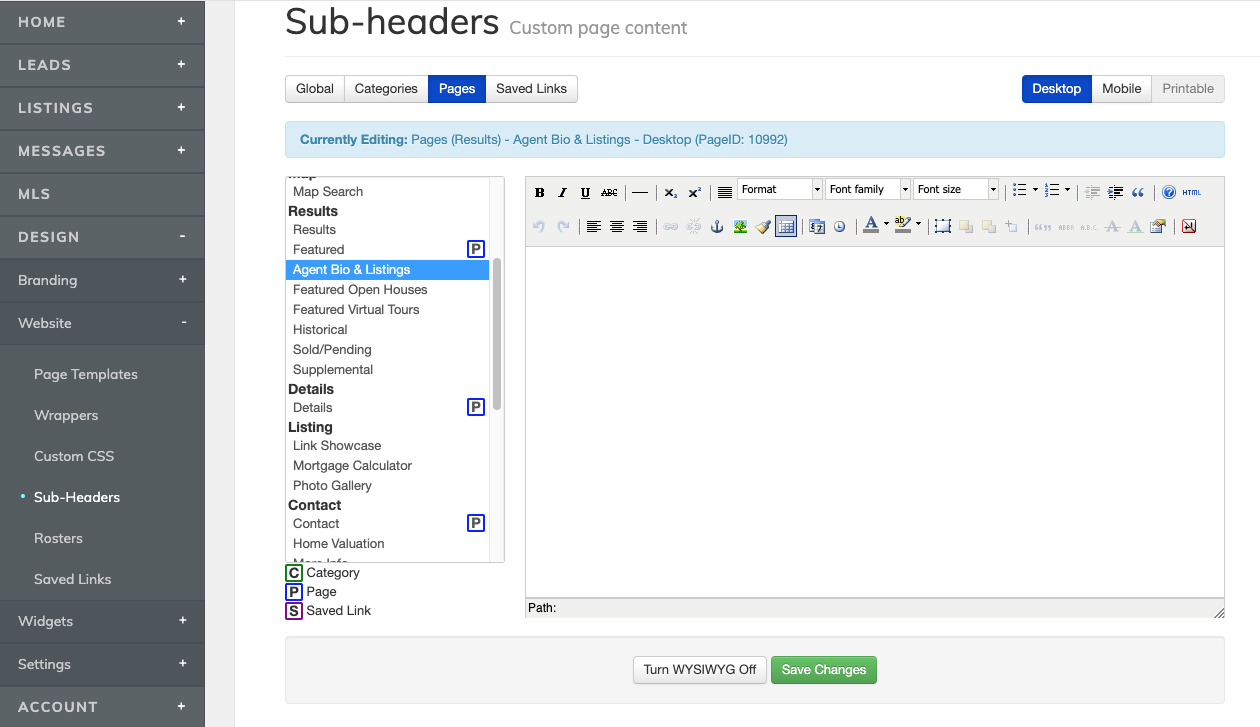
Insert the provided script in the designated field to customize the sub-headers for the agent bio and listings pages.
-
Configuring the Content Tab
The Content tab allows you to configure important details for the website, including the page title, header information, and other display options.
Steps to configure the Content Tab:
- Site Information: Add the title that will appear at the top of your page.
- Header Information: Fill in the necessary details that will be displayed in the header, such as text, images, or any additional content you'd like to show.

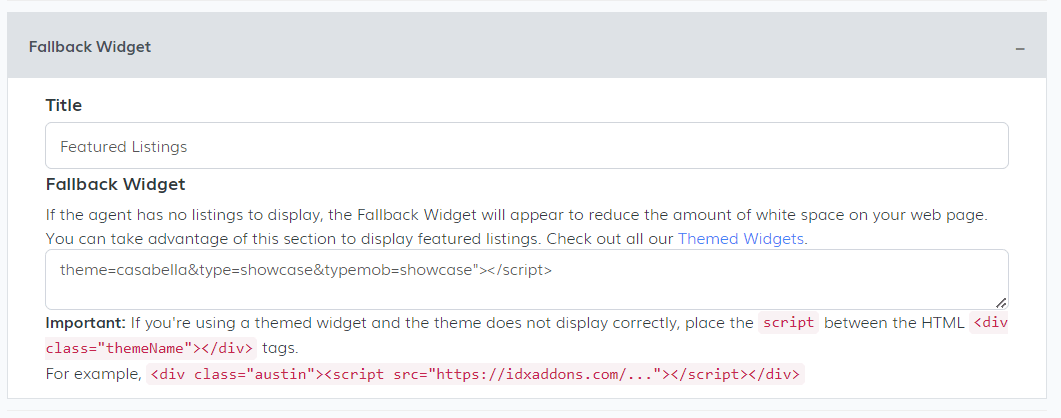
Fallback Widget:
- Purpose: If the agent has no listings to display, the Fallback Widget will automatically appear. This reduces unnecessary white space on the page and gives you the opportunity to display other content.
- Featured Listings: Use this section to showcase Featured Listings in place of missing agent listings. For more customization, check out our Themed Widgets.
Footer Section:
- Here, you can customize the Footer by adding a logo, text, and links to your social media accounts, ensuring a professional and cohesive look across the page.
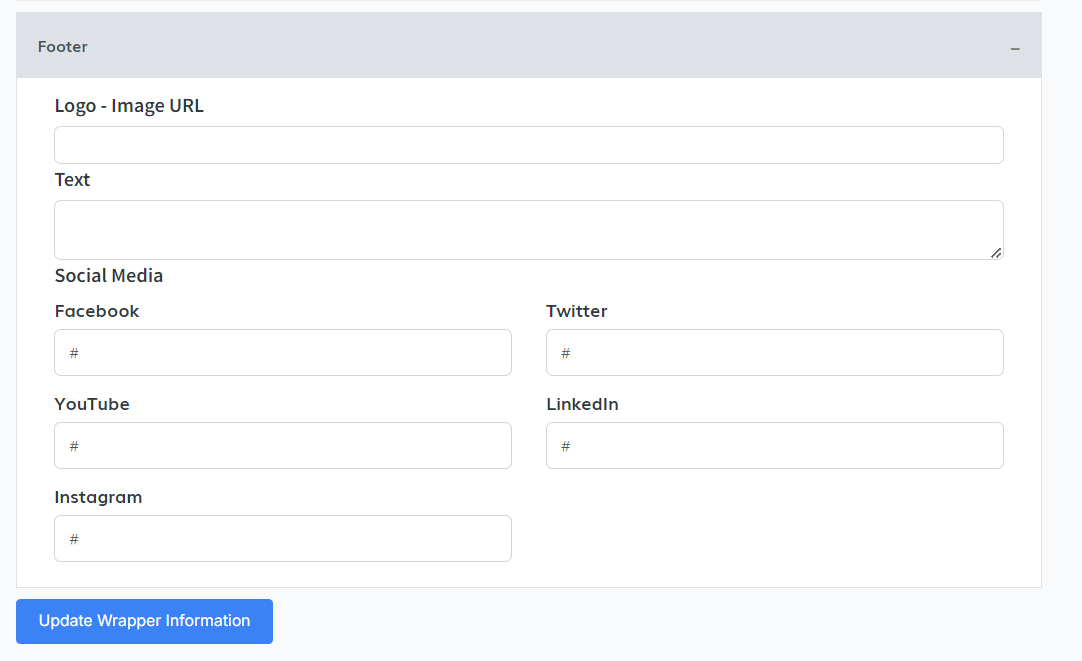
finally, click on the “update wrapper information” button to update all the pertinent information on the page.
-
Style tab
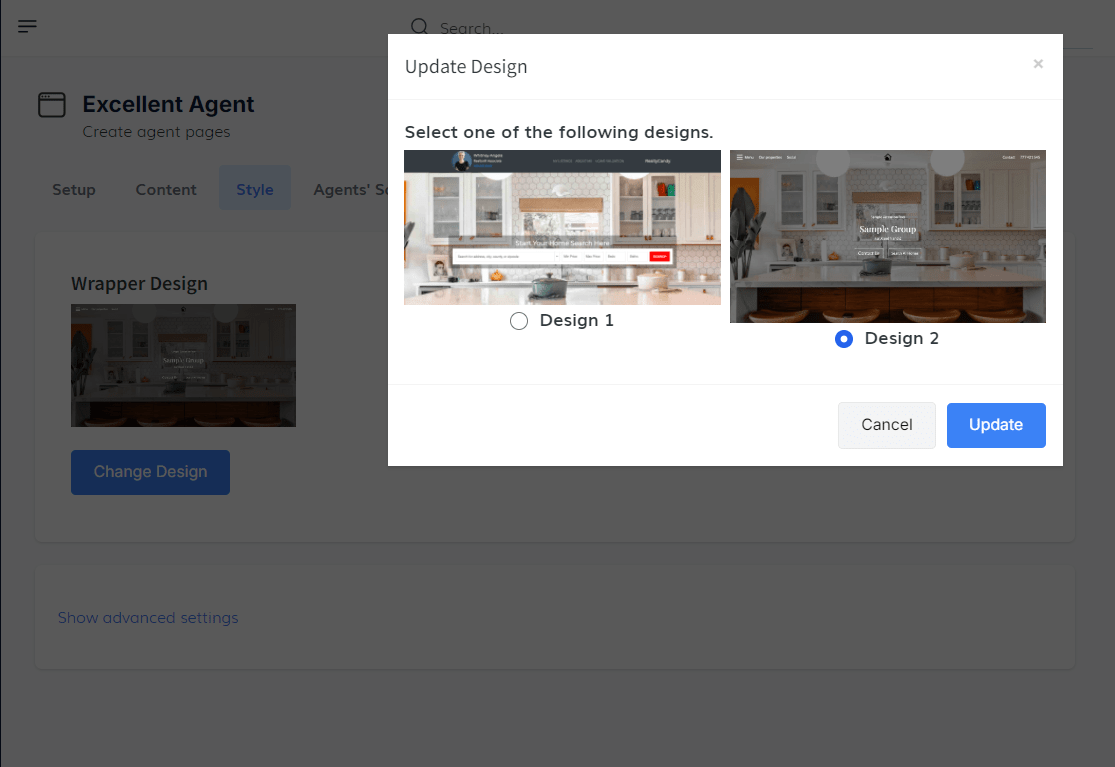
In the Style tab, follow these steps to choose and apply the design for the wrapper:
- Click the "Change Design" button.
- Two design options will appear: Design 1 and Design 2.
- Select your preferred design to apply it to the wrapper.
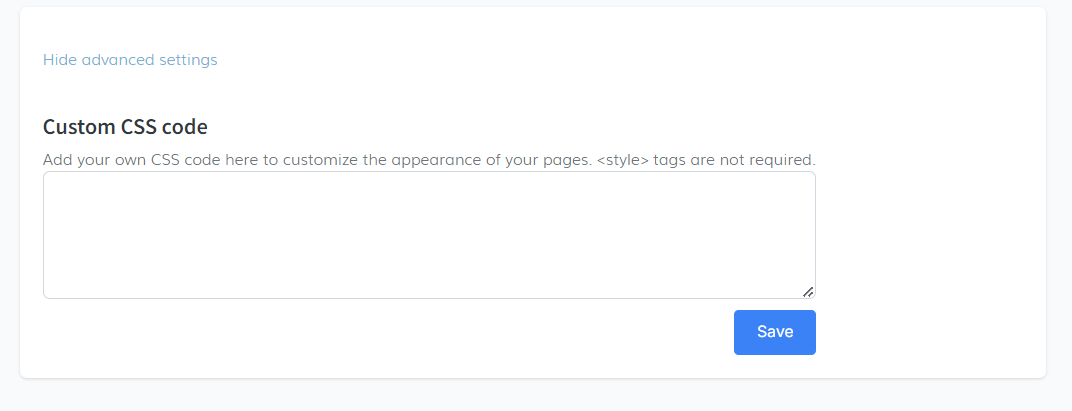
Additionally, you can customize the appearance further by adding custom CSS:
- Click on "Show advanced settings" to reveal the custom CSS section.
- Enter your CSS code in the provided field tags are not required.
-
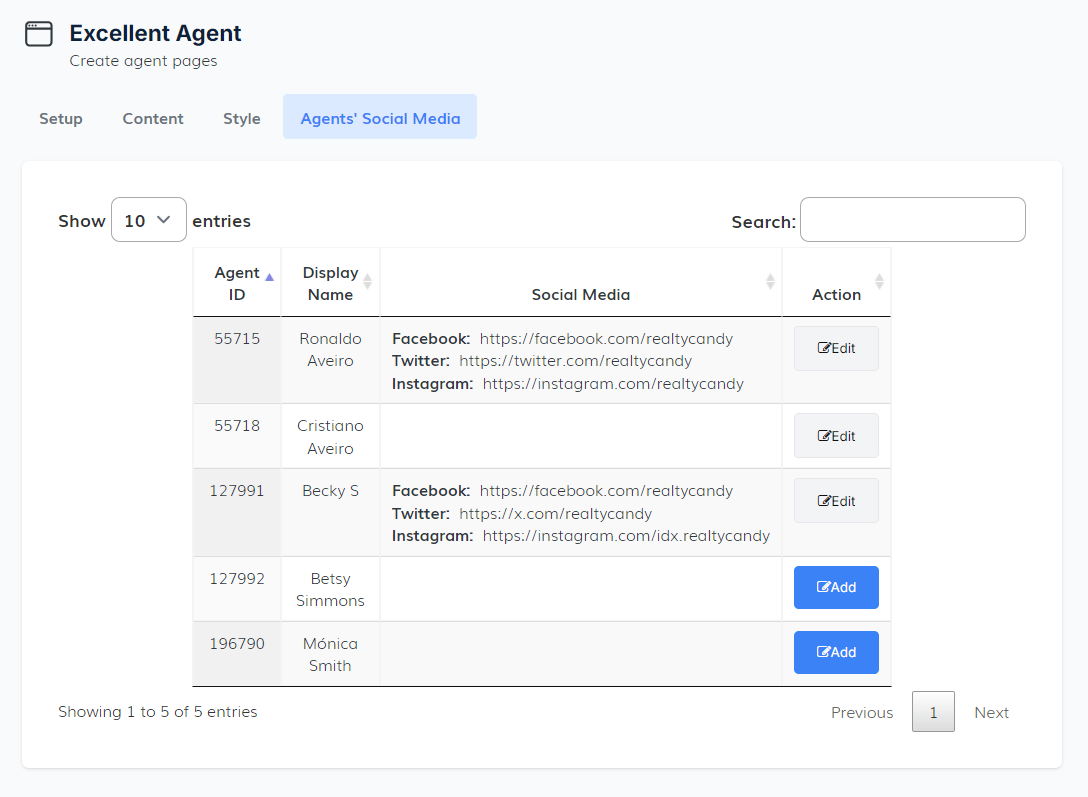
Managing Agent's Social Media Information
In the Agent's Social Media tab, you can enter and edit the agent's general information. This tab allows you to update existing details and add new information or social media links to enhance the agent’s profile.
