-
XML File
In IDXAddons, go to the Facebook Ads app. If you don't have an IDX Broker Saved Link, the page will show like this.

To create a Saved Link, you can use the IDX Broker dashboard or one of the following IDXAddons Apps:
- You can click on the "Create Saved Link" button. It will redirect you to the Saved Link Creator app.
- One-Click Community: if you have an IDX Broker Engage account, take advantage of this app and create a community with stats and ChatGPT content.
Once you have created IDX Broker Saved Links, go to the Facebook Ads app and click on the "Refresh Saved Links" button.
You will see the Saved Links in the table.

Click on the "Add" button on the Saved Link you want to use to generate the XML feed.
A popup will show up with the Saved Link details. Click on the "Add" button.

The Saved Link will be added, and the "Update" and "Remove" buttons will be visible.

You can add up to 2 Saved Links. If you want to remove a Saved Link, click on the "Remove" button.

At the bottom of the page, you will see the "Generate file" button. Click on it to generate the XML feed.

The XML feed will be generated and you will see the XML file URL and an option to open the XML file in a new tab.

If you click on the "Open file" link, you will see the XML file content with the listings from the Saved Link.

-
Update the number of listings
If you want to update the number of listings per Saved Link in the XML file, change the number on the Qty. Listings column.

A popup will show up with the Saved Link details and number of listings. Click on the "Update" button.

You can do the same with the other Saved Links.

Once you have updated the number of listings, click on the "Update File" button to generate the XML feed again.

The XML feed will be updated everyday. If you want to update it manually, click on the "Update File" button.
-
Facebook Catalog
Go to FB Real Estate Ads and scroll down to the section Set a Schedule for Your Catalog Data Feed Upload.
There you can see the steps to add the XML file URL to your Facebook Business Manager.
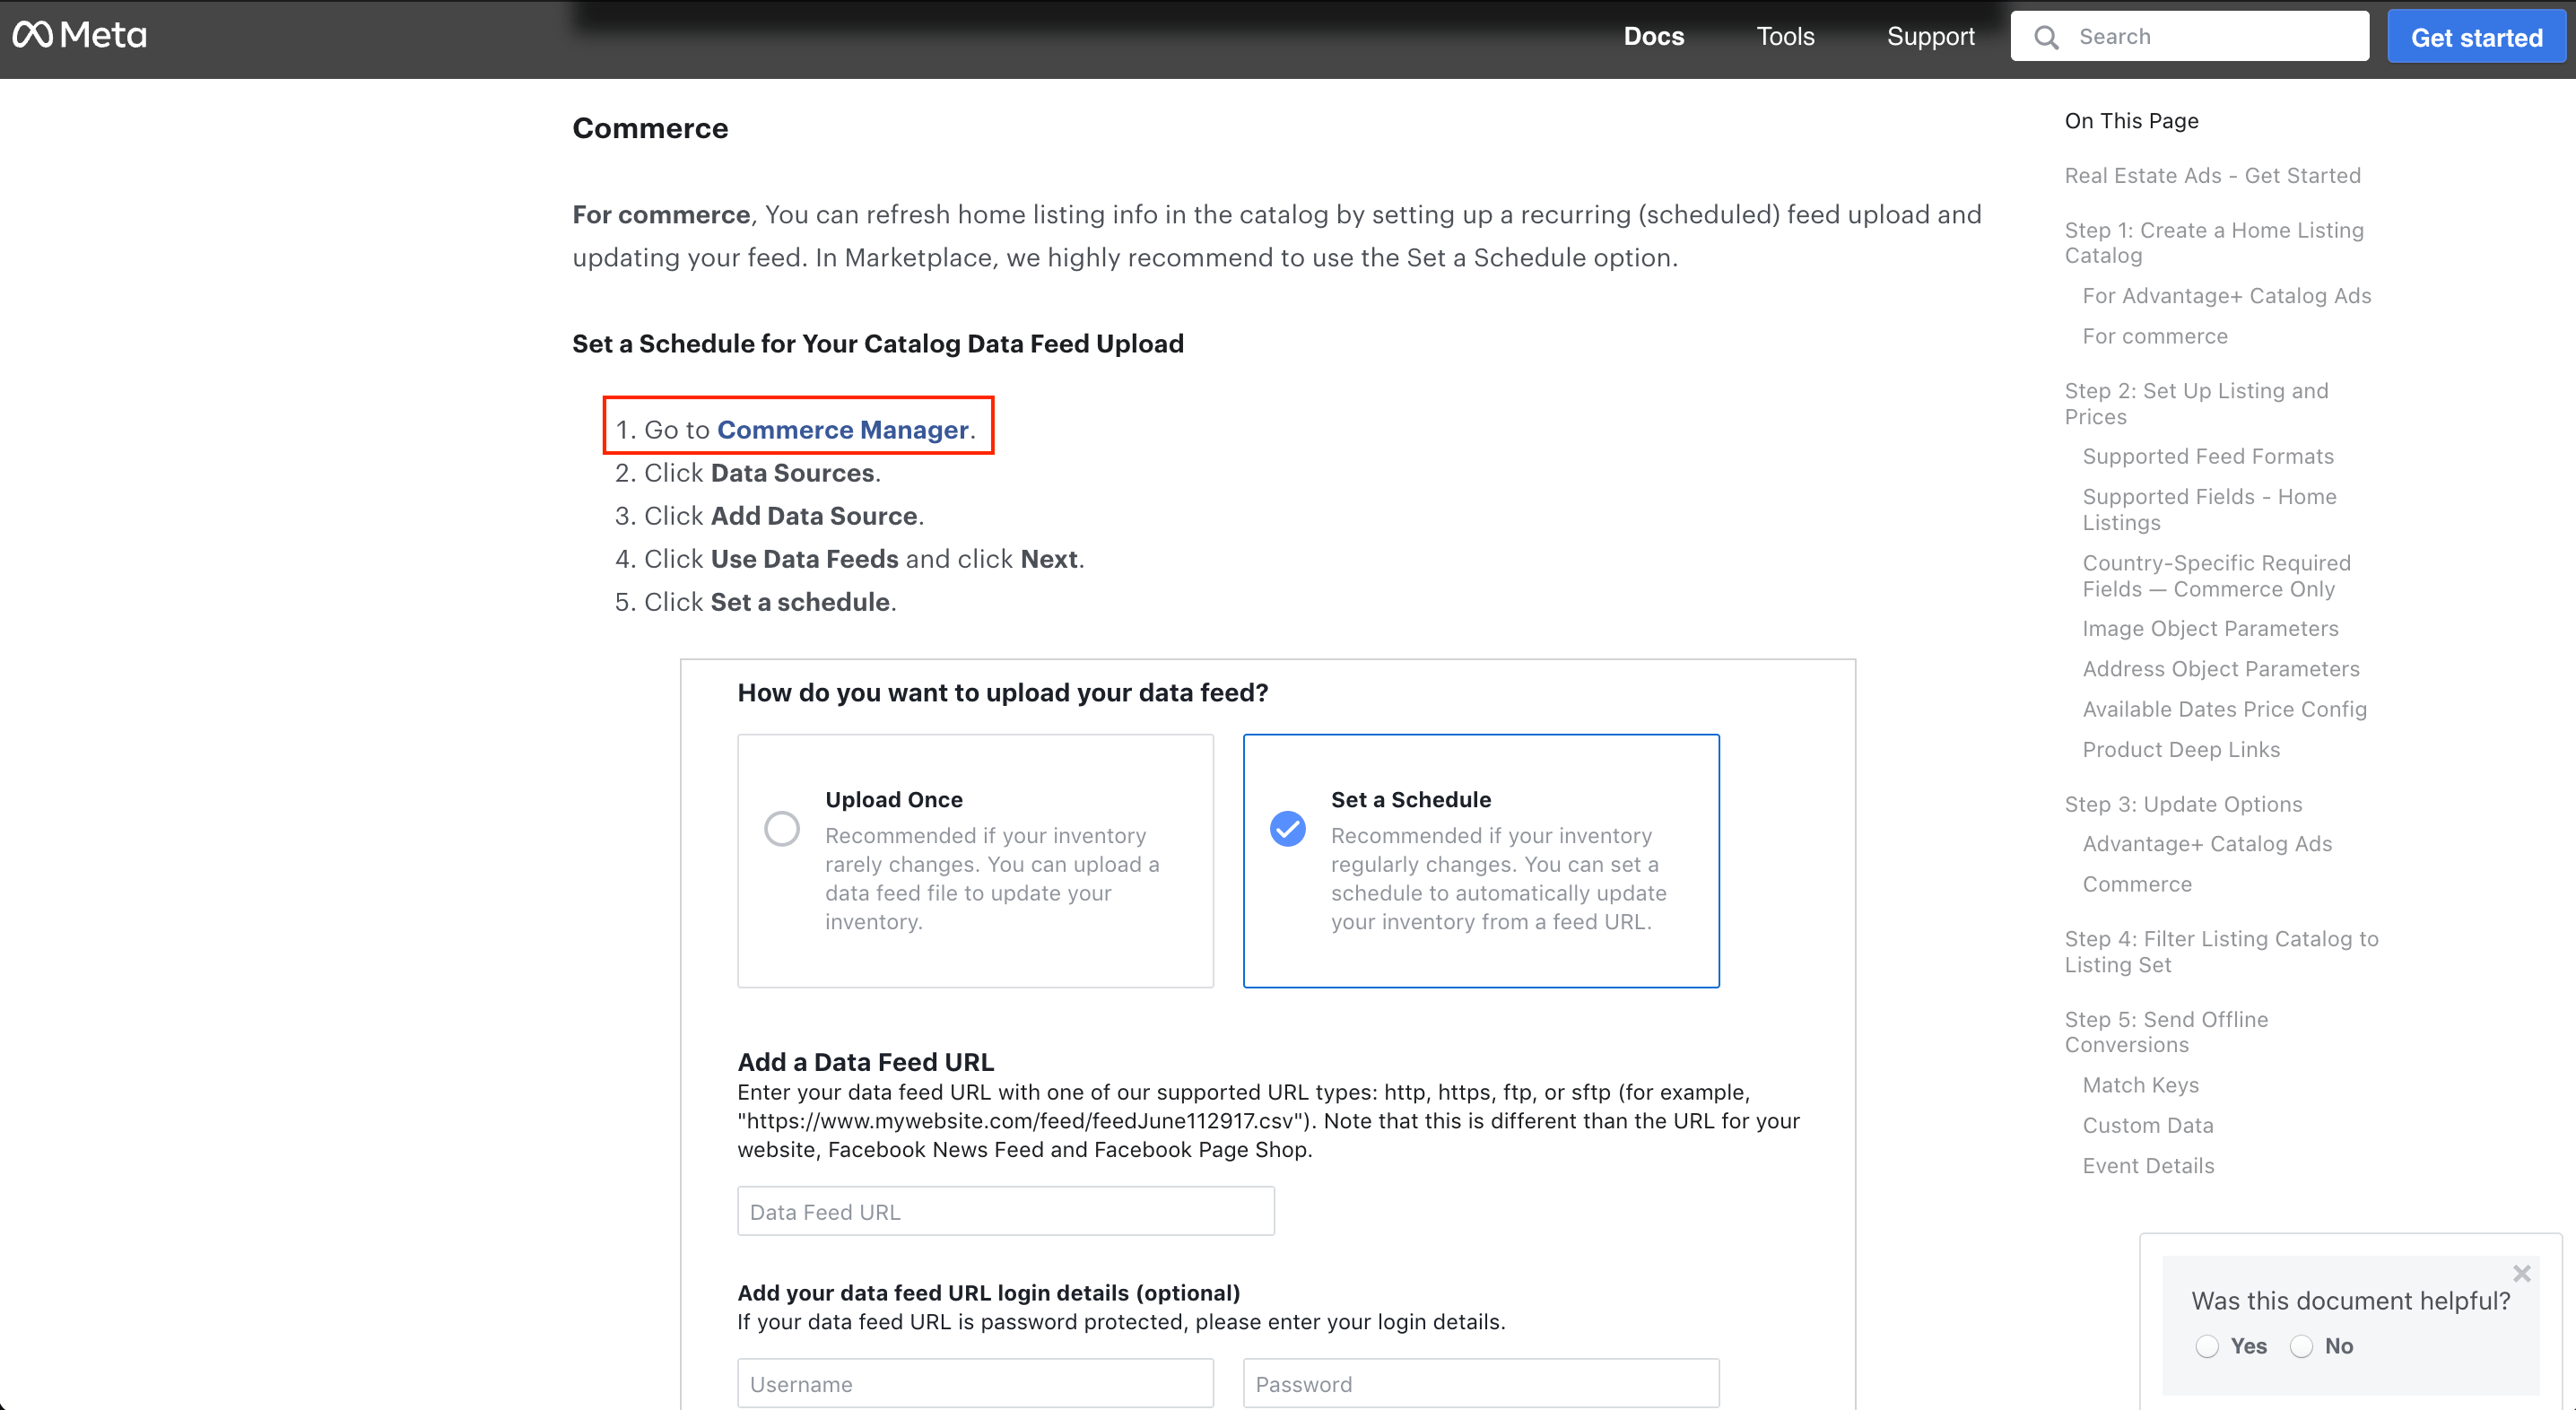
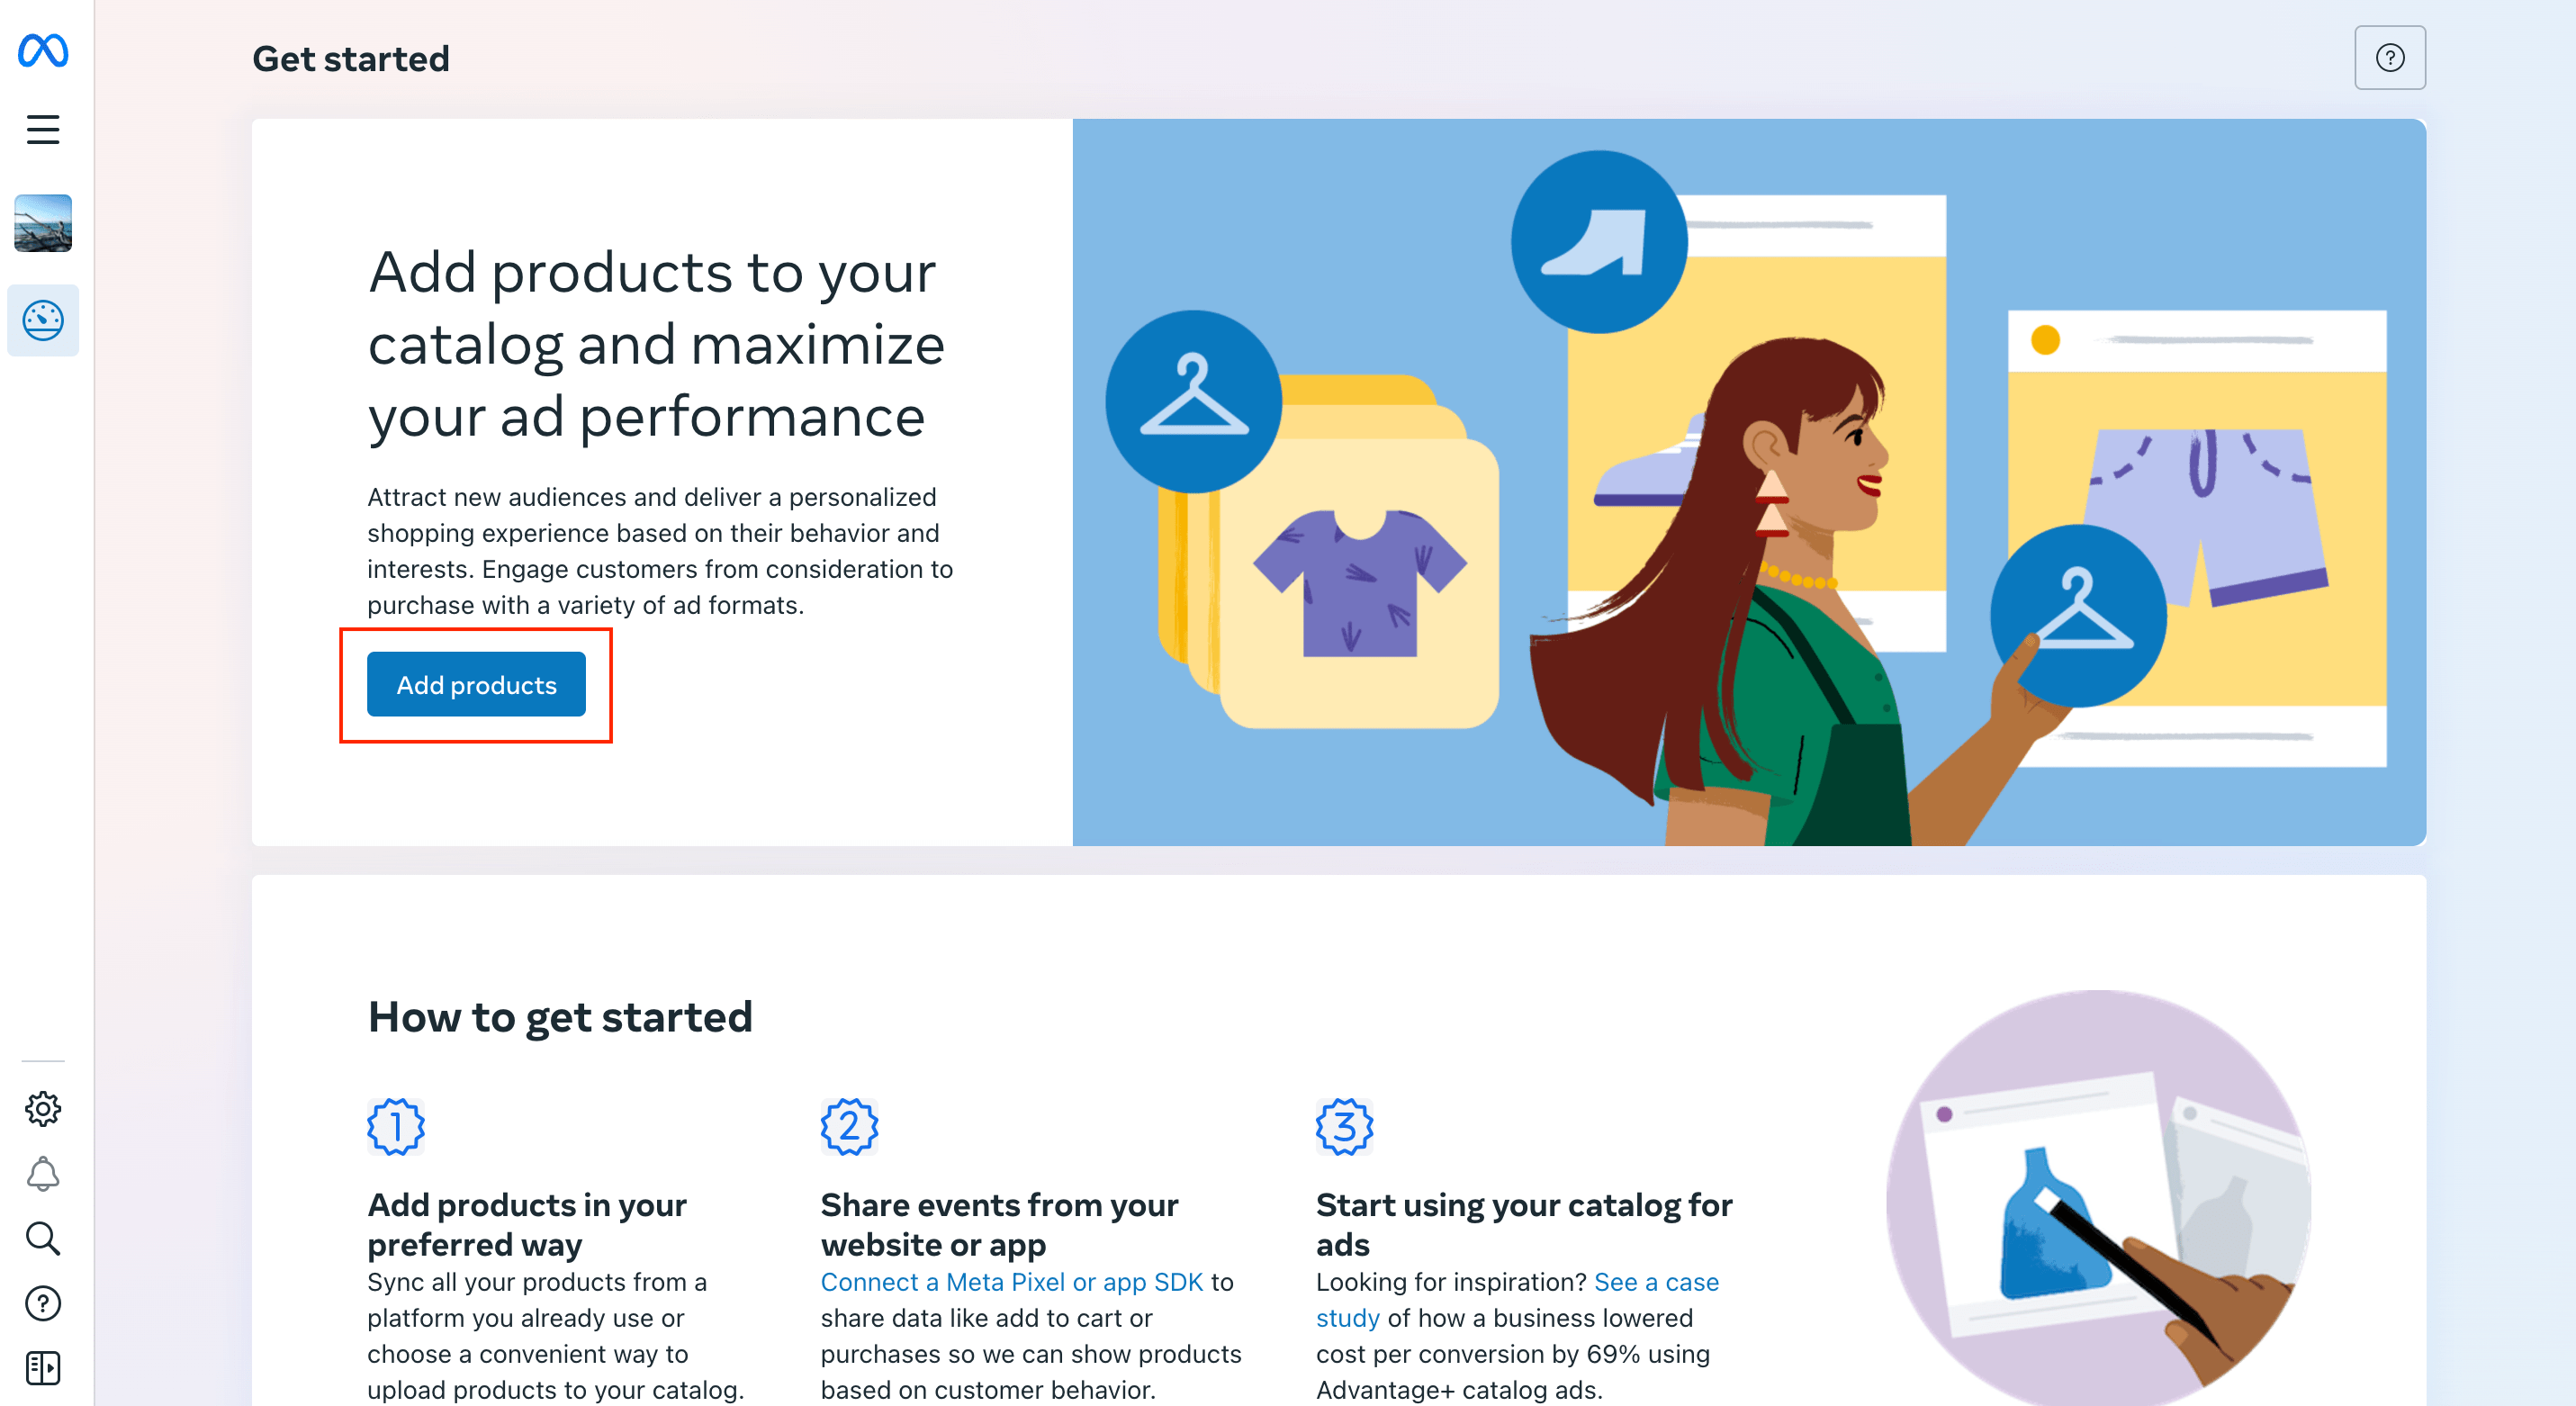
Click on Commerce Manager and then click on Add Products.
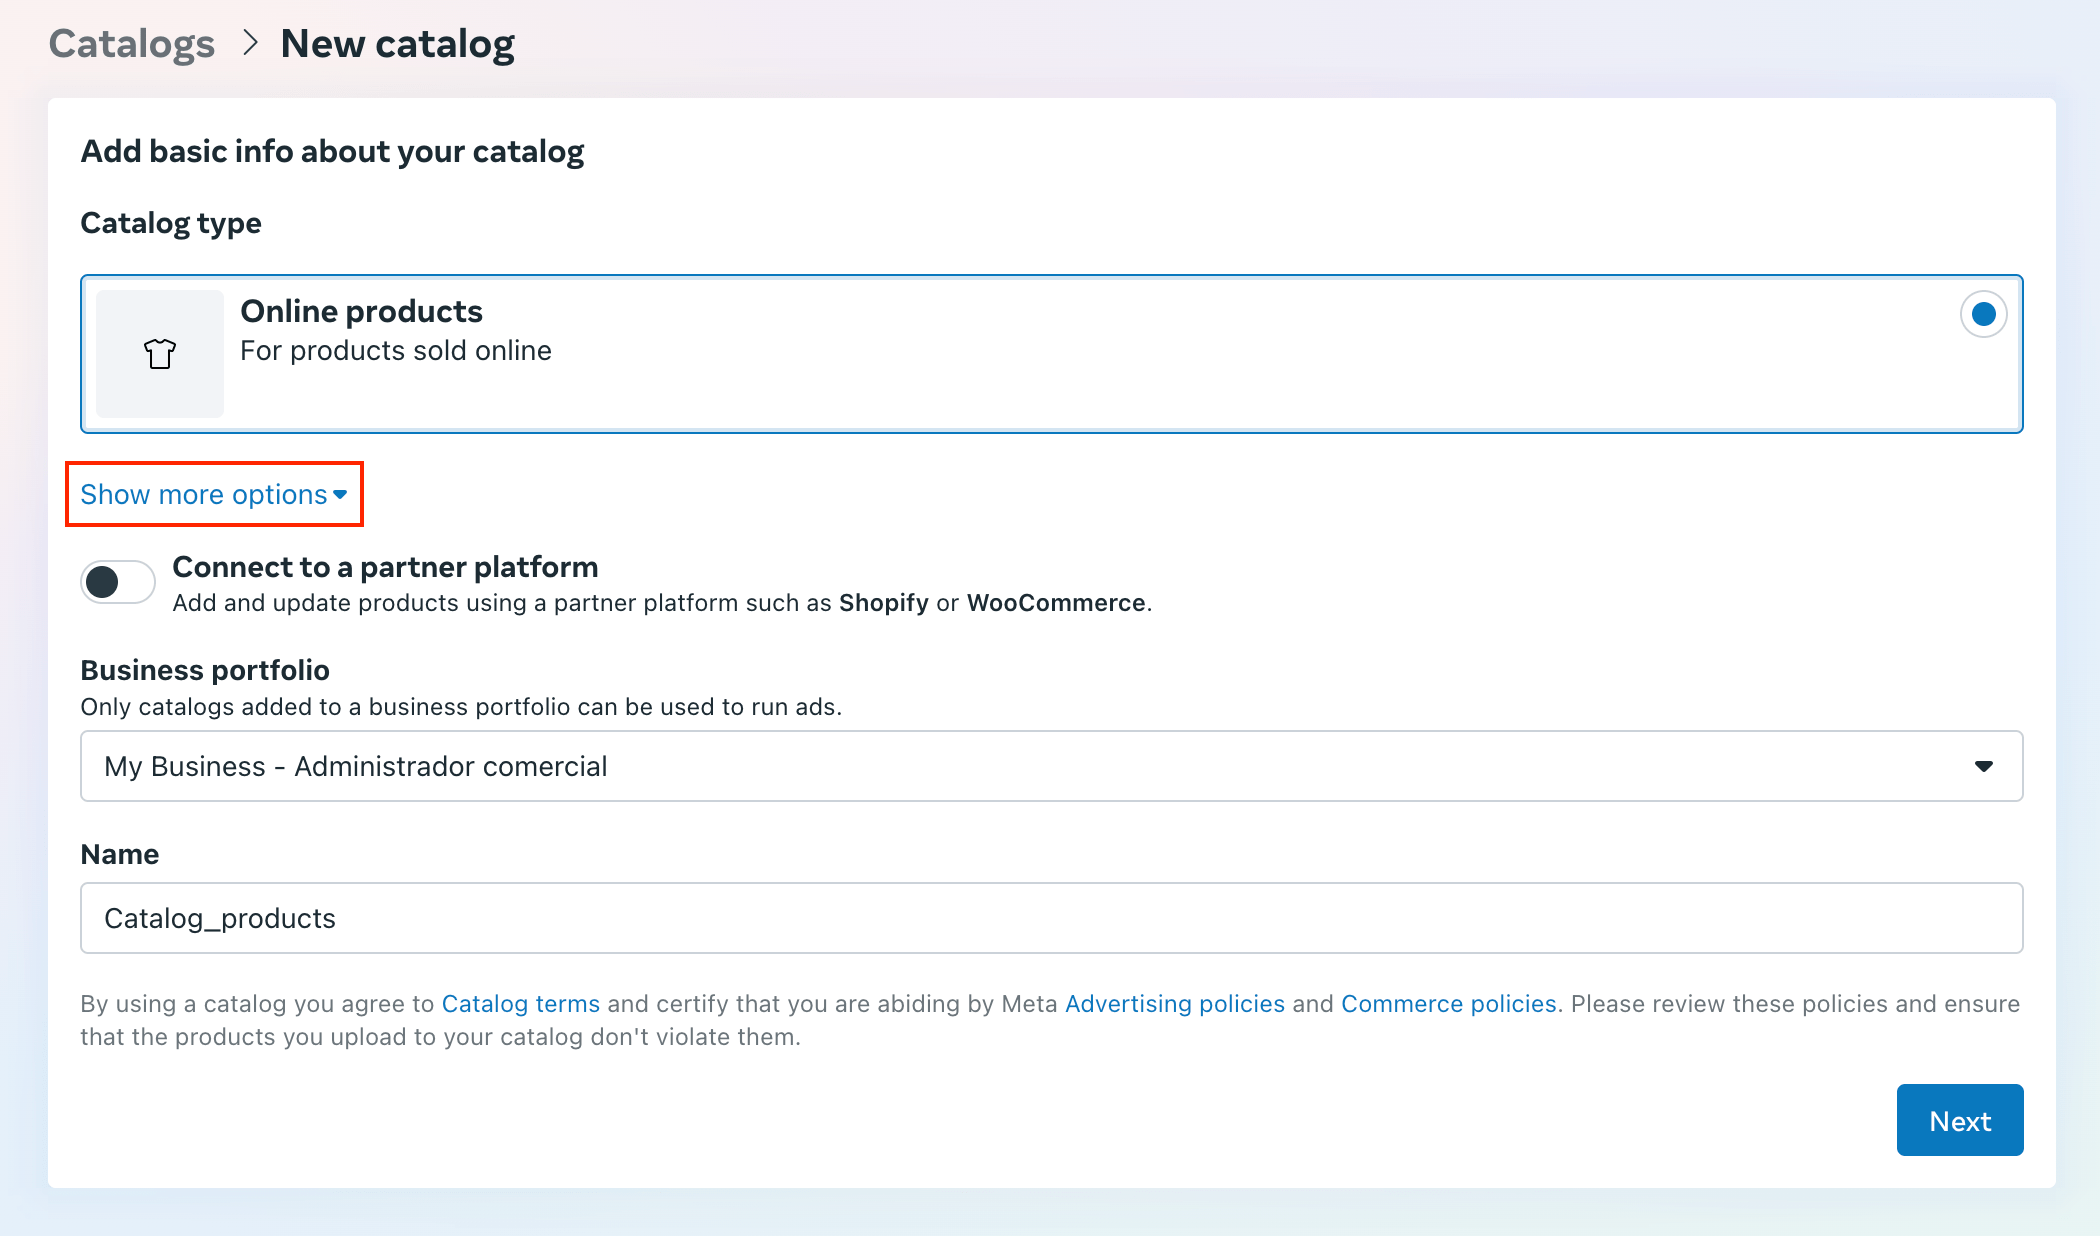
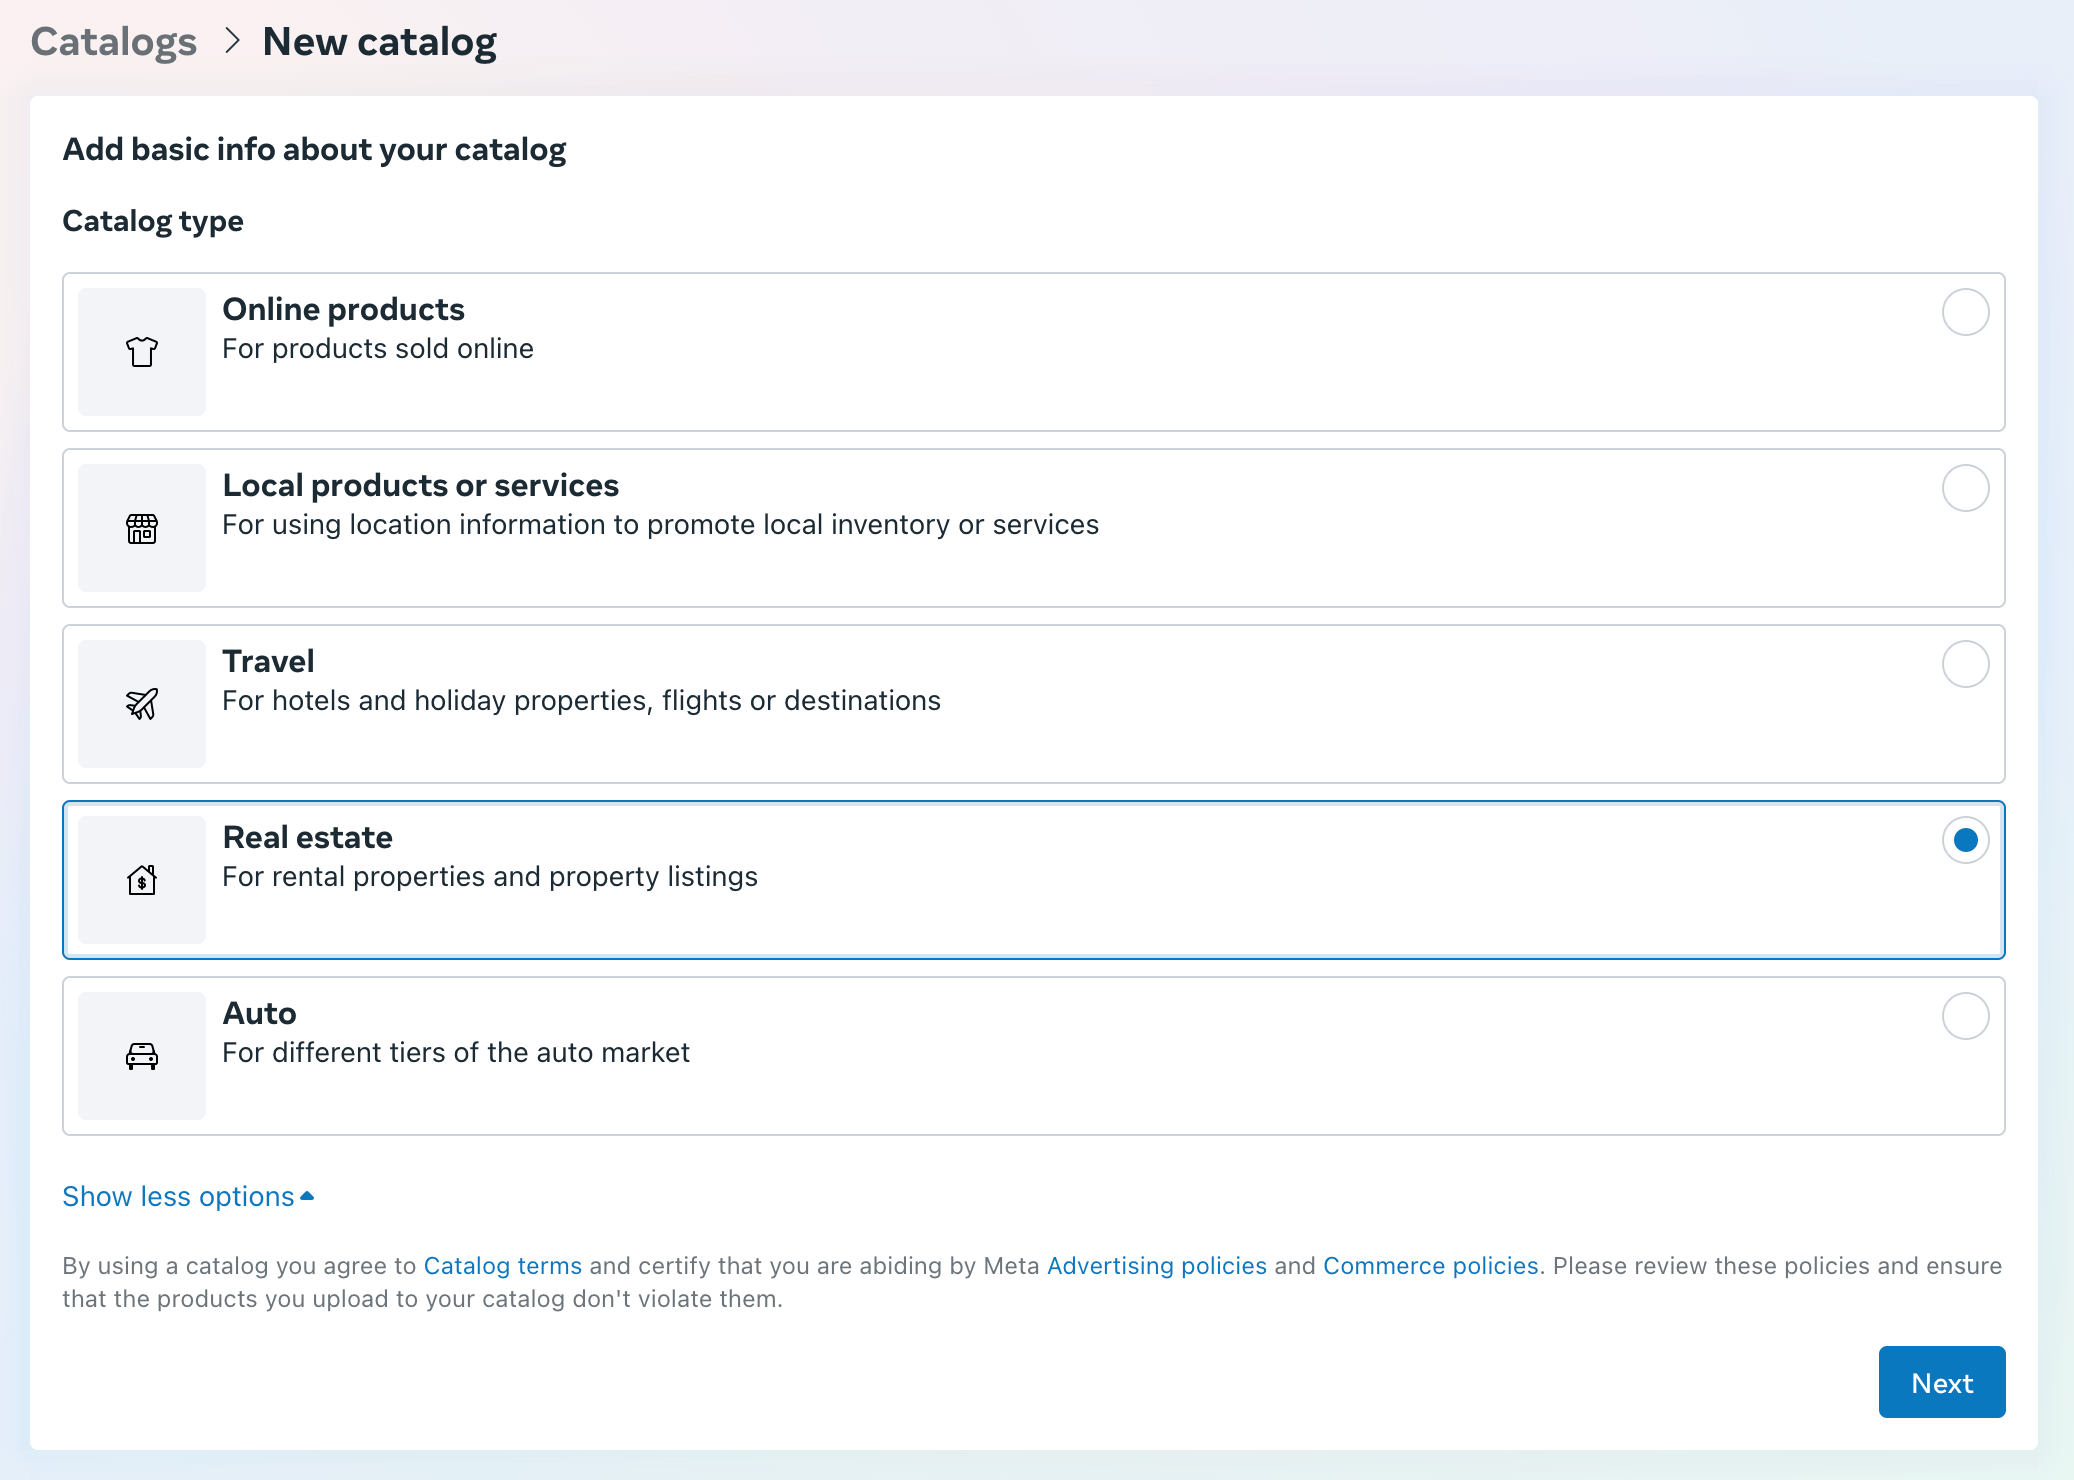
This is how the page will look like. Click on Show more options.
Select Real estate and then click on Next.
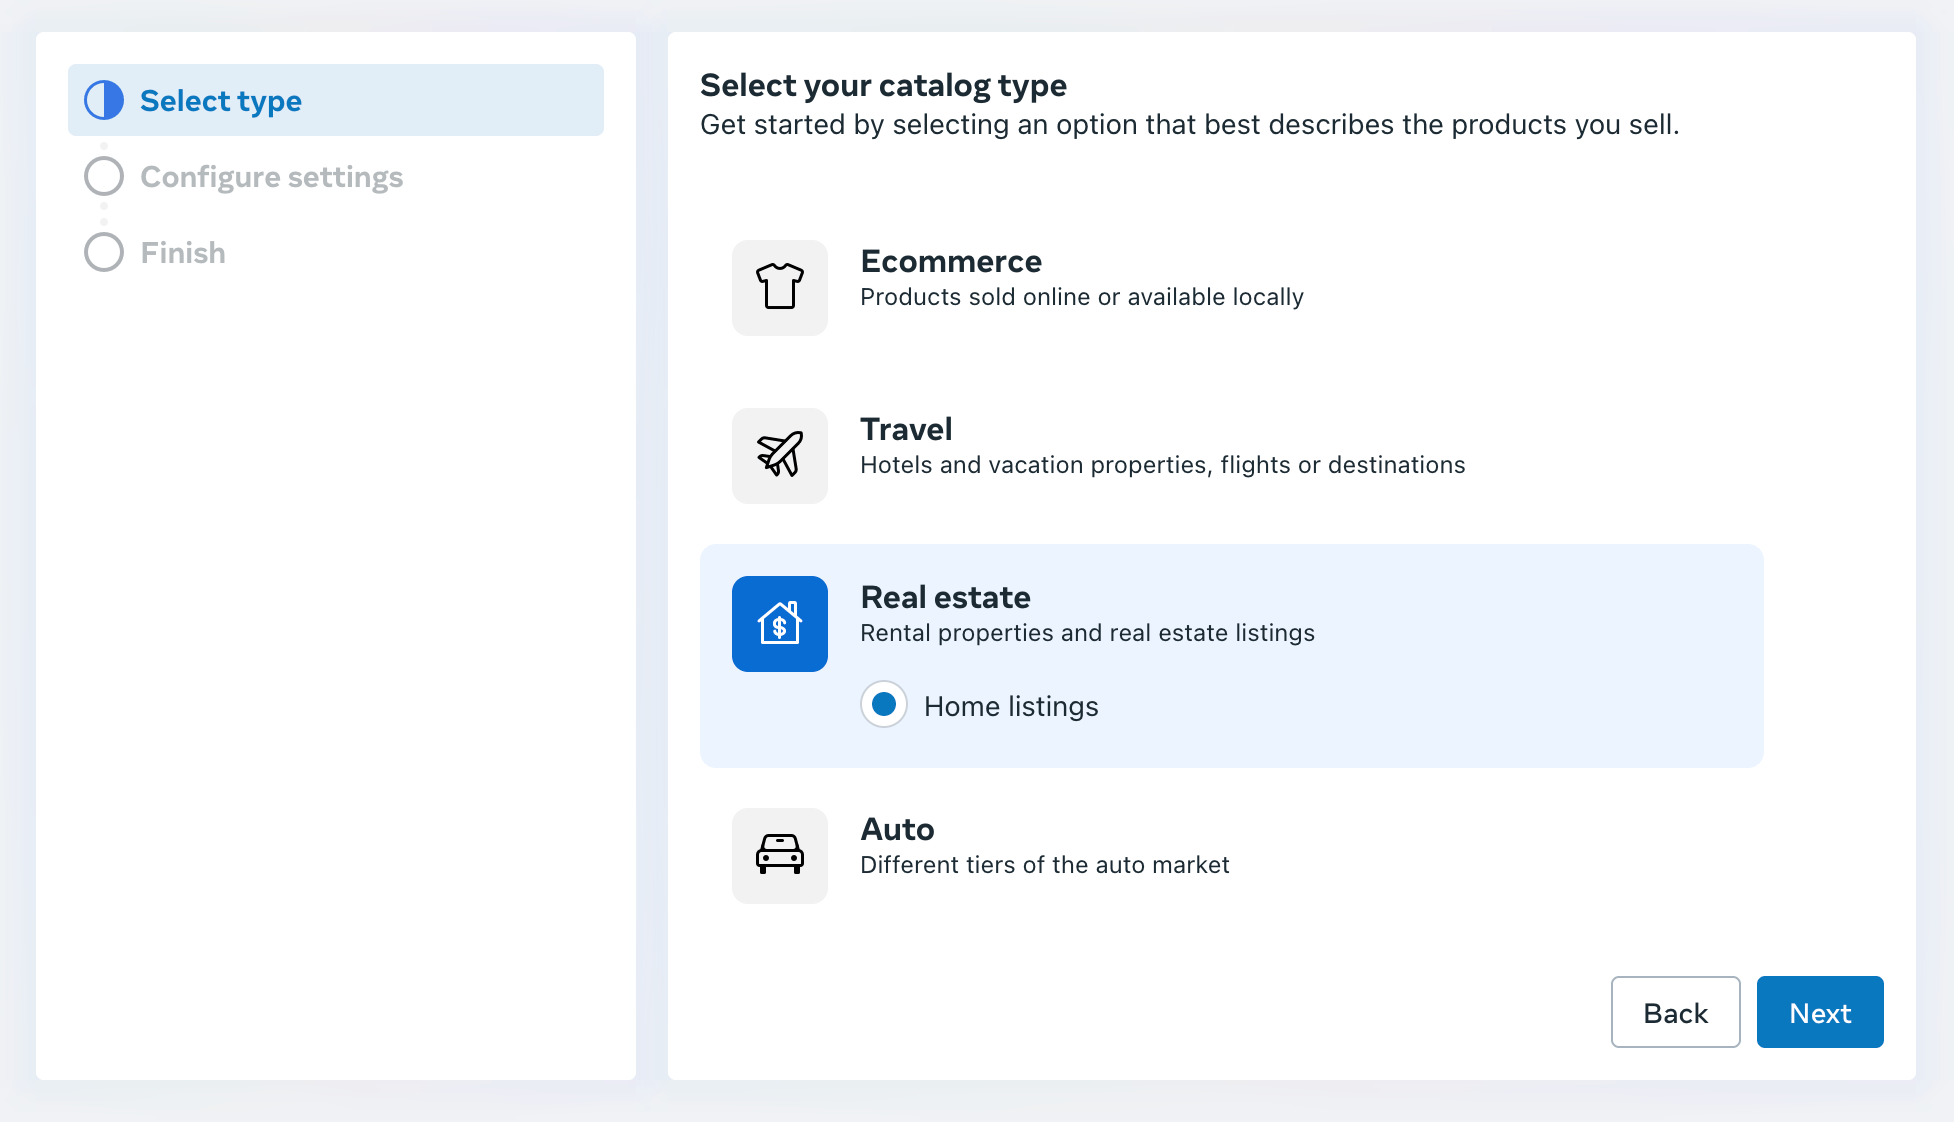
Select again Real estate as the catalog type and then click on Next.
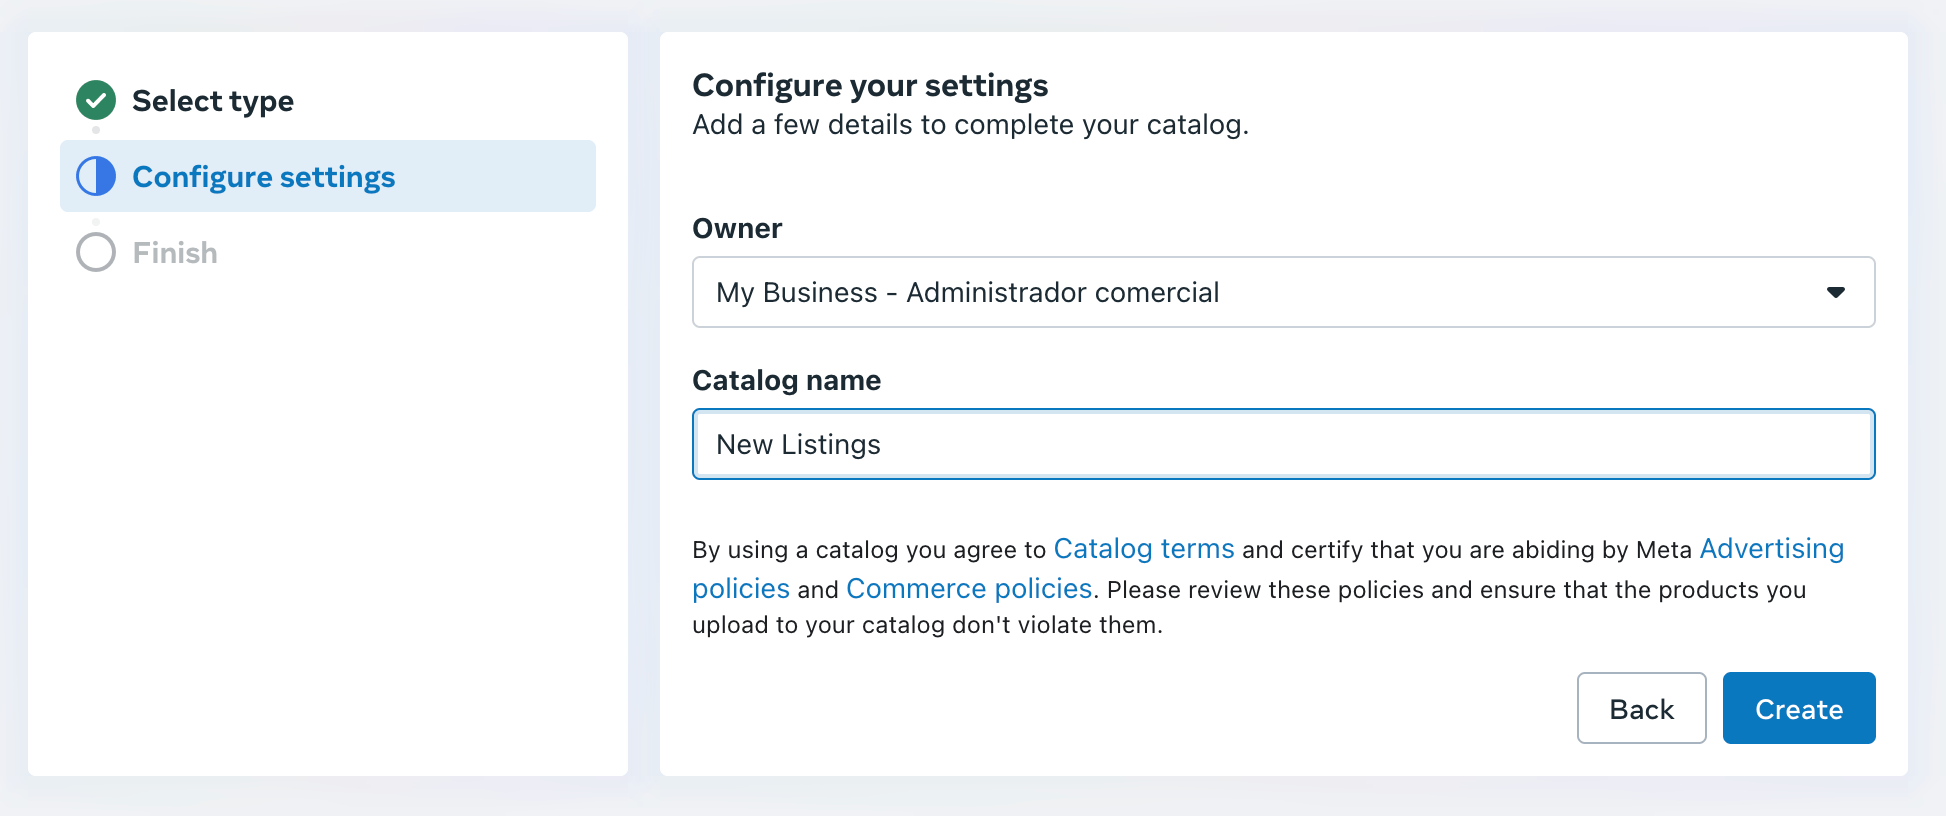
Select the Owner of the catalog, add a Catalog name, and then click on Next.
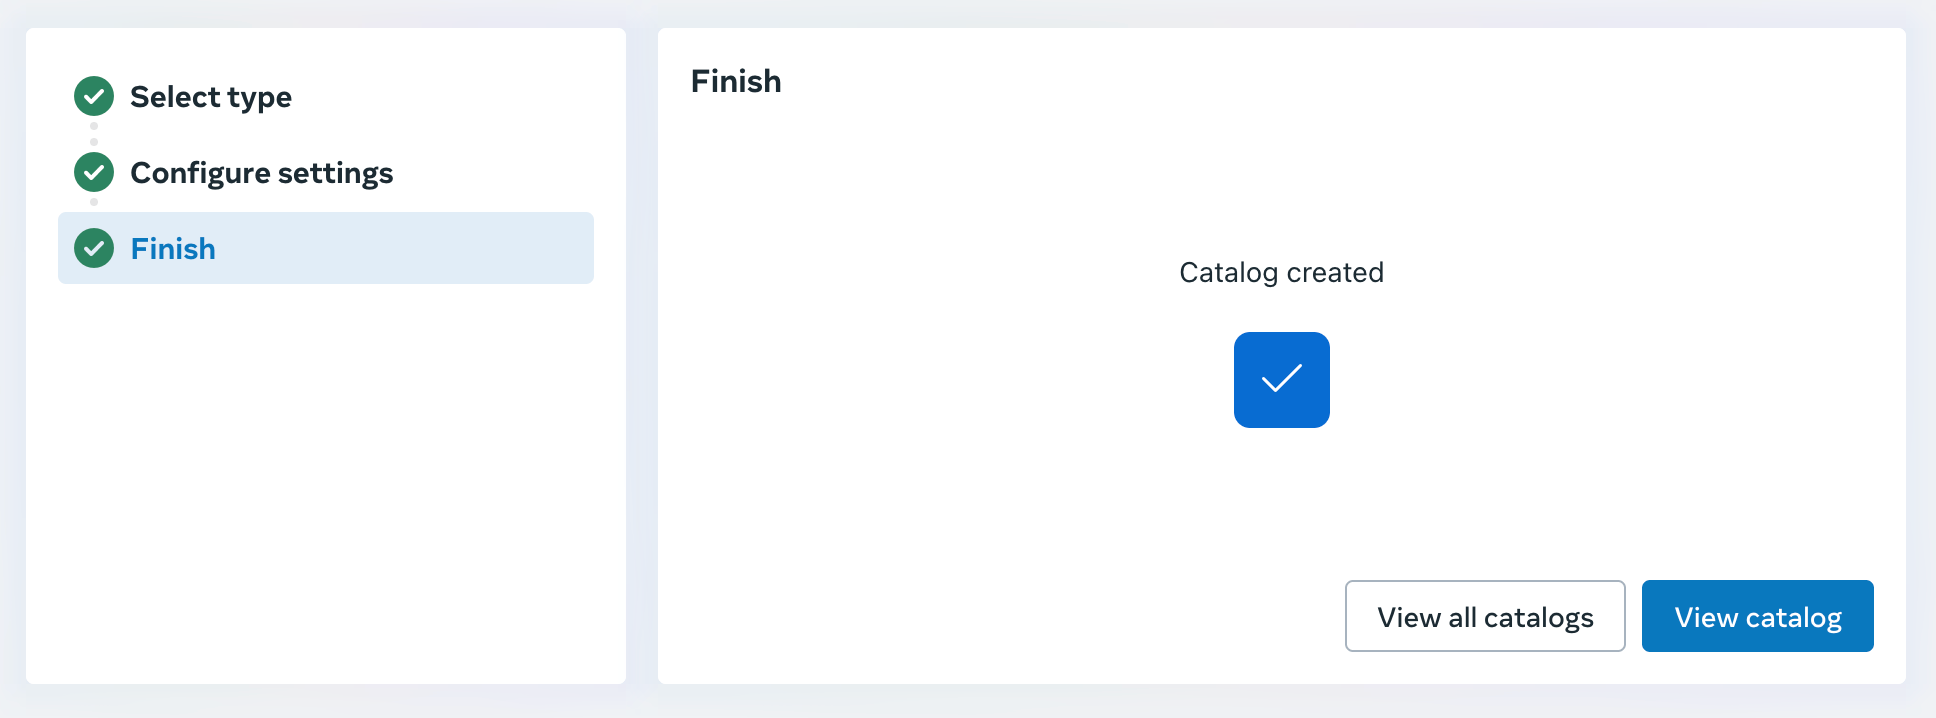
The catalog will be created. Click on View Catalog.
This is how the catalog will look like. Click on Data Sources in the right sidebar.
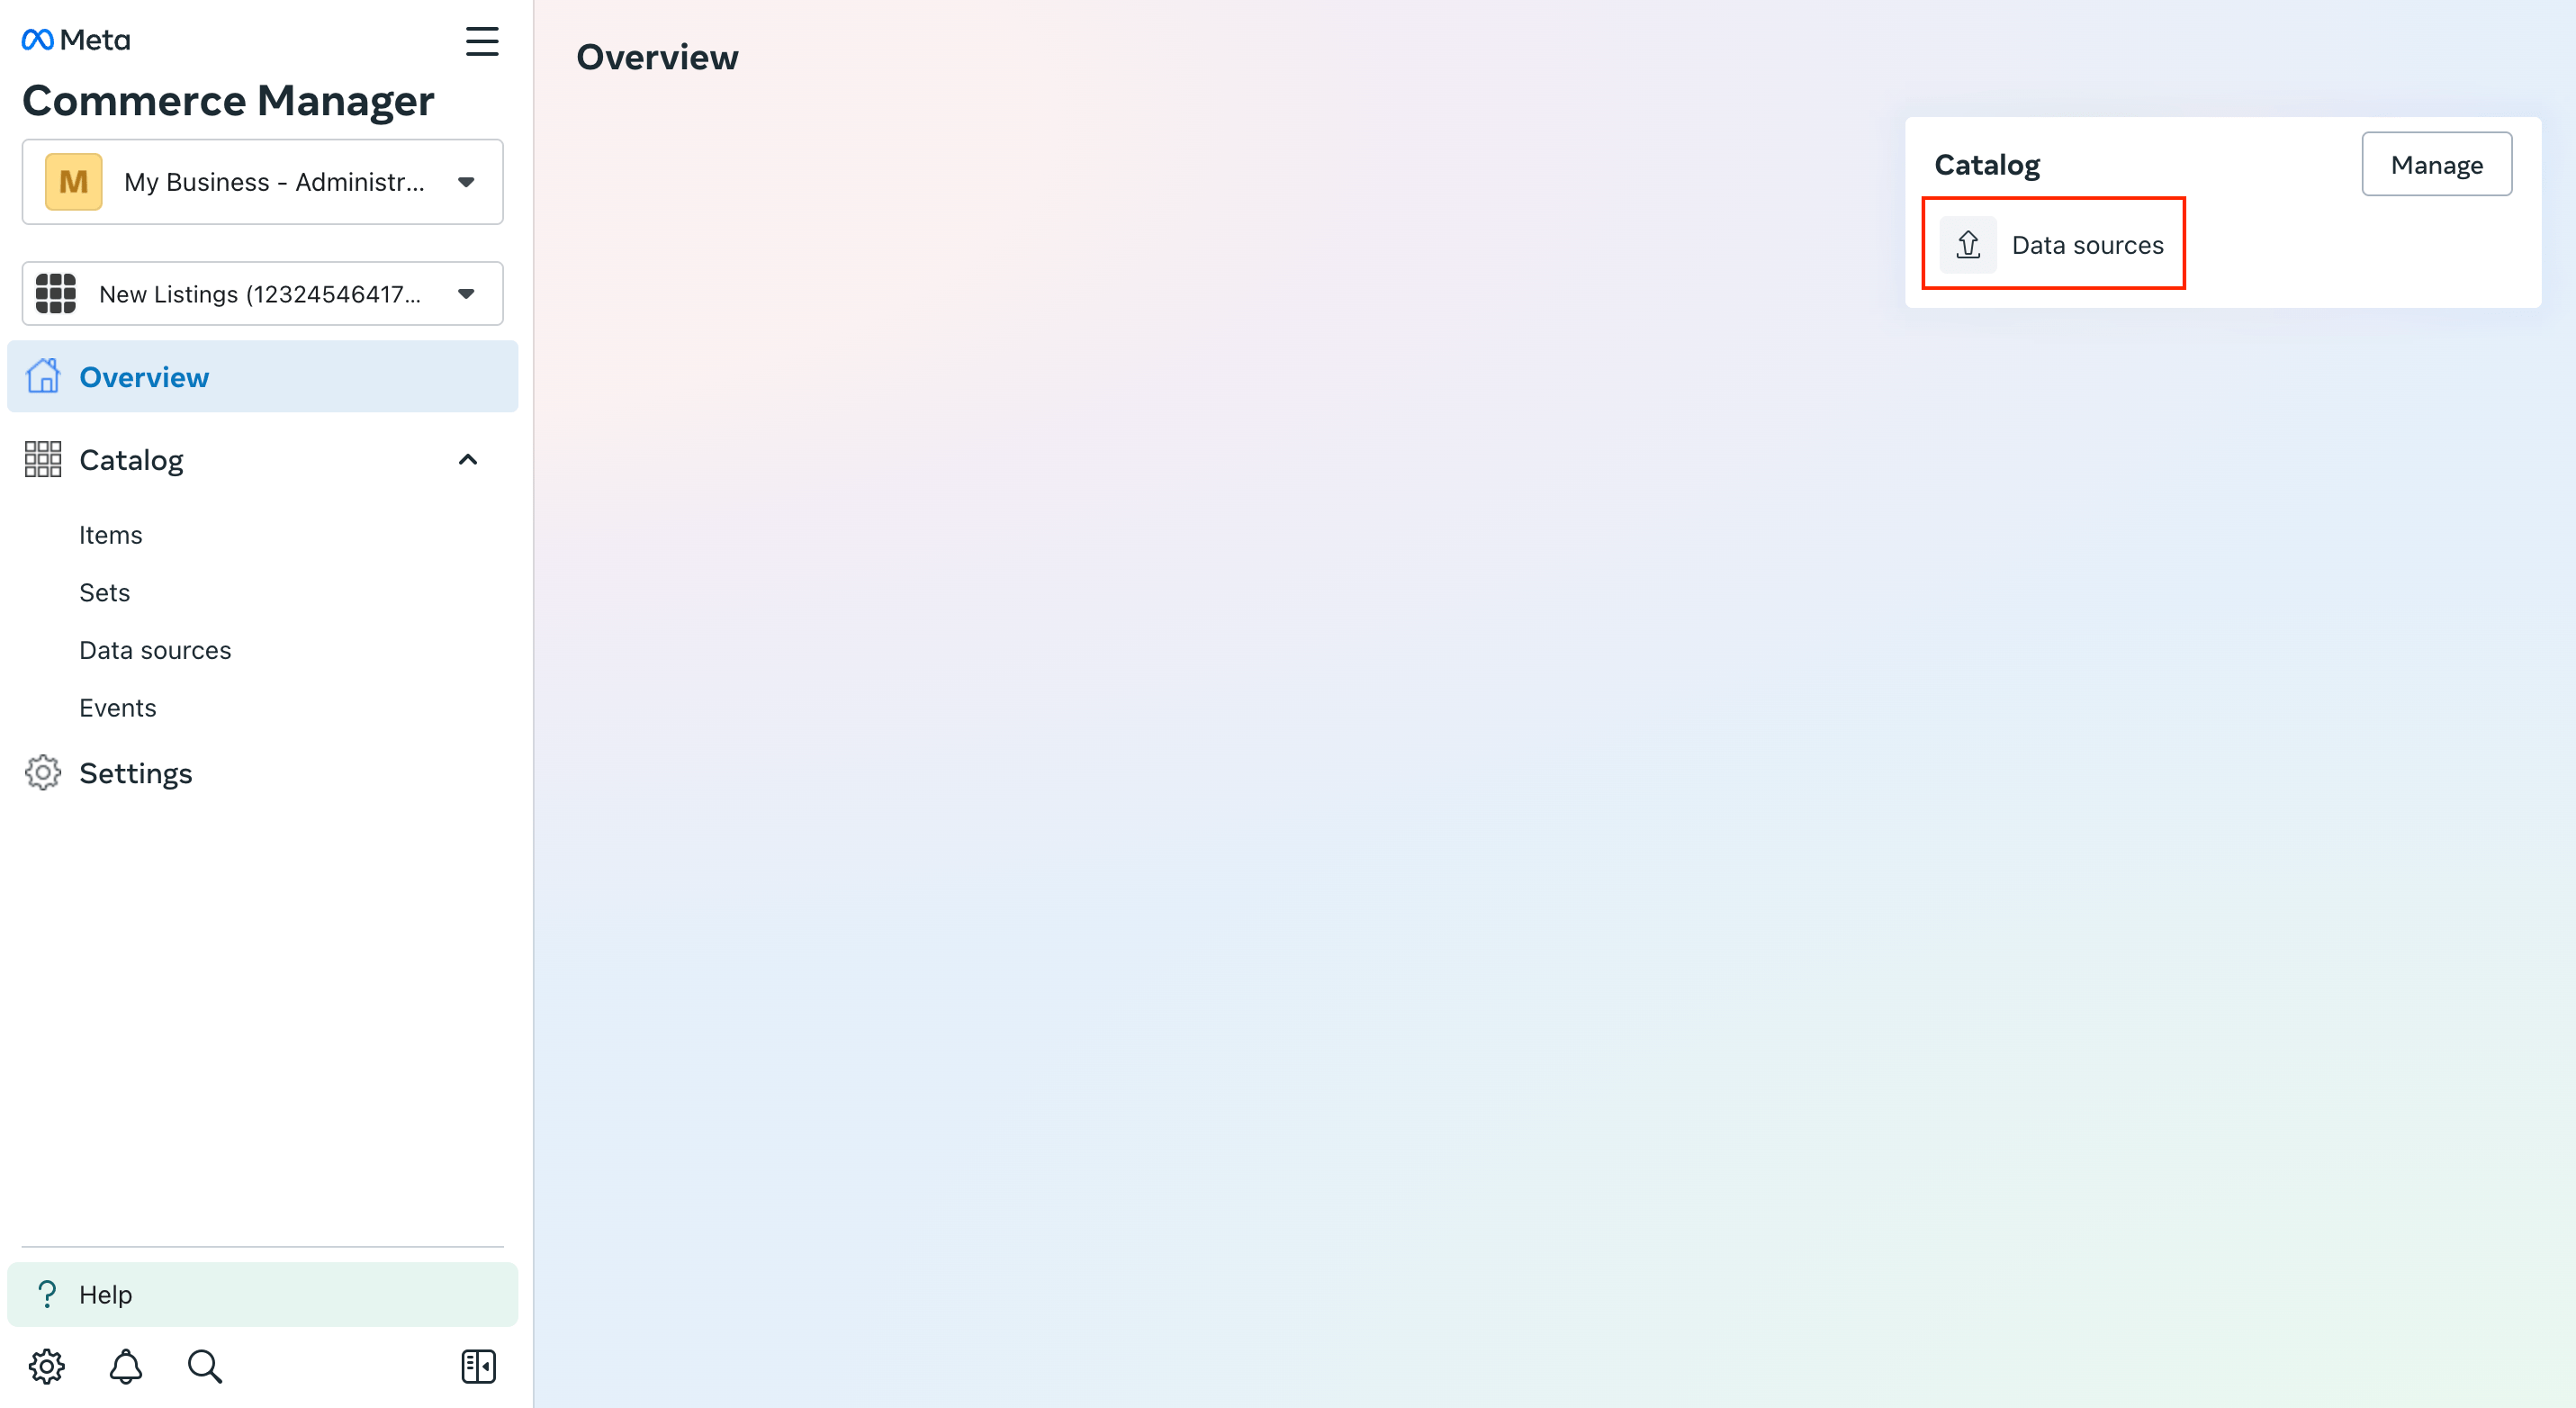
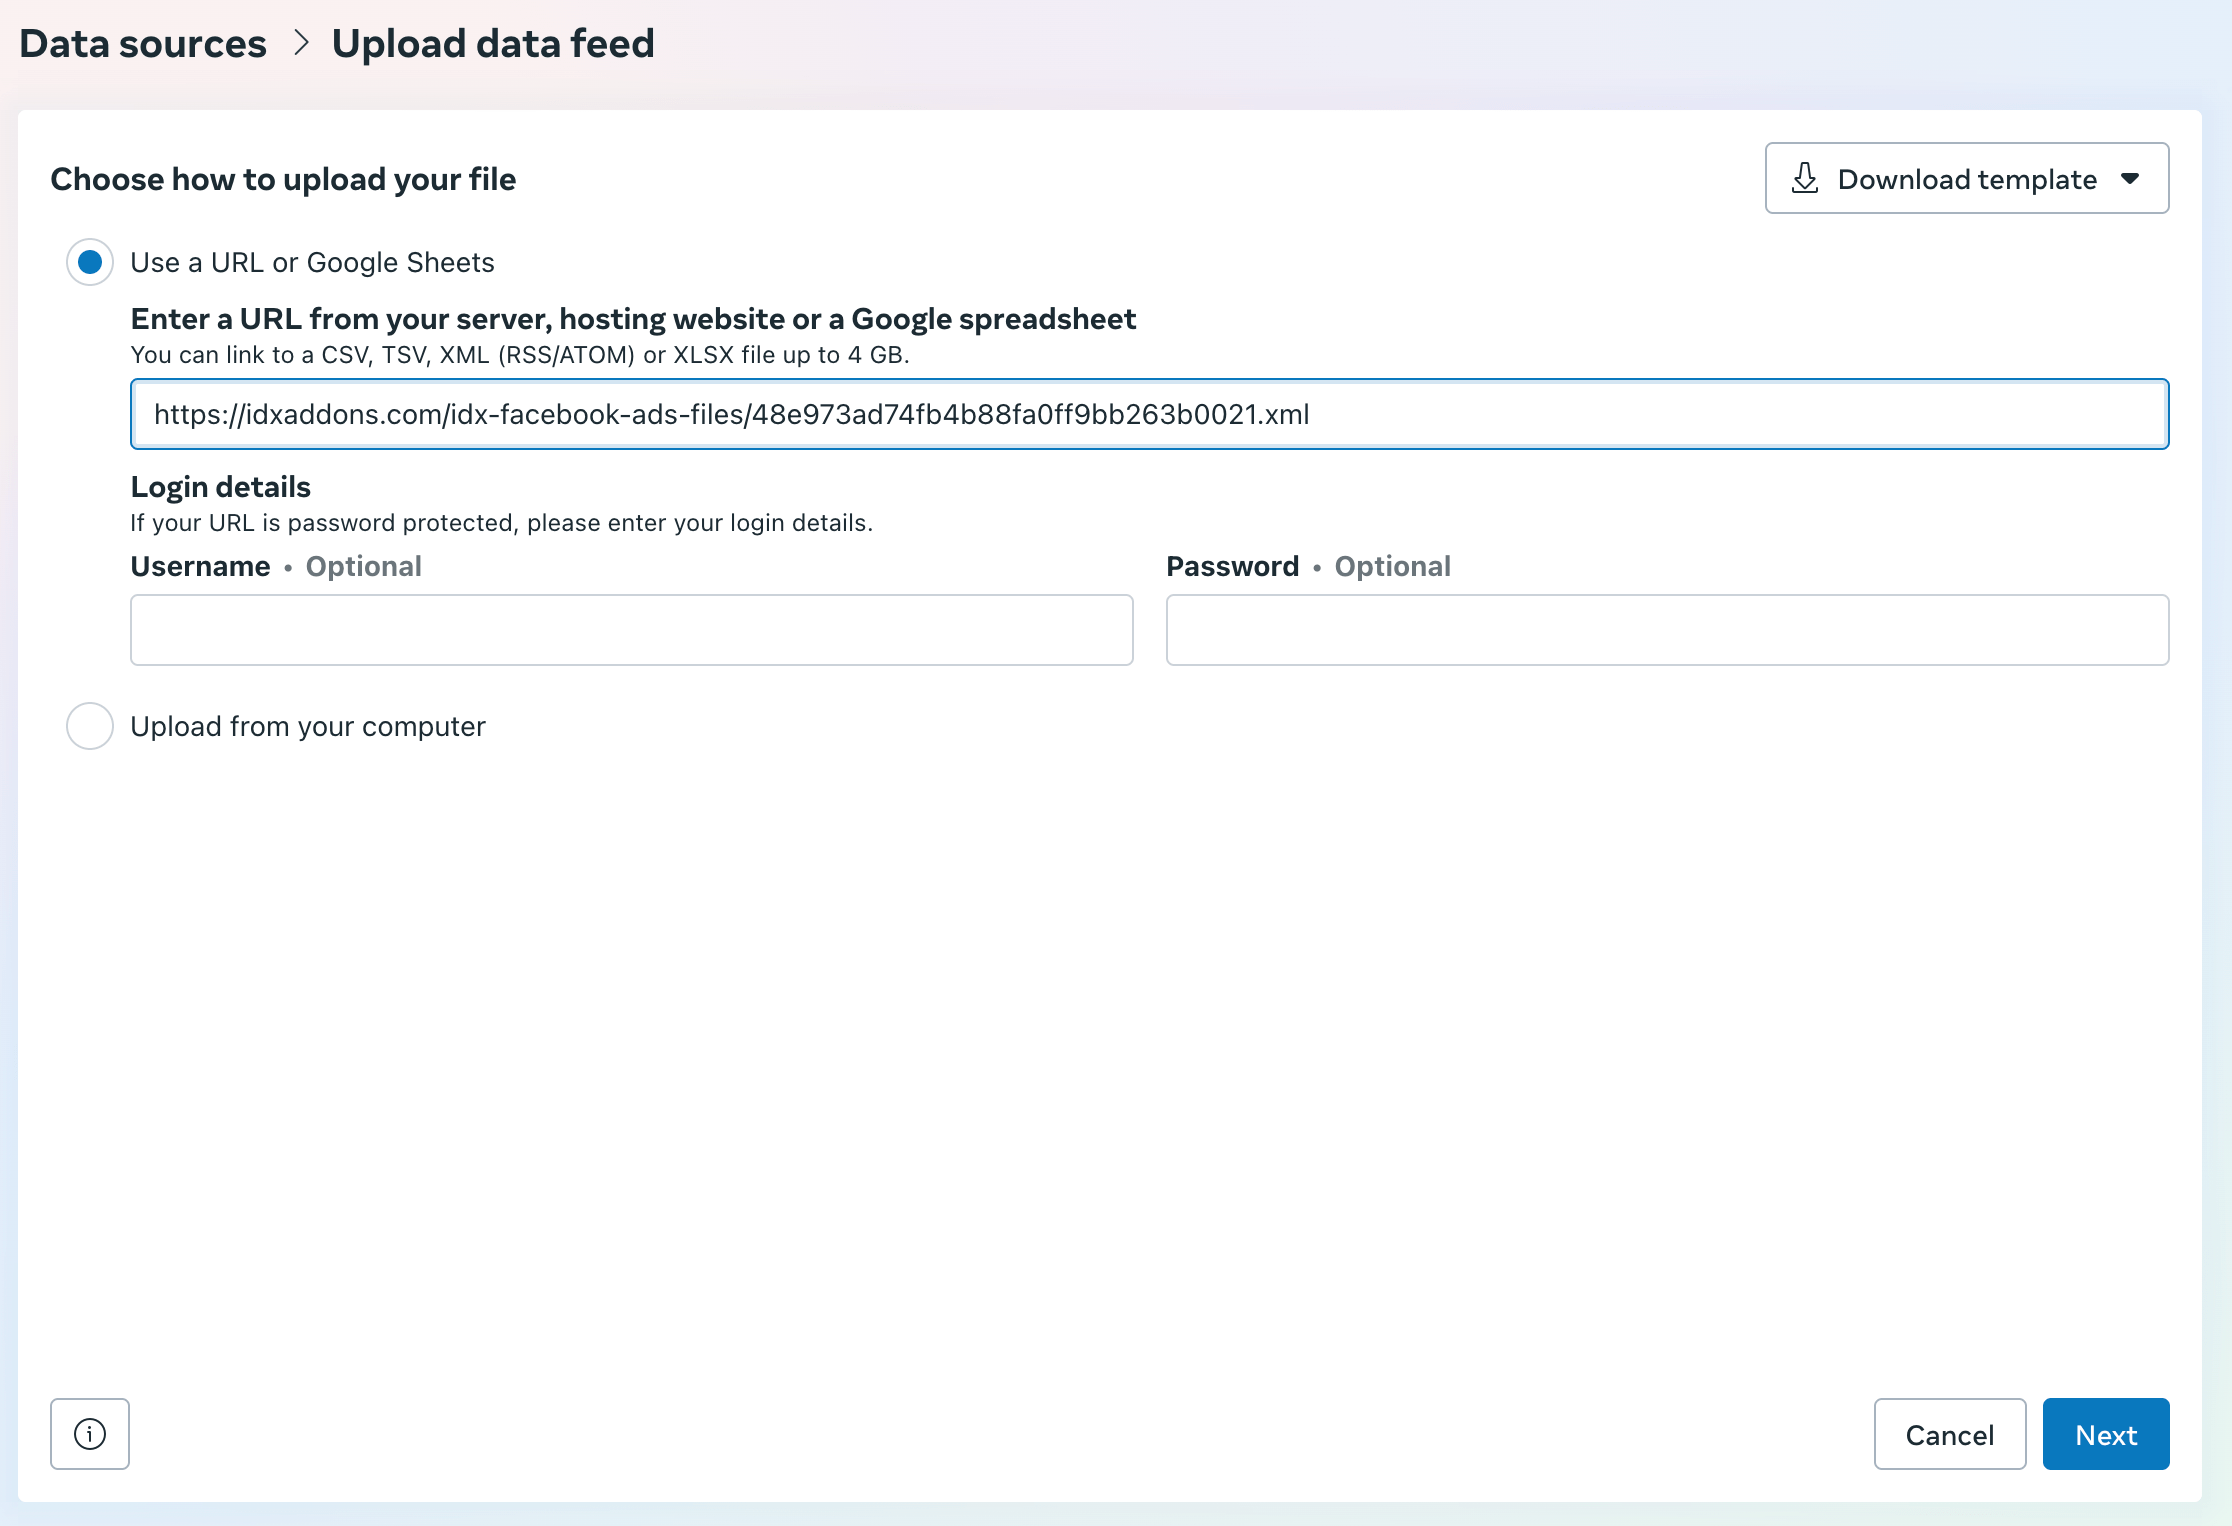
Here's where you can add the XML file URL.

Paste the XML file URL in the URL field and then click on Next.
No login is required to access the XML file, so you can leave the Username and Password fields empty.
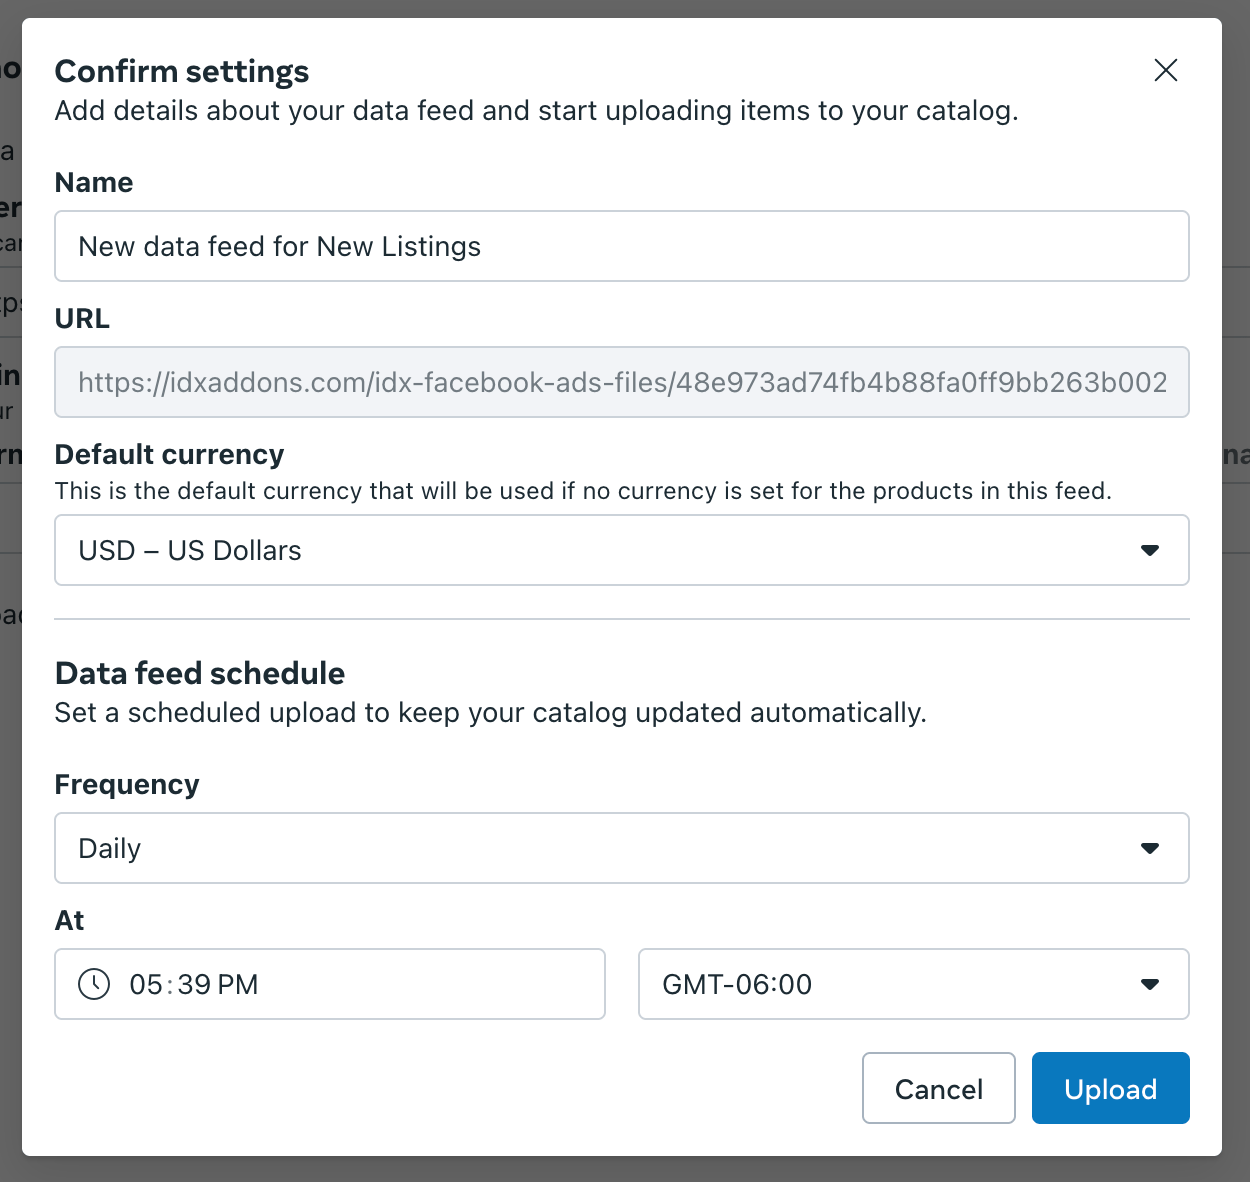
Confirm the settings by adding a Name to the feed, select the currency, and the data feed schedule. You can leave this as Daily, or Weekly, depending on how often you want to update the feed.
Once you have finished, click on Upload.
It will take a couple of minutes to process the feed.
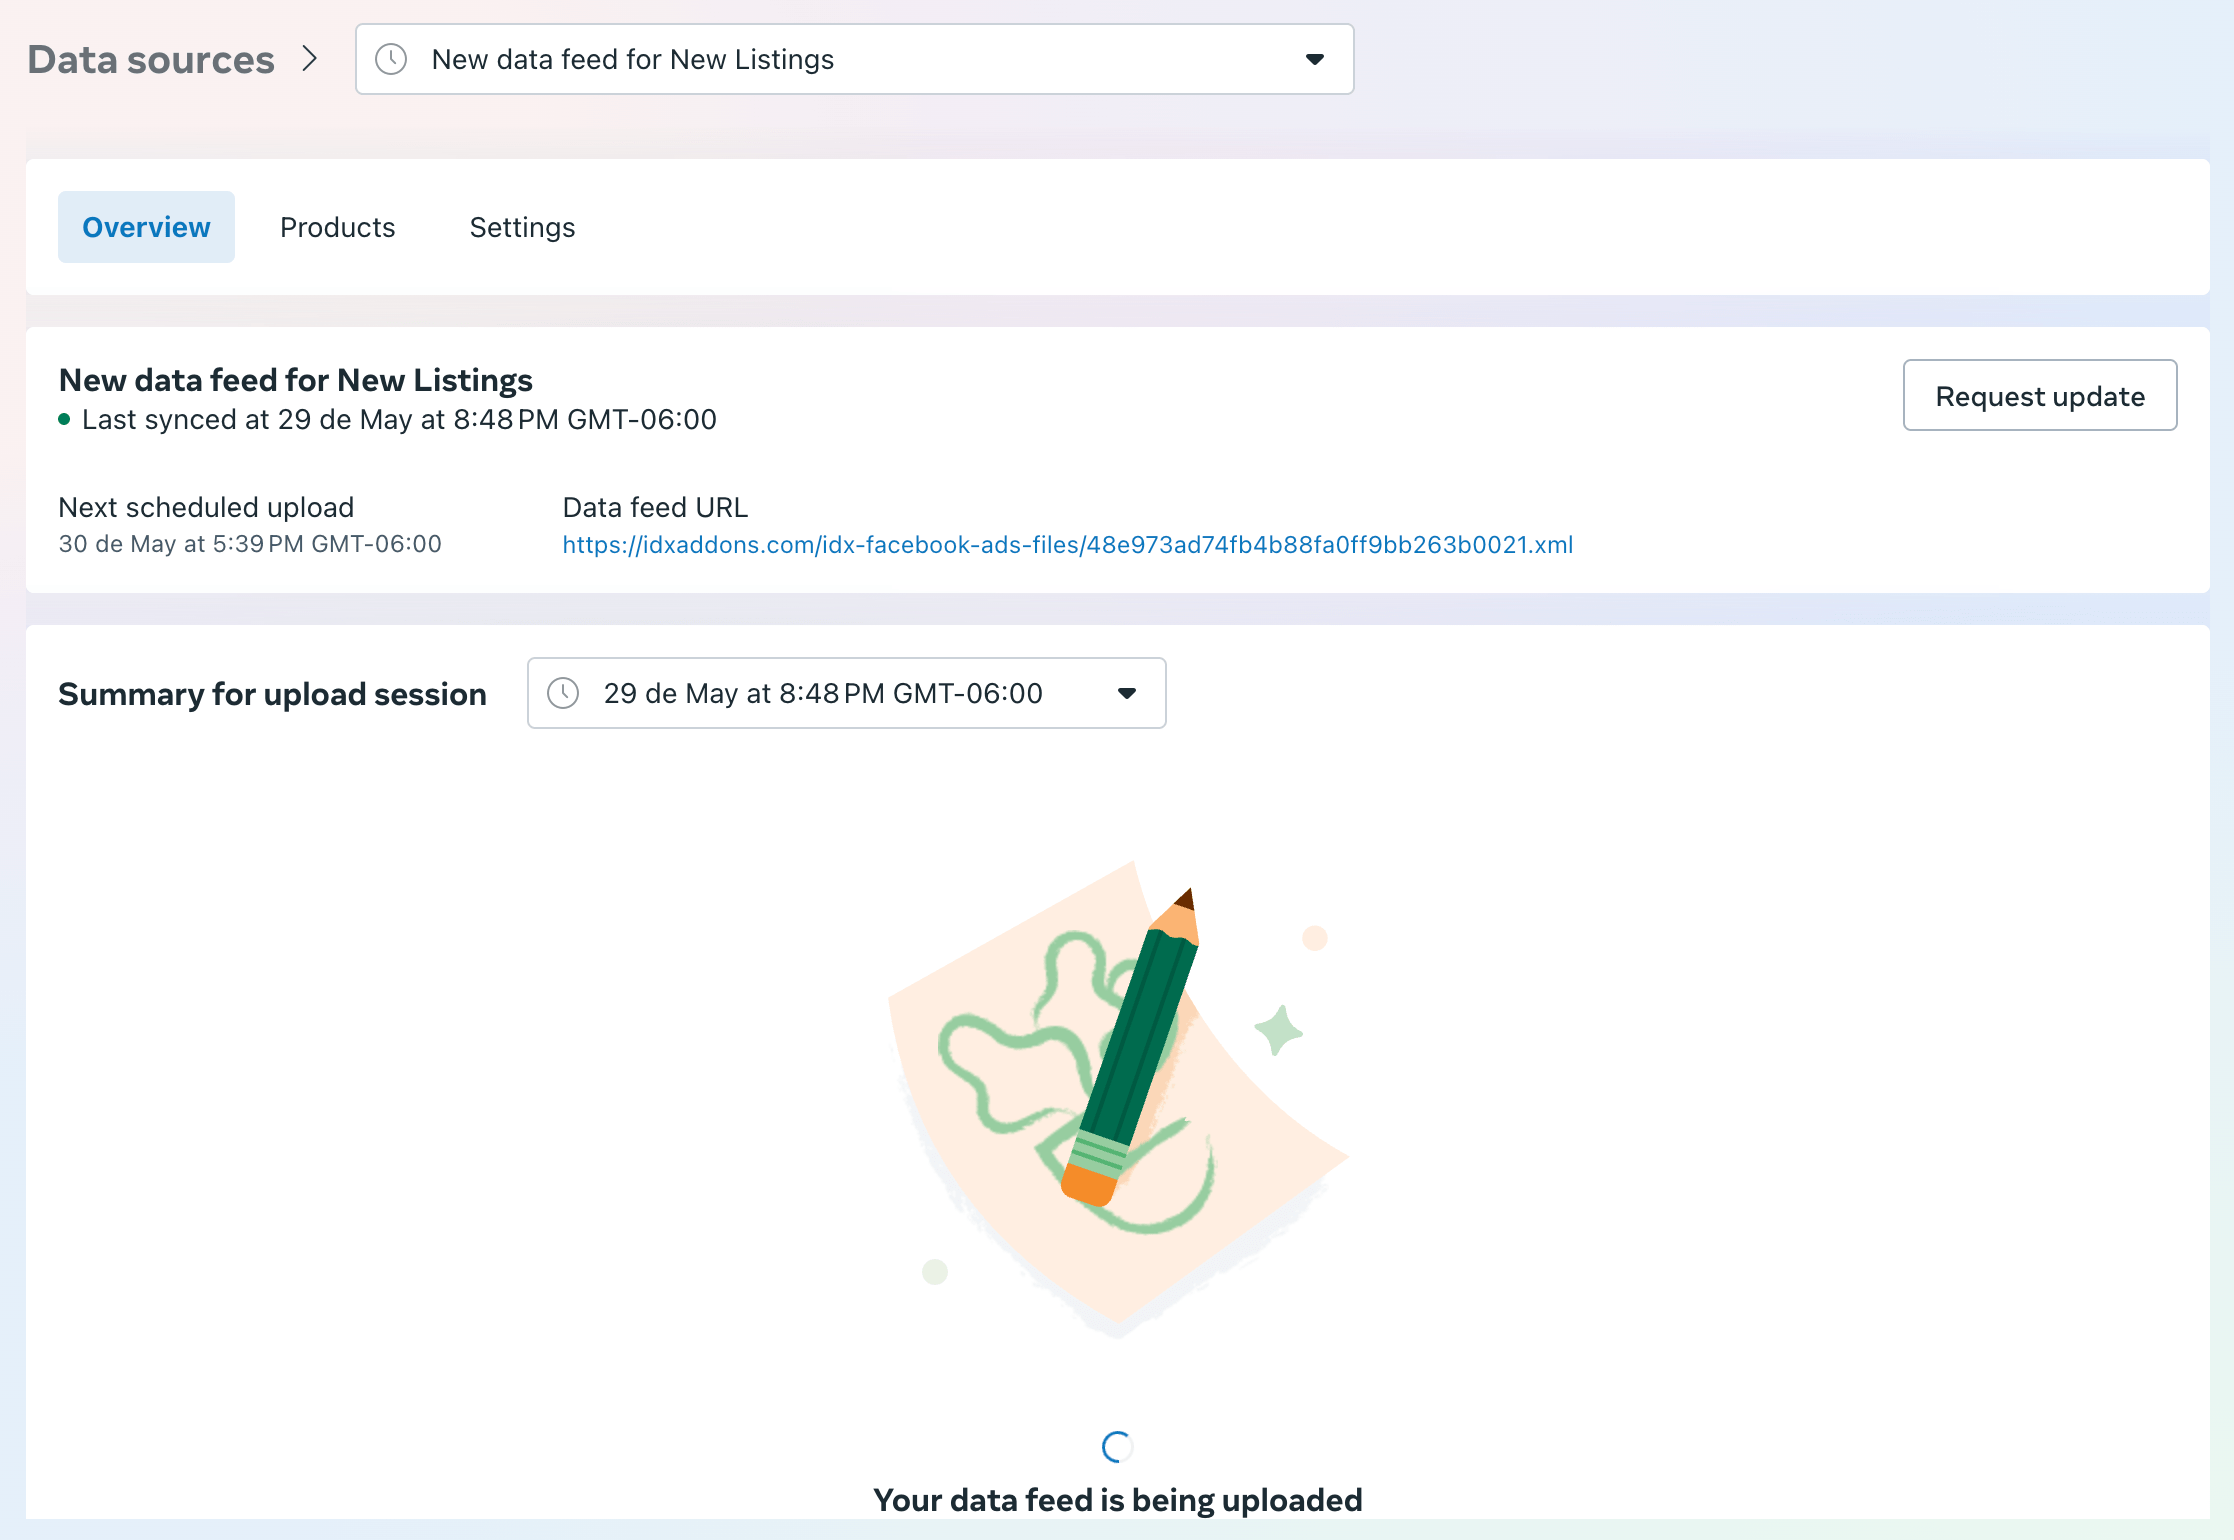
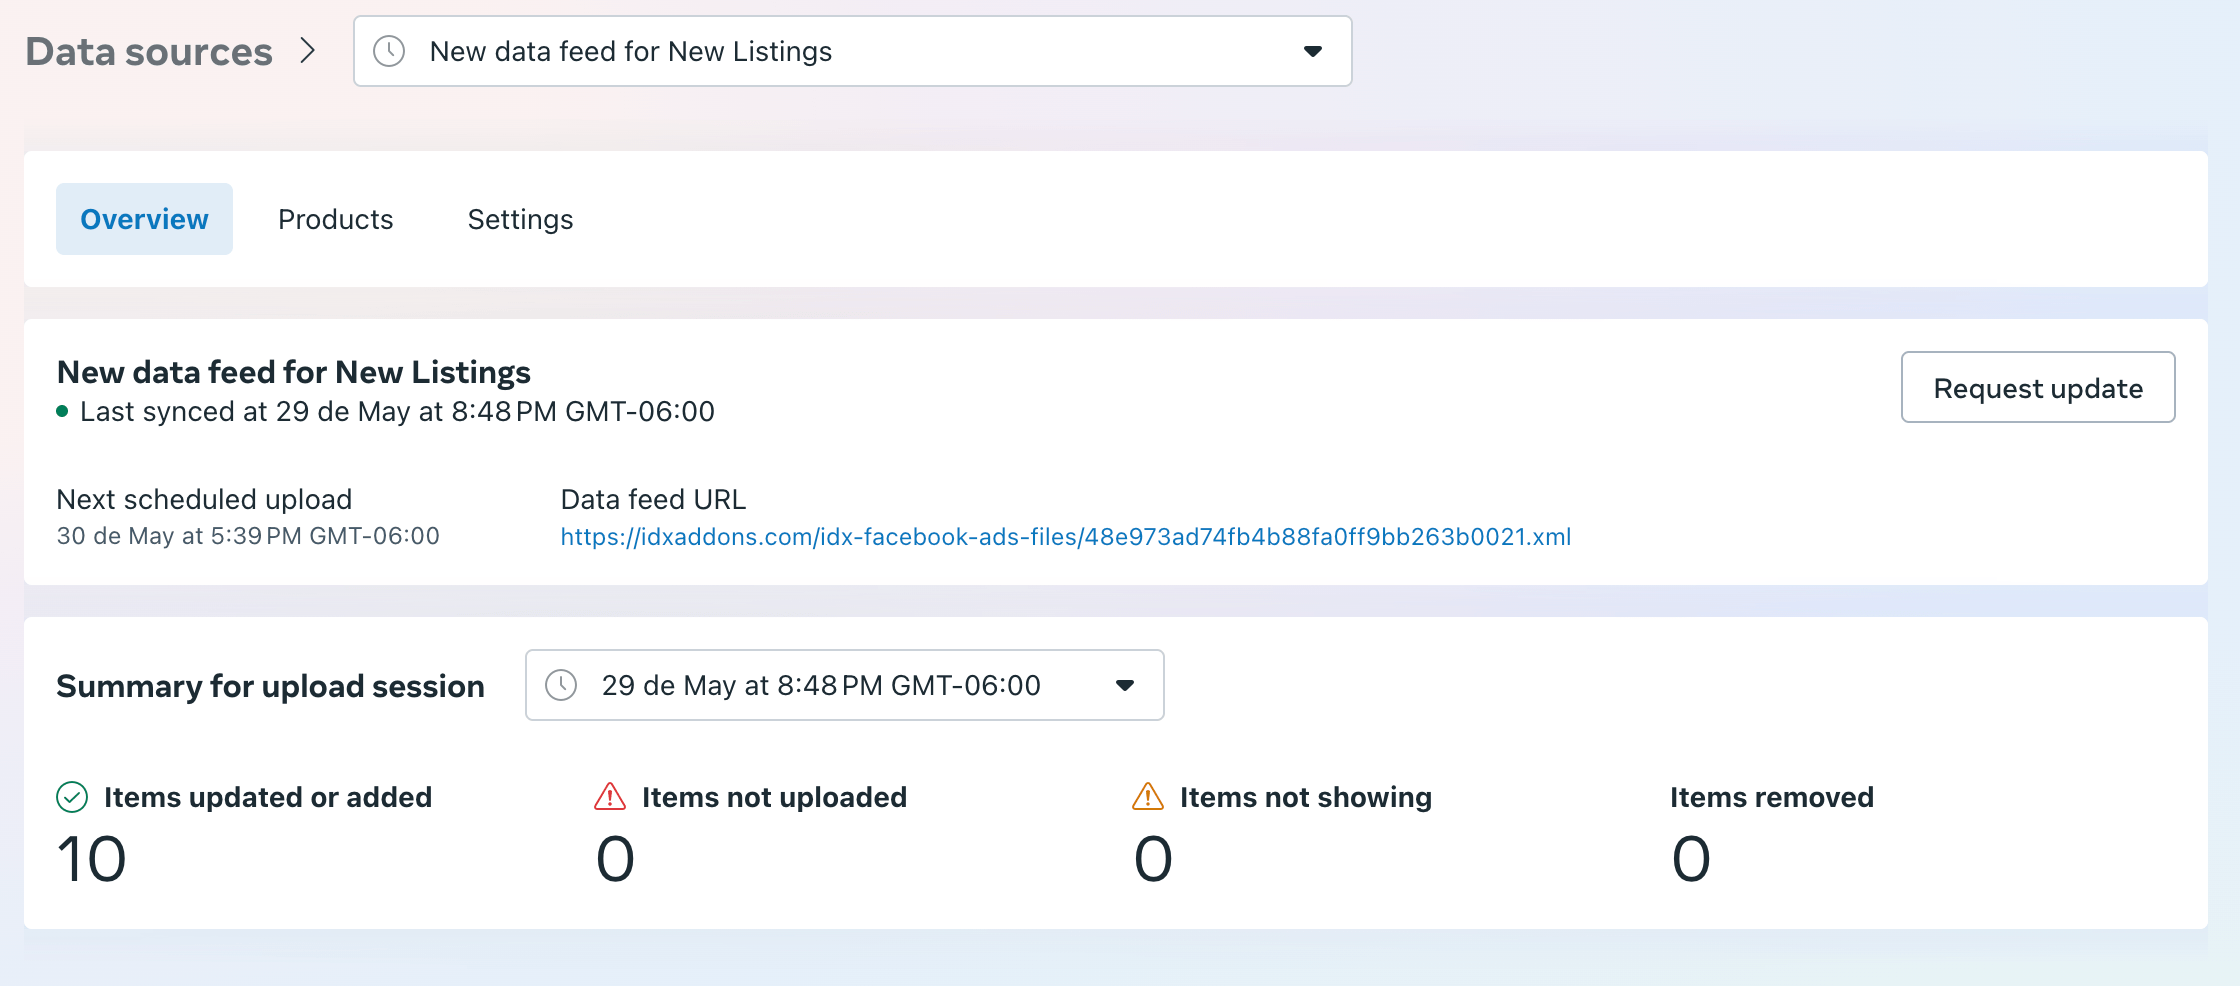
Once it's done, you will see the summary of the feed.
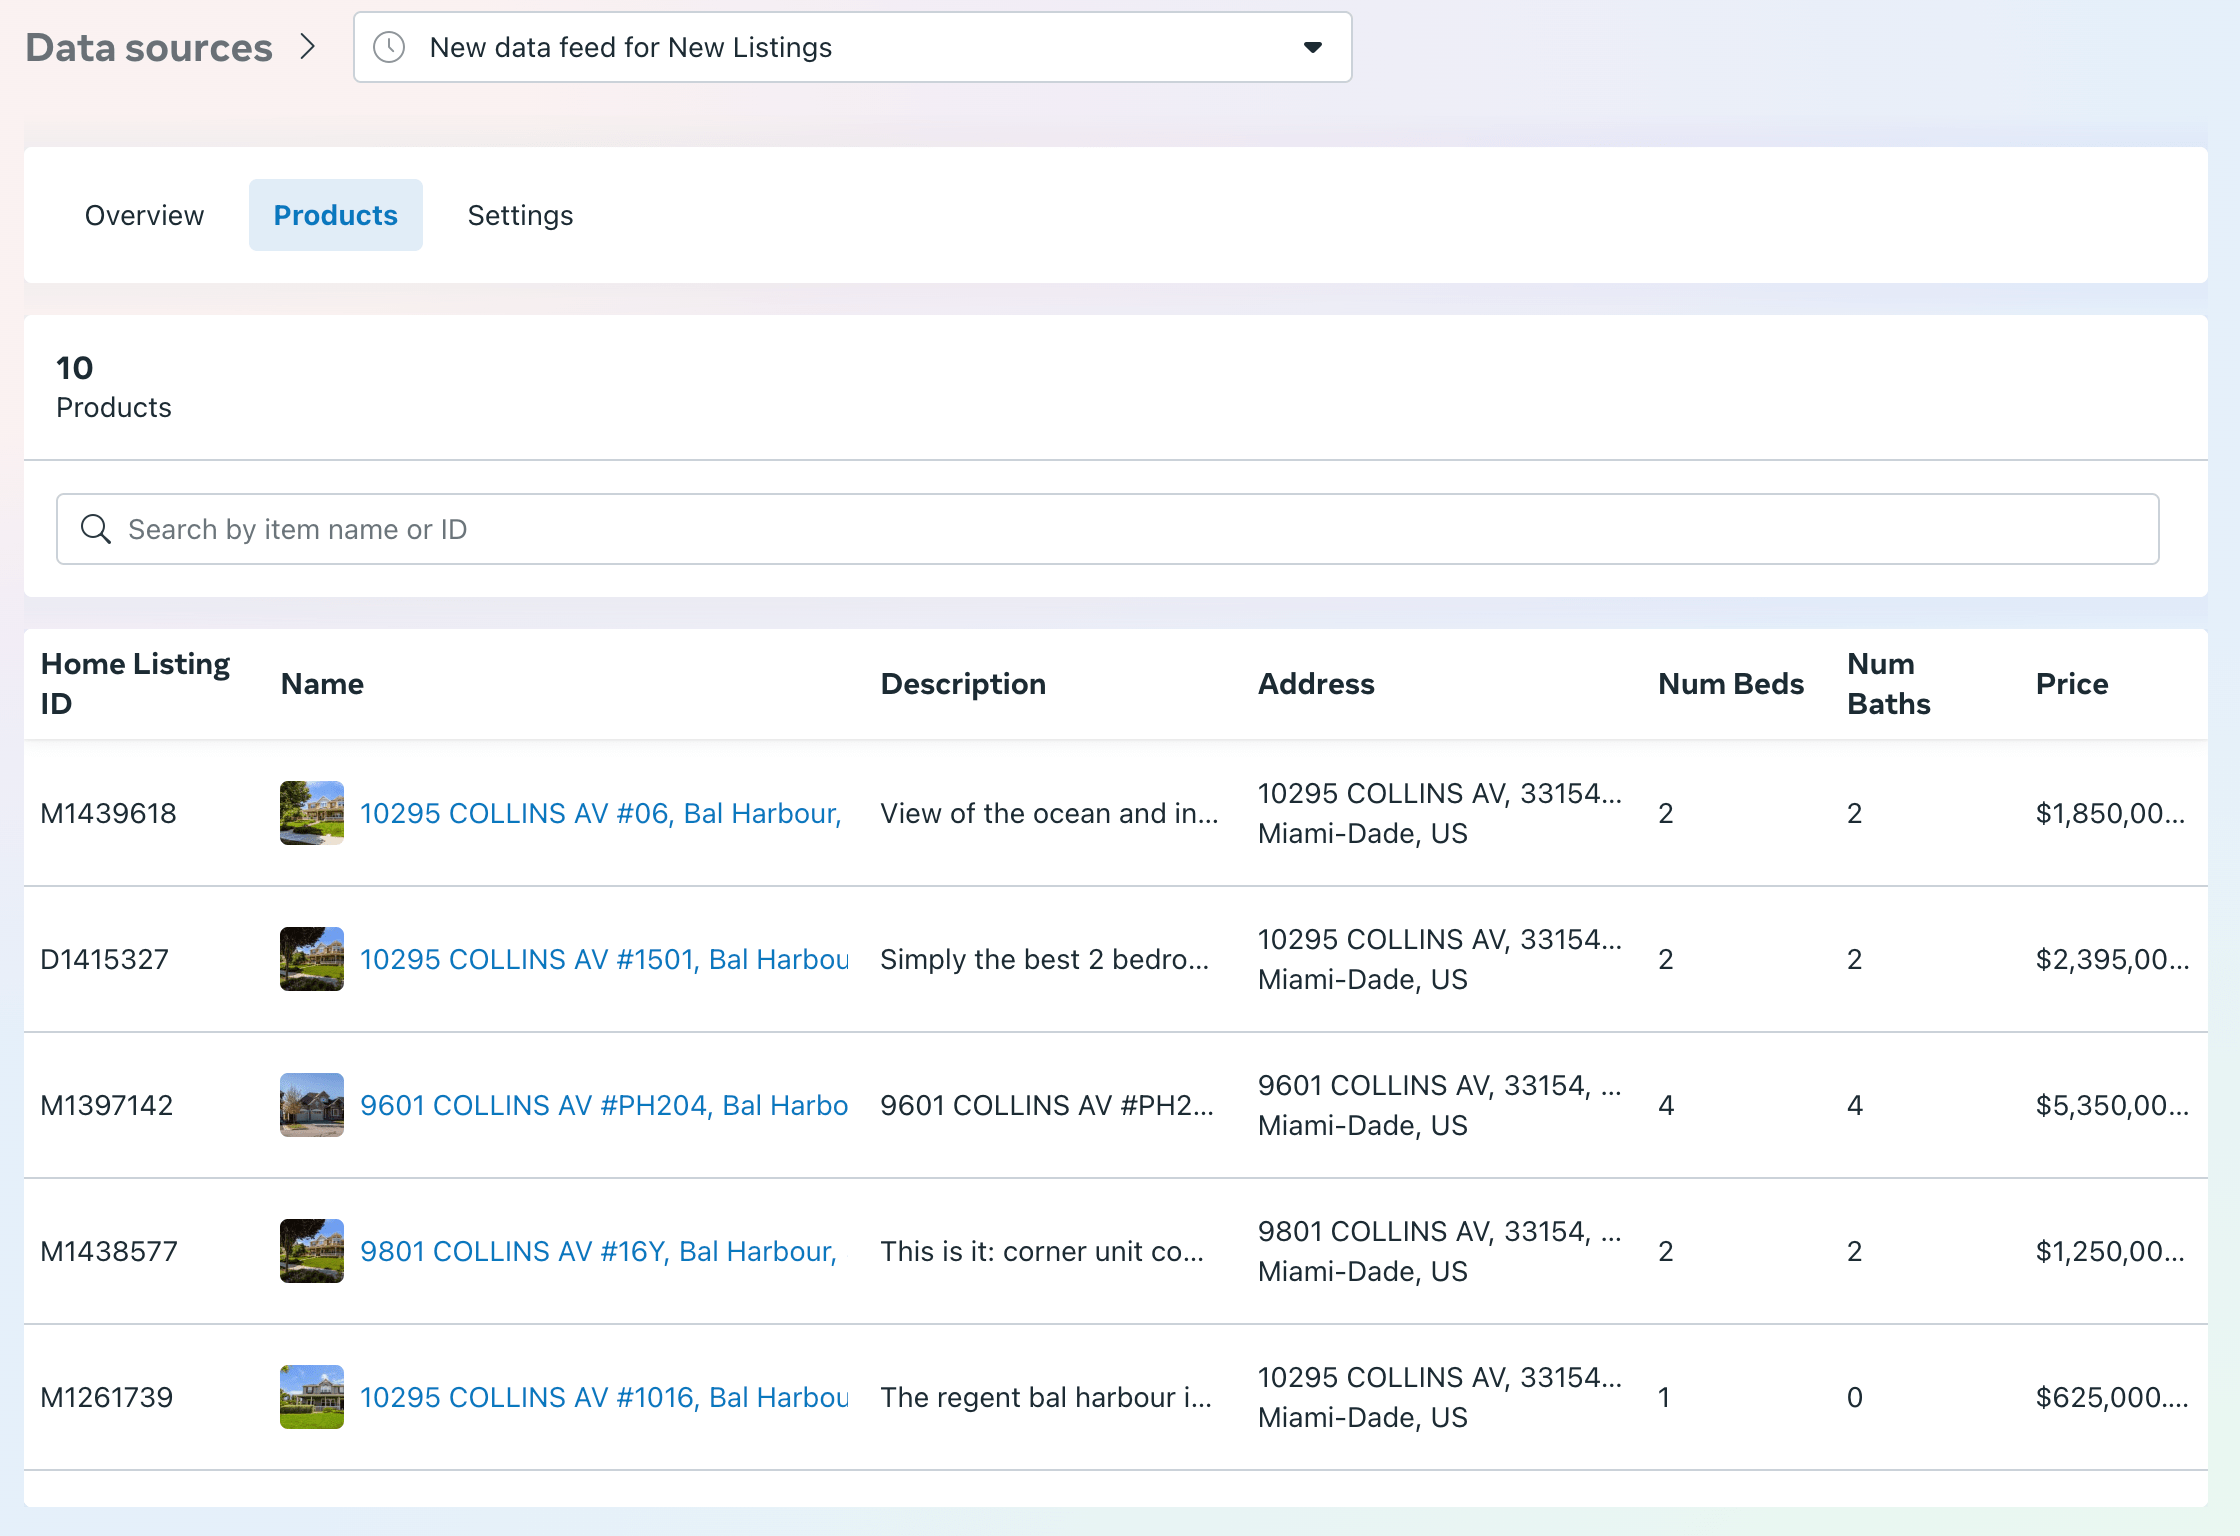
In the Products tab, you will see the listings from the XML feed.
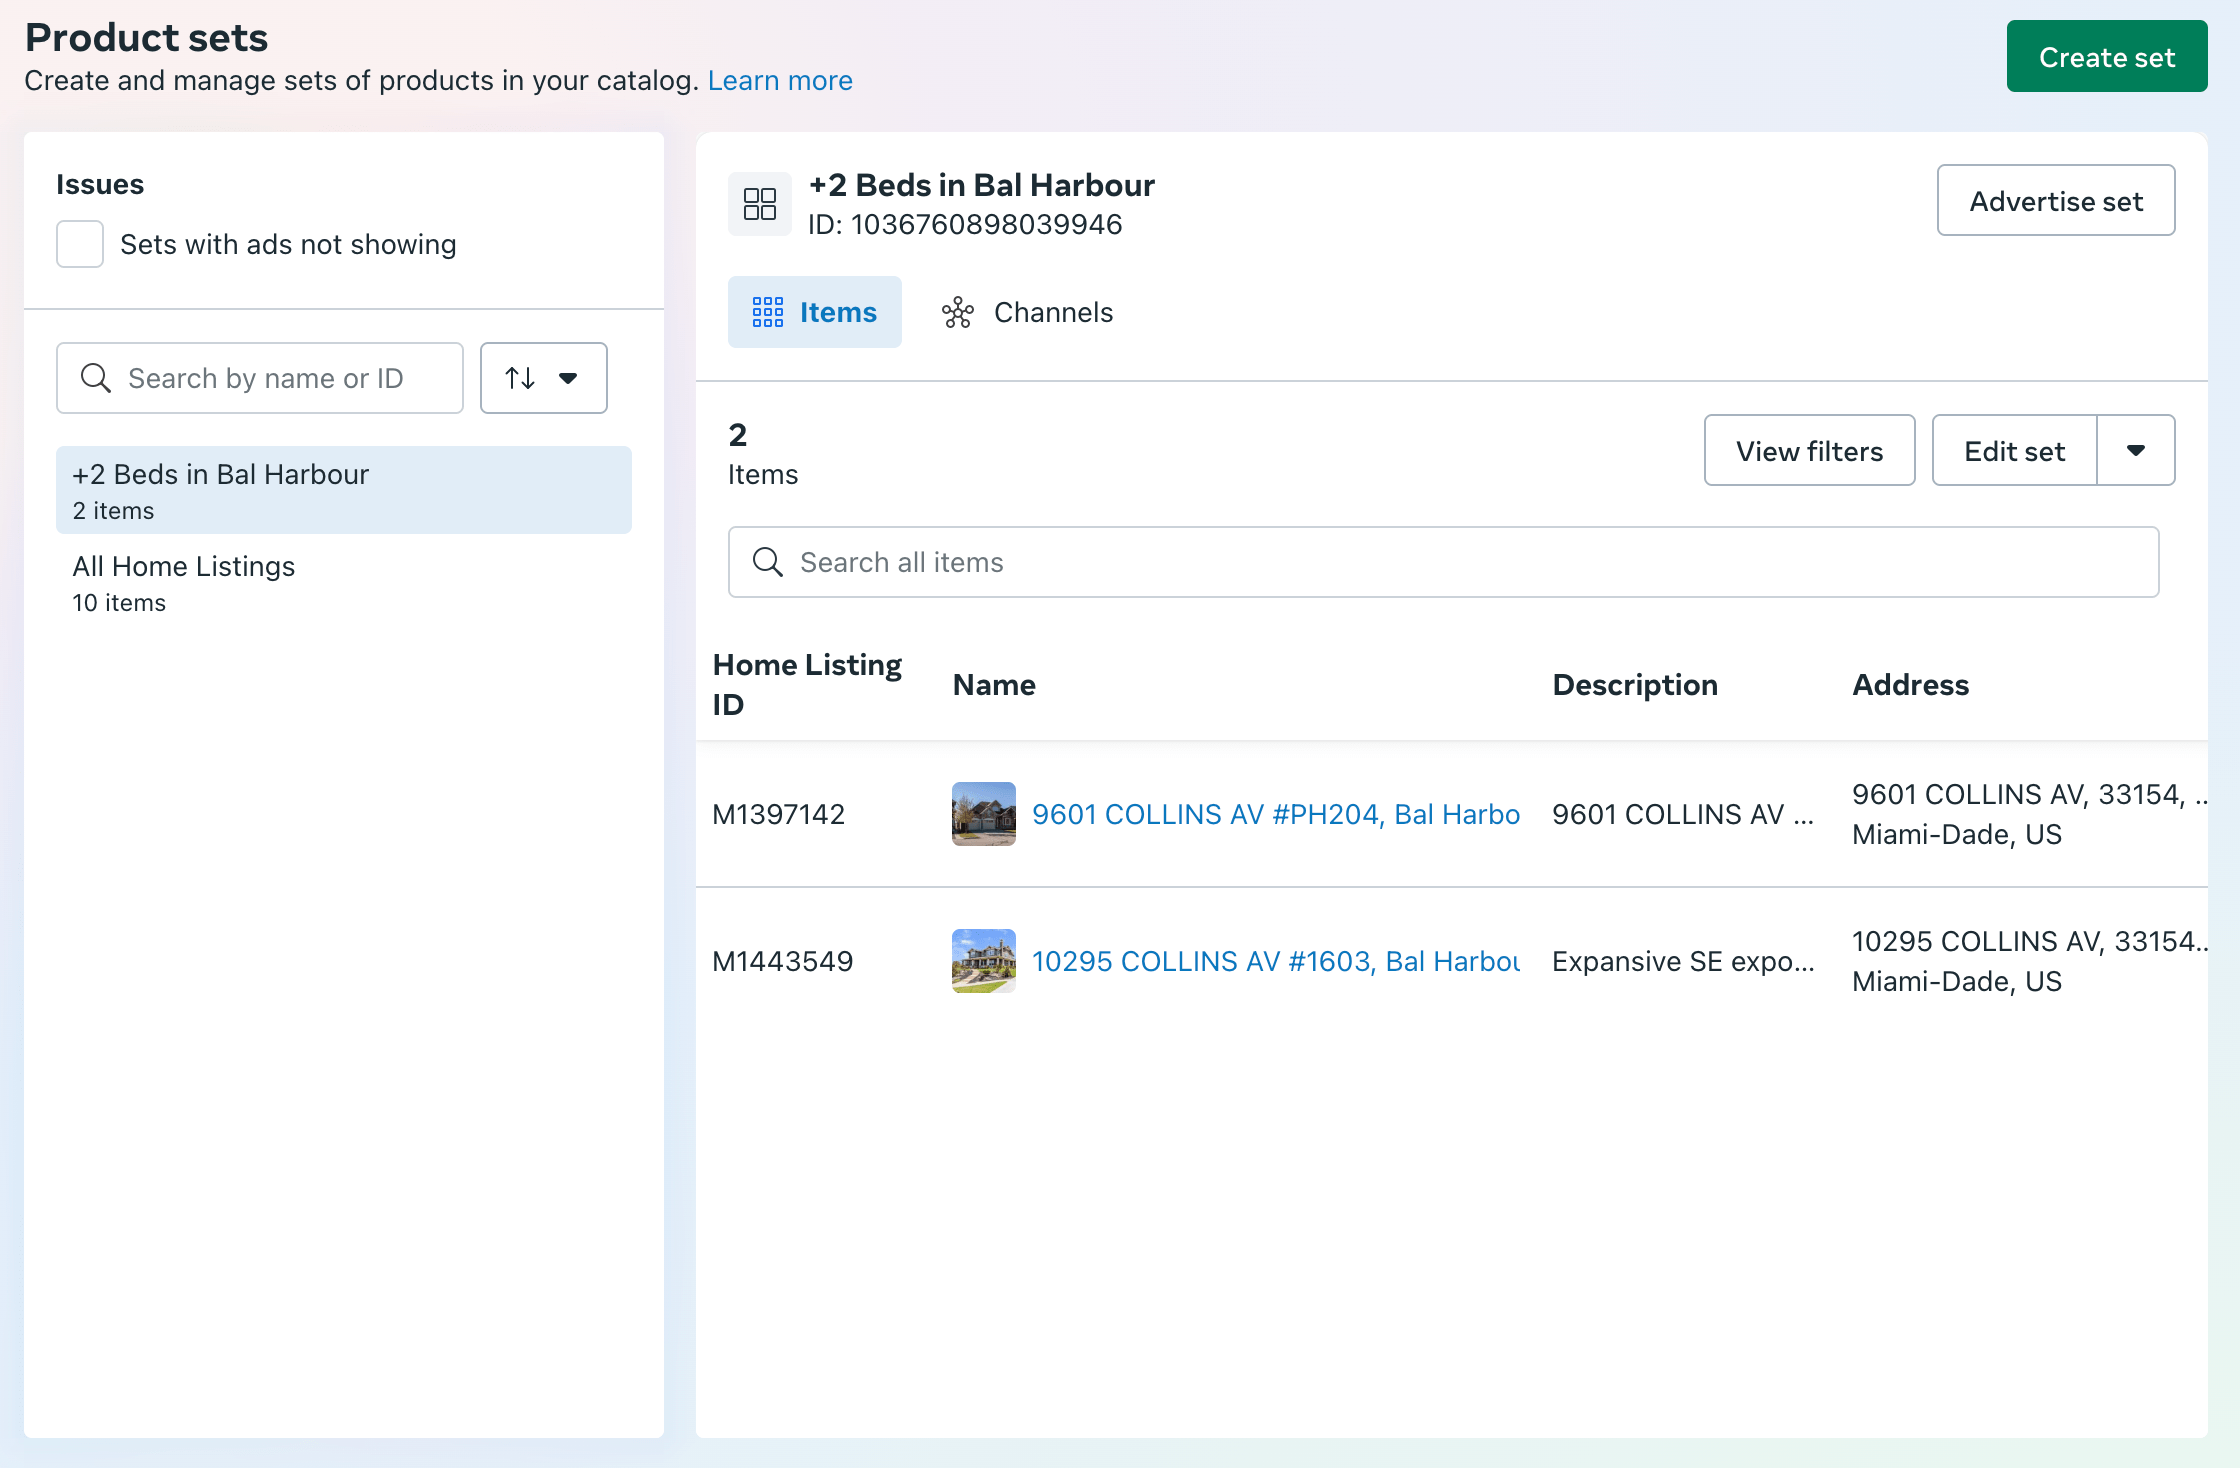
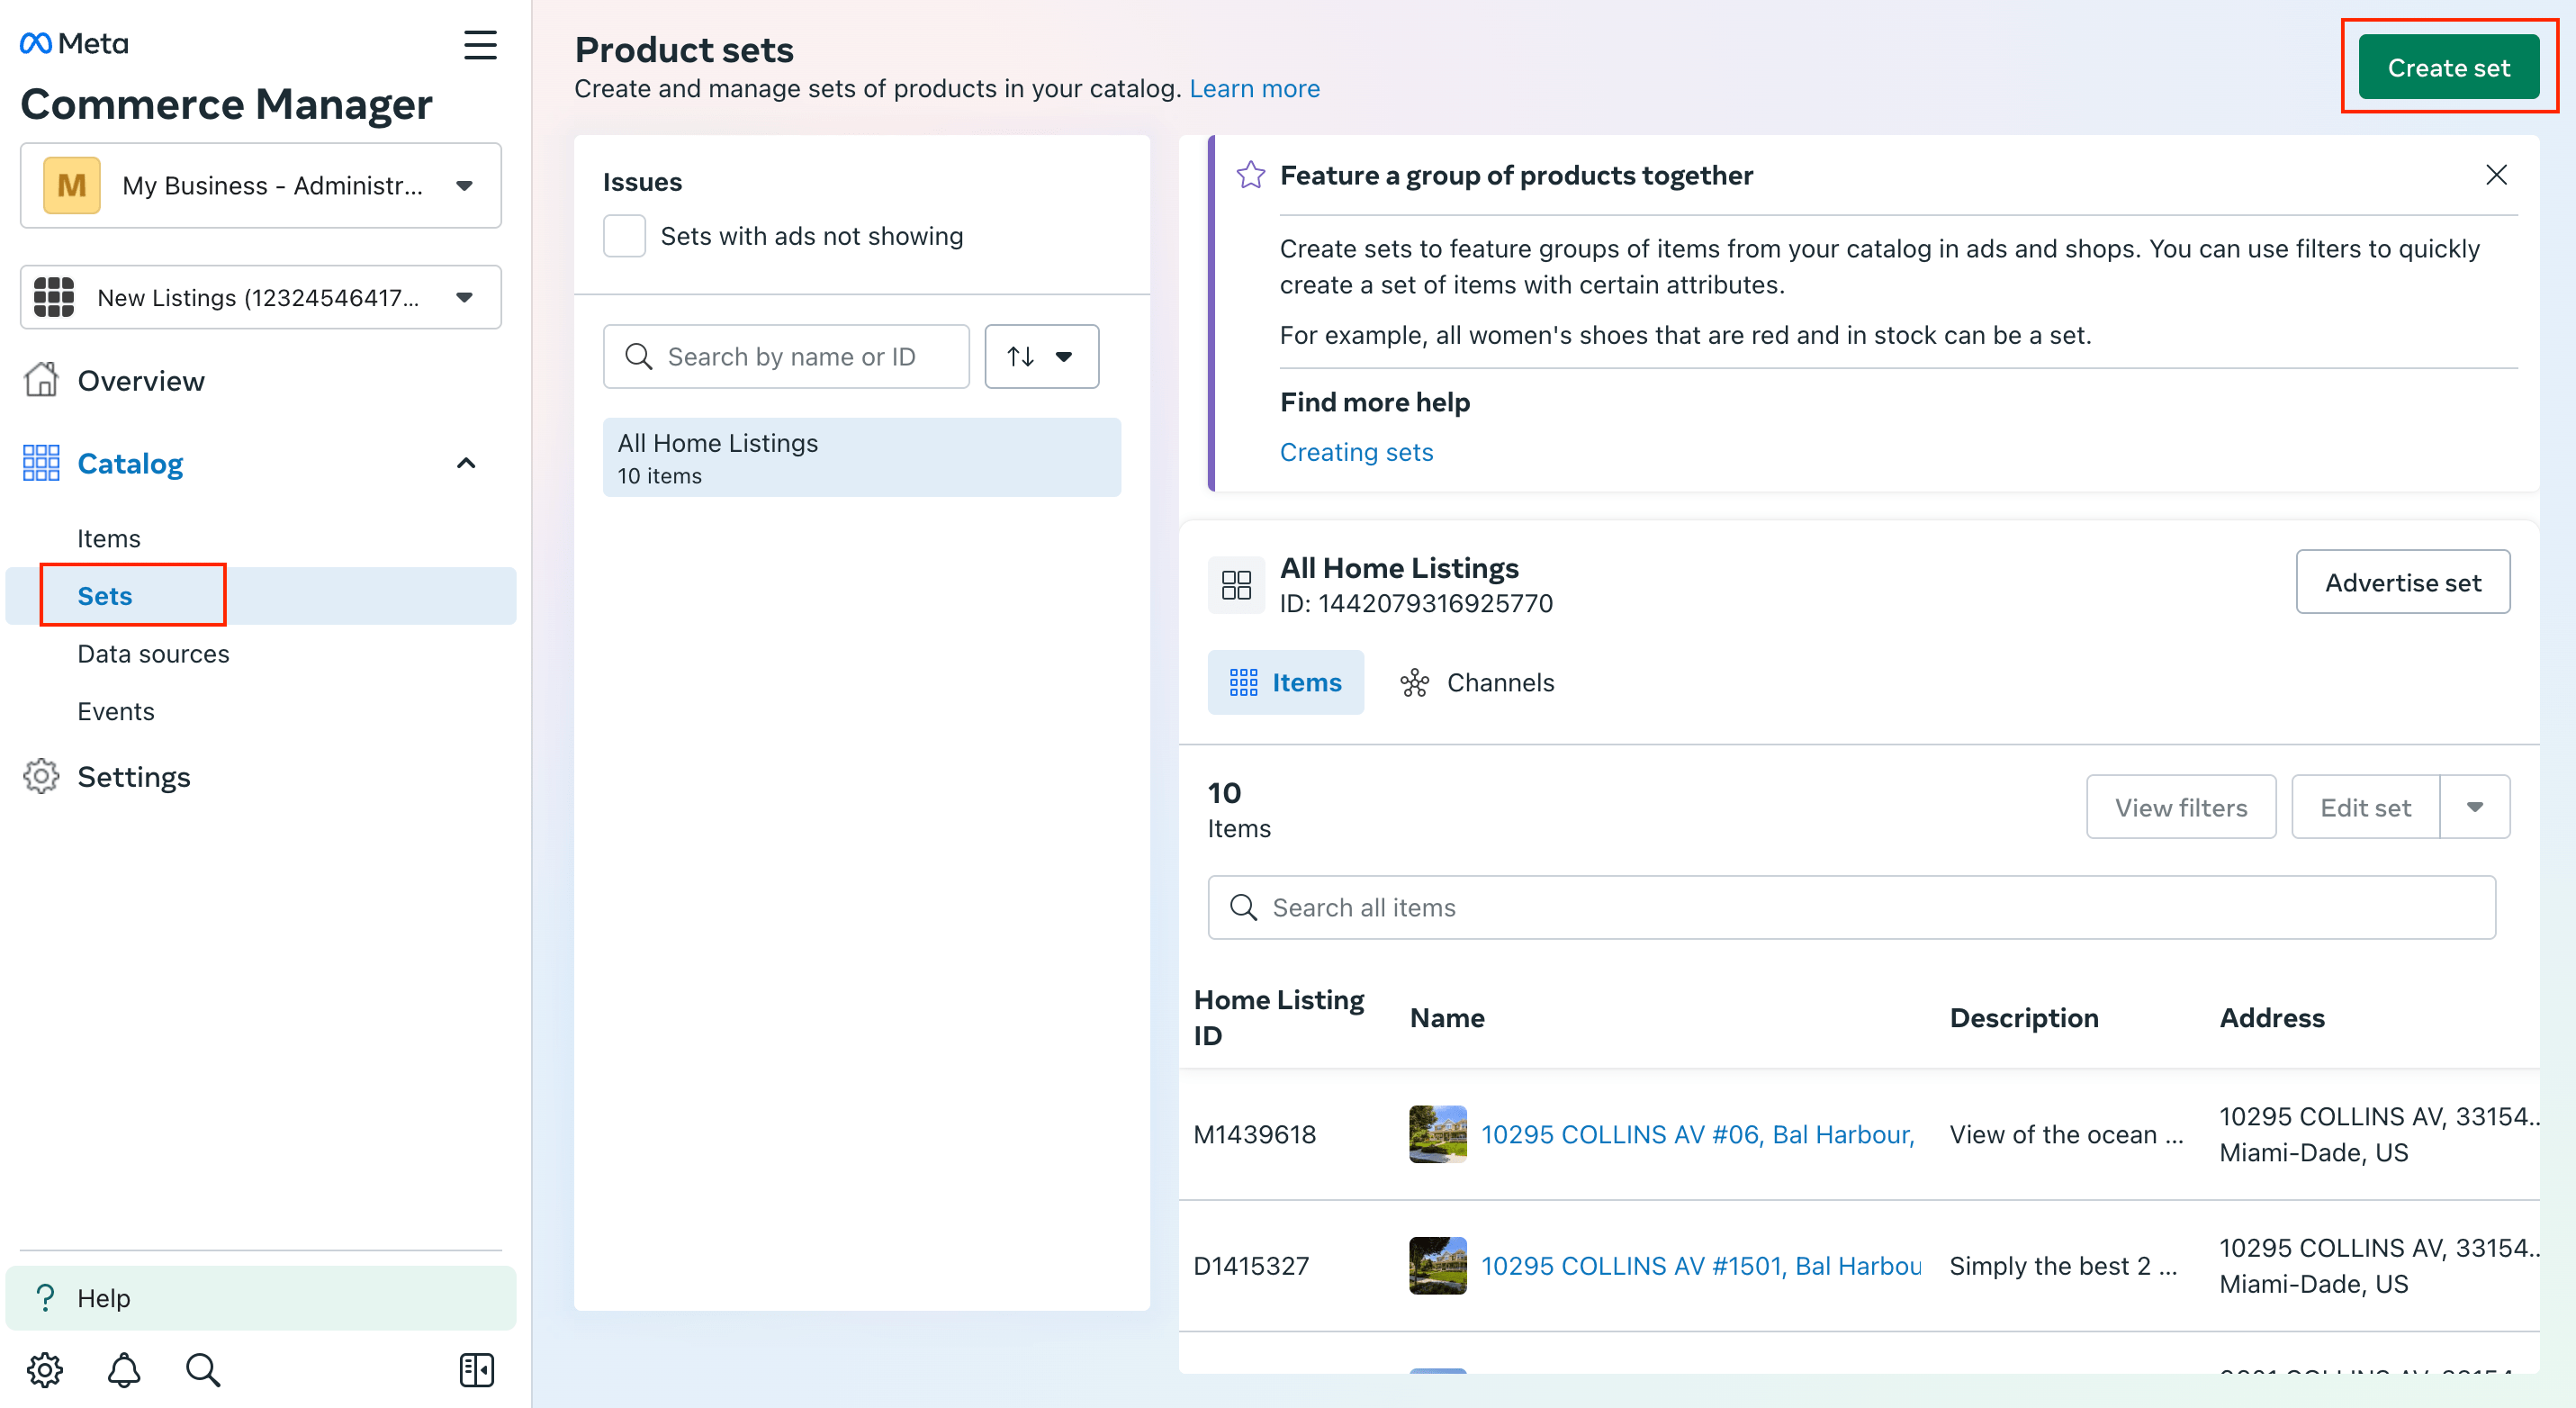
If you want to create a Set with the listings, click on Sets in the left sidebar, then click on Create Set.
Add a name to the Set, and add a filter to select the listings you want to include in the Set.
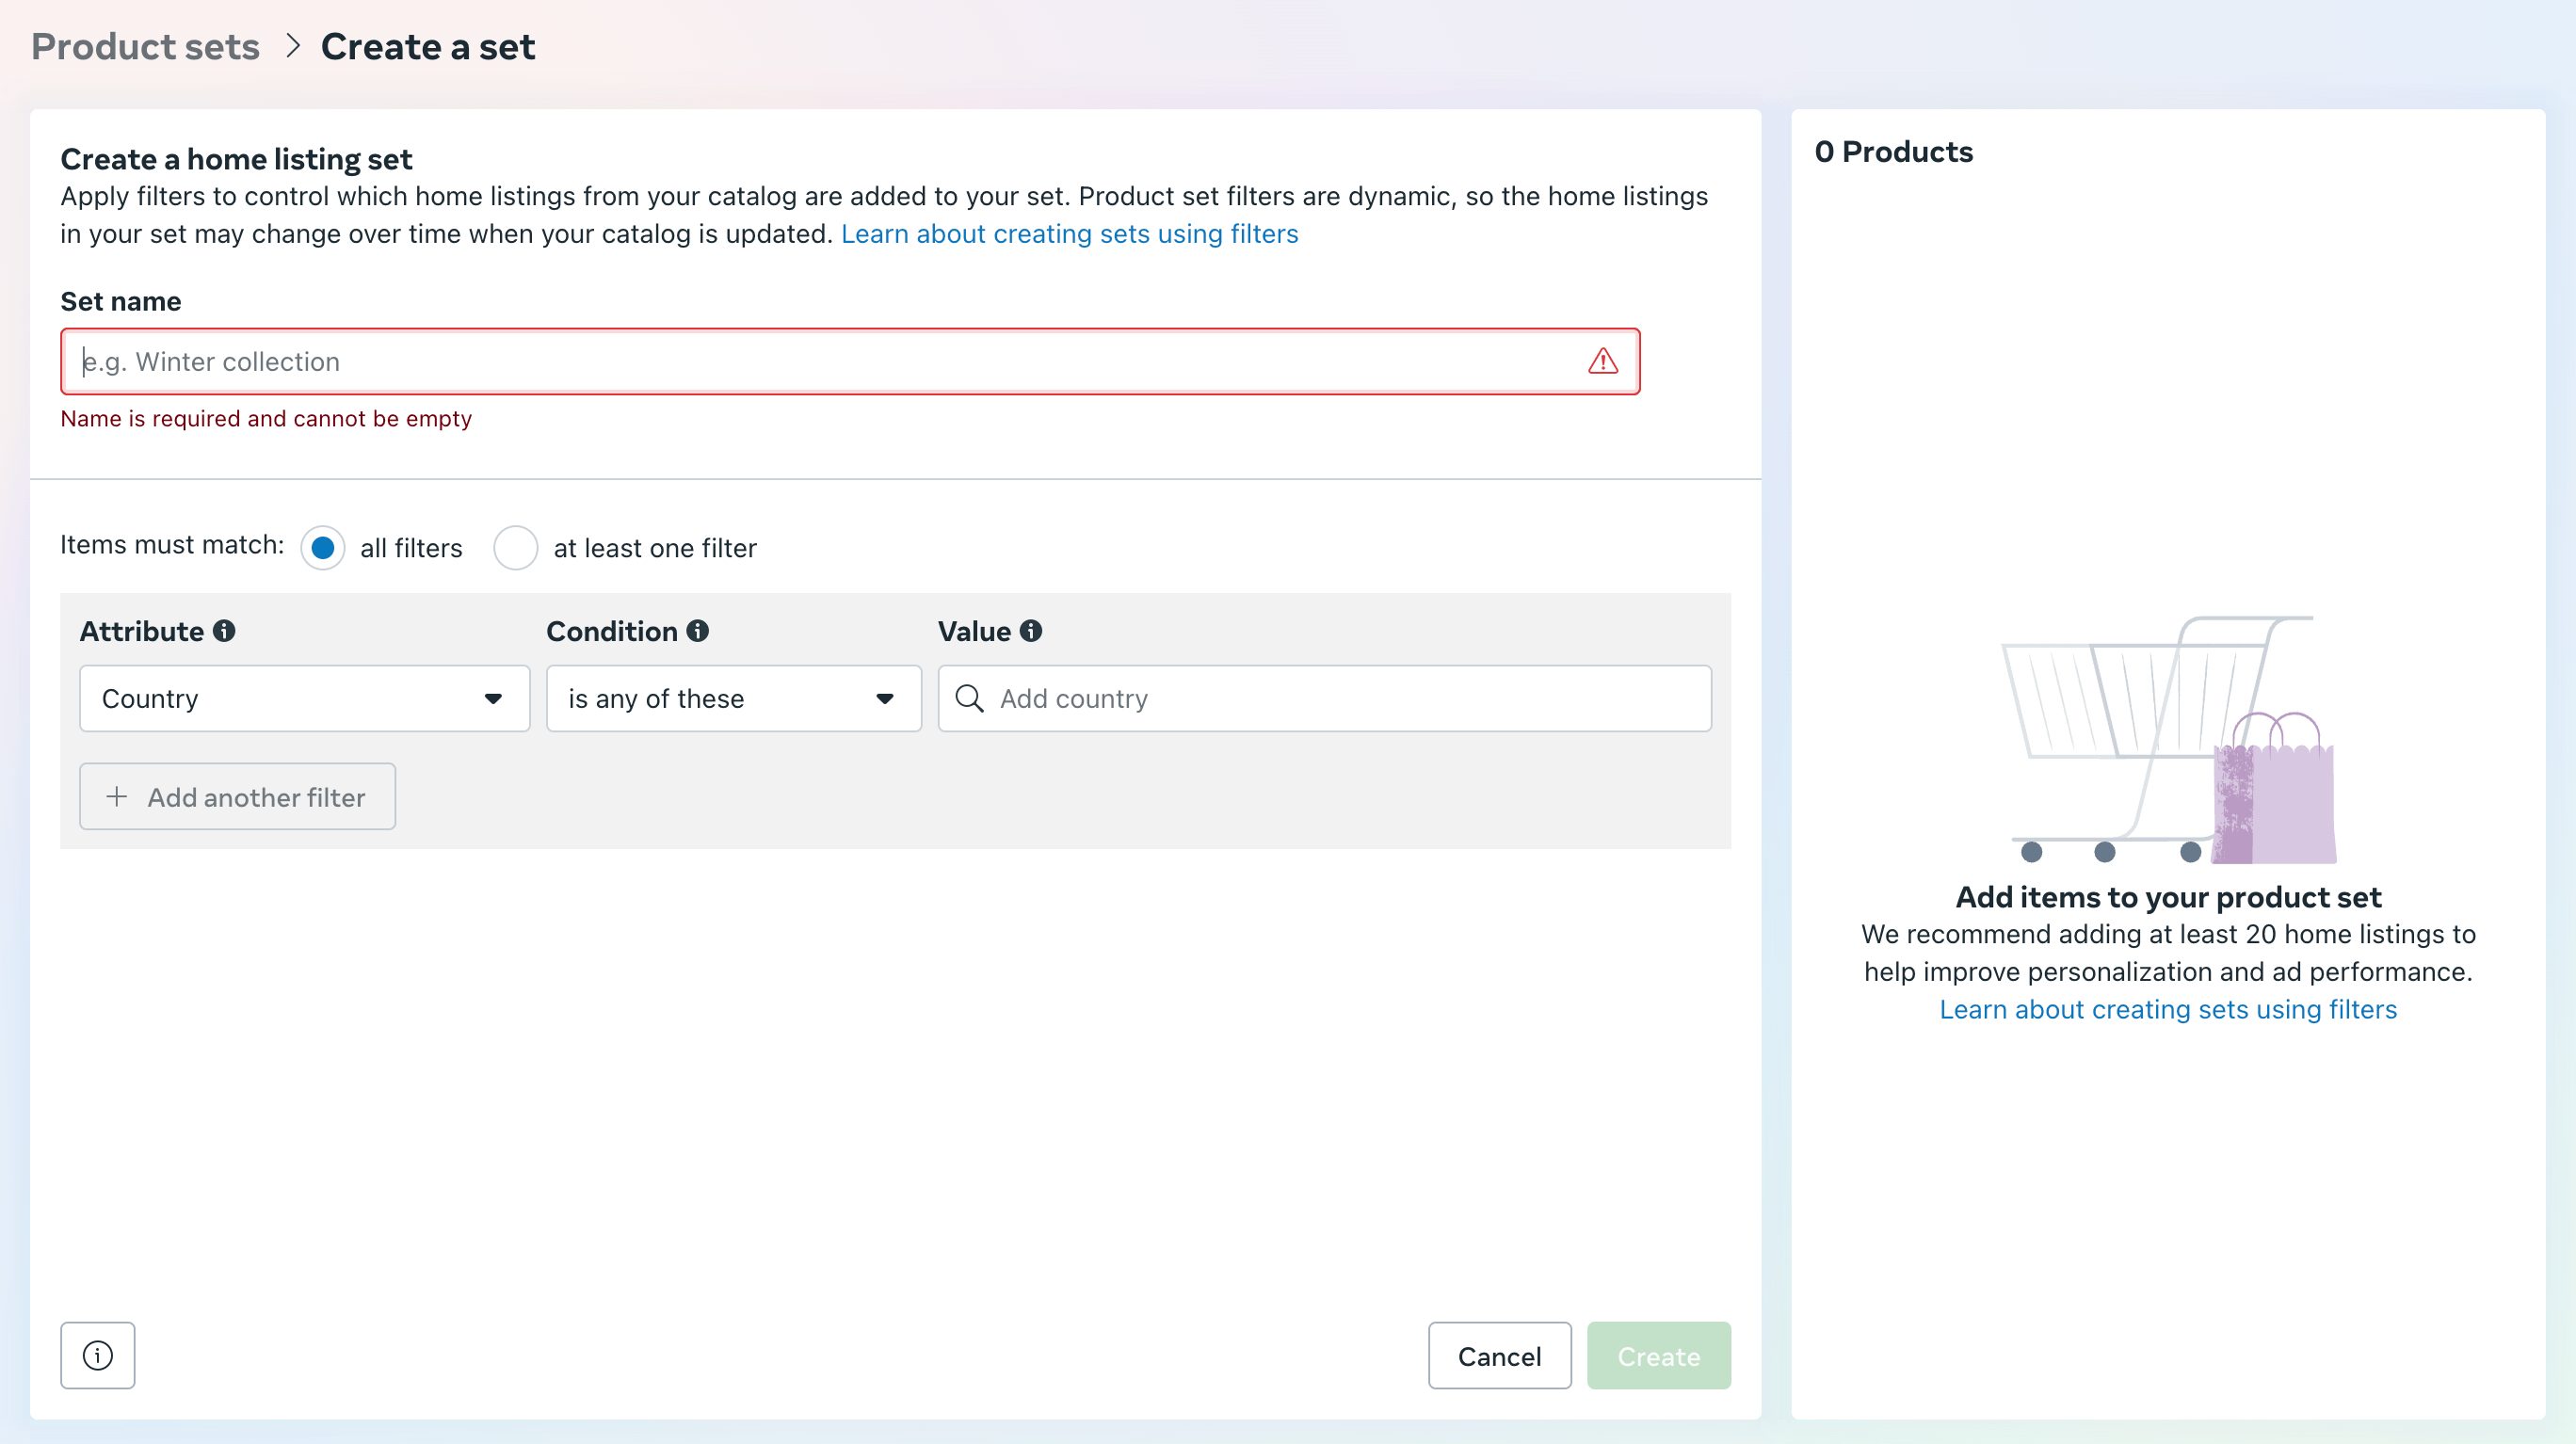
For example, you can filter by price, neighborhood, number of beds or baths, and more.
The listings that match the filter will be added to the Set.
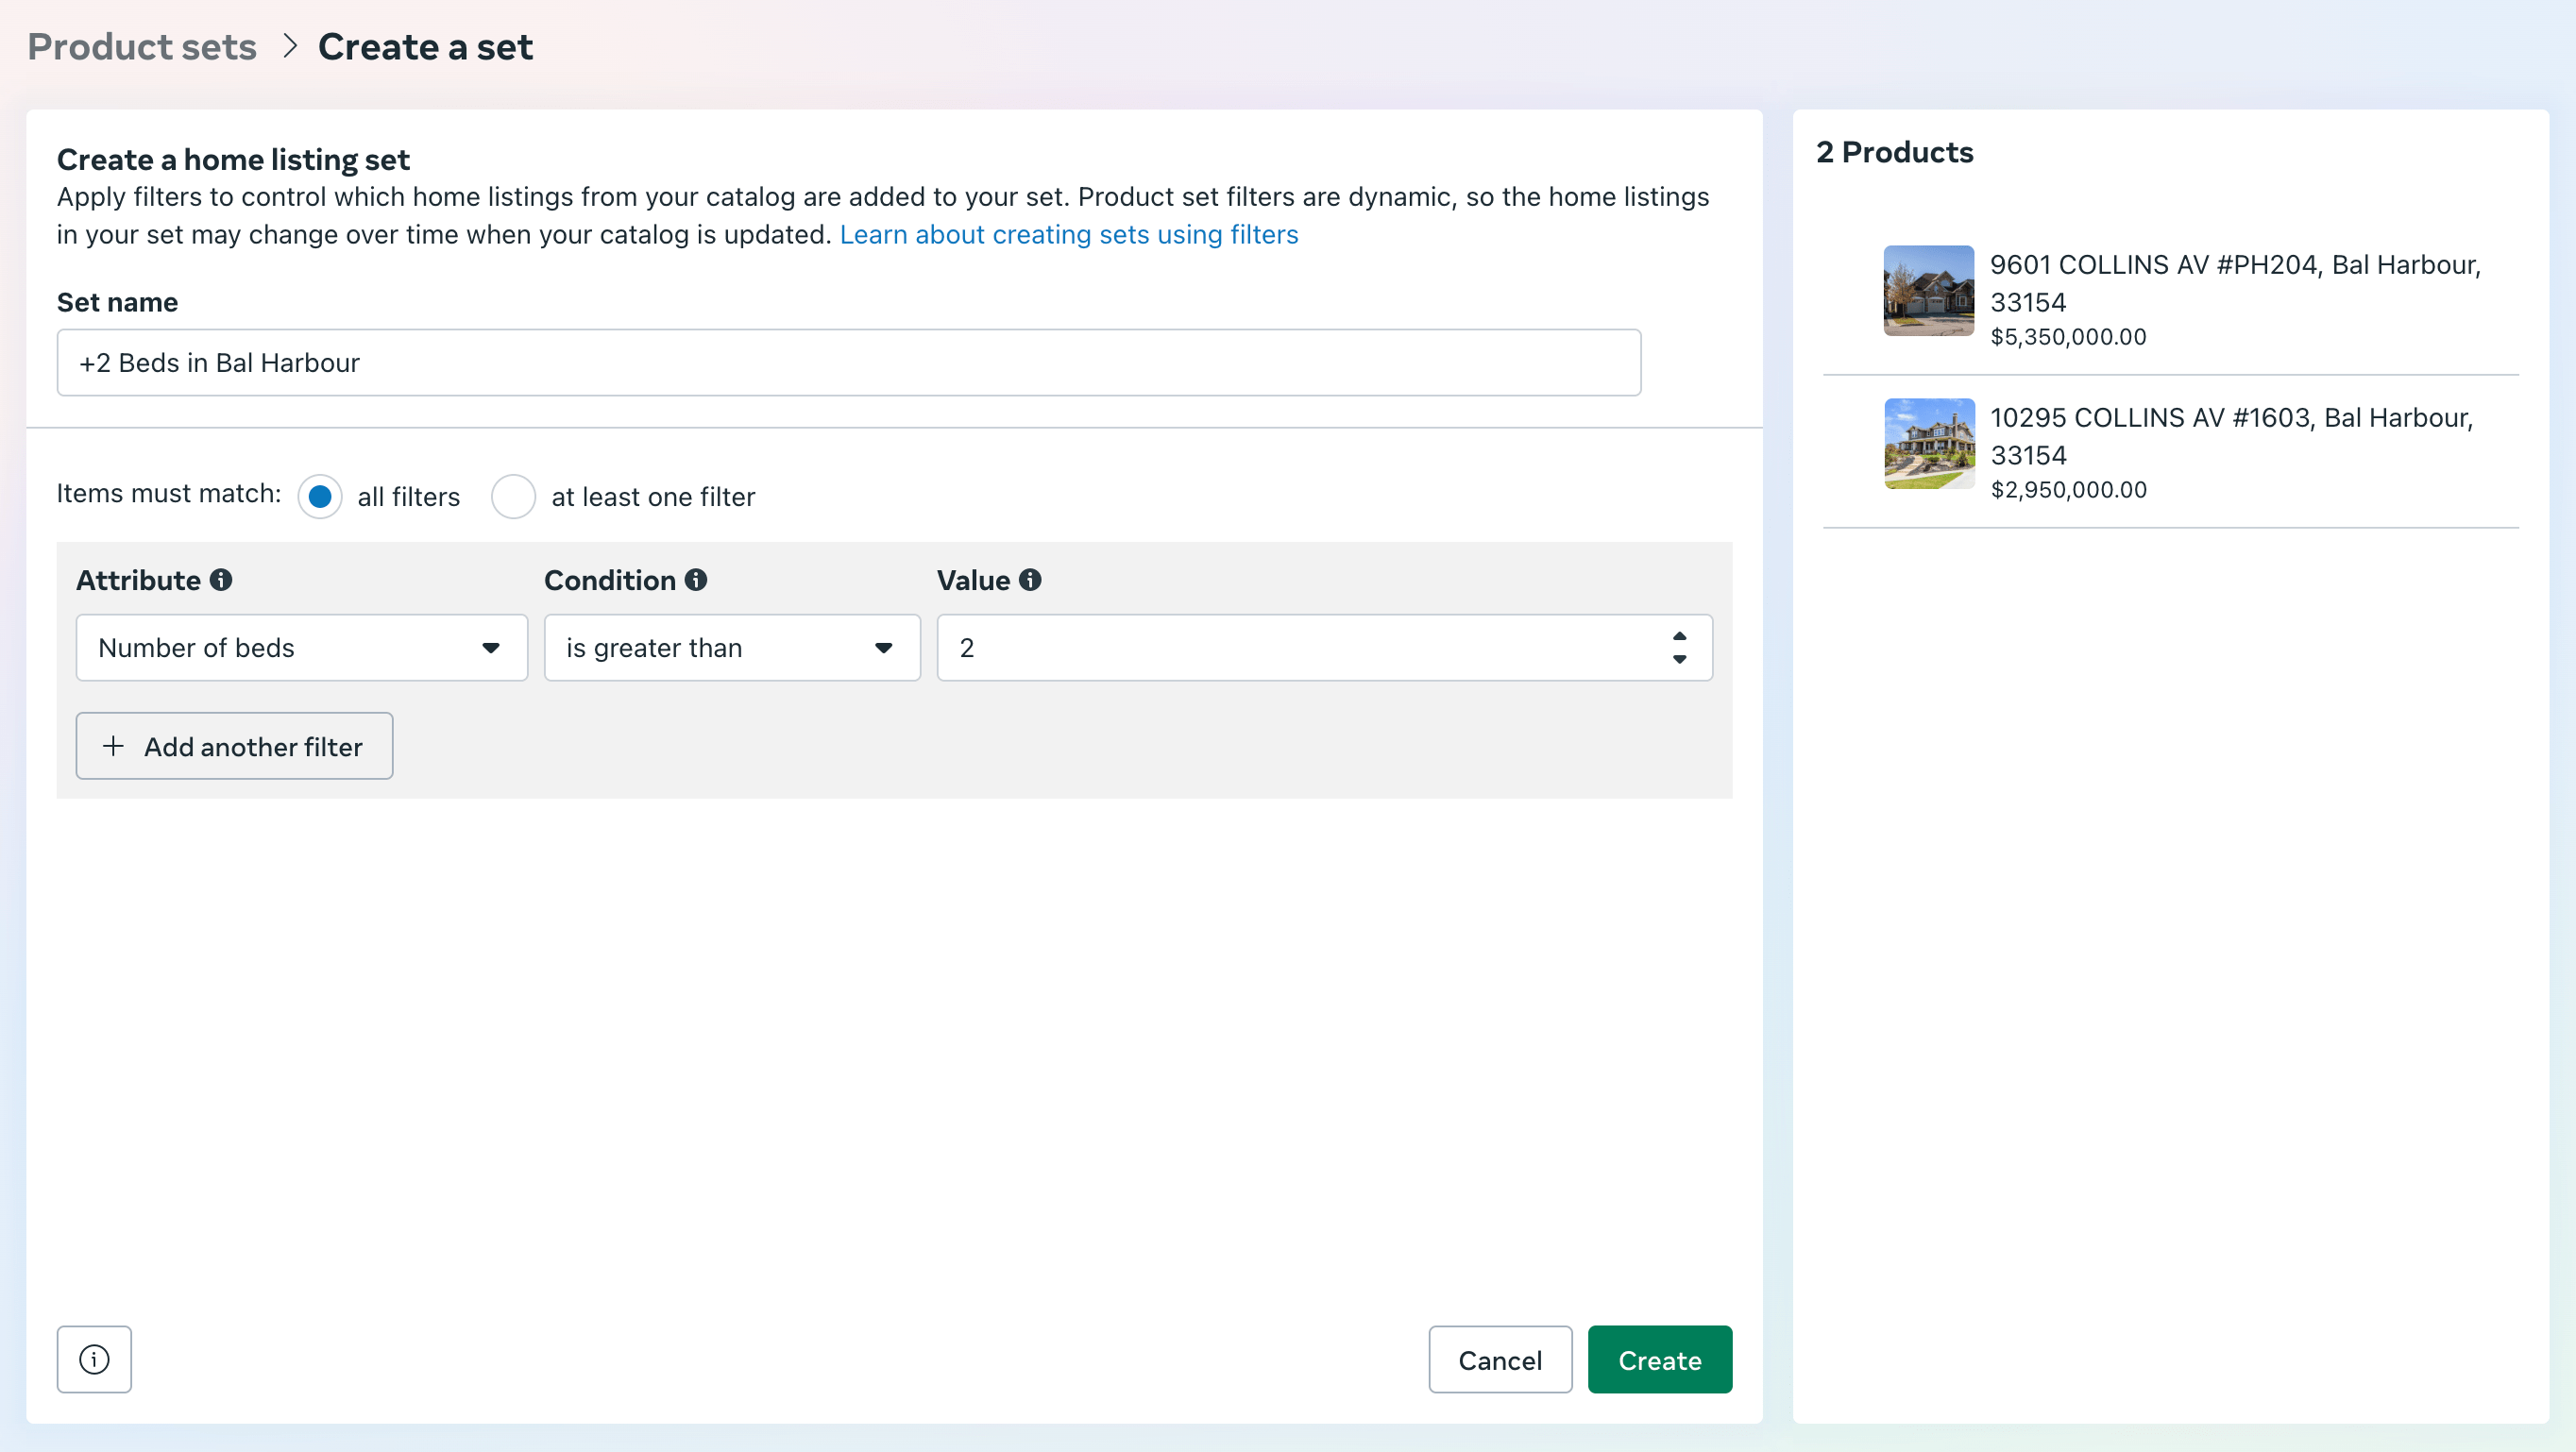
And that's it! You have created a Set with the listings from the XML feed.
You can use this Set to create Facebook Ads for your listings.
