LeadConnector Dashboard Tutorial
Show lead activity, saved properties, and saved searches. Link to your GHL account to call, email, and text your clients.
-
IDXAddons - LeadConnector Dashboard
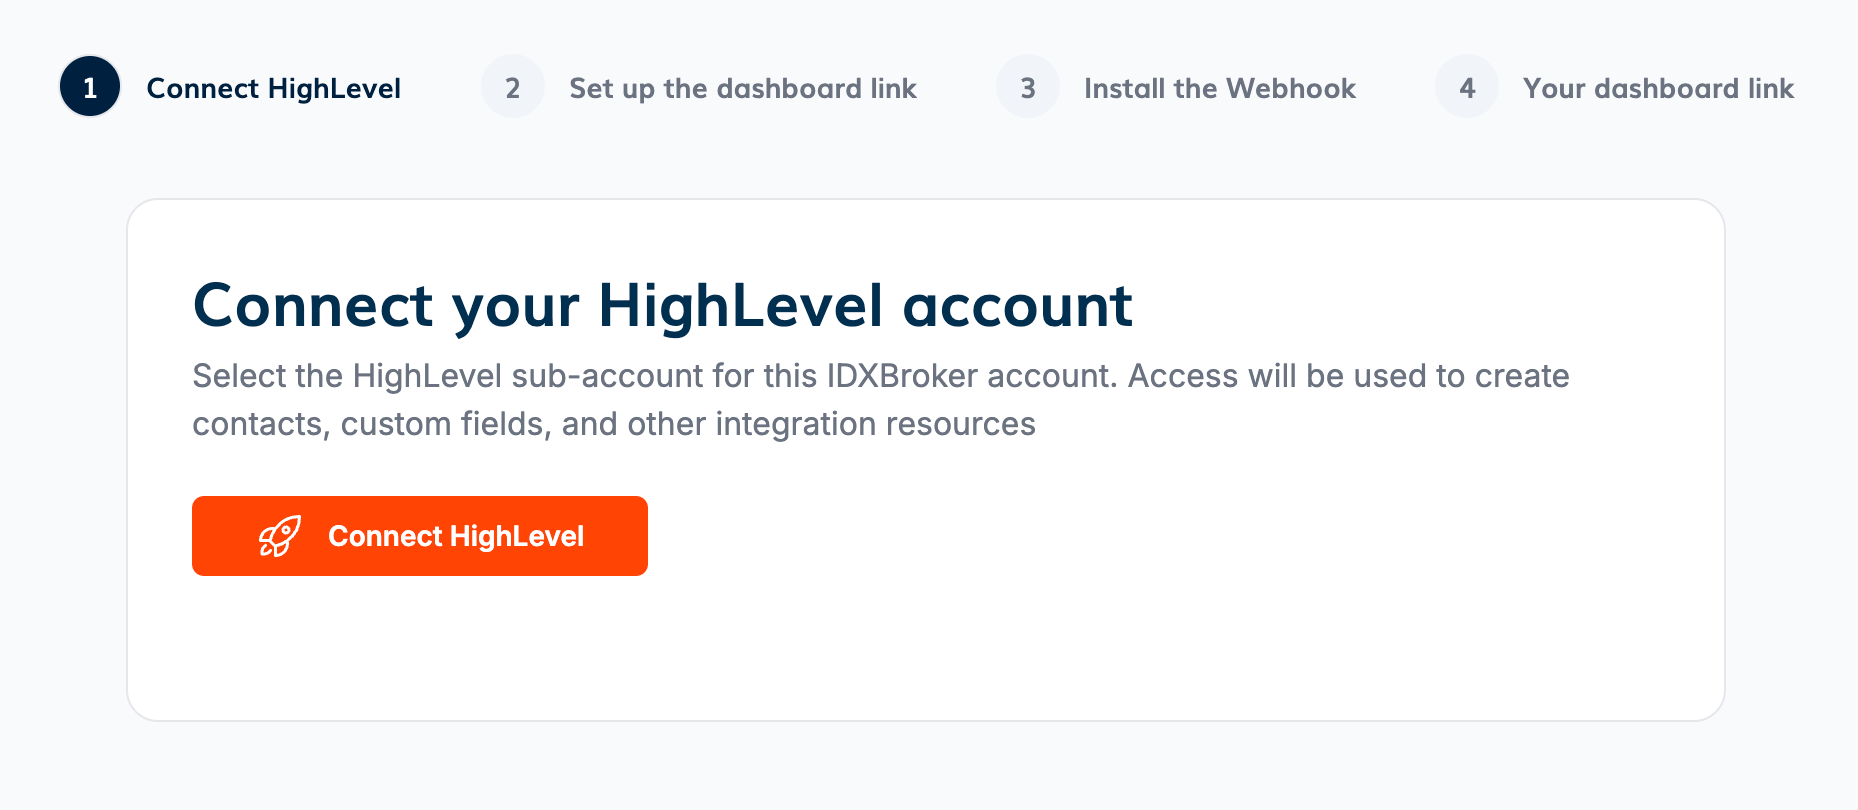
In IDXAddons, the first time you go to the LeadConnector dashboard, it will show a multi-step form at the top.
Click on "Connect HighLevel" to link the GHL subaccount to IDXAddons.
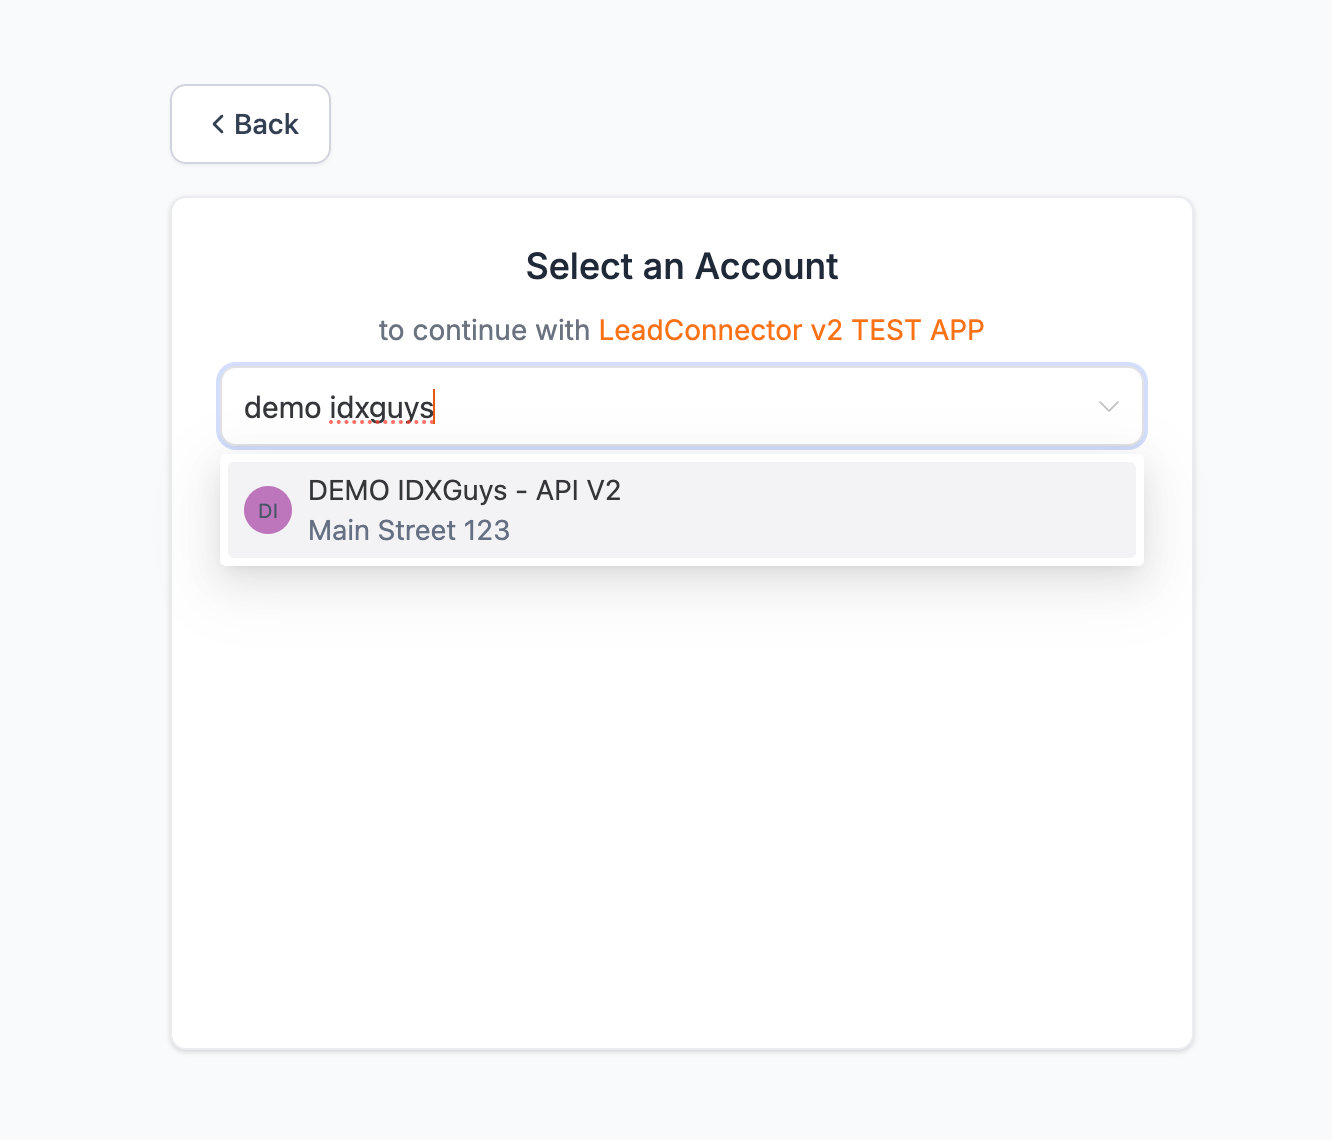
Select the GHL subaccount you want to use for the Principal IDX Broker account.
-
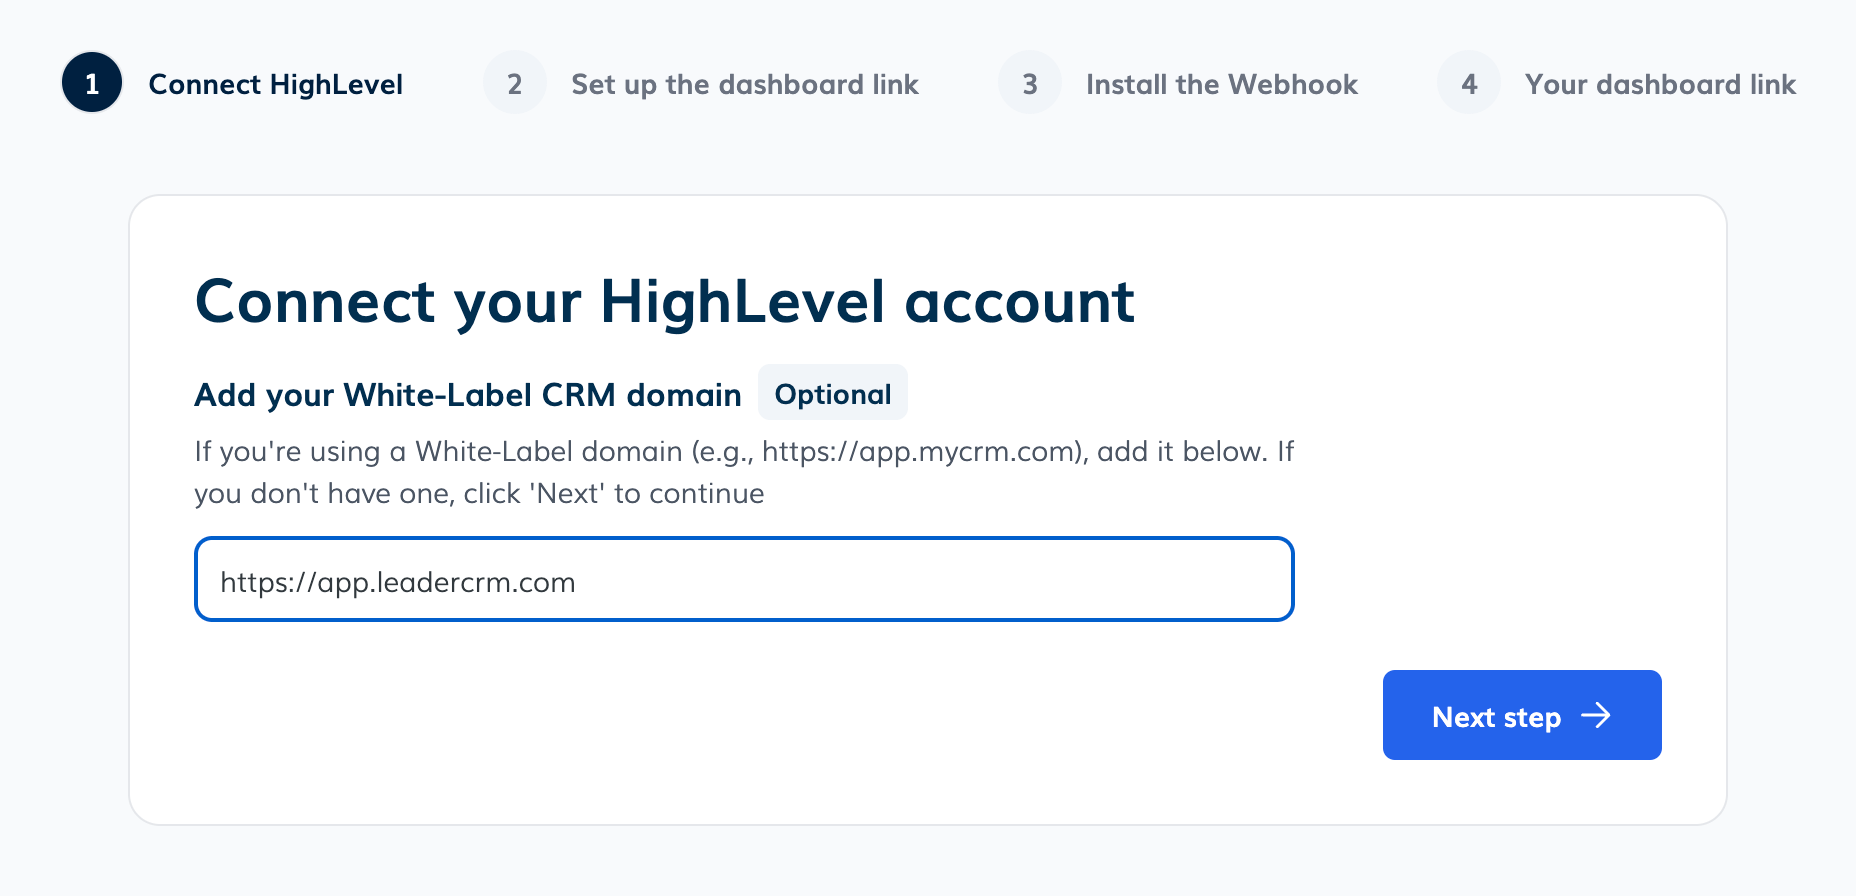
White-Label CRM Domain (optional)
Add your white-label CRM domain. This step is optional, if you don't have a white-label CRM domain, you can skip it by clicking on "Next step".
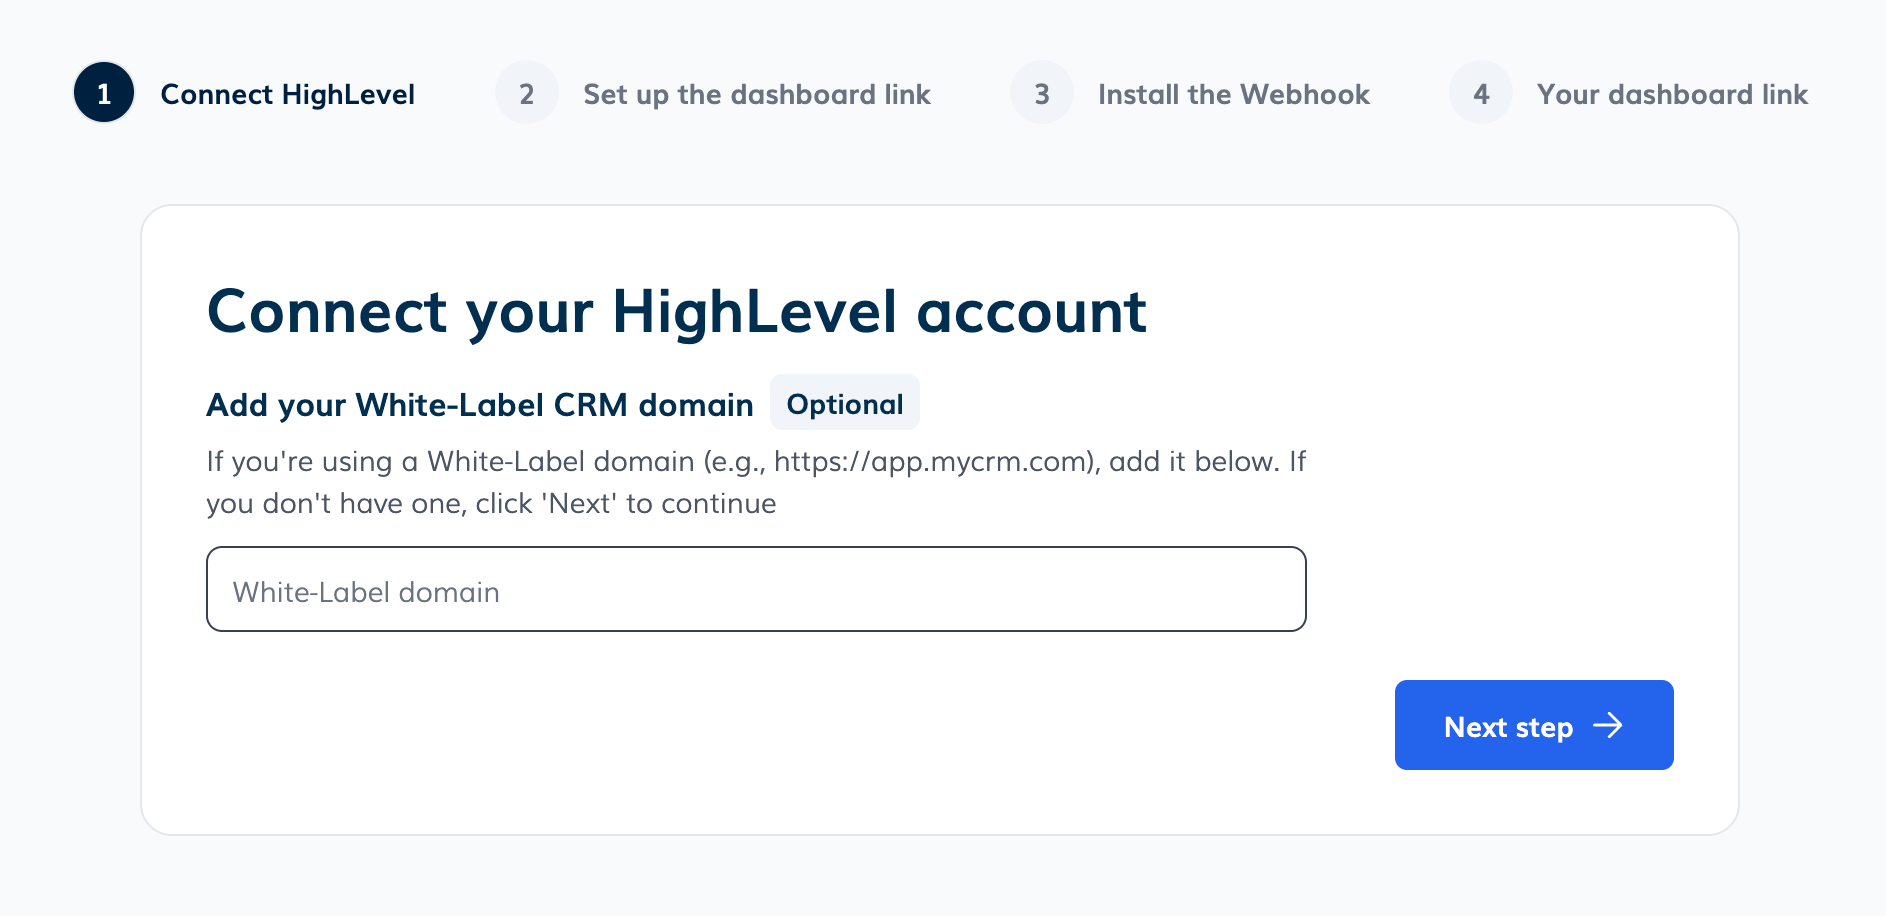
This is an example of a white-label CRM domain.
-
Custom Fields
You will be asked to add custom fields to your GHL subaccount. These fields will be used to store the leads' activity data.
We recommend adding all the custom fields to your GHL subaccount. This is fully customizable and they can be updated at any time on the LeadConnector Advanced Settings app.
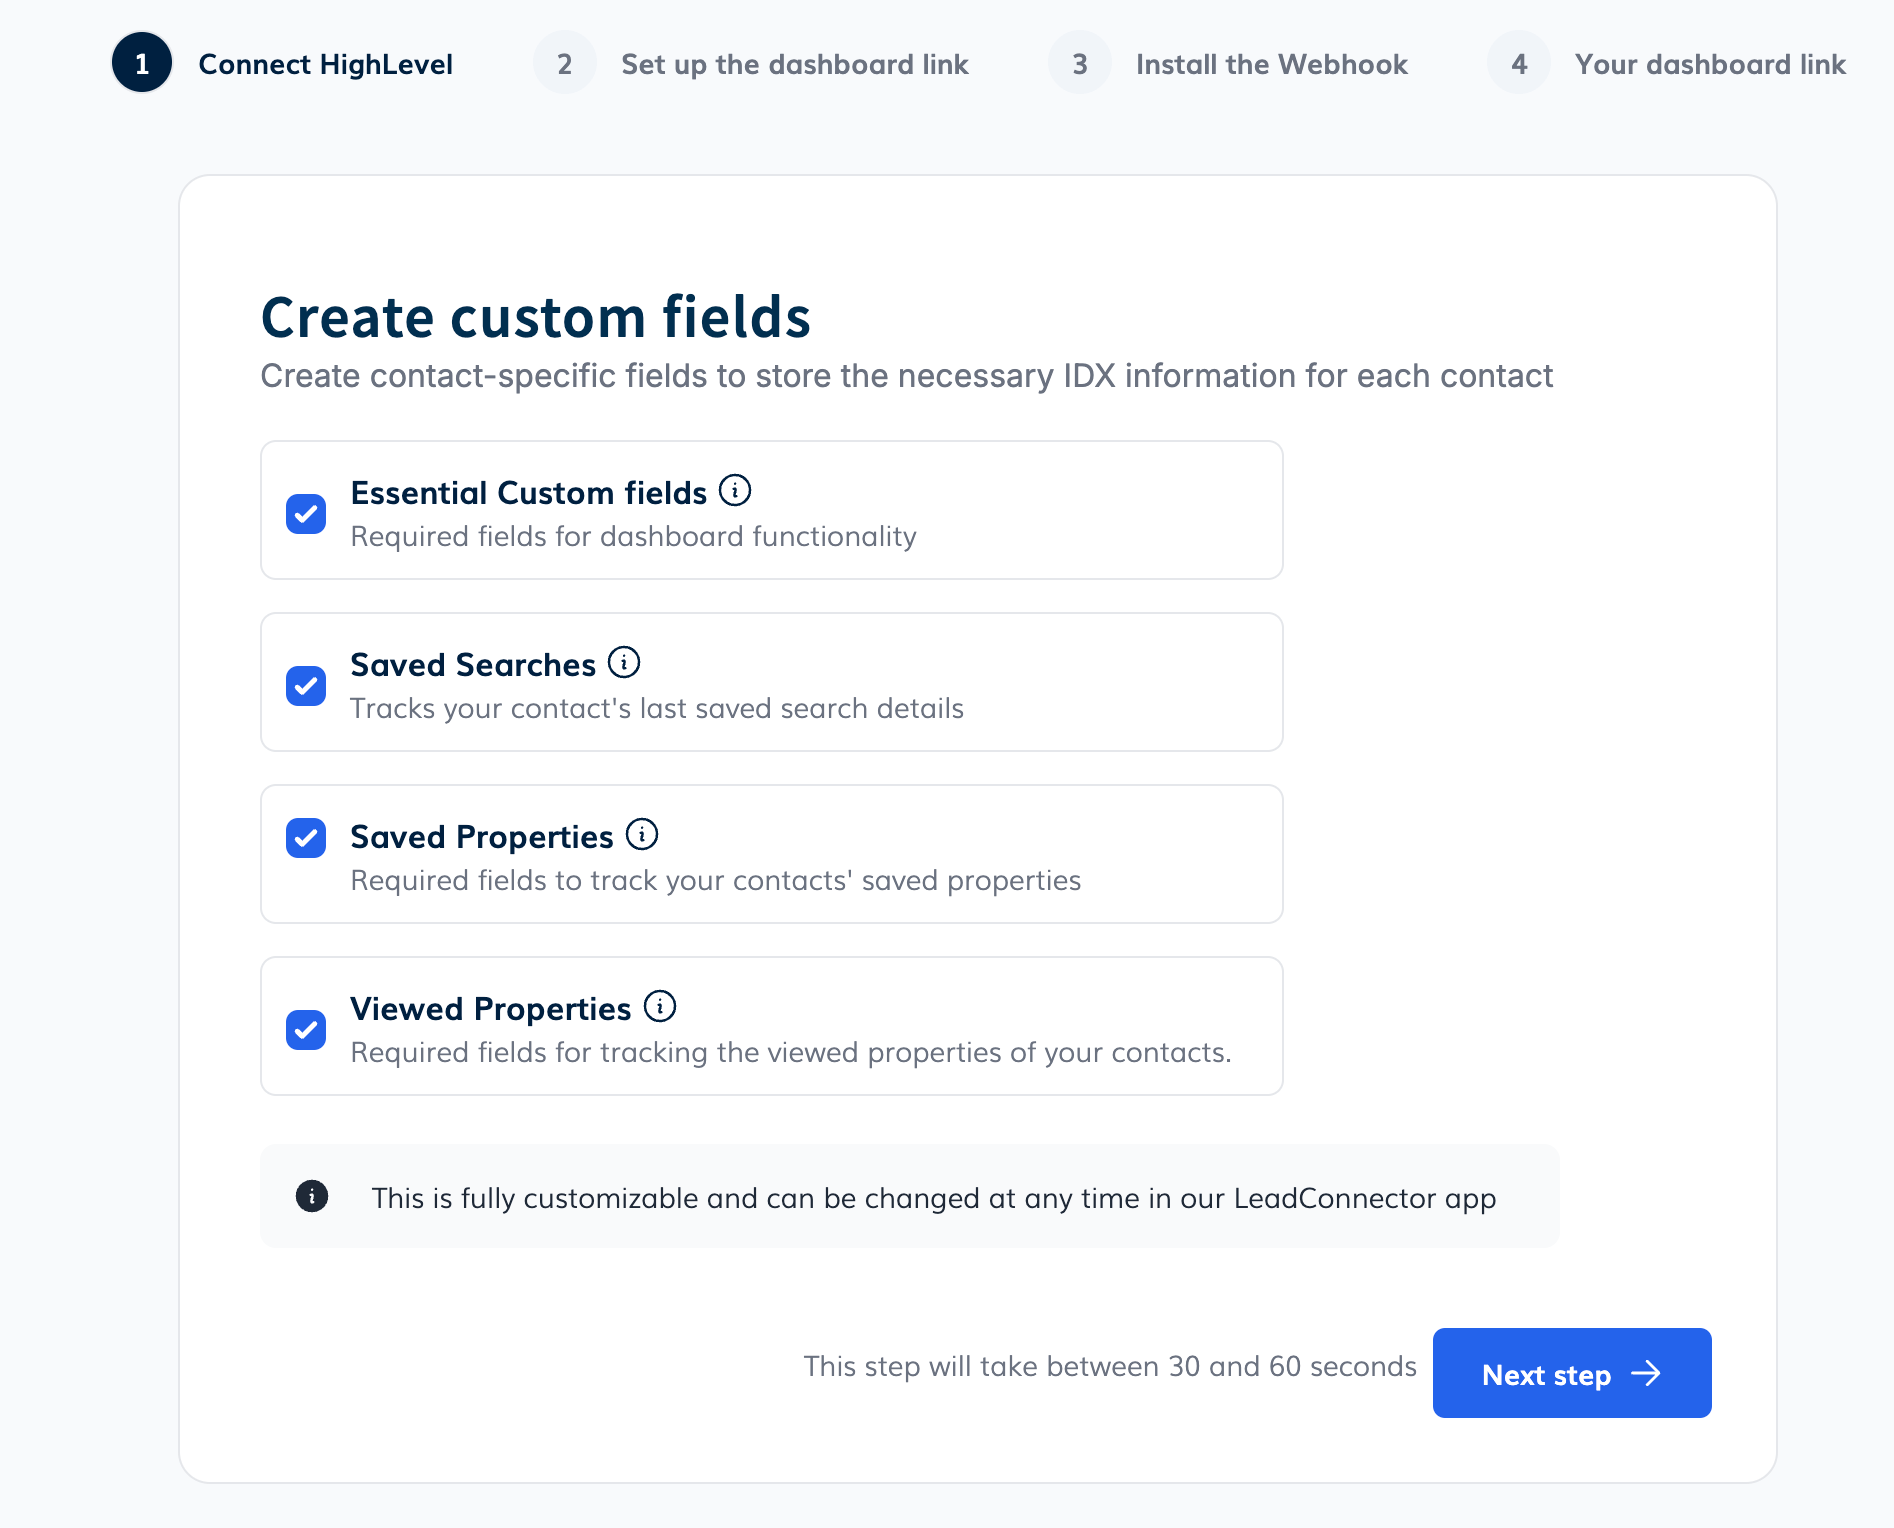
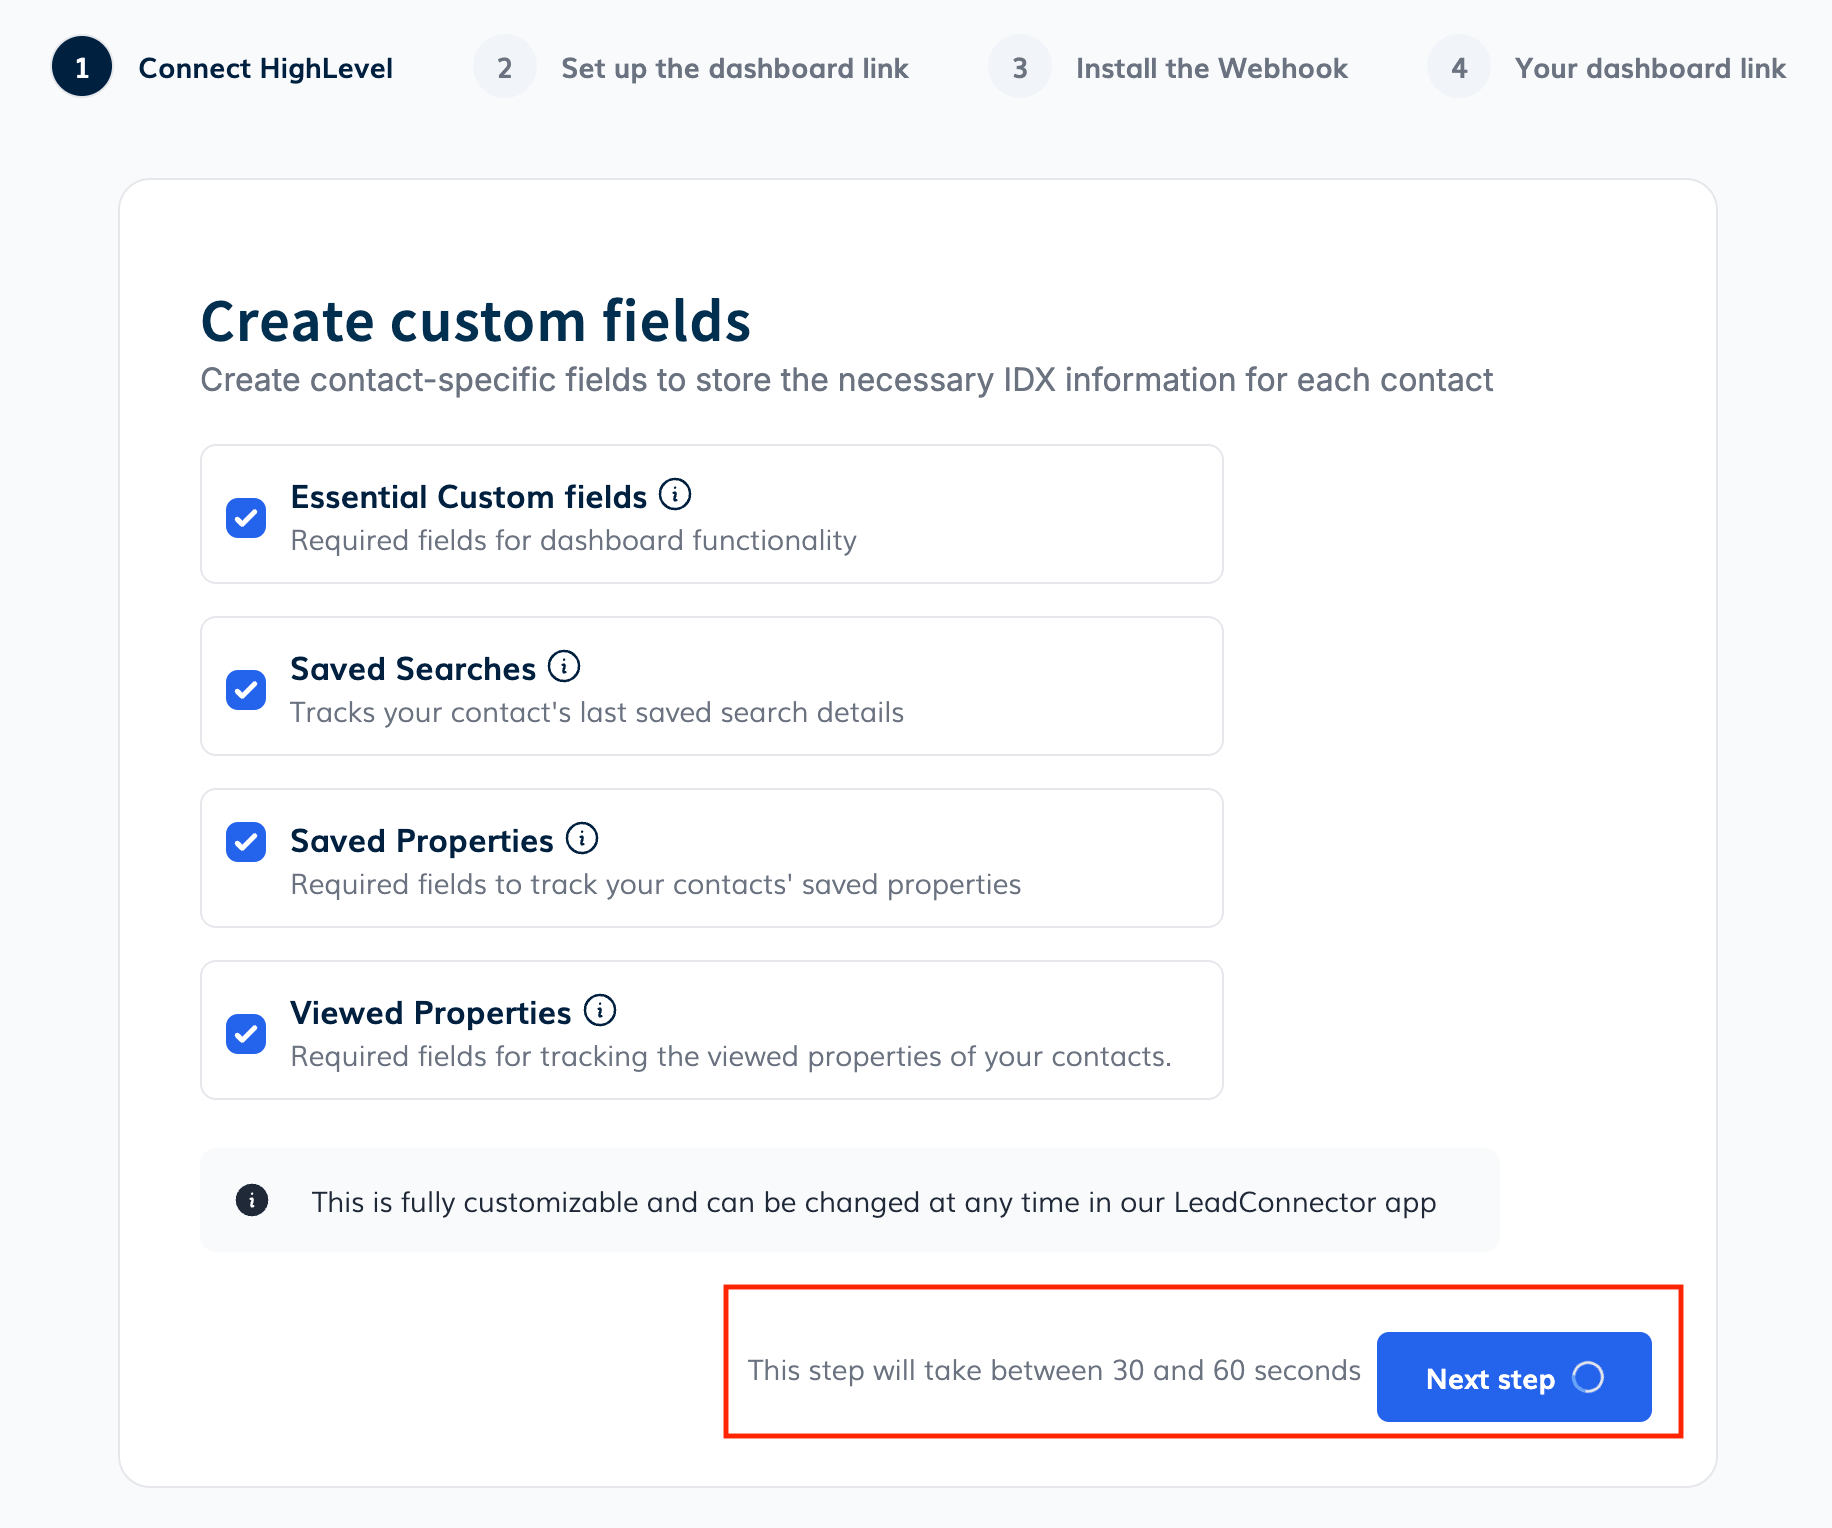
This process will take from 30 seconds to 1 minute.
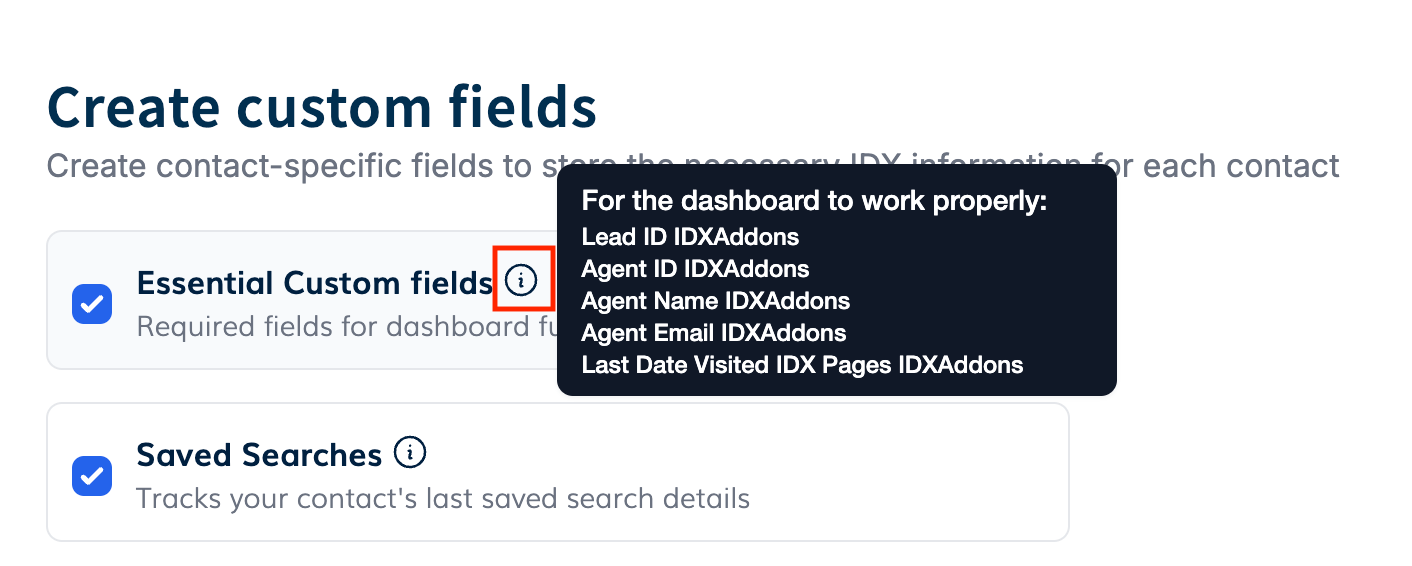
If you hover over the information icon, you will see the custom fields that will be added to your GHL subaccount.
-
Dashboard Link
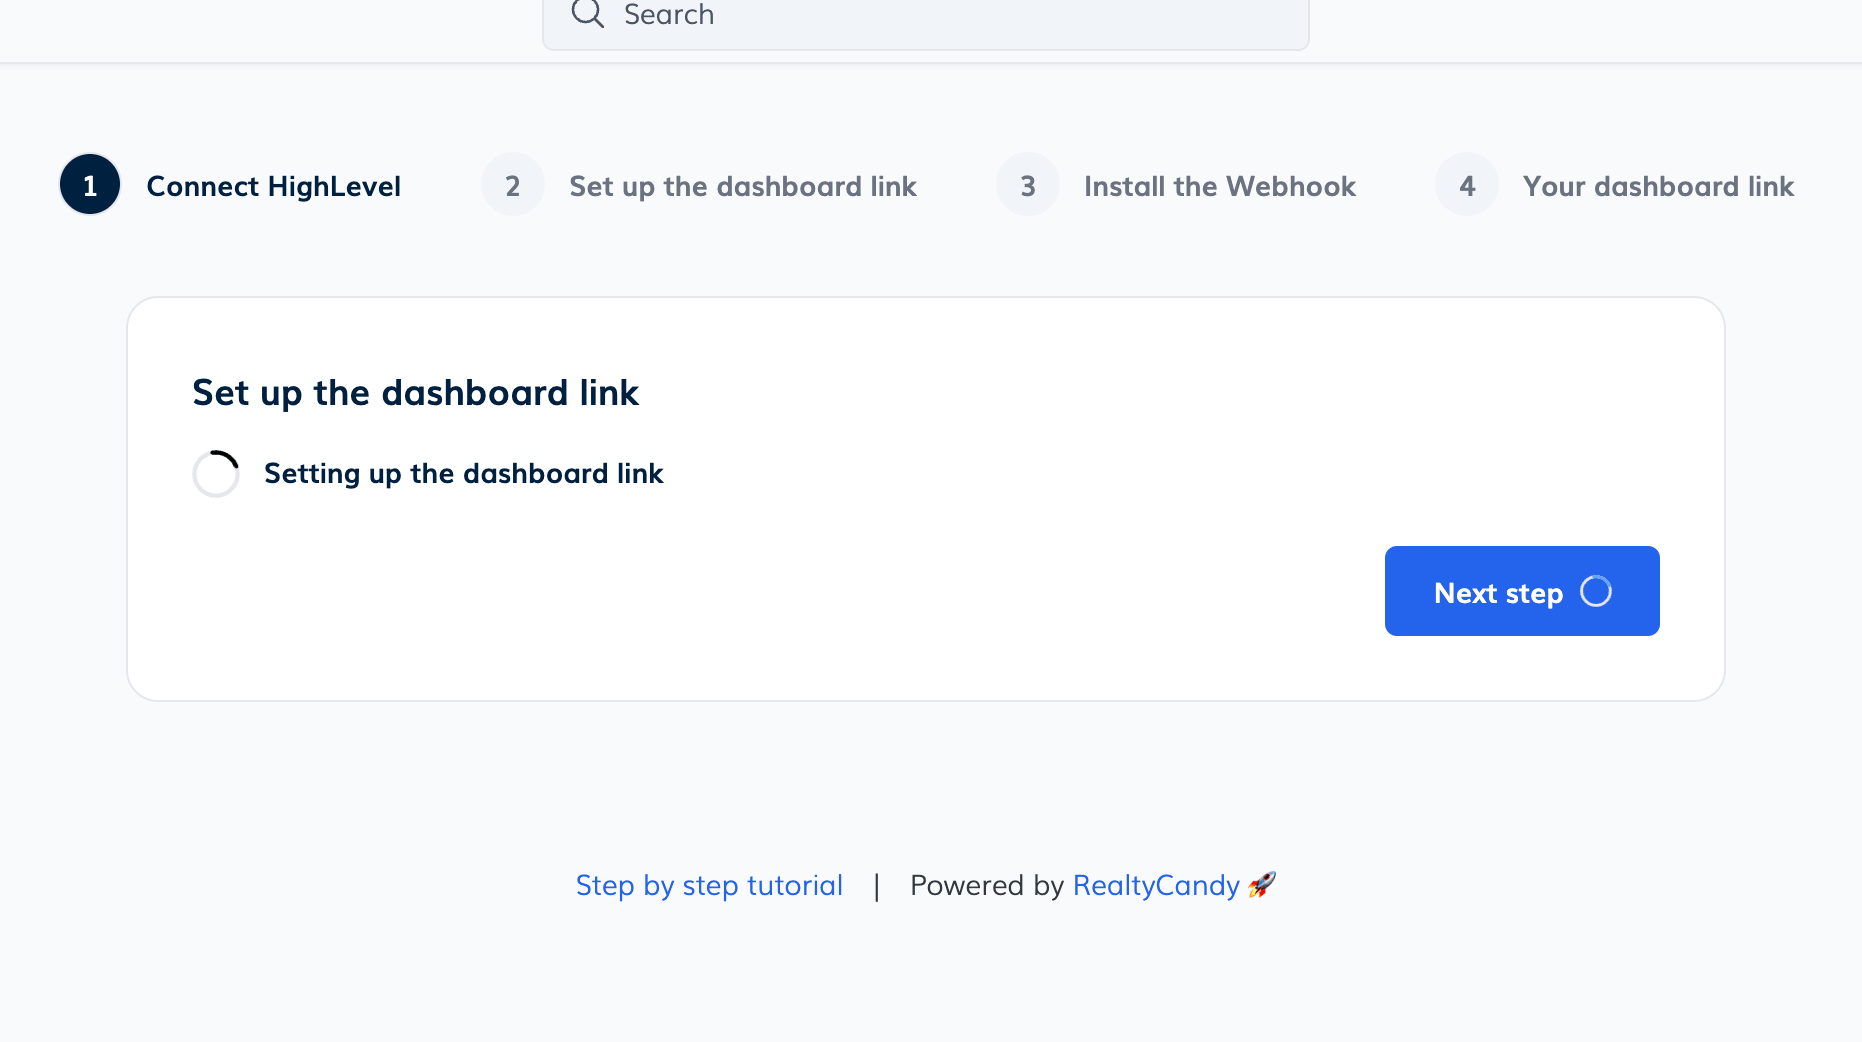
Then you will see that the dashboard link will be created
-
Install the Webhook
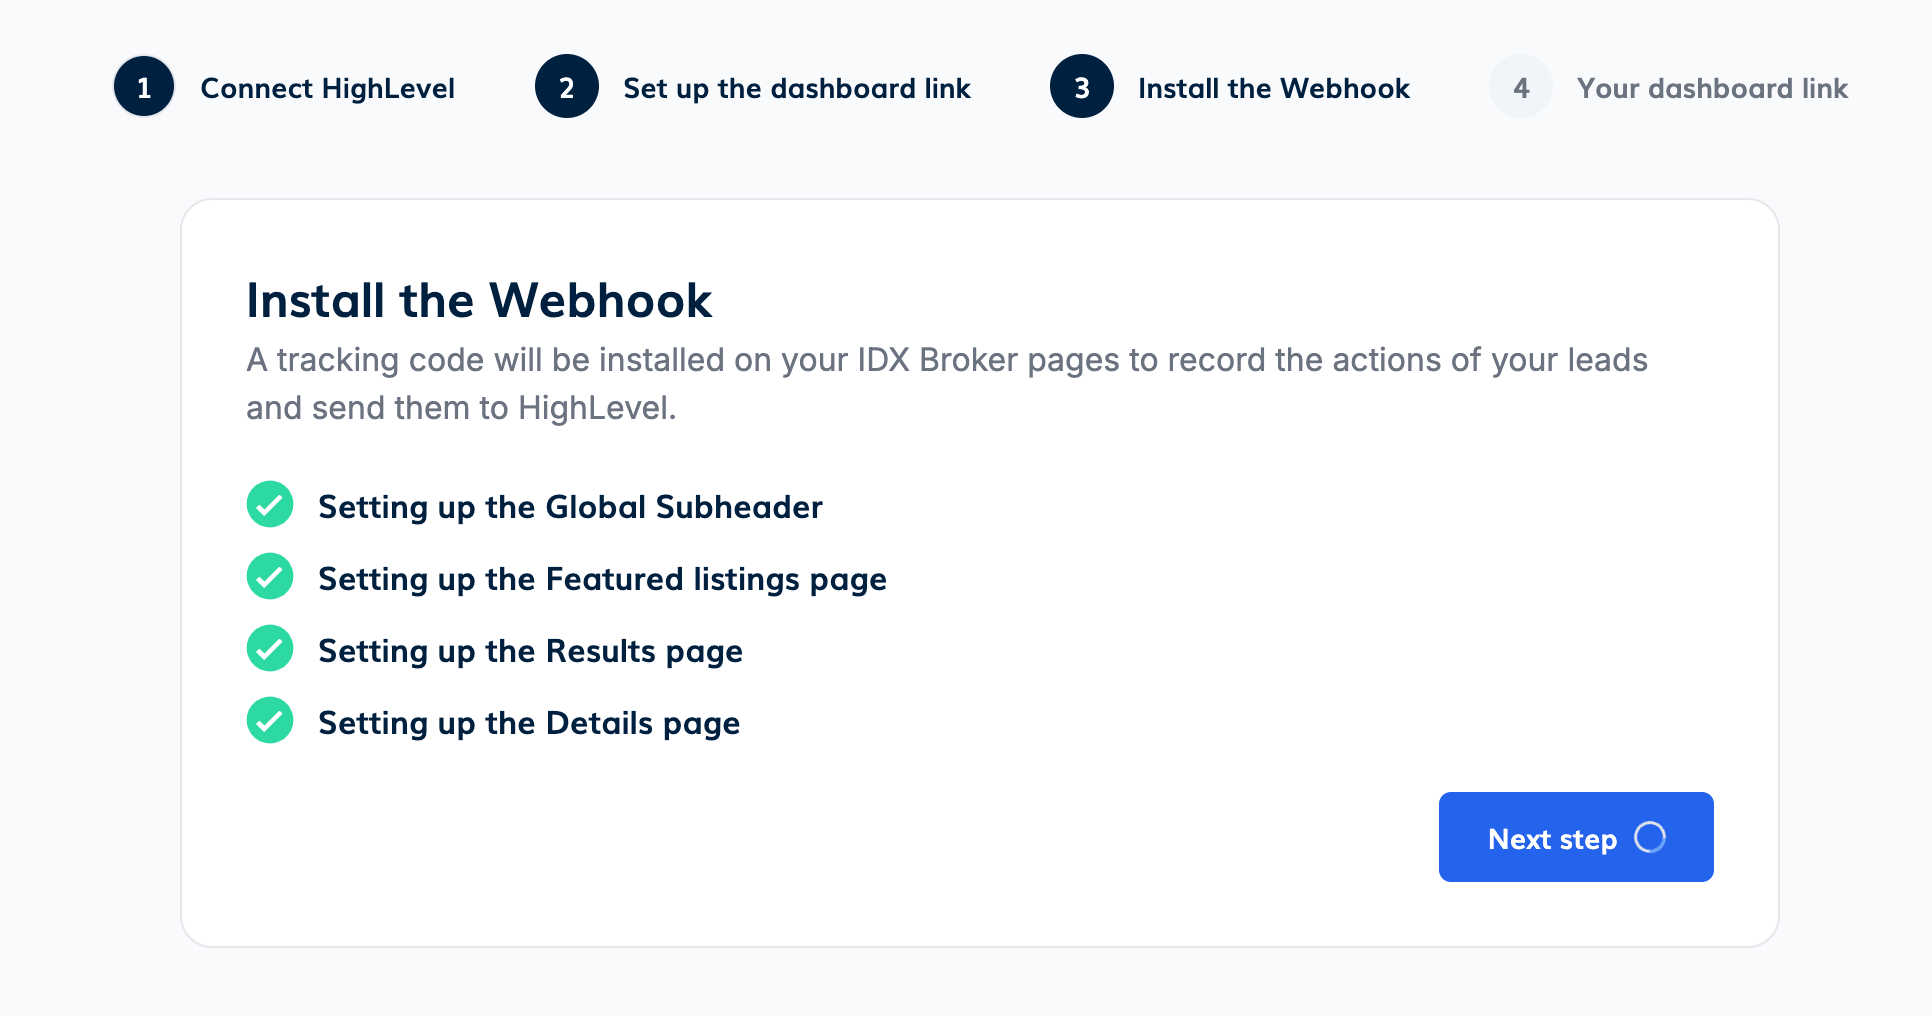
Now the webhook will be added to the IDX Broker sub-headers. This will allow to track the leads' activity on the IDX Broker pages.
If the webhook couldn't be added to an IDX Broker sub-header, you will see a red cross mark next to the page name. This means that you already have content on that sub-header page and you need to add the webhook manually.
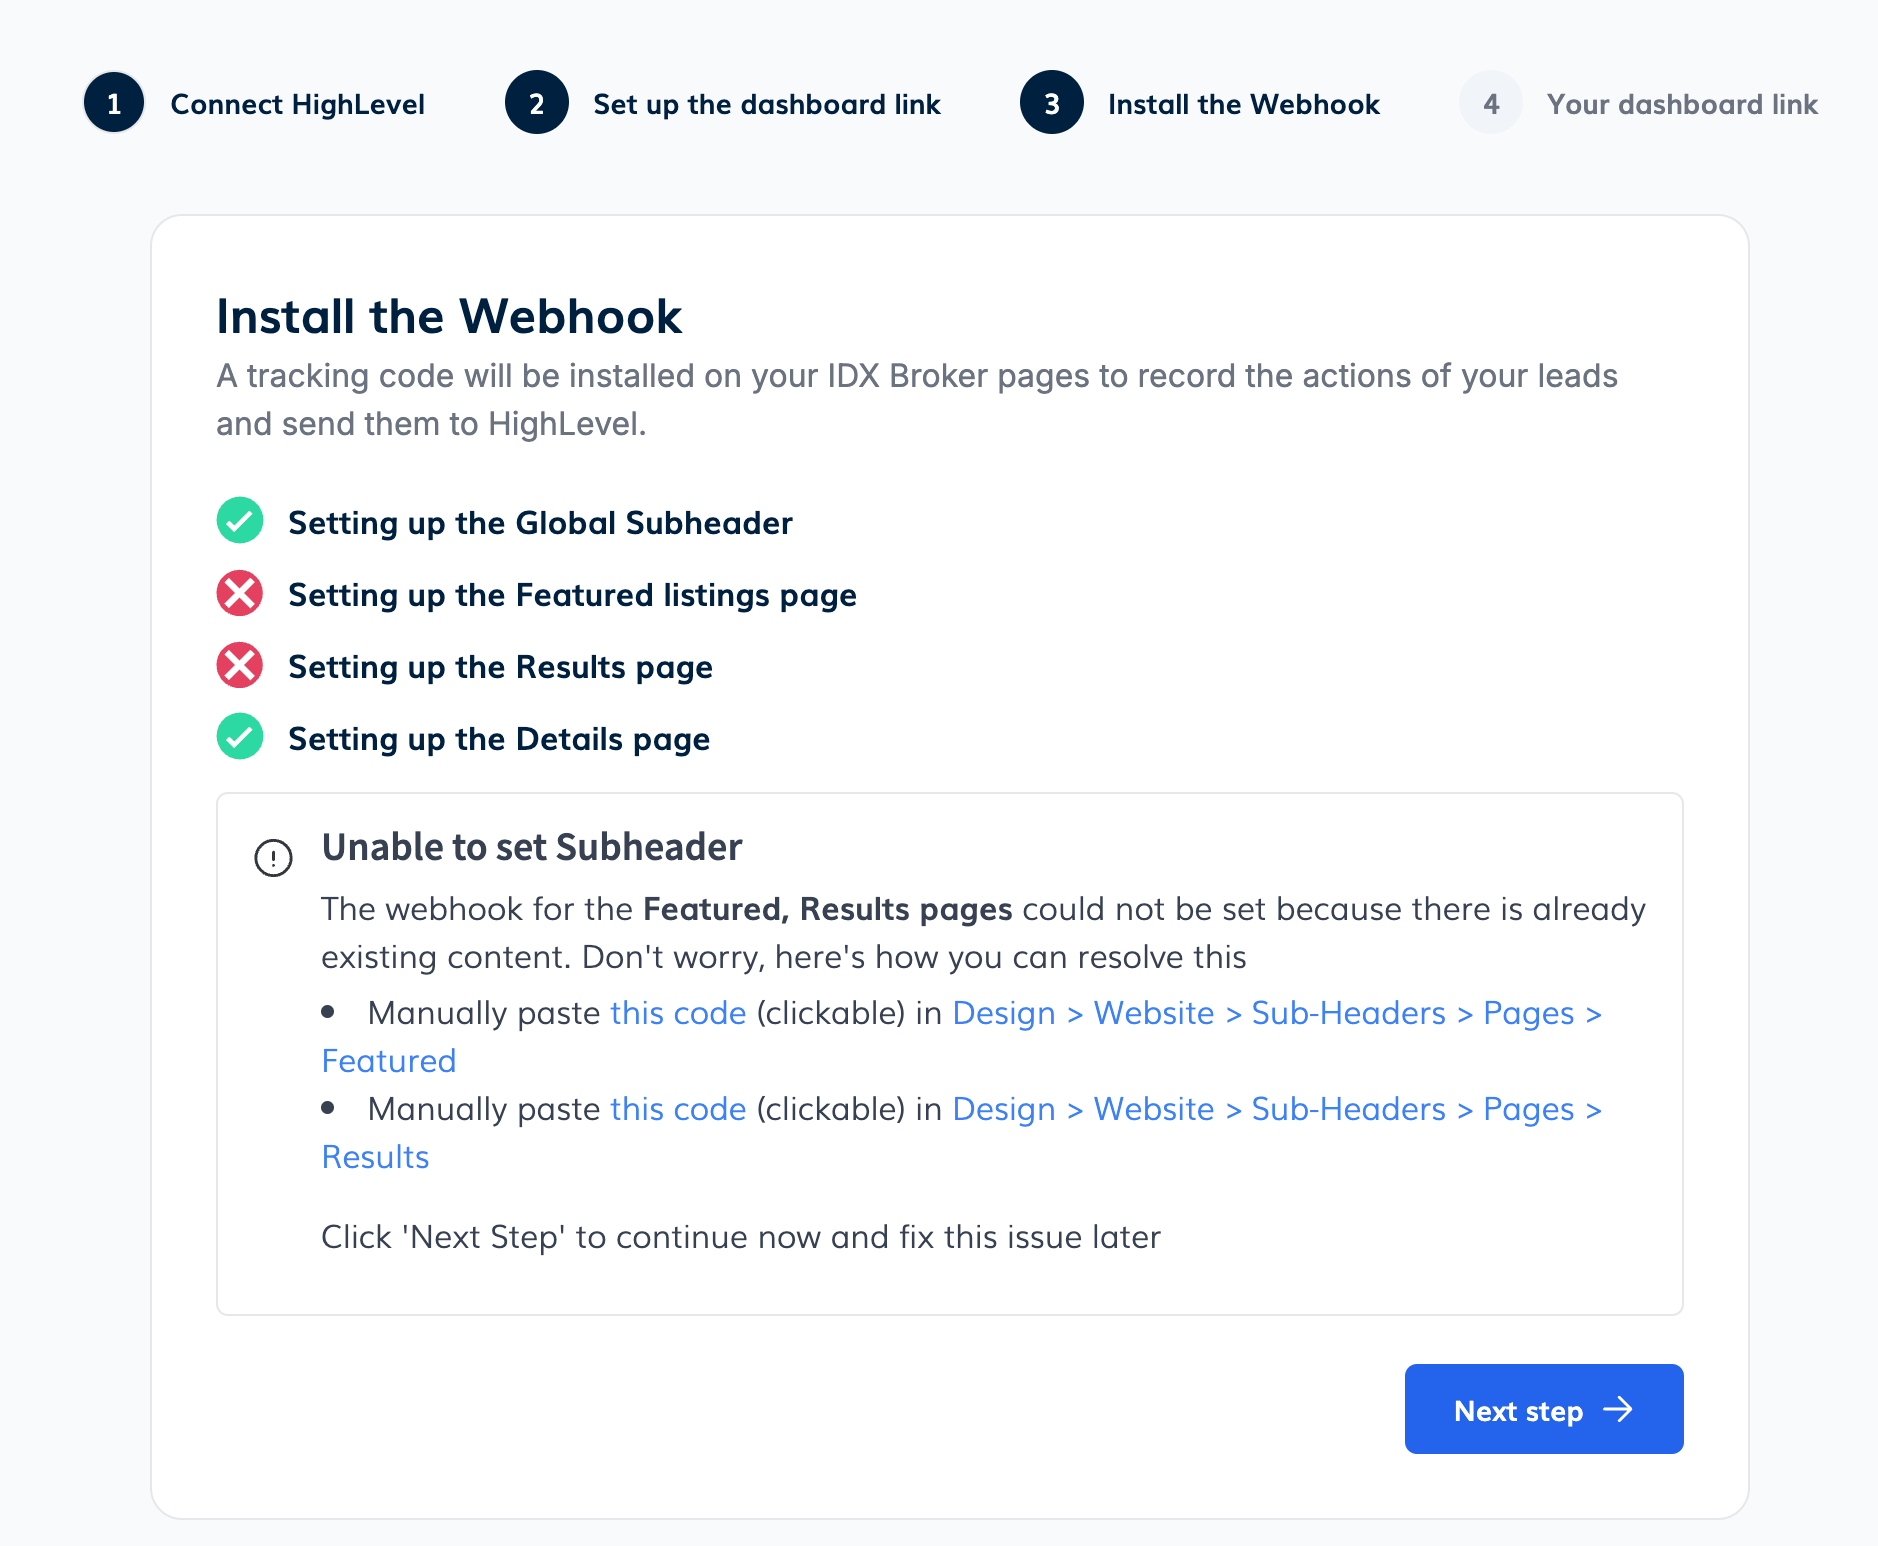
To do that, go to the IDX Sub-Headers page and paste the code provided in the "this code" link.
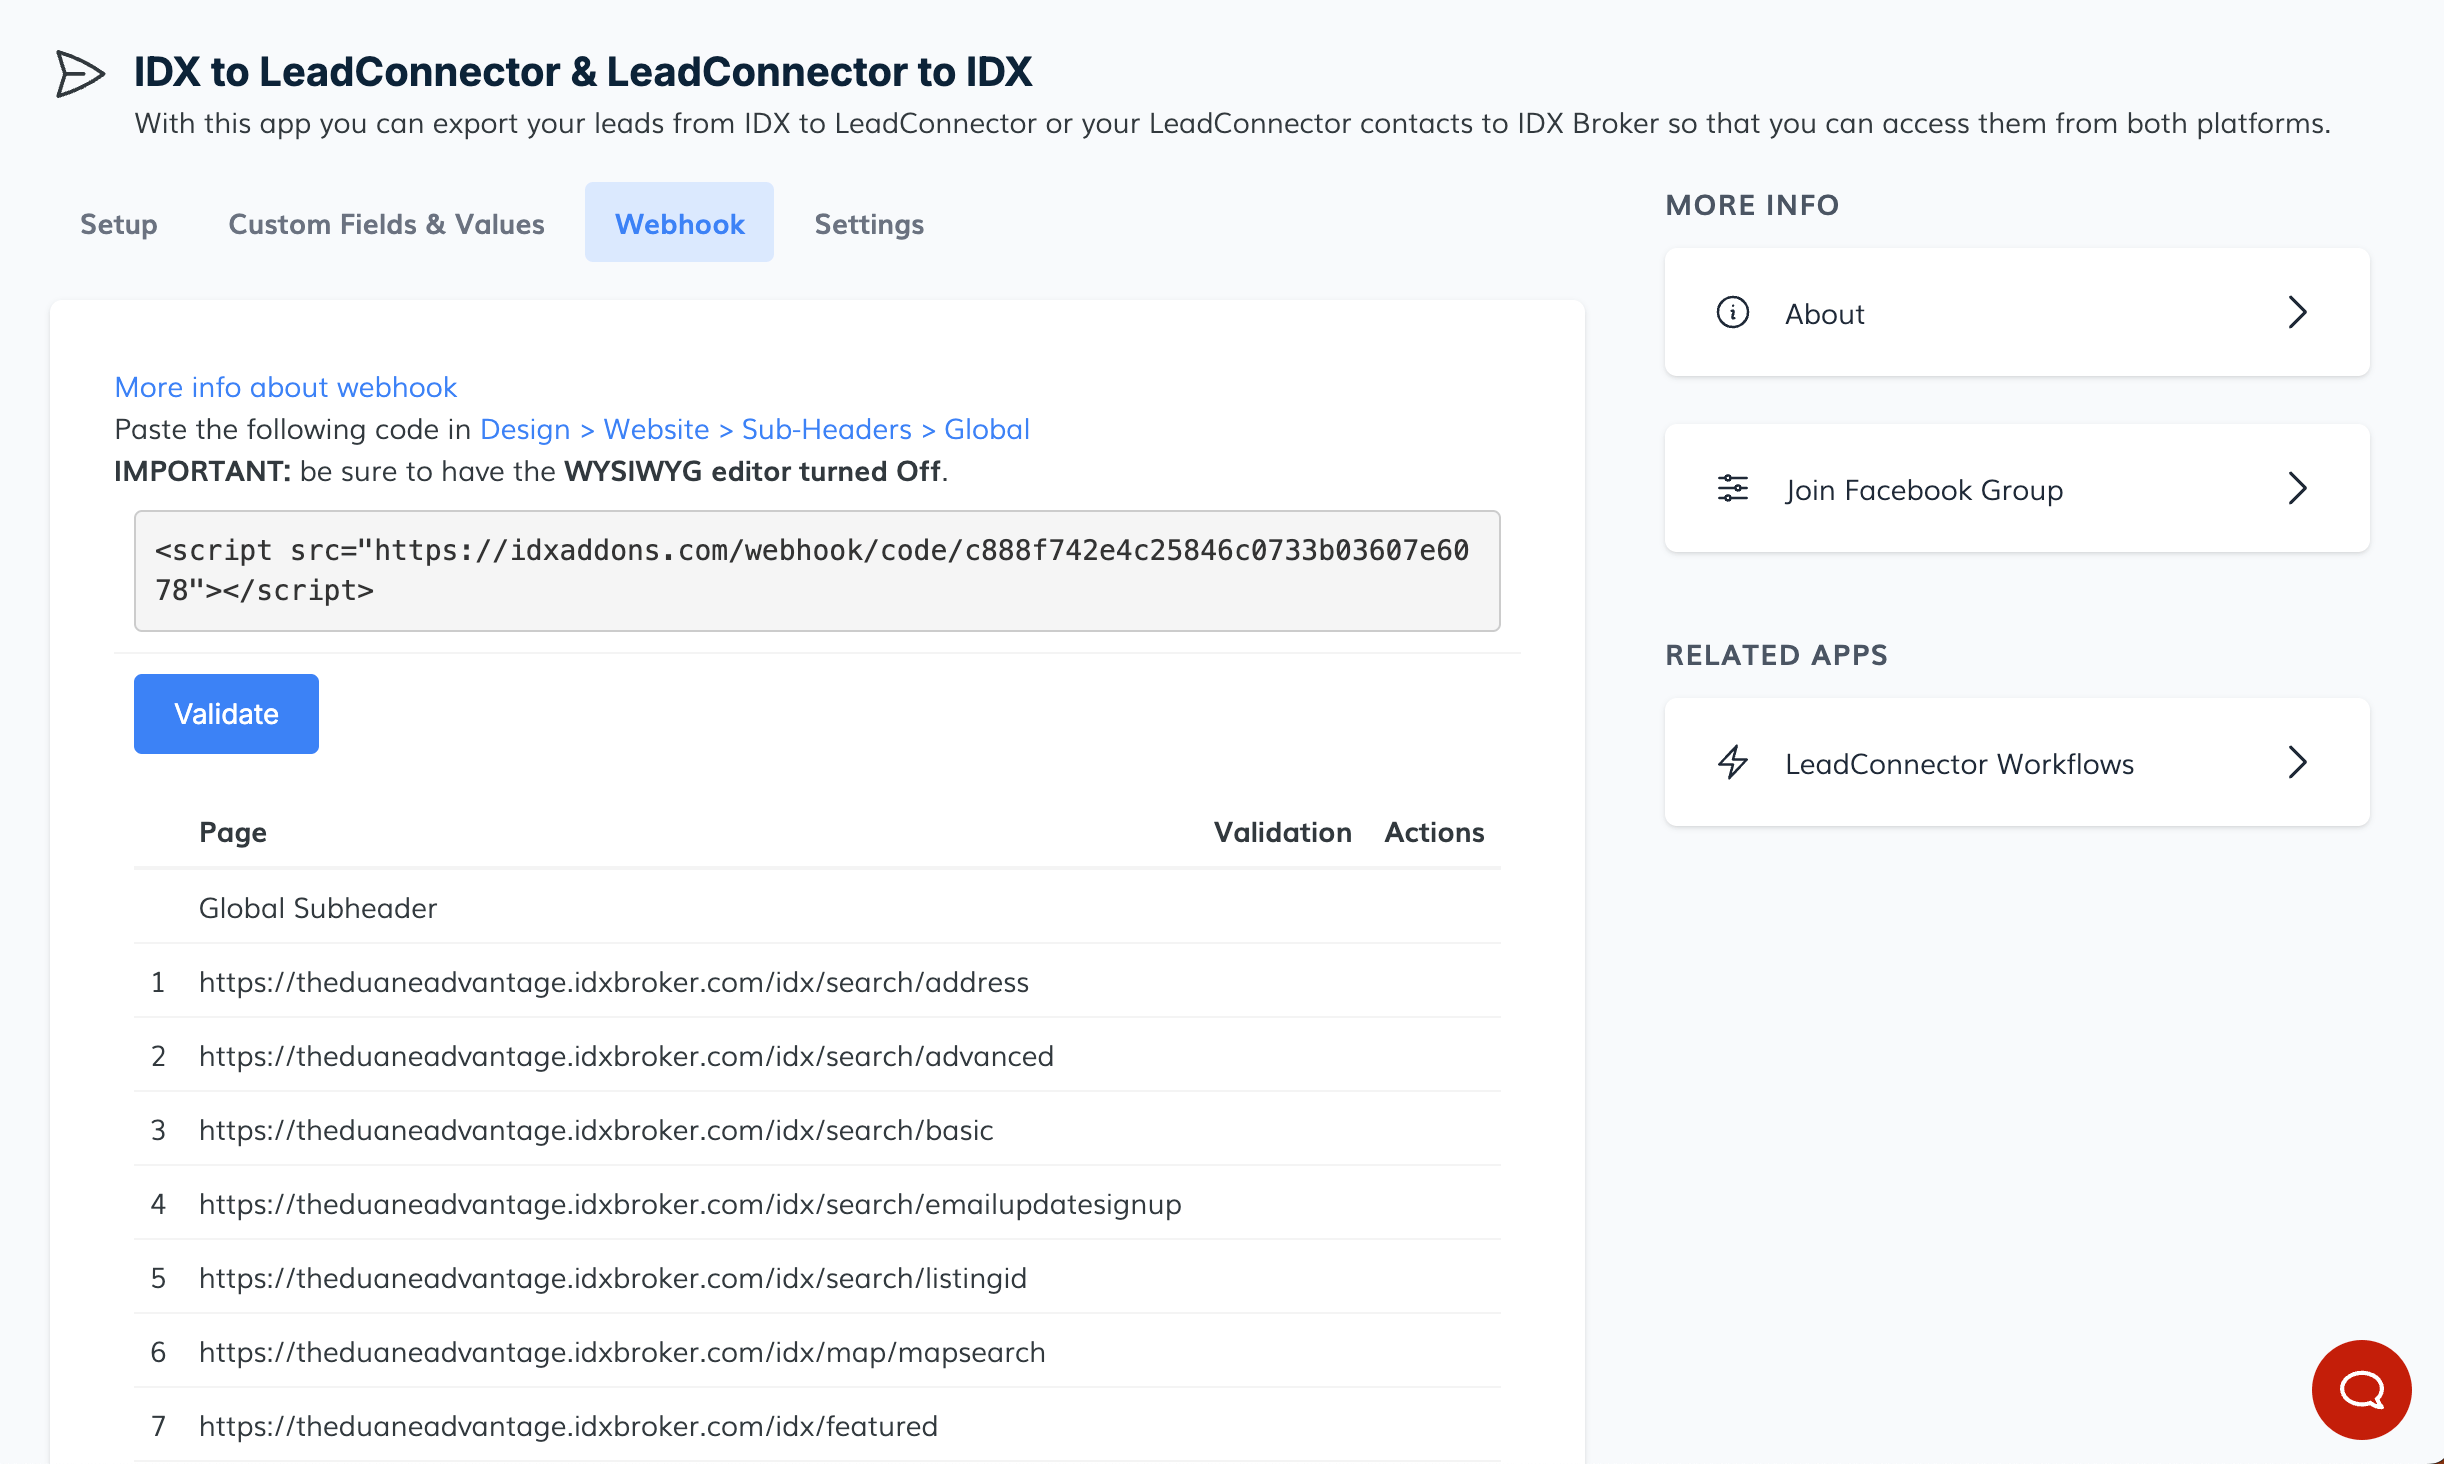
Copy the code snippet.

For example, let's say that this is the Results subheader page. Notice that it already has content, so you need to add the webhook manually.
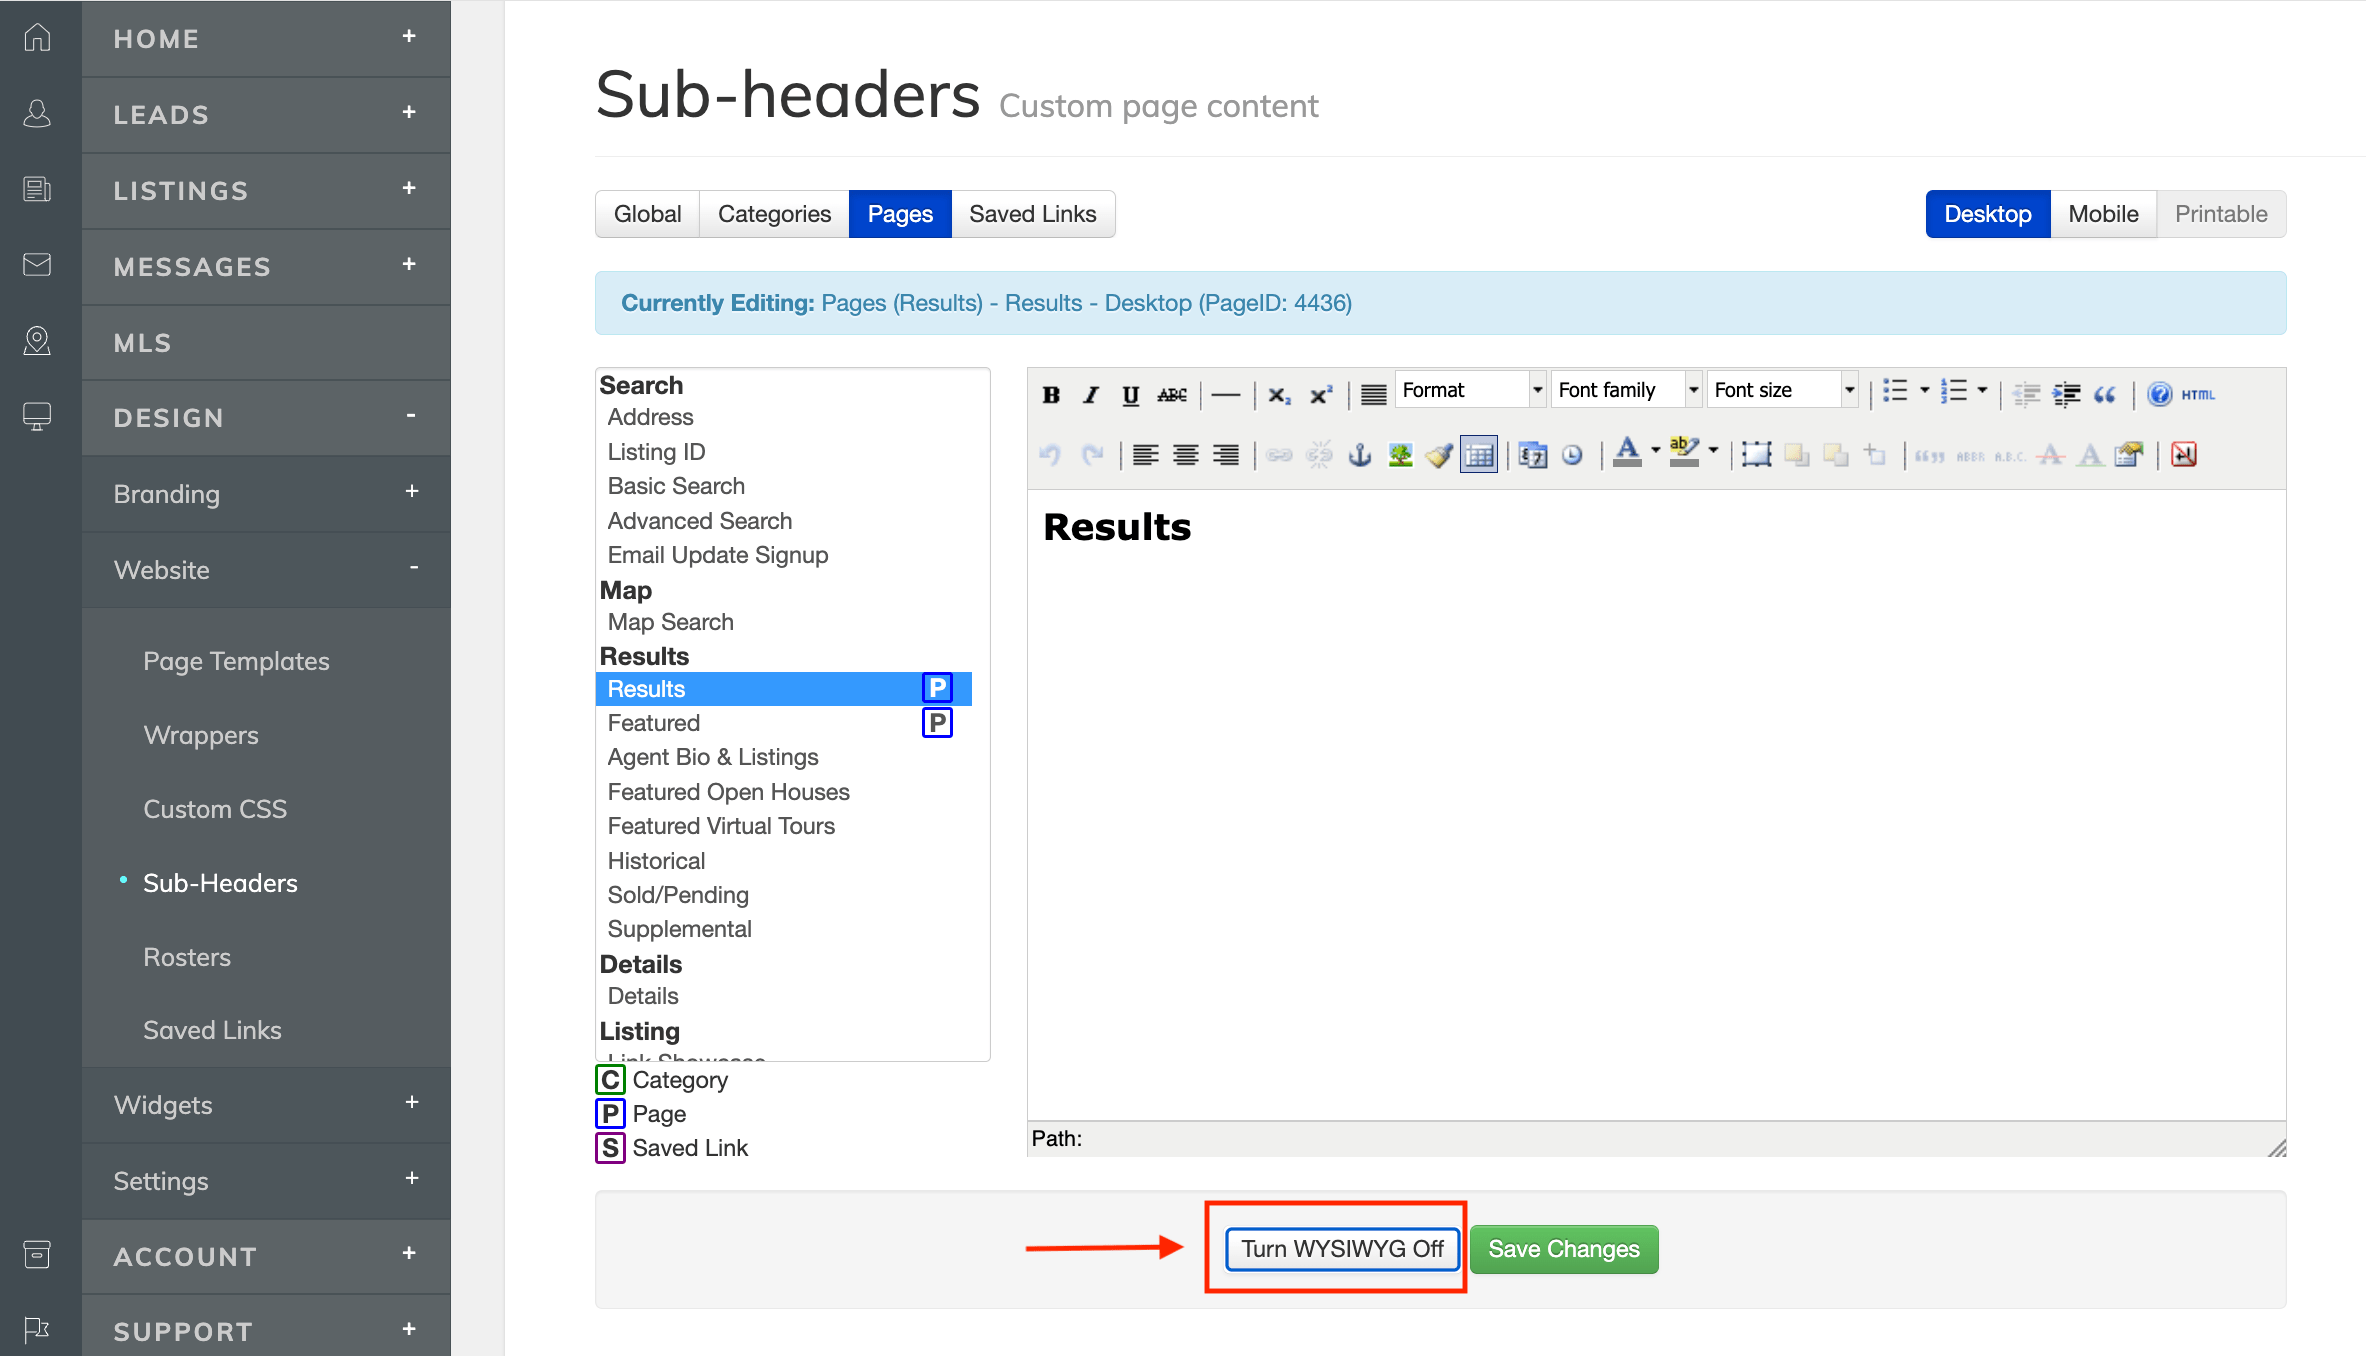
To paste it, click on "Turn WYSIWYG Off" first, so it will show the HTML code.
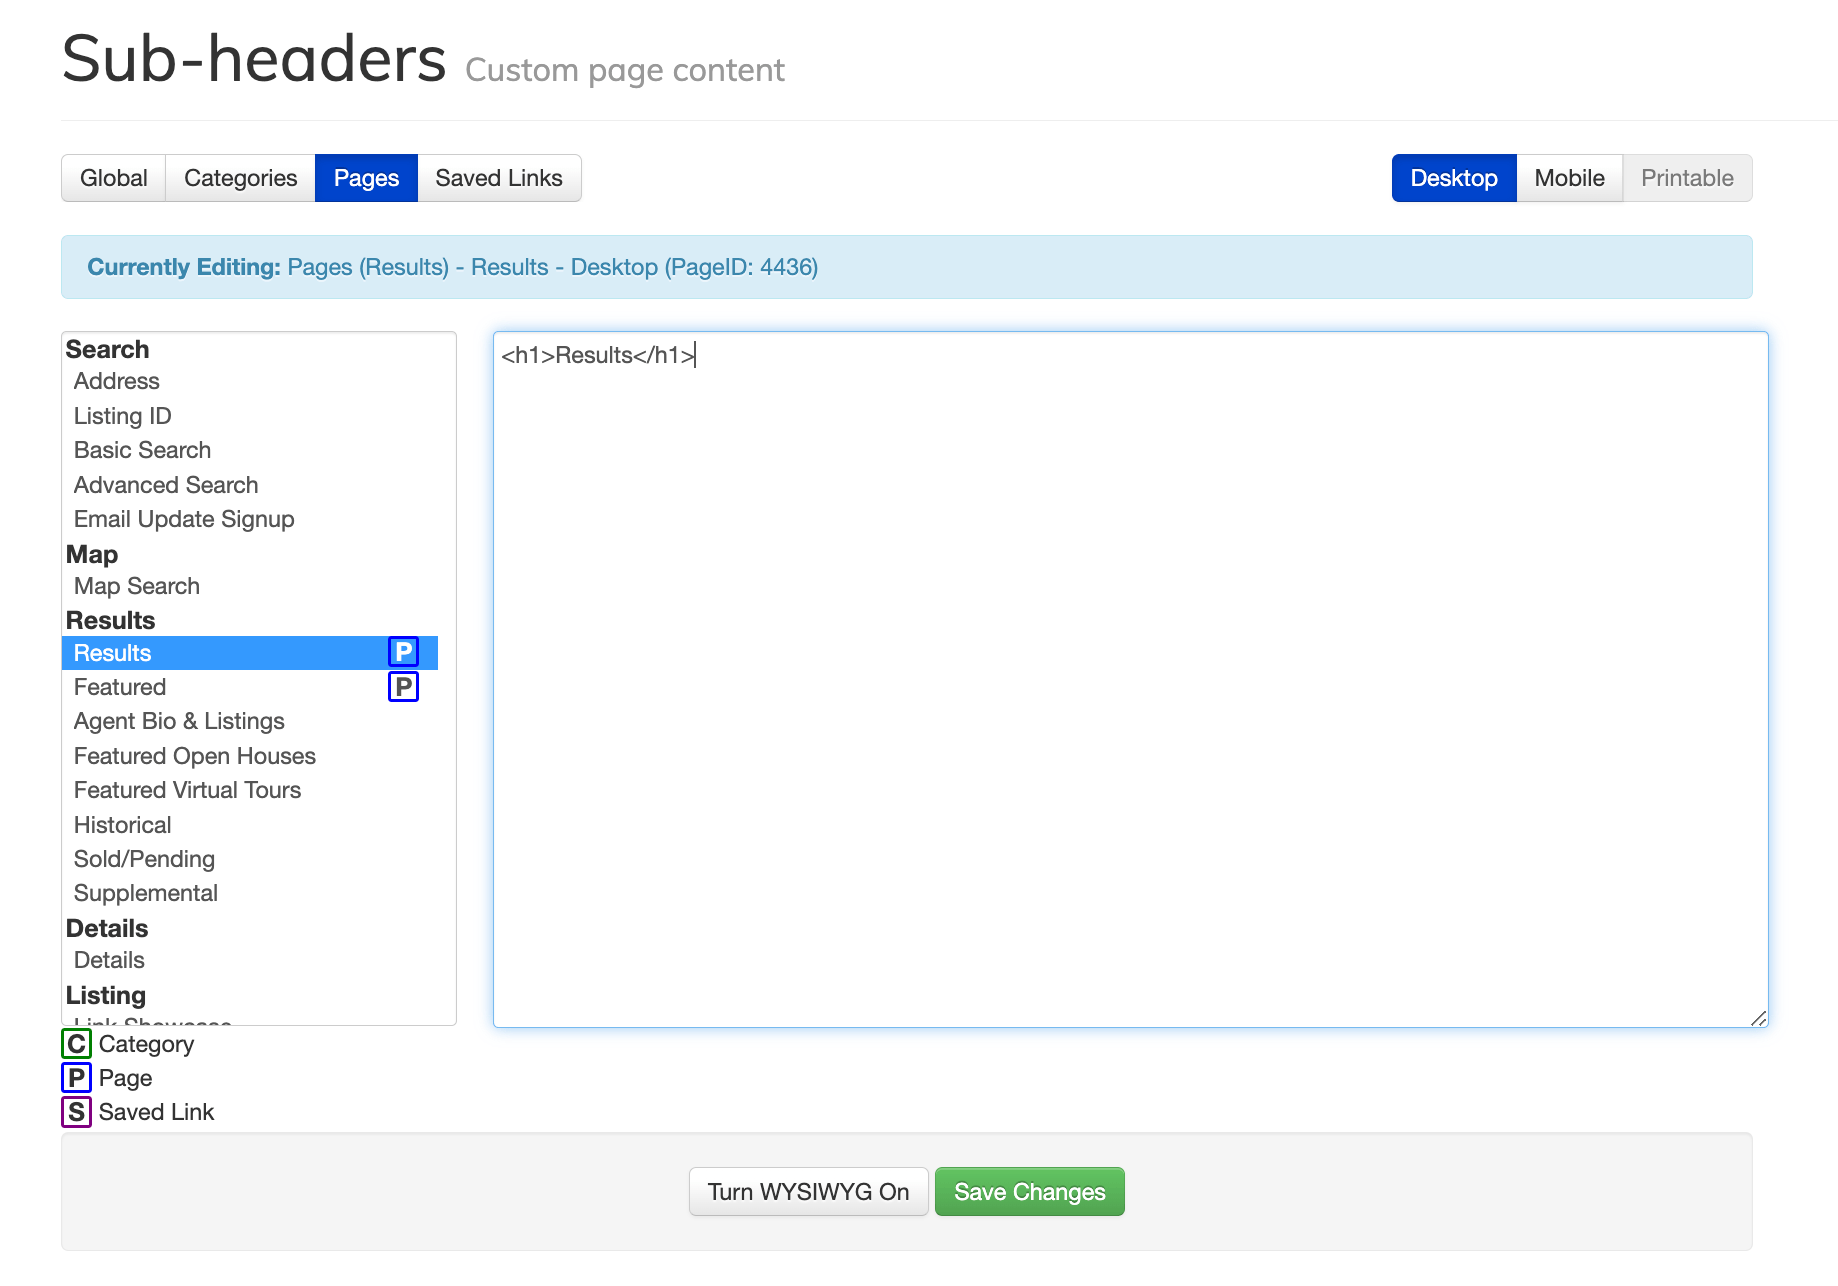
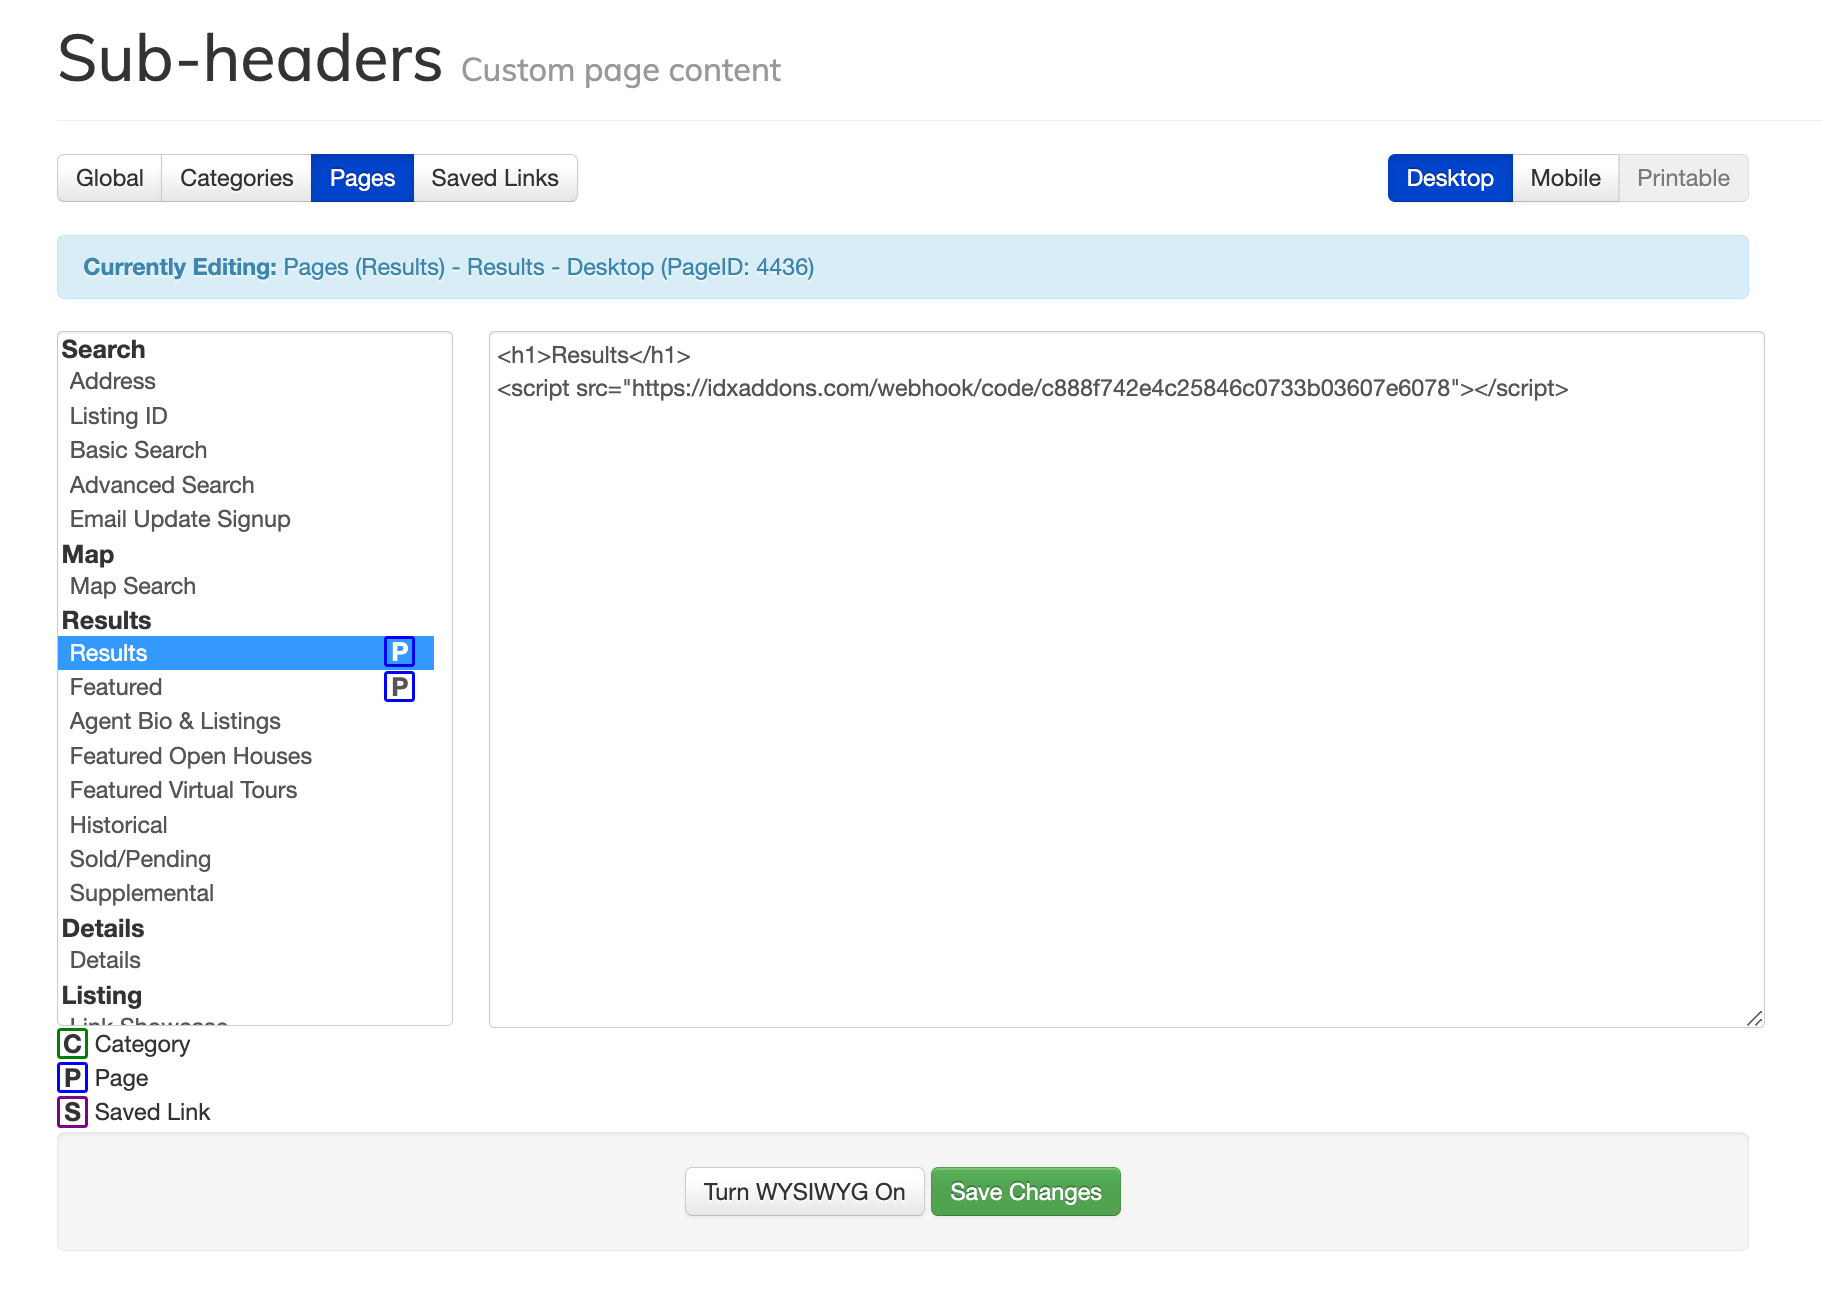
Paste the code below the existing content.
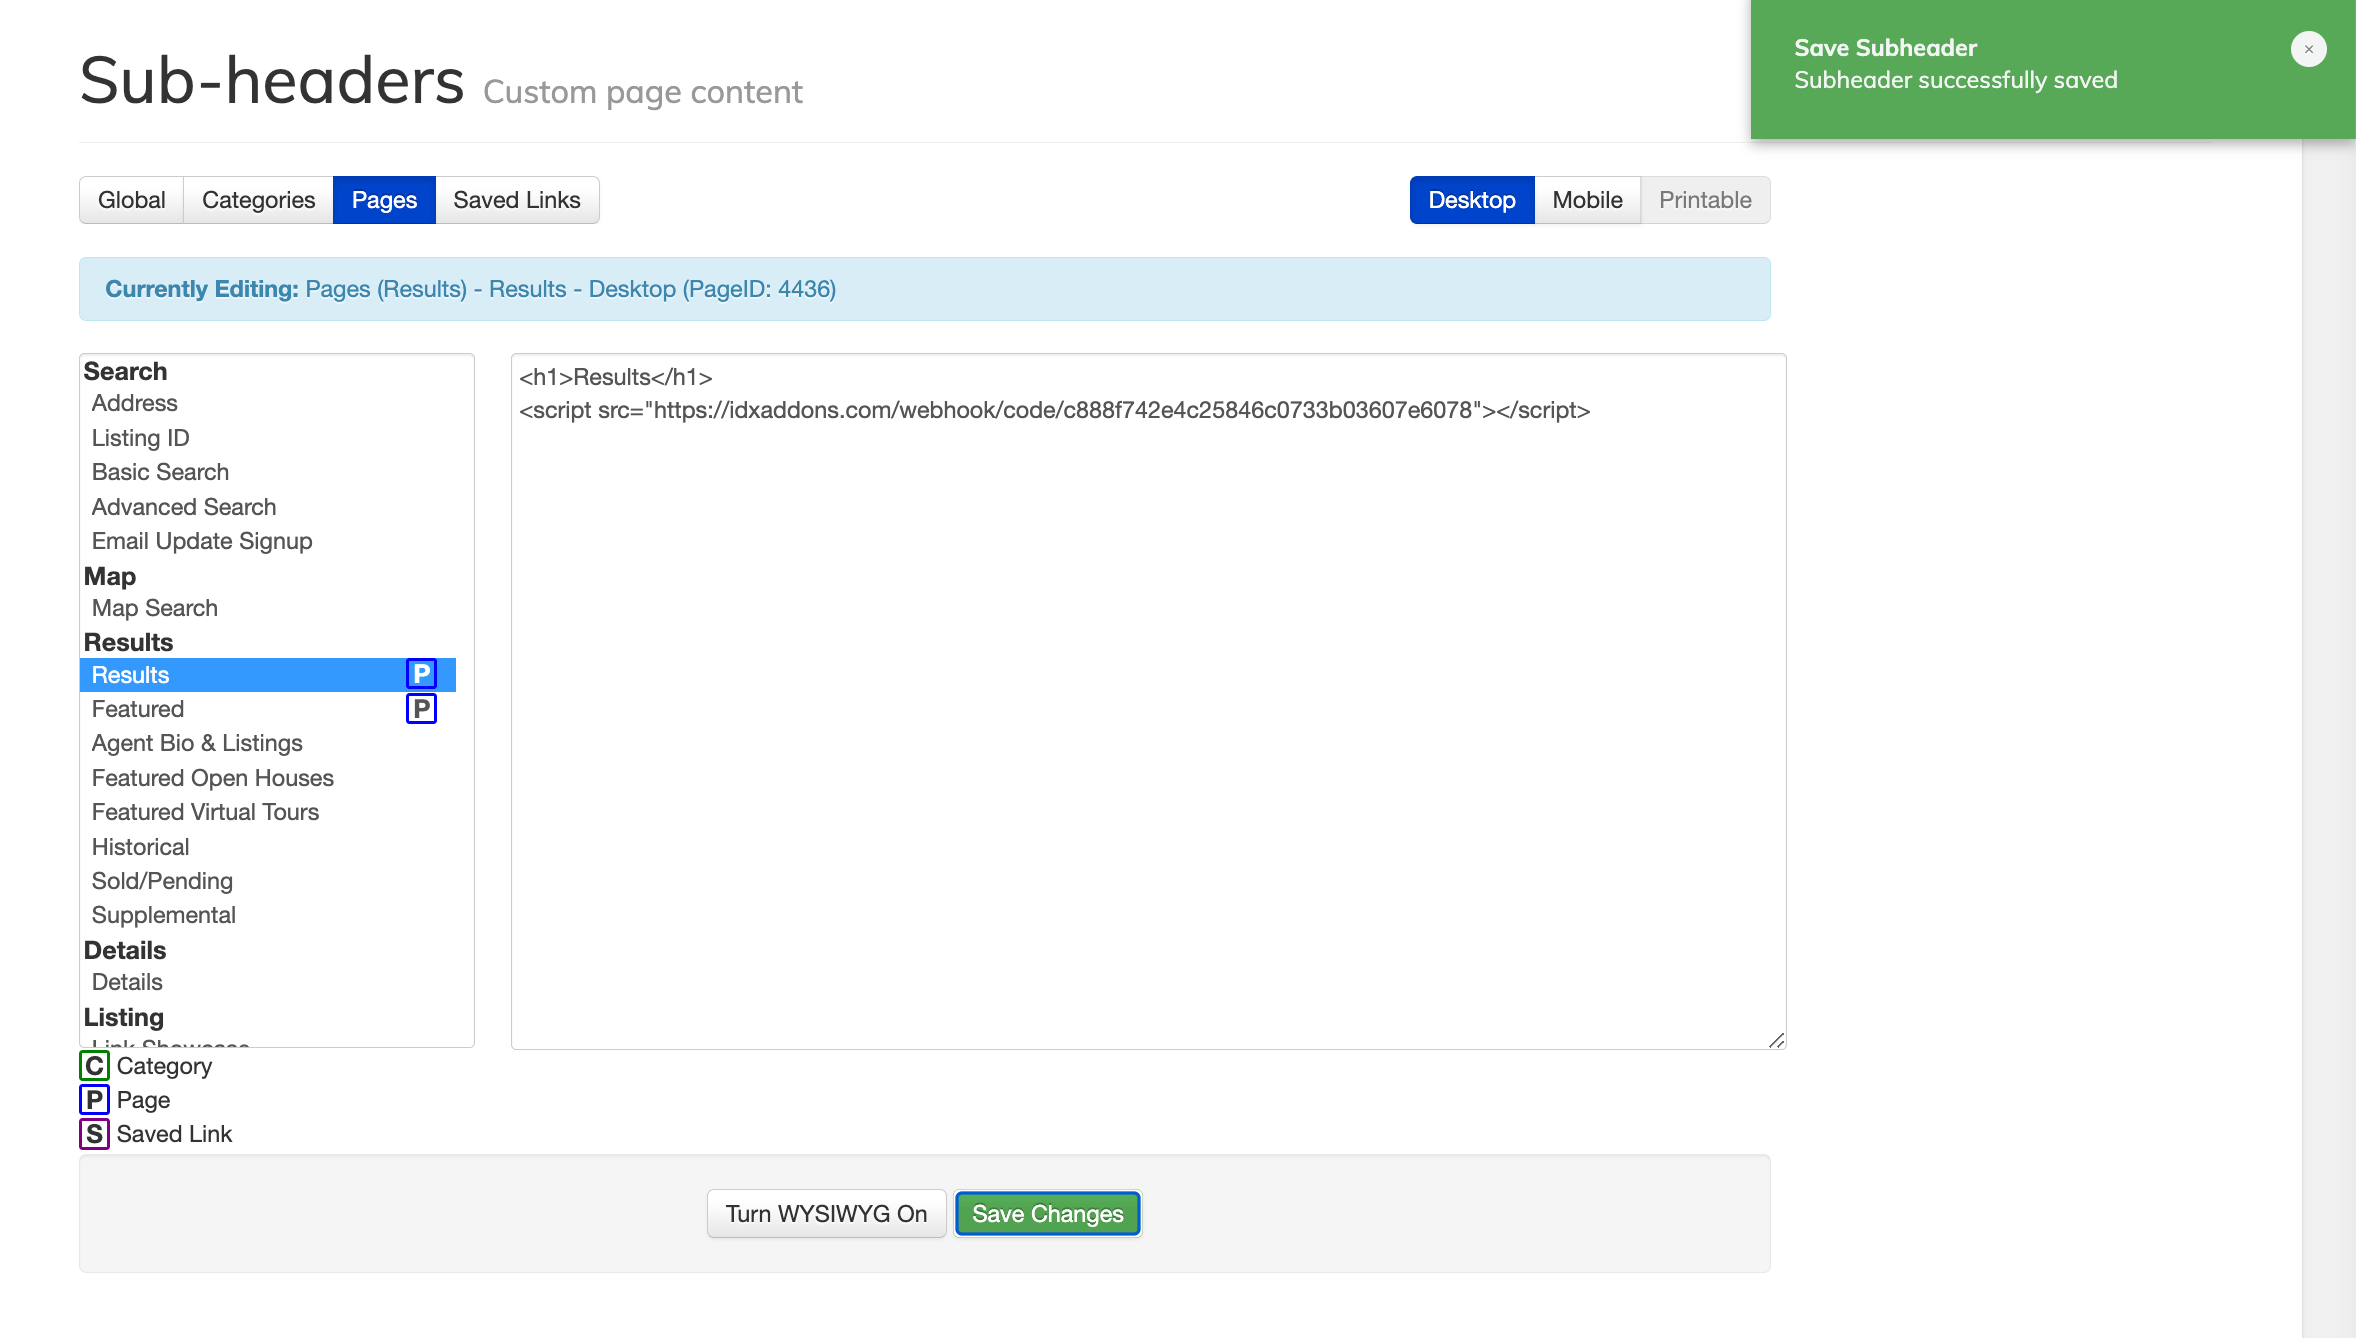
Click on "Save Changes". A green popup will appear at the top of the page, confirming that the subheaders were updated.
-
Your dashboard link
After successfully adding the webhook to the IDX Broker sub-headers, you will see the instructions to add your dashboard as a custom menu link in GHL.
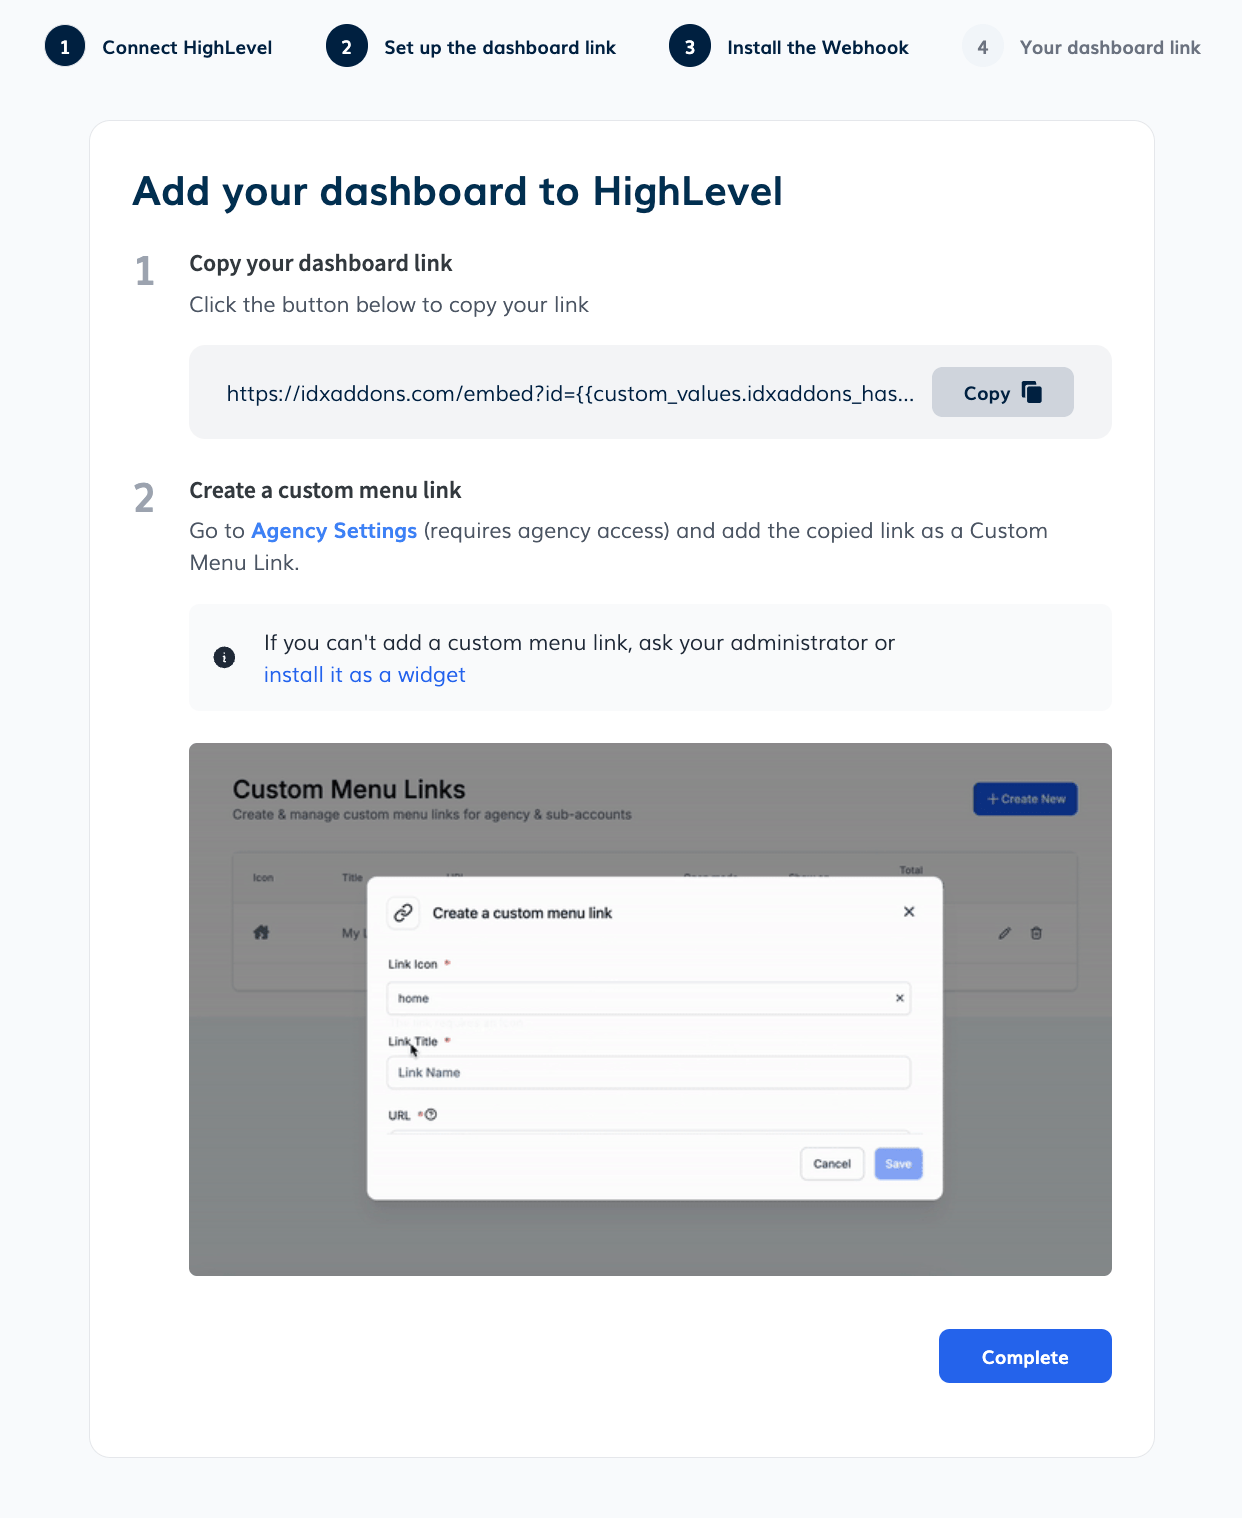
This is the link that you will need to add to your GHL account as a custom menu link.

-
GHL Custom Menu Link
In the Agency Settings > Custom Menu Link, click on "Create New".

A pop-up will appear.

Select a Link Icon. We recommend the "Building" or "Home" icon, but feel free to choose the one you like the most.

Enter the Link Title. We recommend "Principal Broker Leads", but feel free to choose the one you like the most. This will be the name of the link in the GHL menu.

Now paste the IDXAddons - LeadConnector Dashboard link in the URL field. This will be the link that will open the IDXAddons - LeadConnector Dashboard in GHL.

This is how the form should look like.

Now scroll down to see the rest of the settings.

Now you need to select which sub-accounts you want to display the IDXAddons - LeadConnector Dashboard link on. You can select all sub-accounts or just some of them.

In the "When Clicked" option, select "Open in iFrame inside the platform".

After filling all the fields, click on "Save".

Now you can see the IDXAddons - LeadConnector Dashboard link in the GHL menu. The first time, you won't see data in the dashboard because the webhook will start sending from your leads' activity from that moment on, but after a few days, you will see your leads' activity in the dashboard.

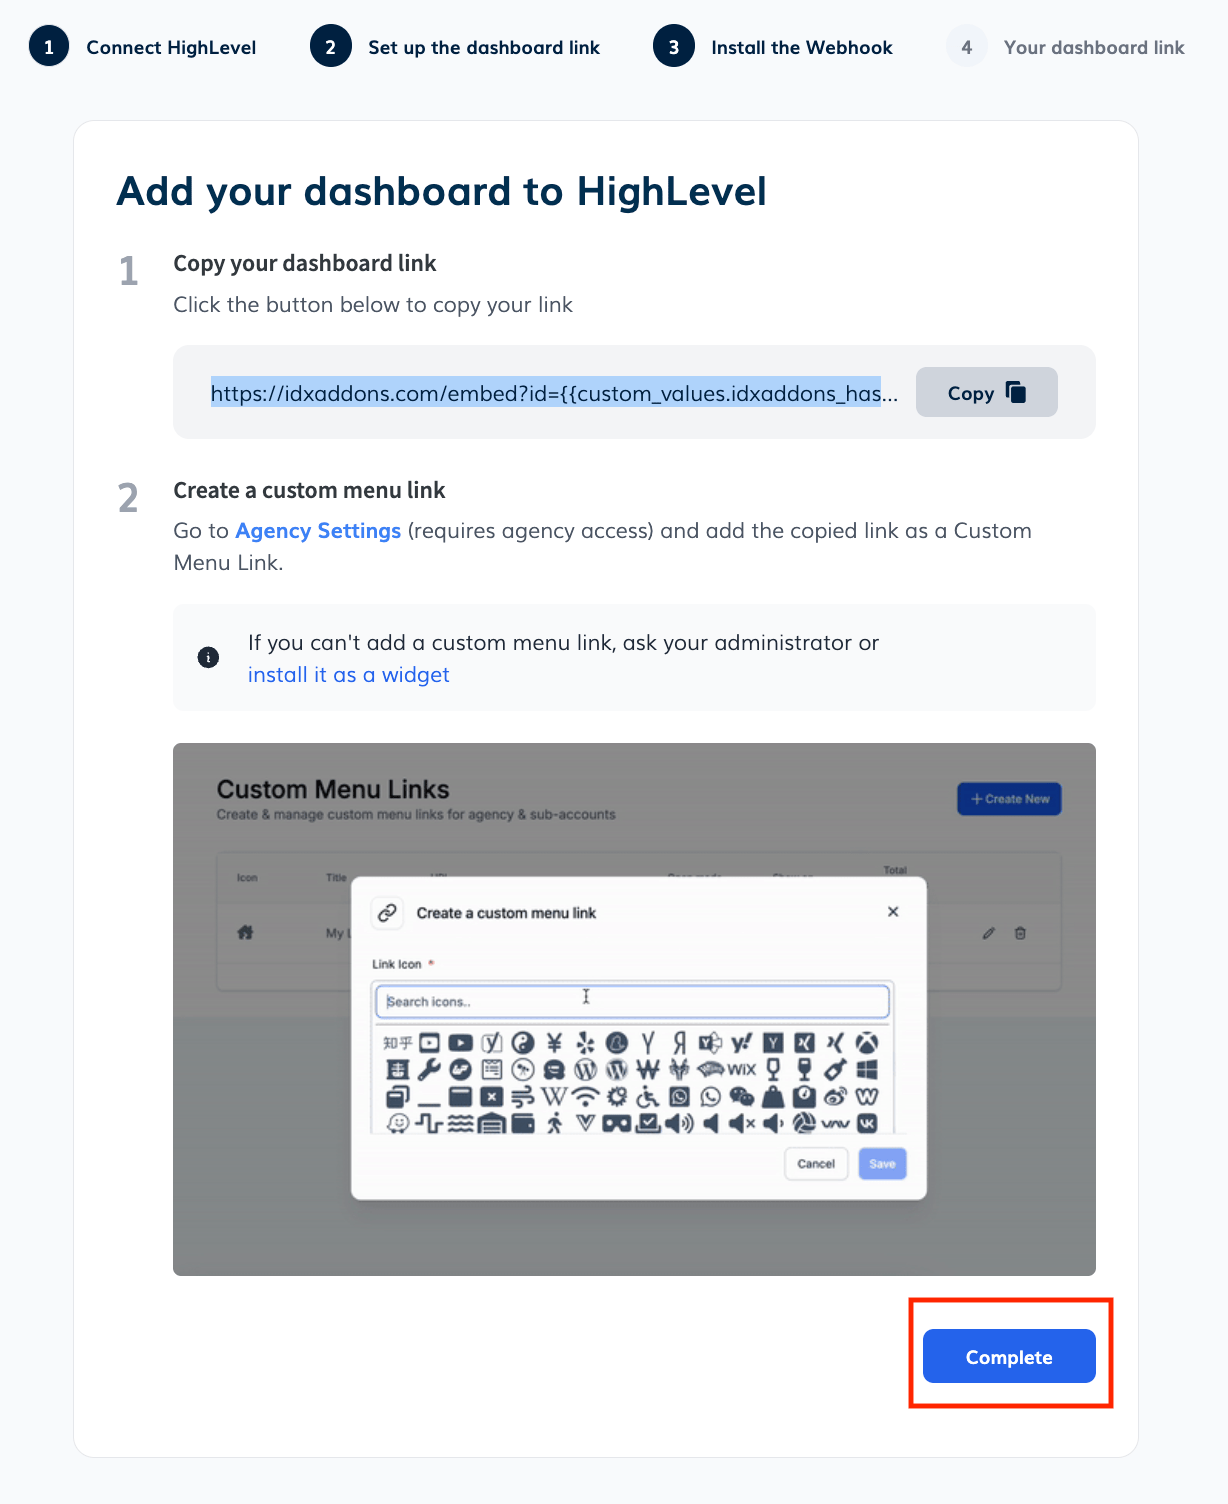
Finally, on the IDXAddons - LeadConnector Dashboard page, click on "Complete" to finish the setup. The multi-step form won't be displayed anymore.
-
Test the integration
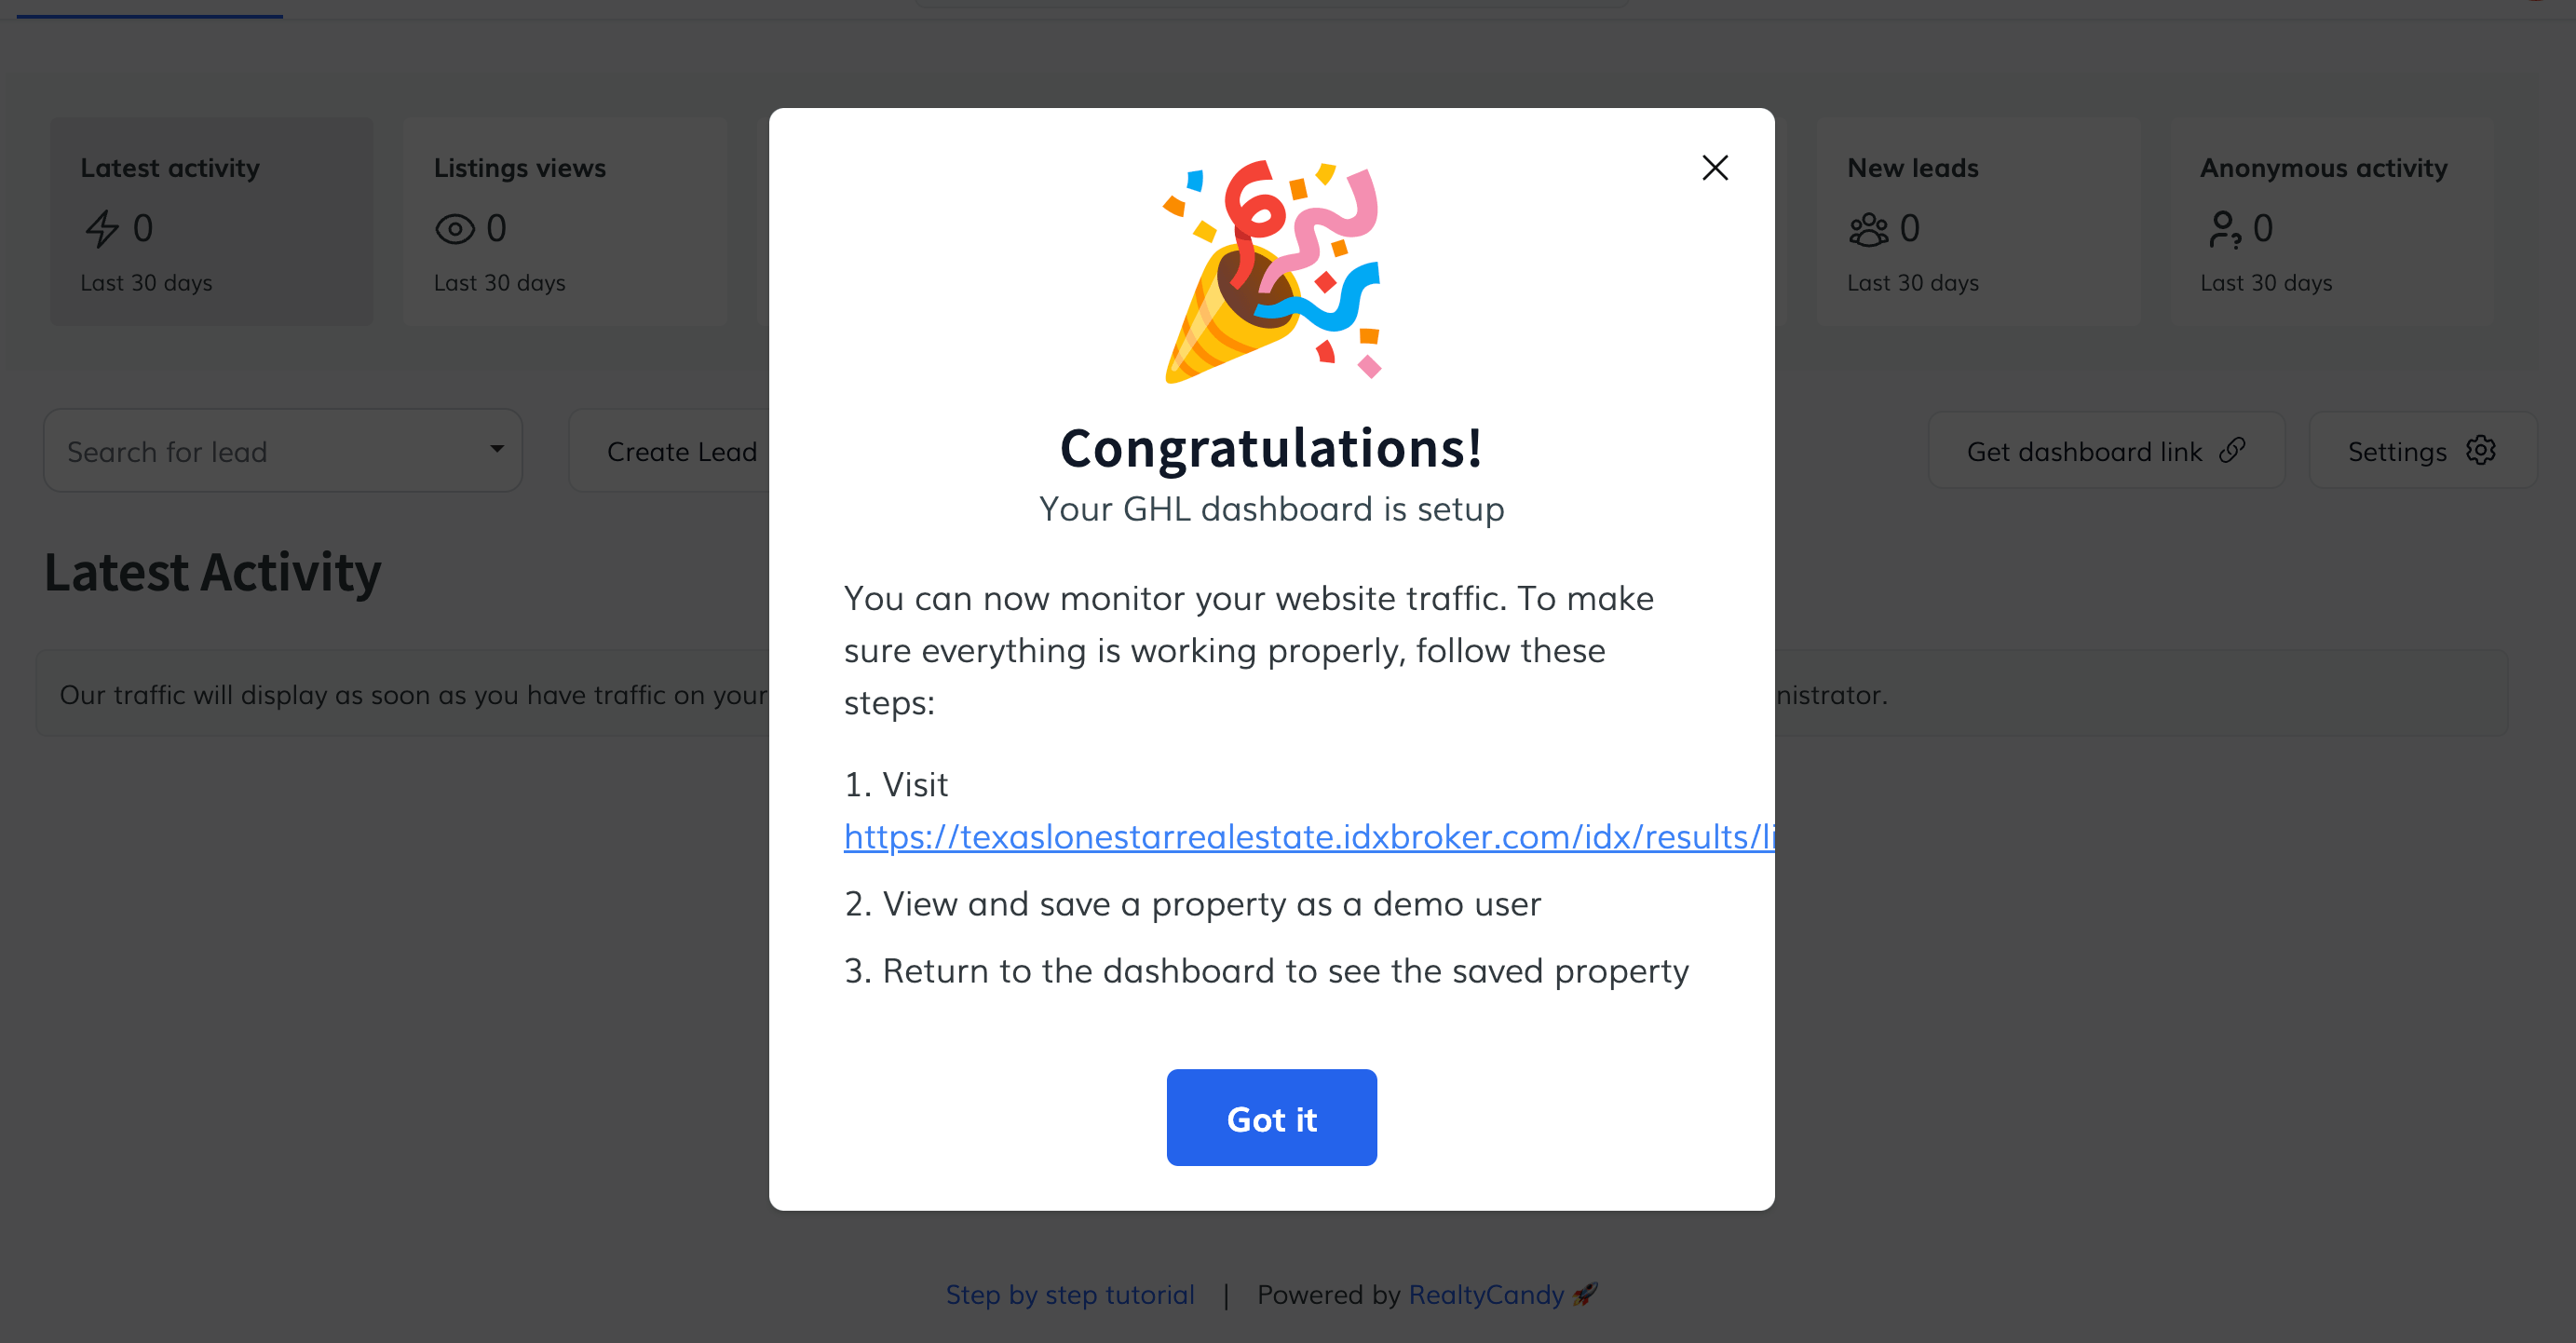
After you have successfully set up the IDXAddons - LeadConnector Dashboard, you can test the integration by following the instructions that appear on the last step of the setup.
Basically you will need to go to your IDX pages and create a new demo lead. After that, you will see the lead's activity in the dashboard.
