-
Access the Platform
Log in to your IDXAddons account
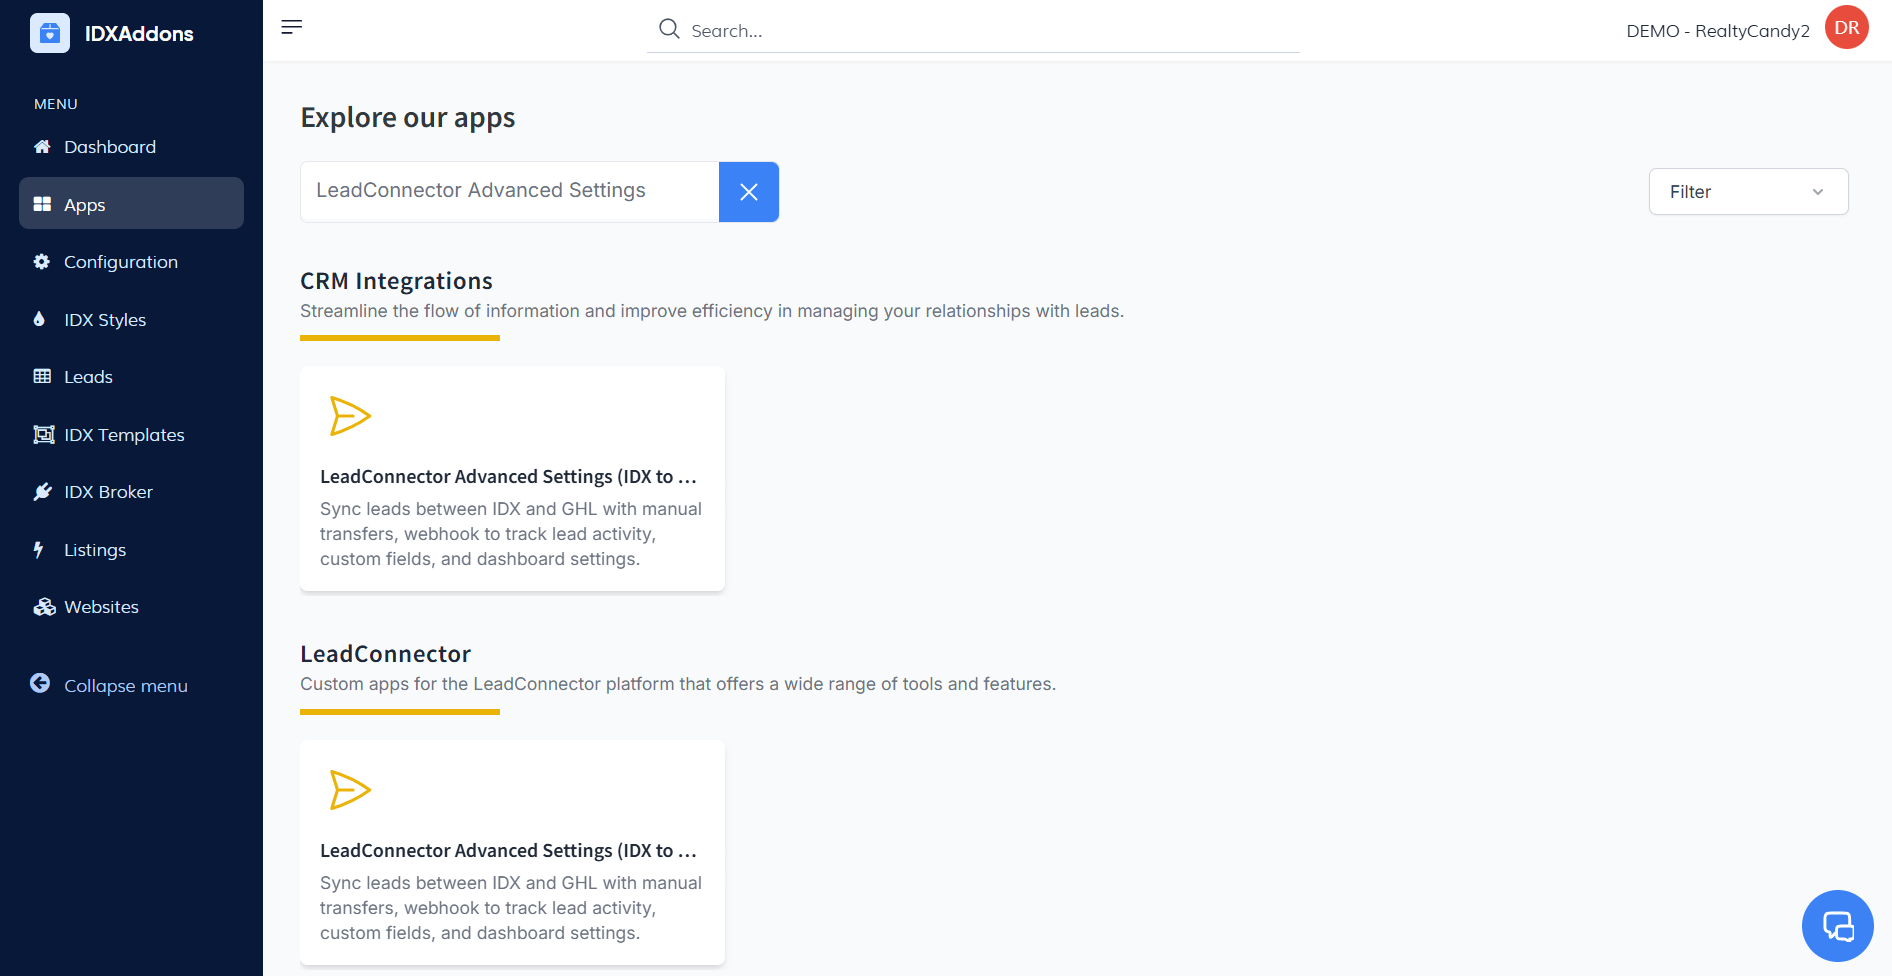
In the dashboard, select the LeadConnector Advanced Settings app.
-
Connecting to HighLevel
To begin, you must integrate the app with HighLevel:

- Click the link provided in the app to start the integration.
- You will be redirected to HighLevel—follow the on-screen steps to connect your account.
- Once connected, the app will display a confirmation message and show the sub-account currently linked.

- Removing the Connection:
- Click "Remove Connection."
- A confirmation pop-up will appear. Click "Continue" to finalize.
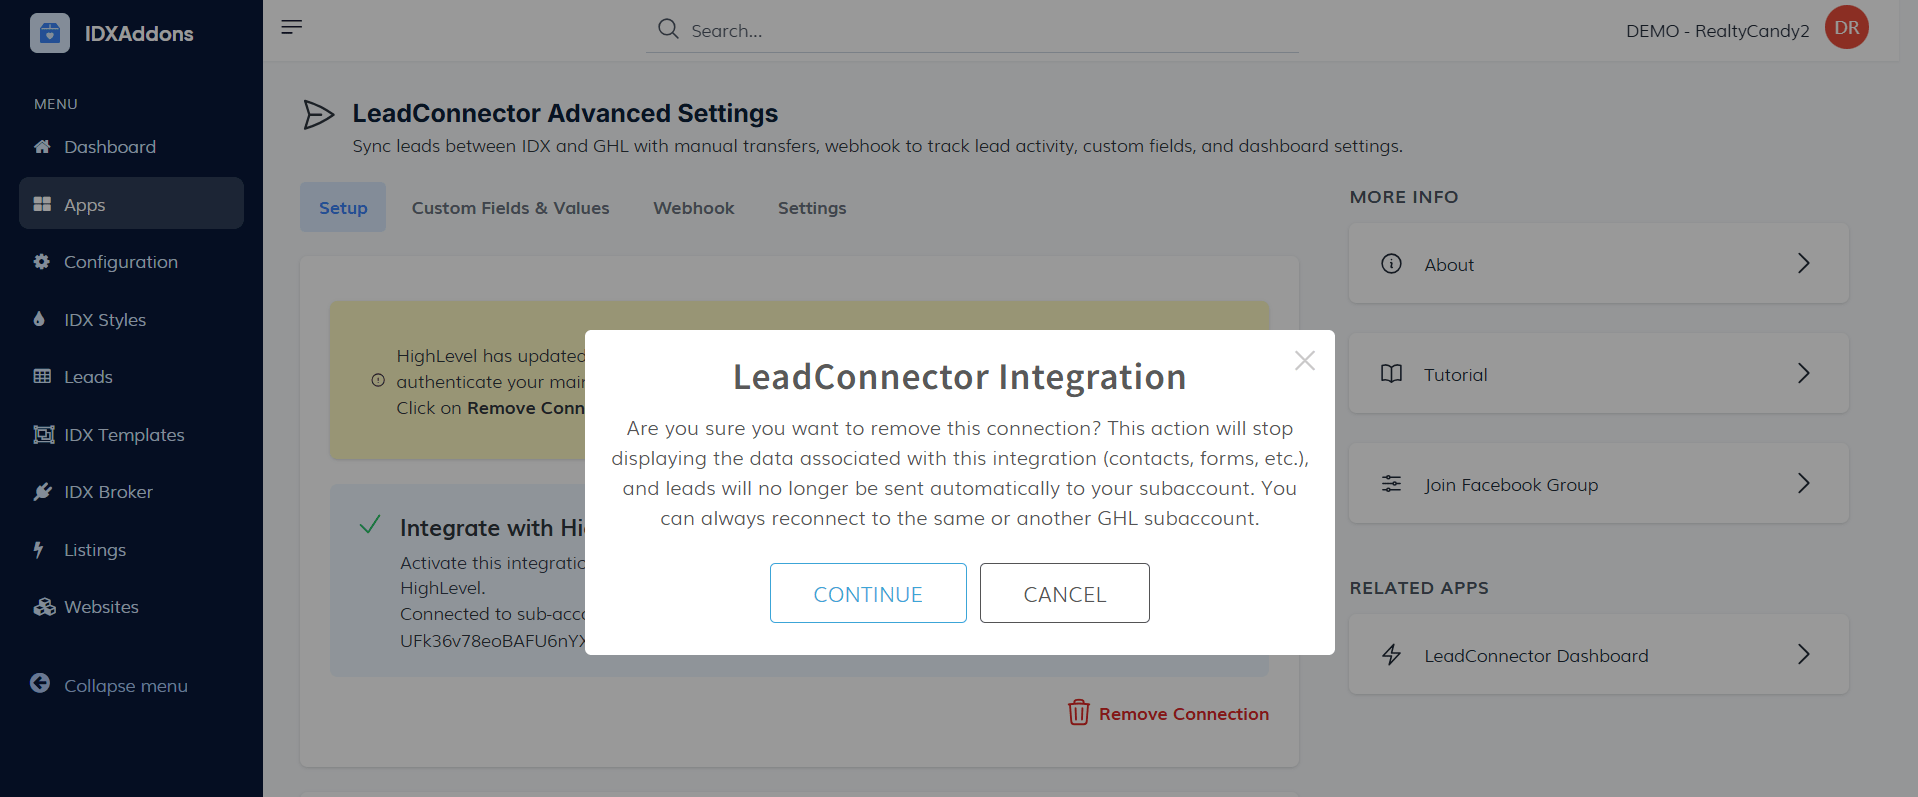
- You can follow this video tutorial to learn how to remove the connection:
This feature allows you to manually send IDX Broker leads to HighLevel.

Example
1) Create a New Lead in IDX BrokerGo to the IDX Broker dashboard, navigate to Dashboard > Leads > Create
Fill in the required information in the available fields, for example: name, email, phone number, etc.
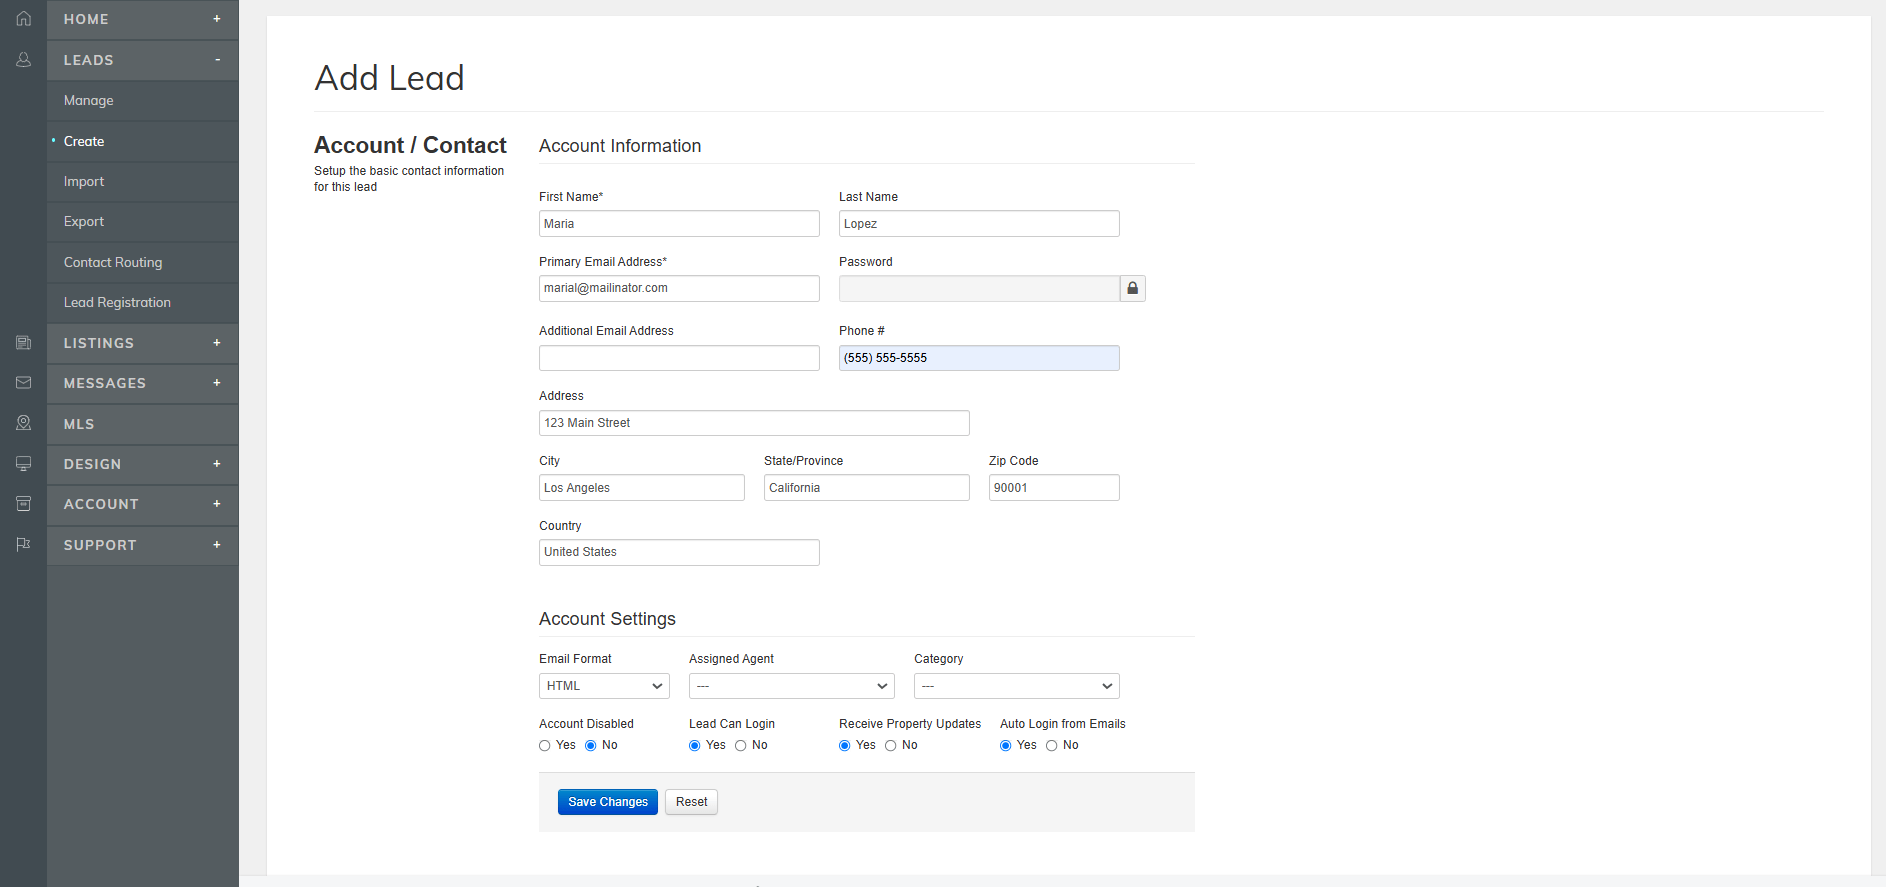
Click the Save Changes button to save the lead.
2) View the new Lead in the AppReturn to the LeadConnector Advanced Settings app to view the lead you just created in the leads table.
Note: The table will remain empty until you create or import a lead.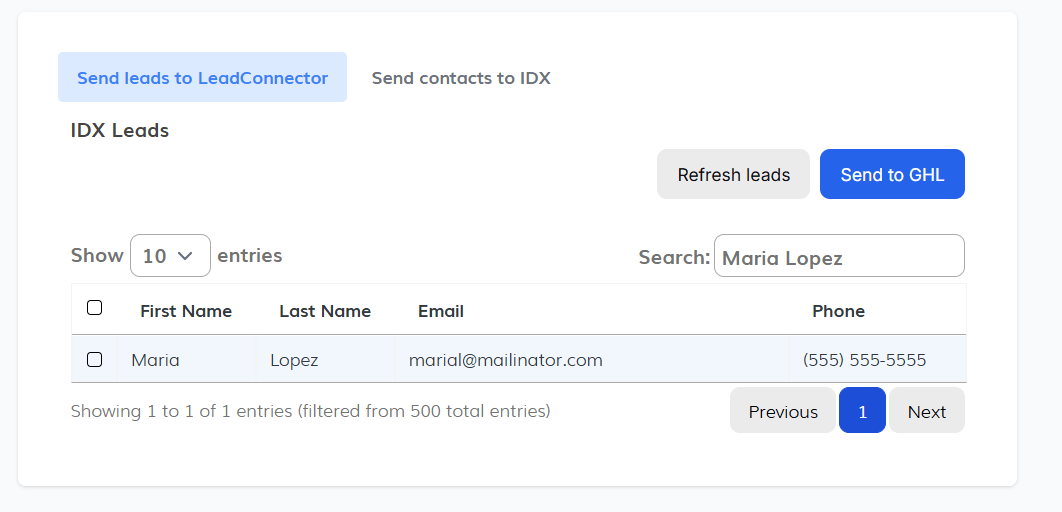 4) Refresh Leads
If the new lead does not appear in the table, click the Refresh button to ensure the data is updated and displayed correctly.
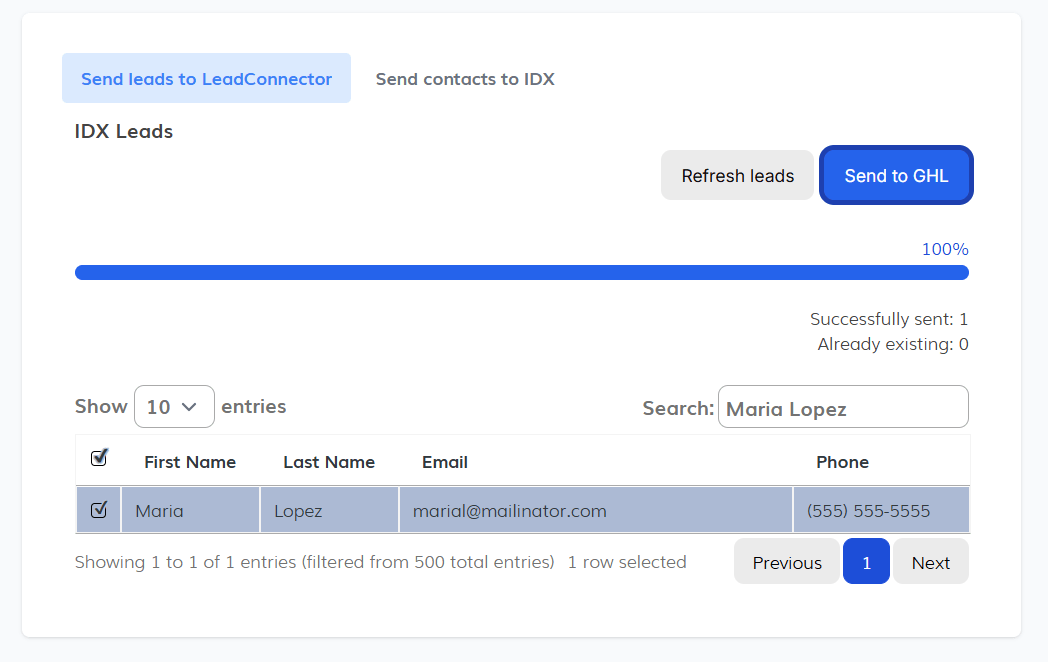
5) Send an IDX Lead to HighLevel- Select the lead you want to send from the table.
- Click the Send to GHL button.
- If the lead does not already exist in HighLevel, the system will confirm that the lead was successfully sent. If the lead already exists, you will see a message notifying you of this.
 6) Verify in HighLevel:
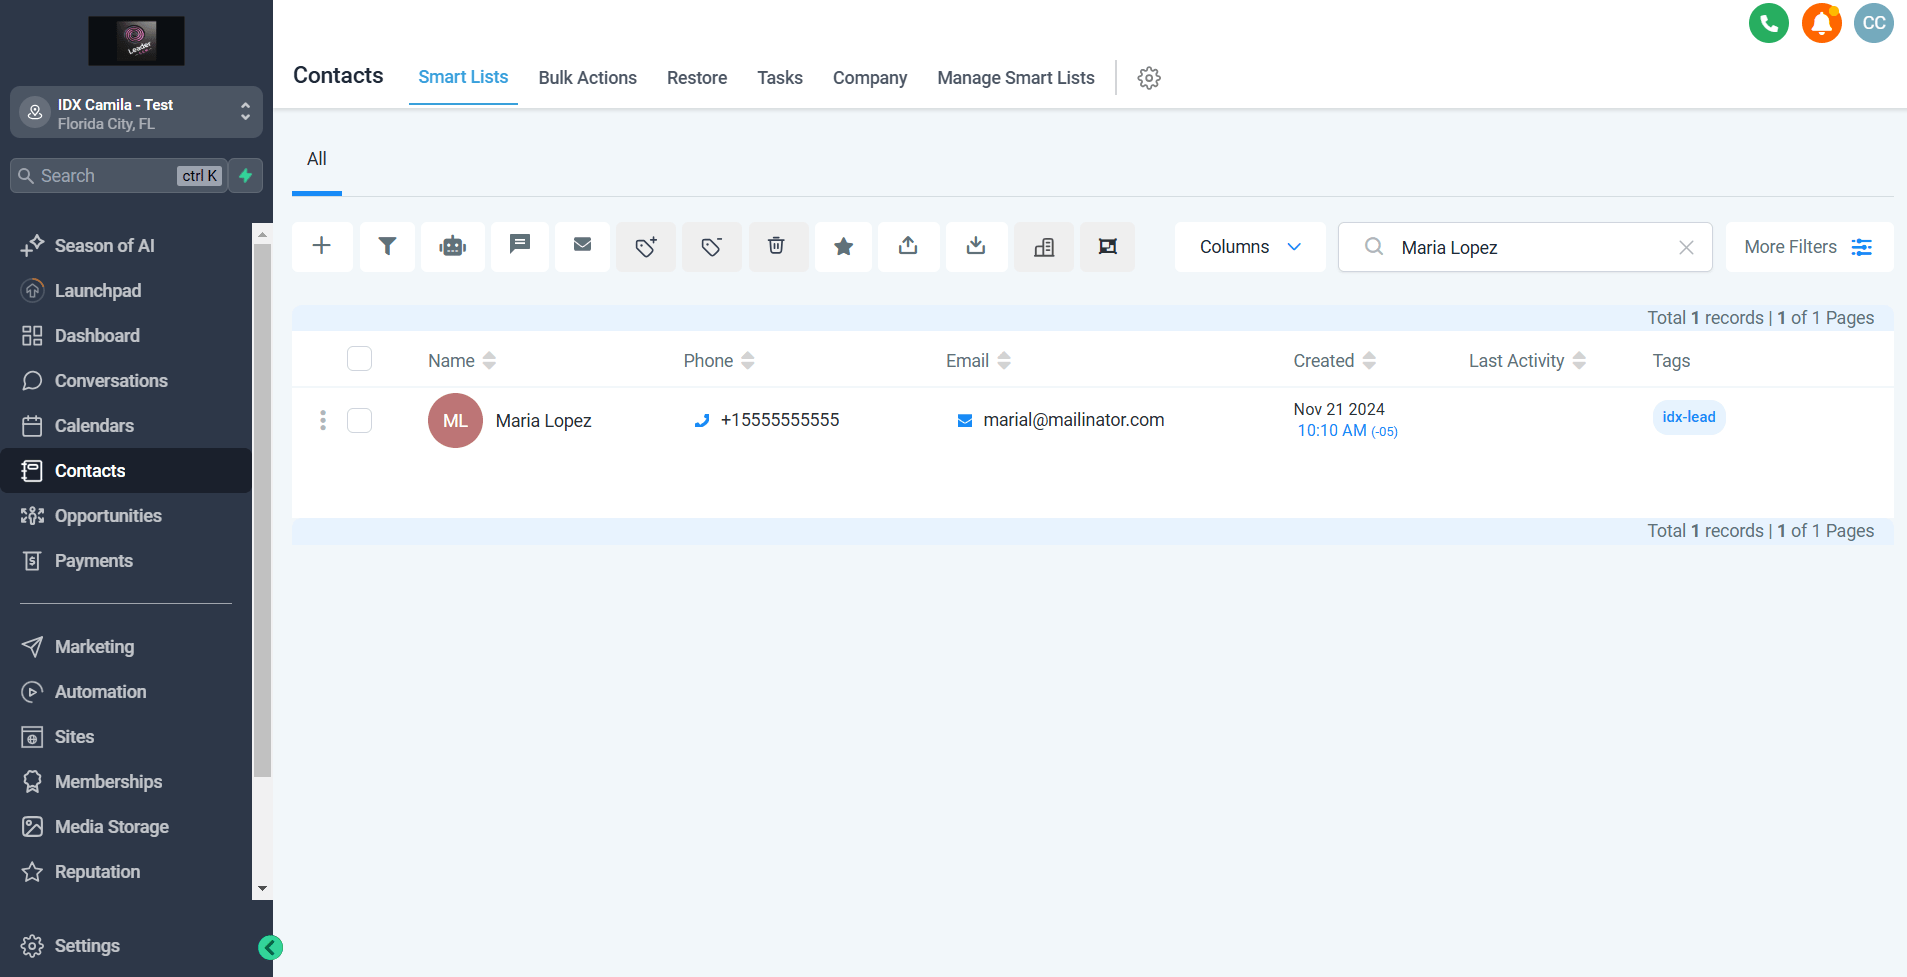
Go to HighLevel Dashboard > Contacts > Smart Lists
Check that the lead has been added successfully.
 Send Contacts to IDX
This tab allows you to manually send contacts from HighLevel to IDX Broker. Follow these steps to use the feature effectively:
Important Note:- Ensure that the contact you are sending does not already exist in IDX Broker. If the contact is already present, the system will notify you that it cannot be sent again.
Example:
1) Create a New Contact in HighLevel- Navigate to the Contacts section.
- Click on the "+" button to create a new contact.

- Fill in the required fields as prompted by HighLevel.
- Save the changes to add the contact successfully.
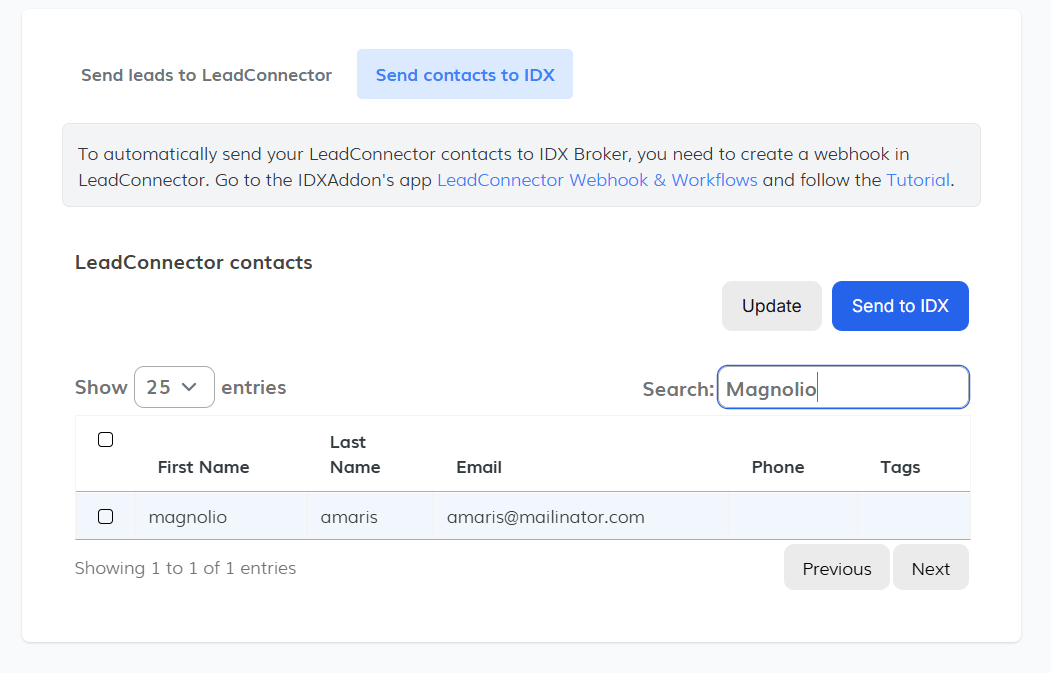
- Return to the app’s dashboard.
- To view the newly created contact in the table, click the Update button. This will refresh the table and display the new contact.
 3) Send the Contact to IDX Broker
- Select the contact from the table.
- Click the Send to IDX button.
- The system will confirm that the contact was successfully sent to IDX Broker.
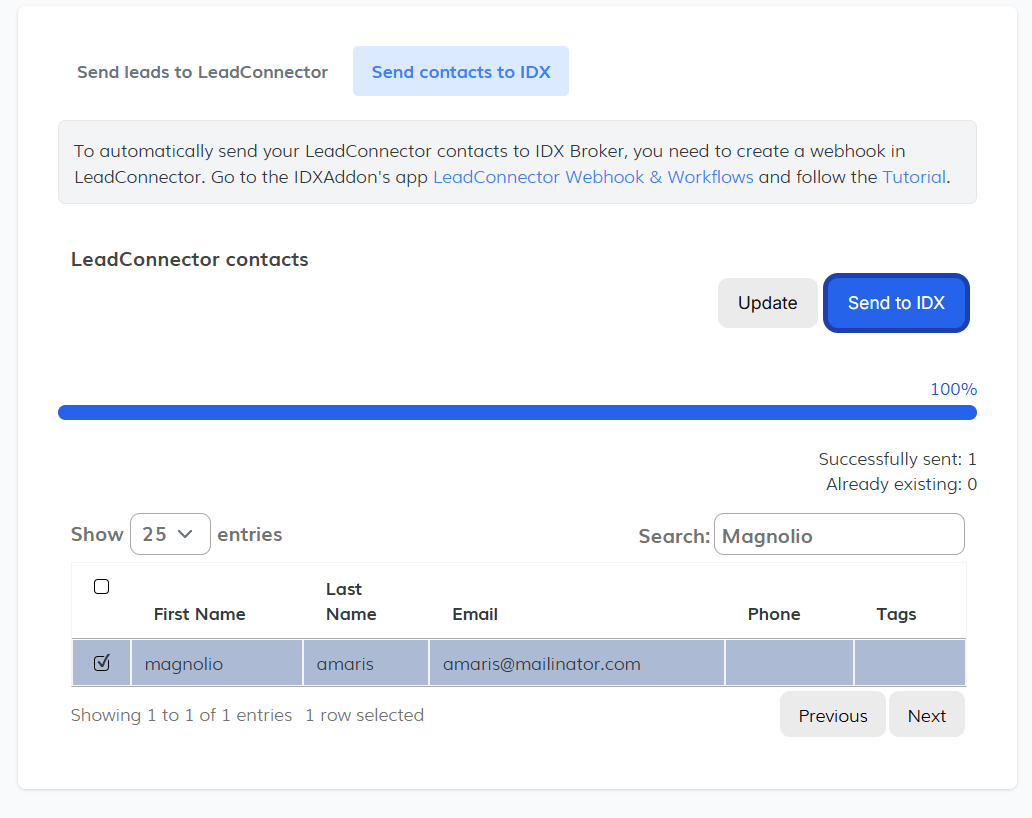 4) Verify in IDX Broker
To verify if the contact was successfully sent to IDX Broker, log in to your IDX Broker dashboard and navigate to the Contacts section. Use the search function to locate the newly sent contact by entering their details, such as name or email. If the contact appears in the list, it means the contact was successfully transferred from HighLevel via the app. This confirms that the contact synchronization between both platforms was successful.

-
Custom Fields and Values Tab
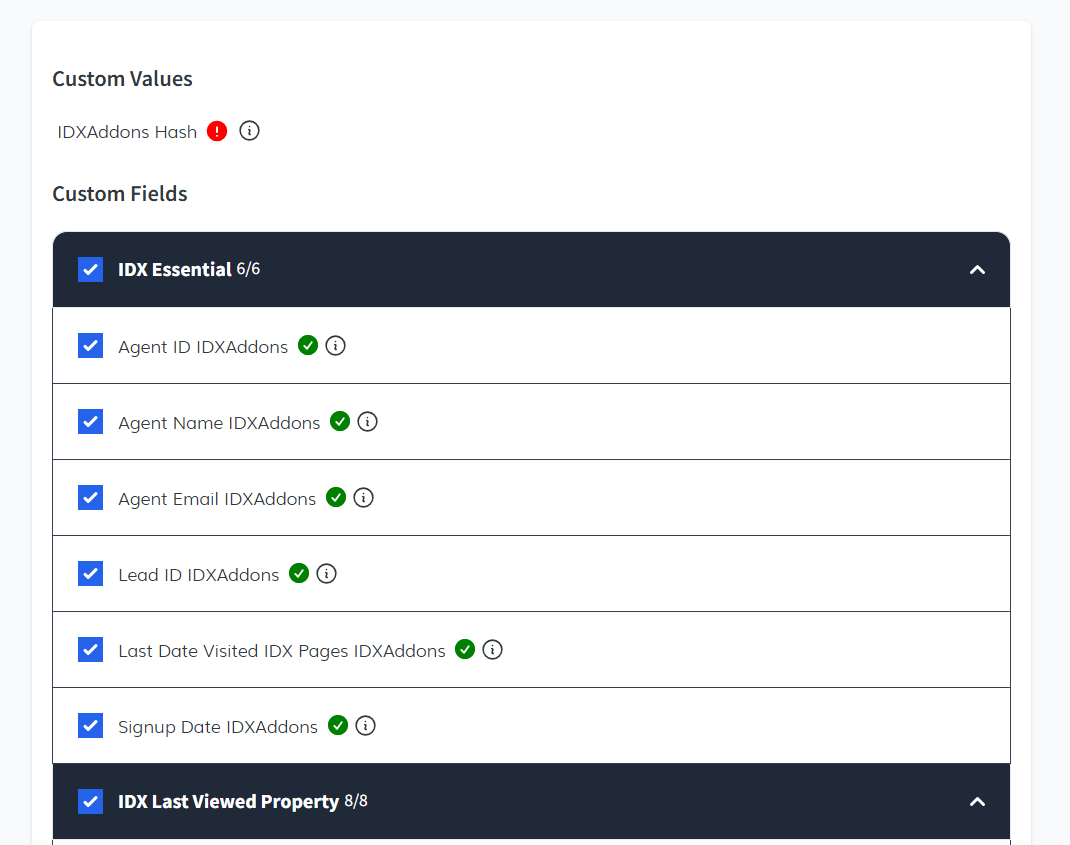
By default, when the LeadConnector Dashboard wizard is run, all custom fields and values are added. However, if for any reason a field is missing, you can manually add it in this section, just click on the checkbox next to the field you want to add.
If needed, you can also remove any custom fields that are no longer required.
-
Webhook Tab
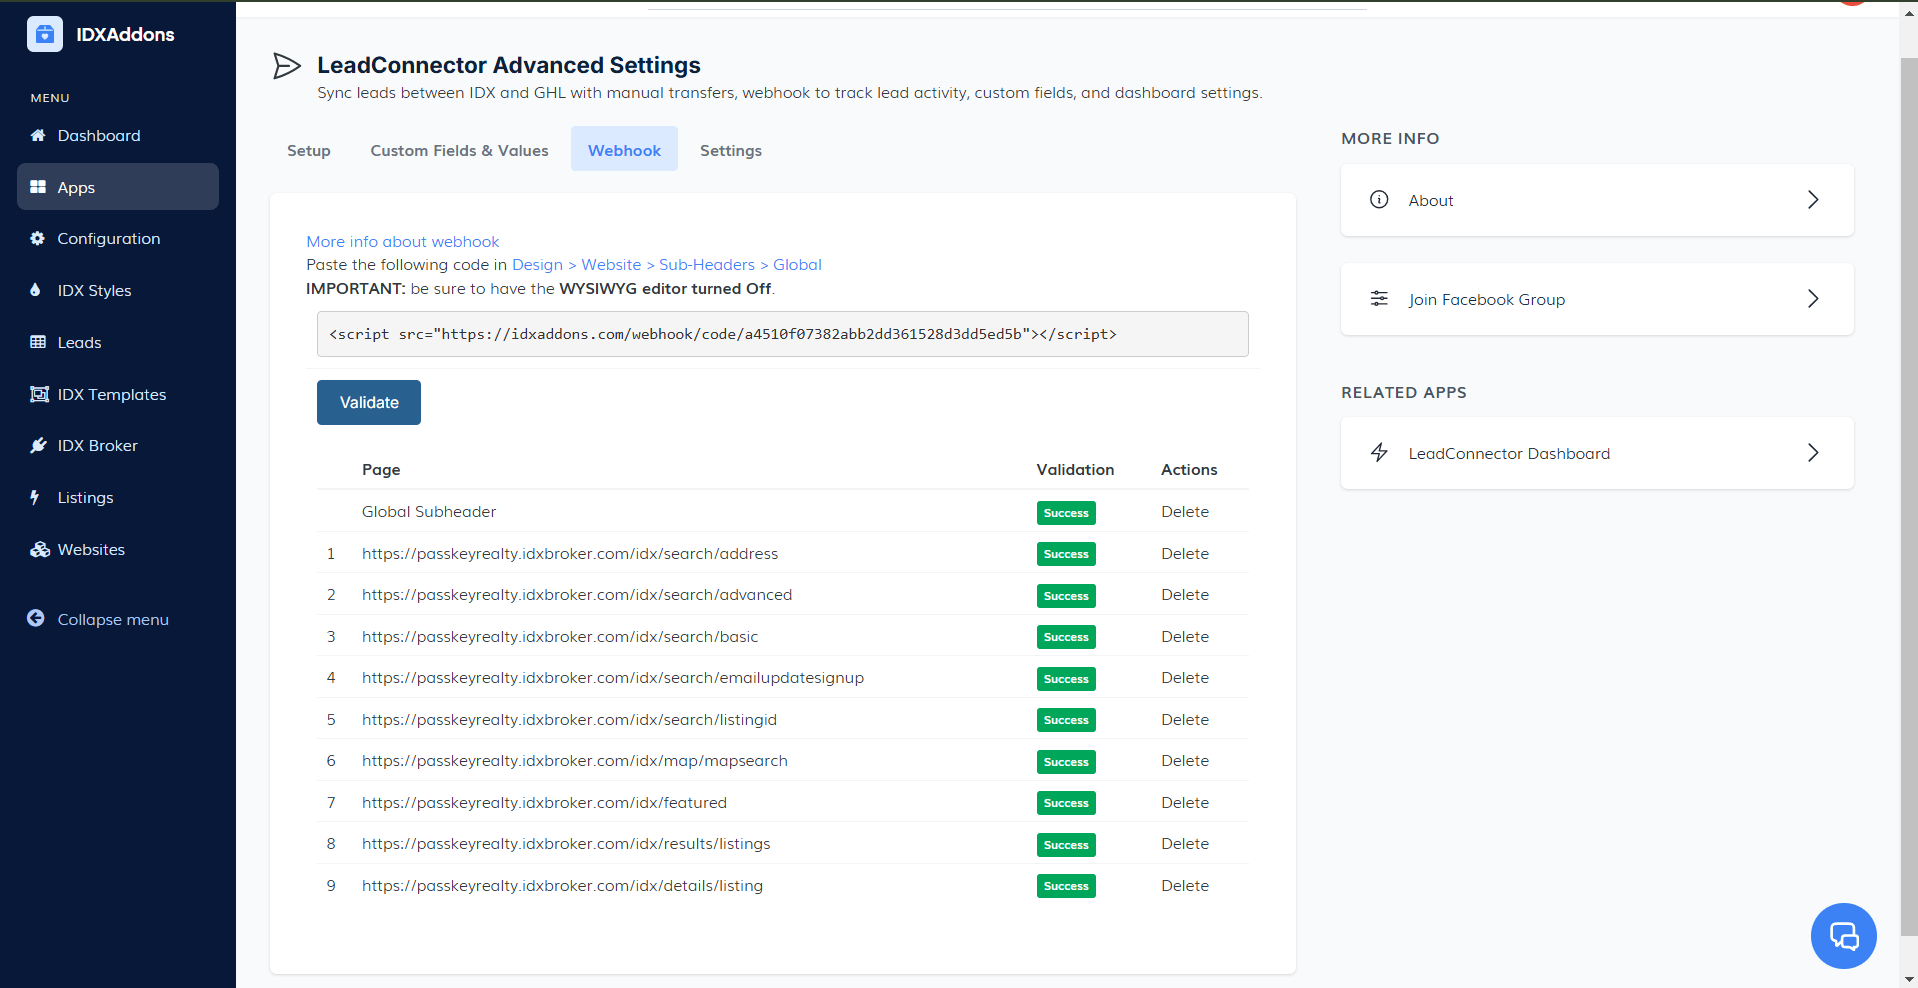
The webhook is a code snippet that allows you to send data from IDX Broker to LeadConnector automatically. This data includes new leads registered on your IDX Broker website, their saved searches, and saved properties. The webhook is automatically added to the IDX Broker pages when you install the LeadConnector Dashboard app.
This code snippet appears under the Sub-header of IDX Broker. Here, you can validate whether the webhook has been correctly added to the pages. To do this, click on the Validate button, and the system will indicate which sub-headers have been added and which ones have not. If any are missing and you'd like to add them, simply click Set, and they will be automatically added.
Additionally, the system can detect if there are pages with an outdated version of the webhook. To update them, click on the Update button, which will take a few seconds, and your pages will be updated.
If for some reason the code snippet is not added to the pages, you can manually add it by copying the code snippet from the app and pasting it into the IDX Broker sub-headers.
-
Settings Tab
This section is where you can configure the LeadConnector Dashboard settings to suit your preferences.
White-Label DomainIf you have a white-label domain, add it here and click the Save button.
This will allow you to use your white-label domain when clicking on the "Email", "SMS" or "Call" buttons in the app. The system will automatically redirect you to the white-label domain when you click on these buttons.
 Clear Property Cache
Click here to clear the property cache if you are new to using workflows or if it has been a while since your last use.
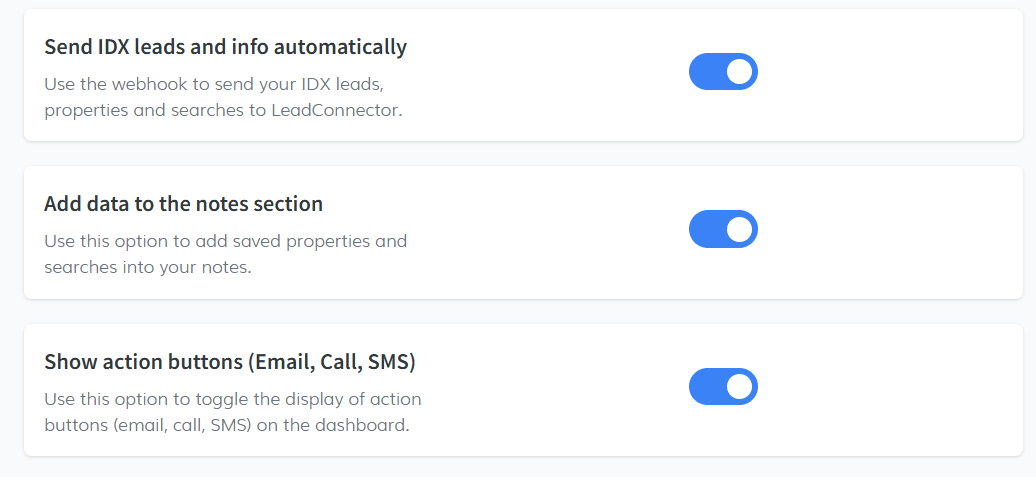
 Send IDX leads and info automatically
Enable the webhook to send your IDX leads, properties, and searches to LeadConnector.
Add Data to the Notes SectionUse this feature to include saved properties and searches directly into your contacts' notes.
Show action buttons (Email, Call, SMS)Use this toggle to control the display of action buttons (email, call, SMS) on the dashboard.
