Themes for the Themes for the new IDX Broker Widgets
How to set it up:
1. Select the IDX Broker widget
Select the IDX Widget you want to use under Available Widgets. If you don't see it in the list, just click on the Refresh button and see if it shows up.

2. Resize your images (Cloudinary account needed)
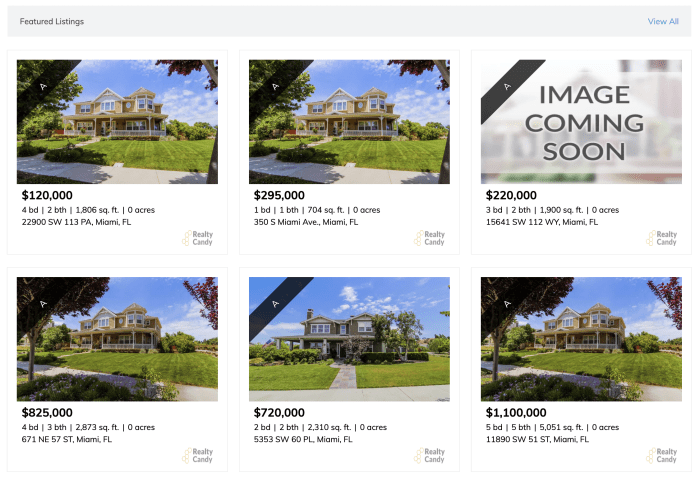
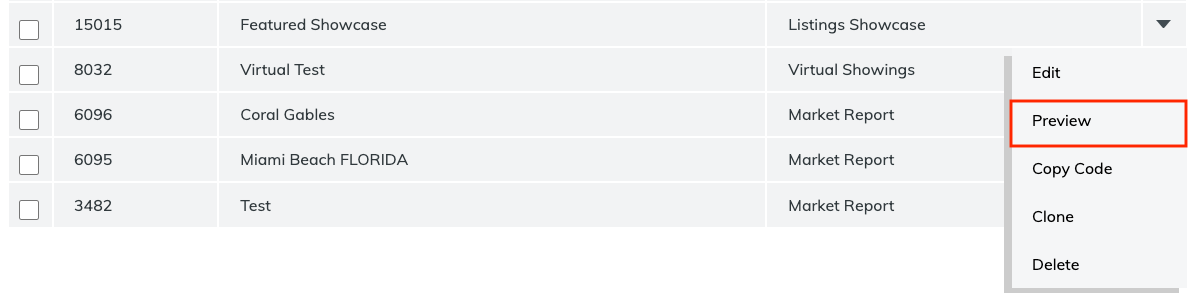
If you click on the view button on the widget in IDX Broker dashboard, you can get a preview of how the widget will look.

This is how a showcase widget will normally appear.
To find the optimal image size, we clicked on shift, command 4 and "measured" the image. We dragged the magnifying glass that shows up from the beginning of the width until the end.
In this case, the image is about 301 pixels.
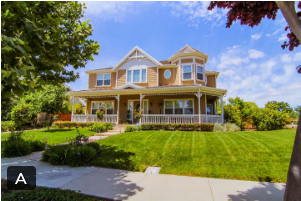
You can edit both the width and height, or either one of them. If you edit only one of them, the other will be modified accordingly.

3. Choose a Widget Theme
You can add a theme to your widget. You can showcase some examples here
For this example, we will choose the "Flagship" theme. You can see that it only works with the "Below Layout".
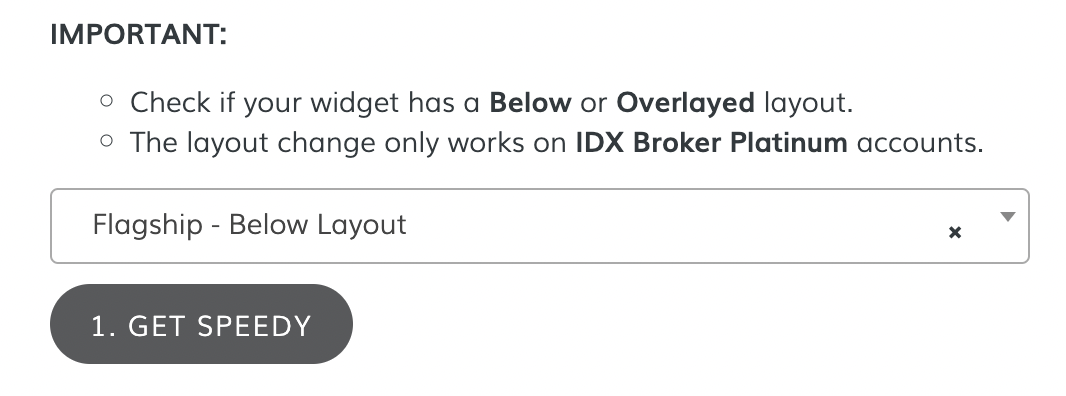
To check if your widget has a Below or Overlayed layout. To check this you can go to Design > Widgets > New, select the widget you want to use and click on "Edit".
Scroll down to the "Layout" section and check the selected option.
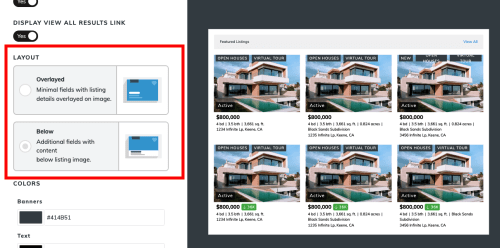
If you changed the layout setting, don't forget to save your preferences.
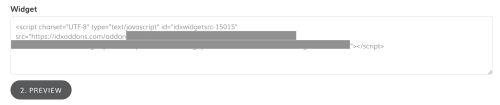
4. Click on the "Get Speedy" button
And you now have your Speedy Widget! It has been copied to your clipboard and you can paste it in place of the original widget. Watch how your widget loads much faster!
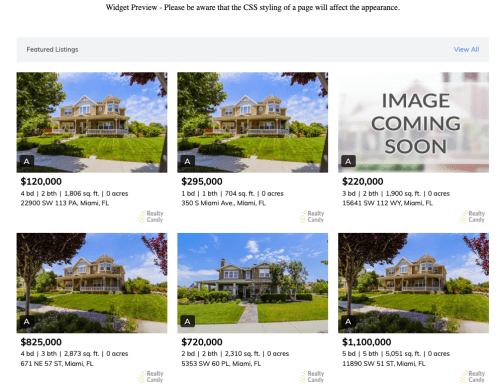
5. Preview your widget
Click on "Preview" to see how your widget will look. You can play with the different themes that are available!