-
Access the Platform
Log in to your IDXAddons account
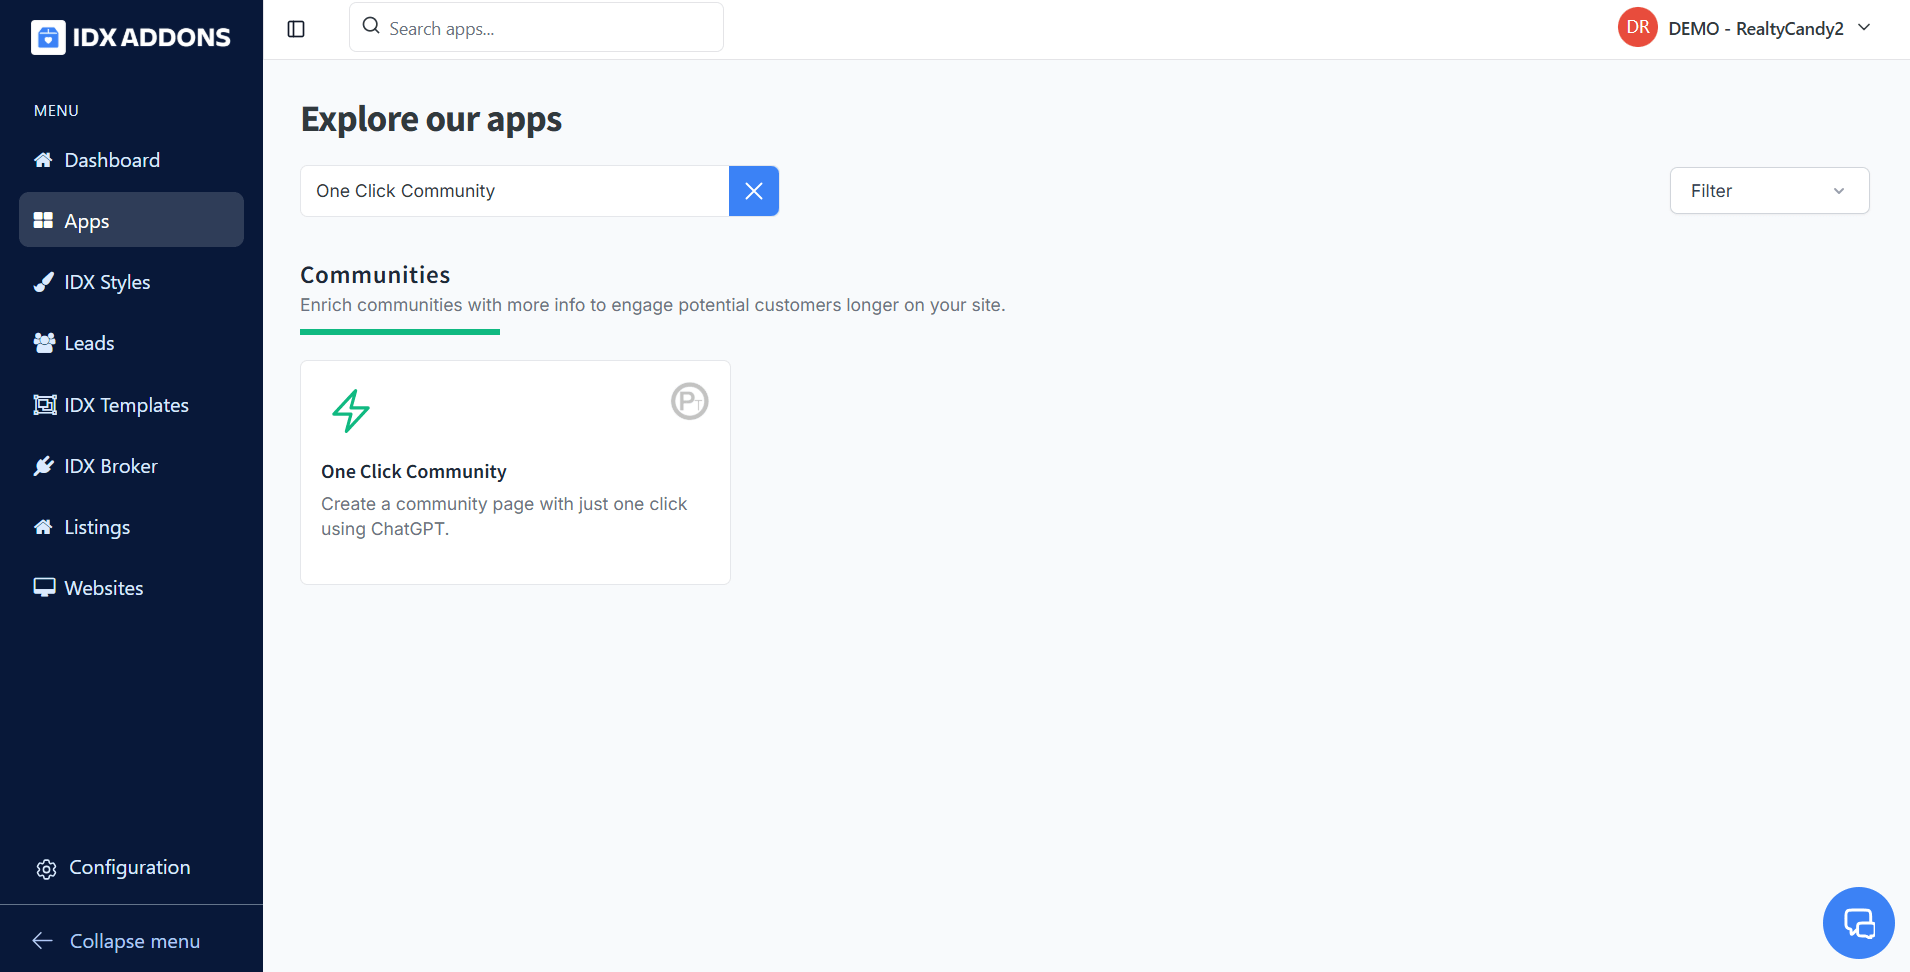
In the dashboard, select the One-Click community app.

-
One Click Community Page
In IDXAddons, when you go to the One-Click Community page, it will show a form like the following:
 Location Type
Select the location type, i.e. if you want to create a community page for a city, a county, subdivision or a zip code.
 City
City
For example, if you select the city, you will see the following form where you can select the city from the dropdown list. The options will be populated based on your MLS data.
 Community Name
Enter the name of the community. This will be used on labels and some widgets.
 ChatGPT Tool
If the "ChatGPT tool" is turned on, we will generate unique content for your community page.
 Yelp Business Widget
If the "Yelp Business" toggle button is turned on, we will add the Community Yelp Business Widget and it will display a list of top-rated businesses in your community (food, parks).
Important: you need to have your Yelp API key configured to use this feature.
 Market Report
Displays key local market data, helping users understand area trends and make informed decisions. Perfect for positioning yourself as a local expert.
Important: this feature requires an IDX Broker Platinum account.

Once you have filled out the form, click on Create to generate your community page.

-
Create the community
It will start by creating an IDX Broker Saved Link.

Then it will get the scripts and codes for your IDX Broker Sub-headers. This will allow us to add the widgets to your community page.

If the "ChatGPT tool" is turned on, we will add the content generated by ChatGPT.

When the progress bar reaches 100%, your community page will be ready. Click on the link to see your new community page.

This is how it will look like. You can customize the page by adding more widgets or changing the layout directly on the Saved Link Sub-header's page.

That's it! Your community page is ready to go. You can customize the page by adding more widgets or changing the layout directly on the Saved Link Sub-header's page.