-
Access the Platform
Log in to your IDXAddons account
In the dashboard, select the RSS Feed app.
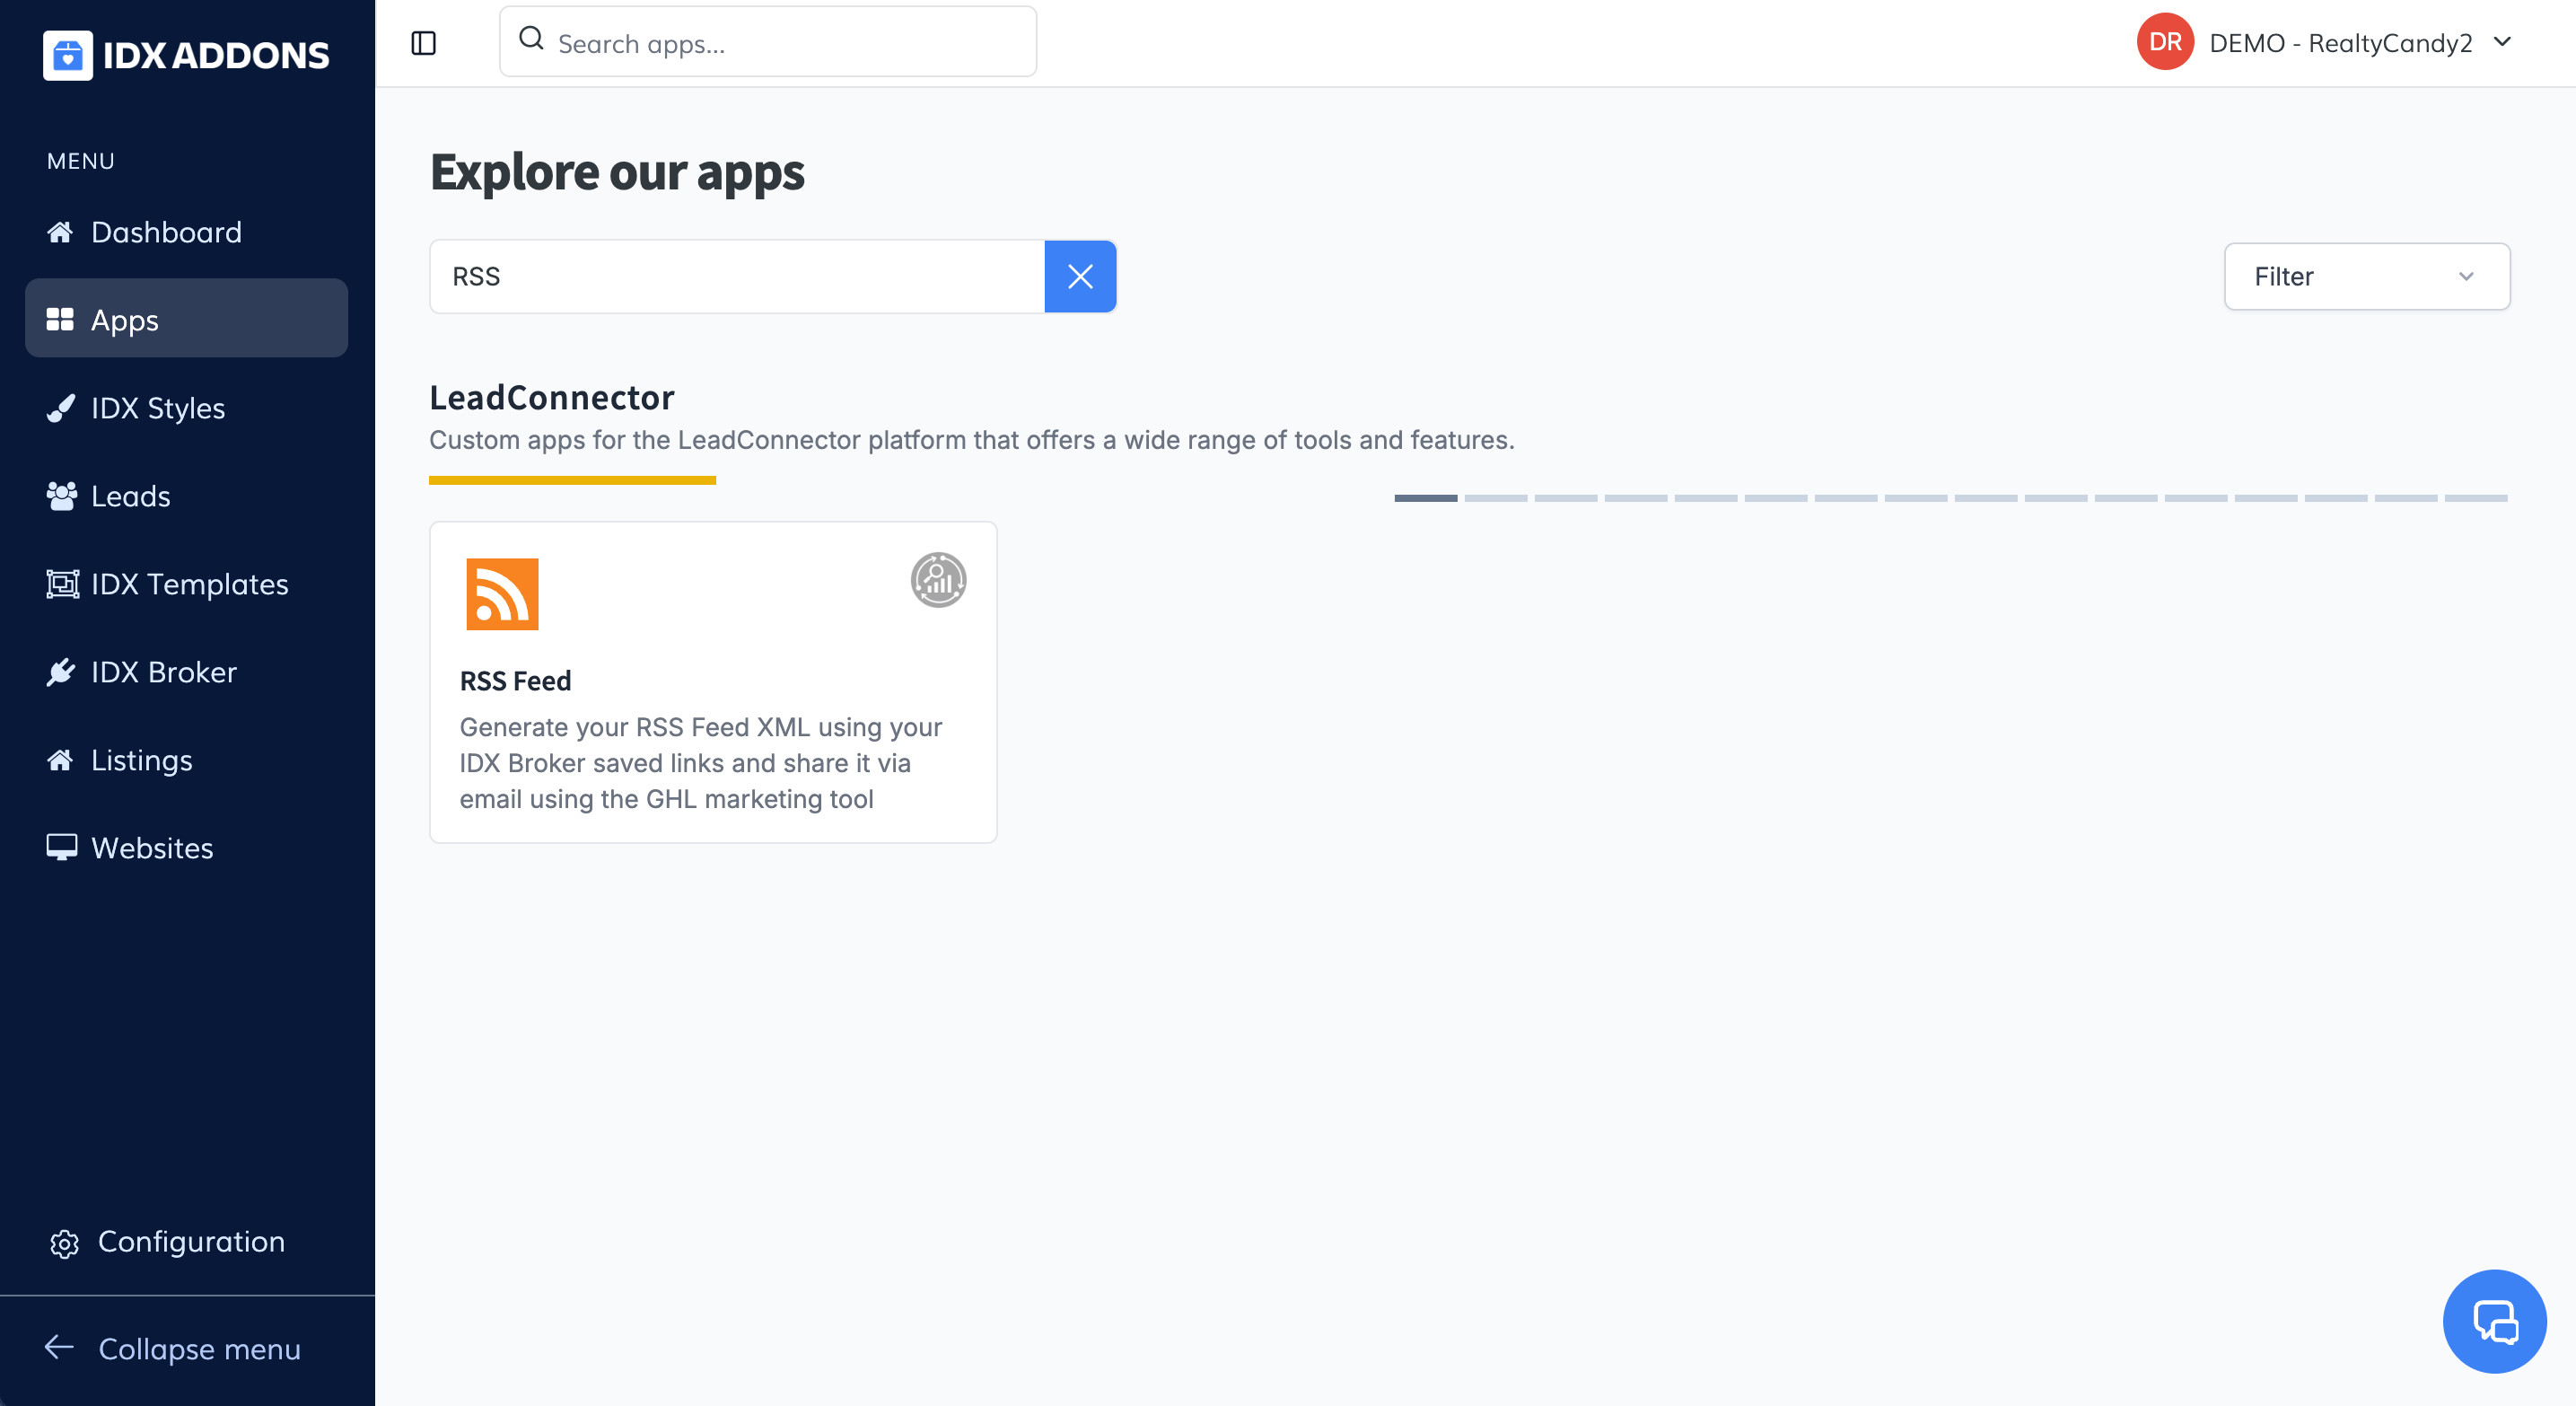
-
RSS Feed
You will see a list of your IDX Broker saved links. If you don't have any saved links, you can create one by clicking on the Create Saved Link button.
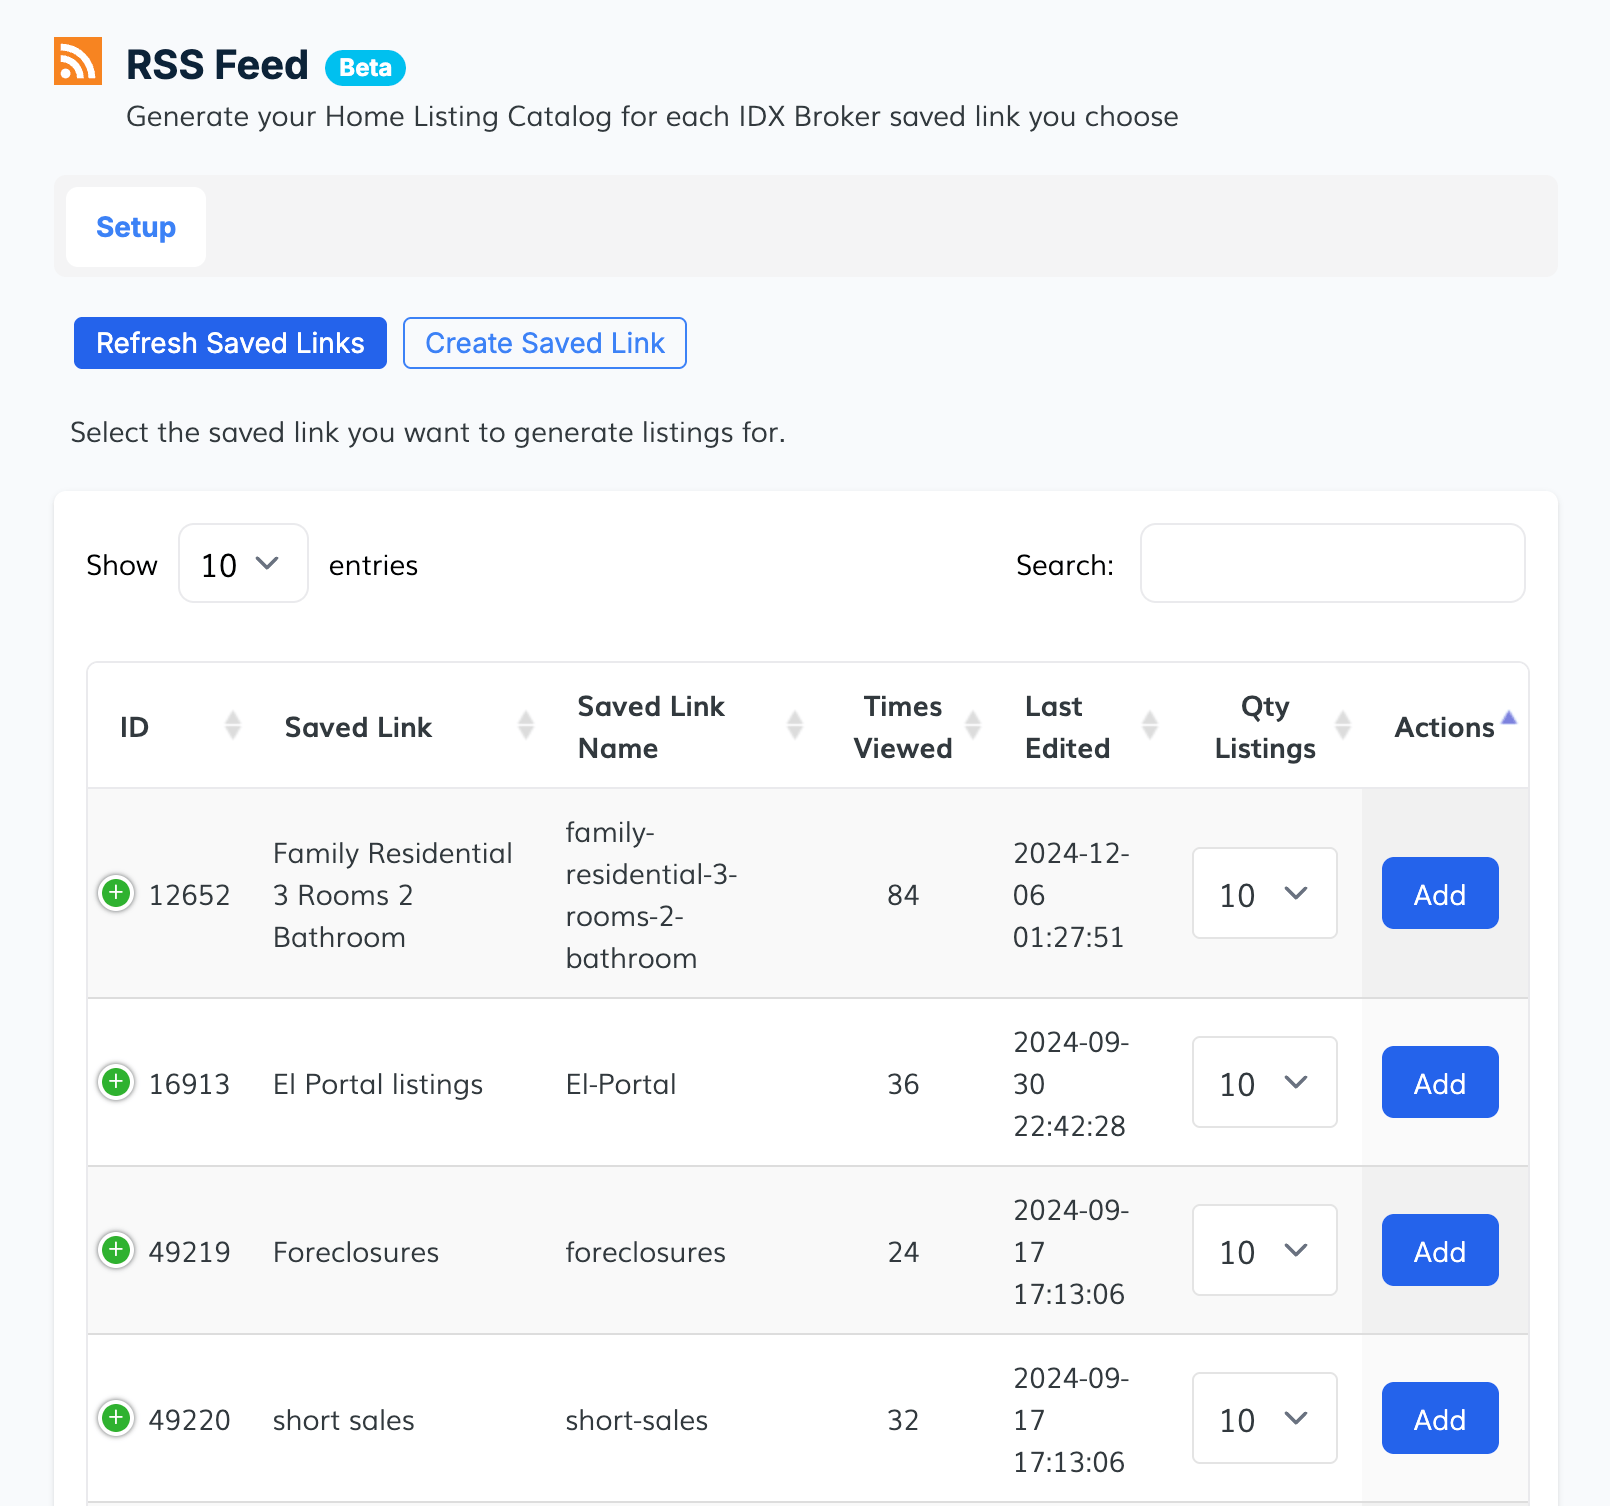
Click on the Add button to create a new RSS feed based on your saved link.

A pop-up will appear confirming the selection of the saved link.
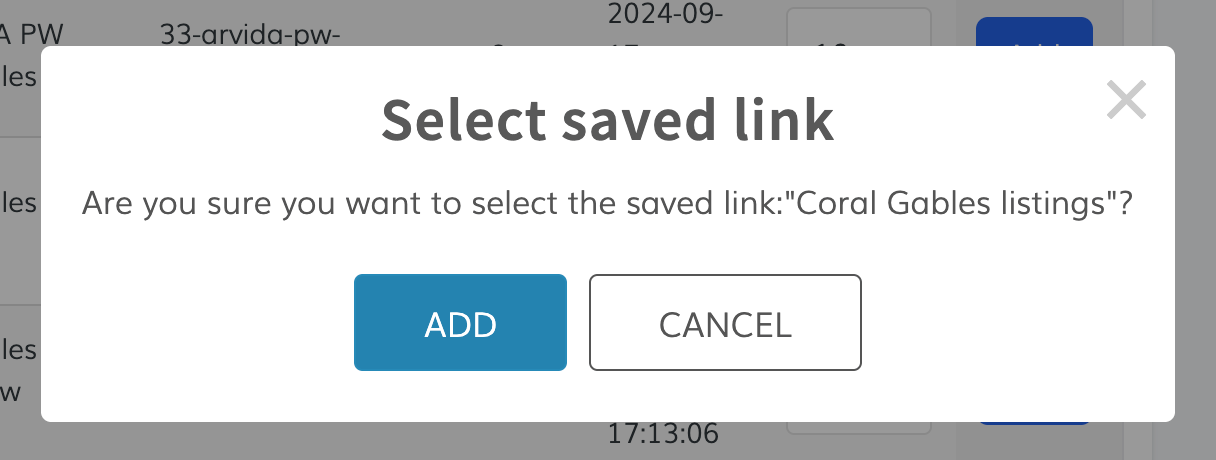
Once selected, the selected saved link will be highlighted in green.
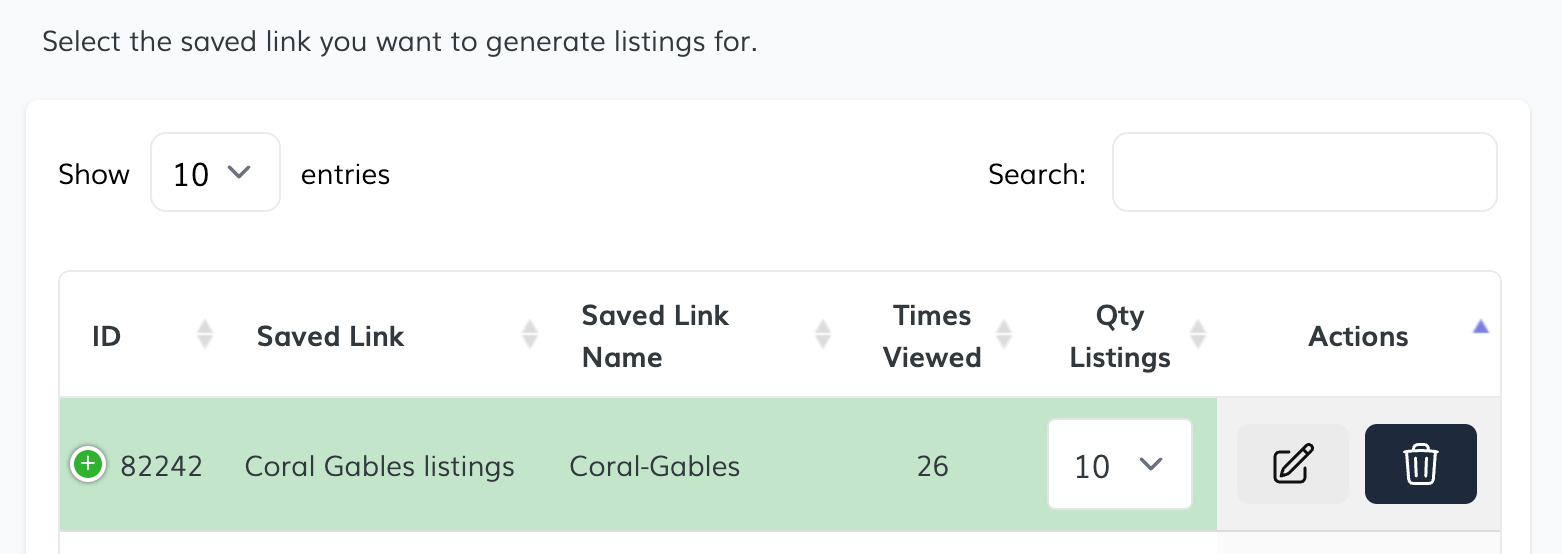
Scroll down to the bottom of the page and click on the Generate File button to create the RSS feed.

Once the XML file is generated, copy the URL and paste it into your website or RSS reader.

-
Create RSS campaign
To understand how to use the RSS Feed app, we will use HighLevel as an example.
Go to Marketing > Emails > Campaigns
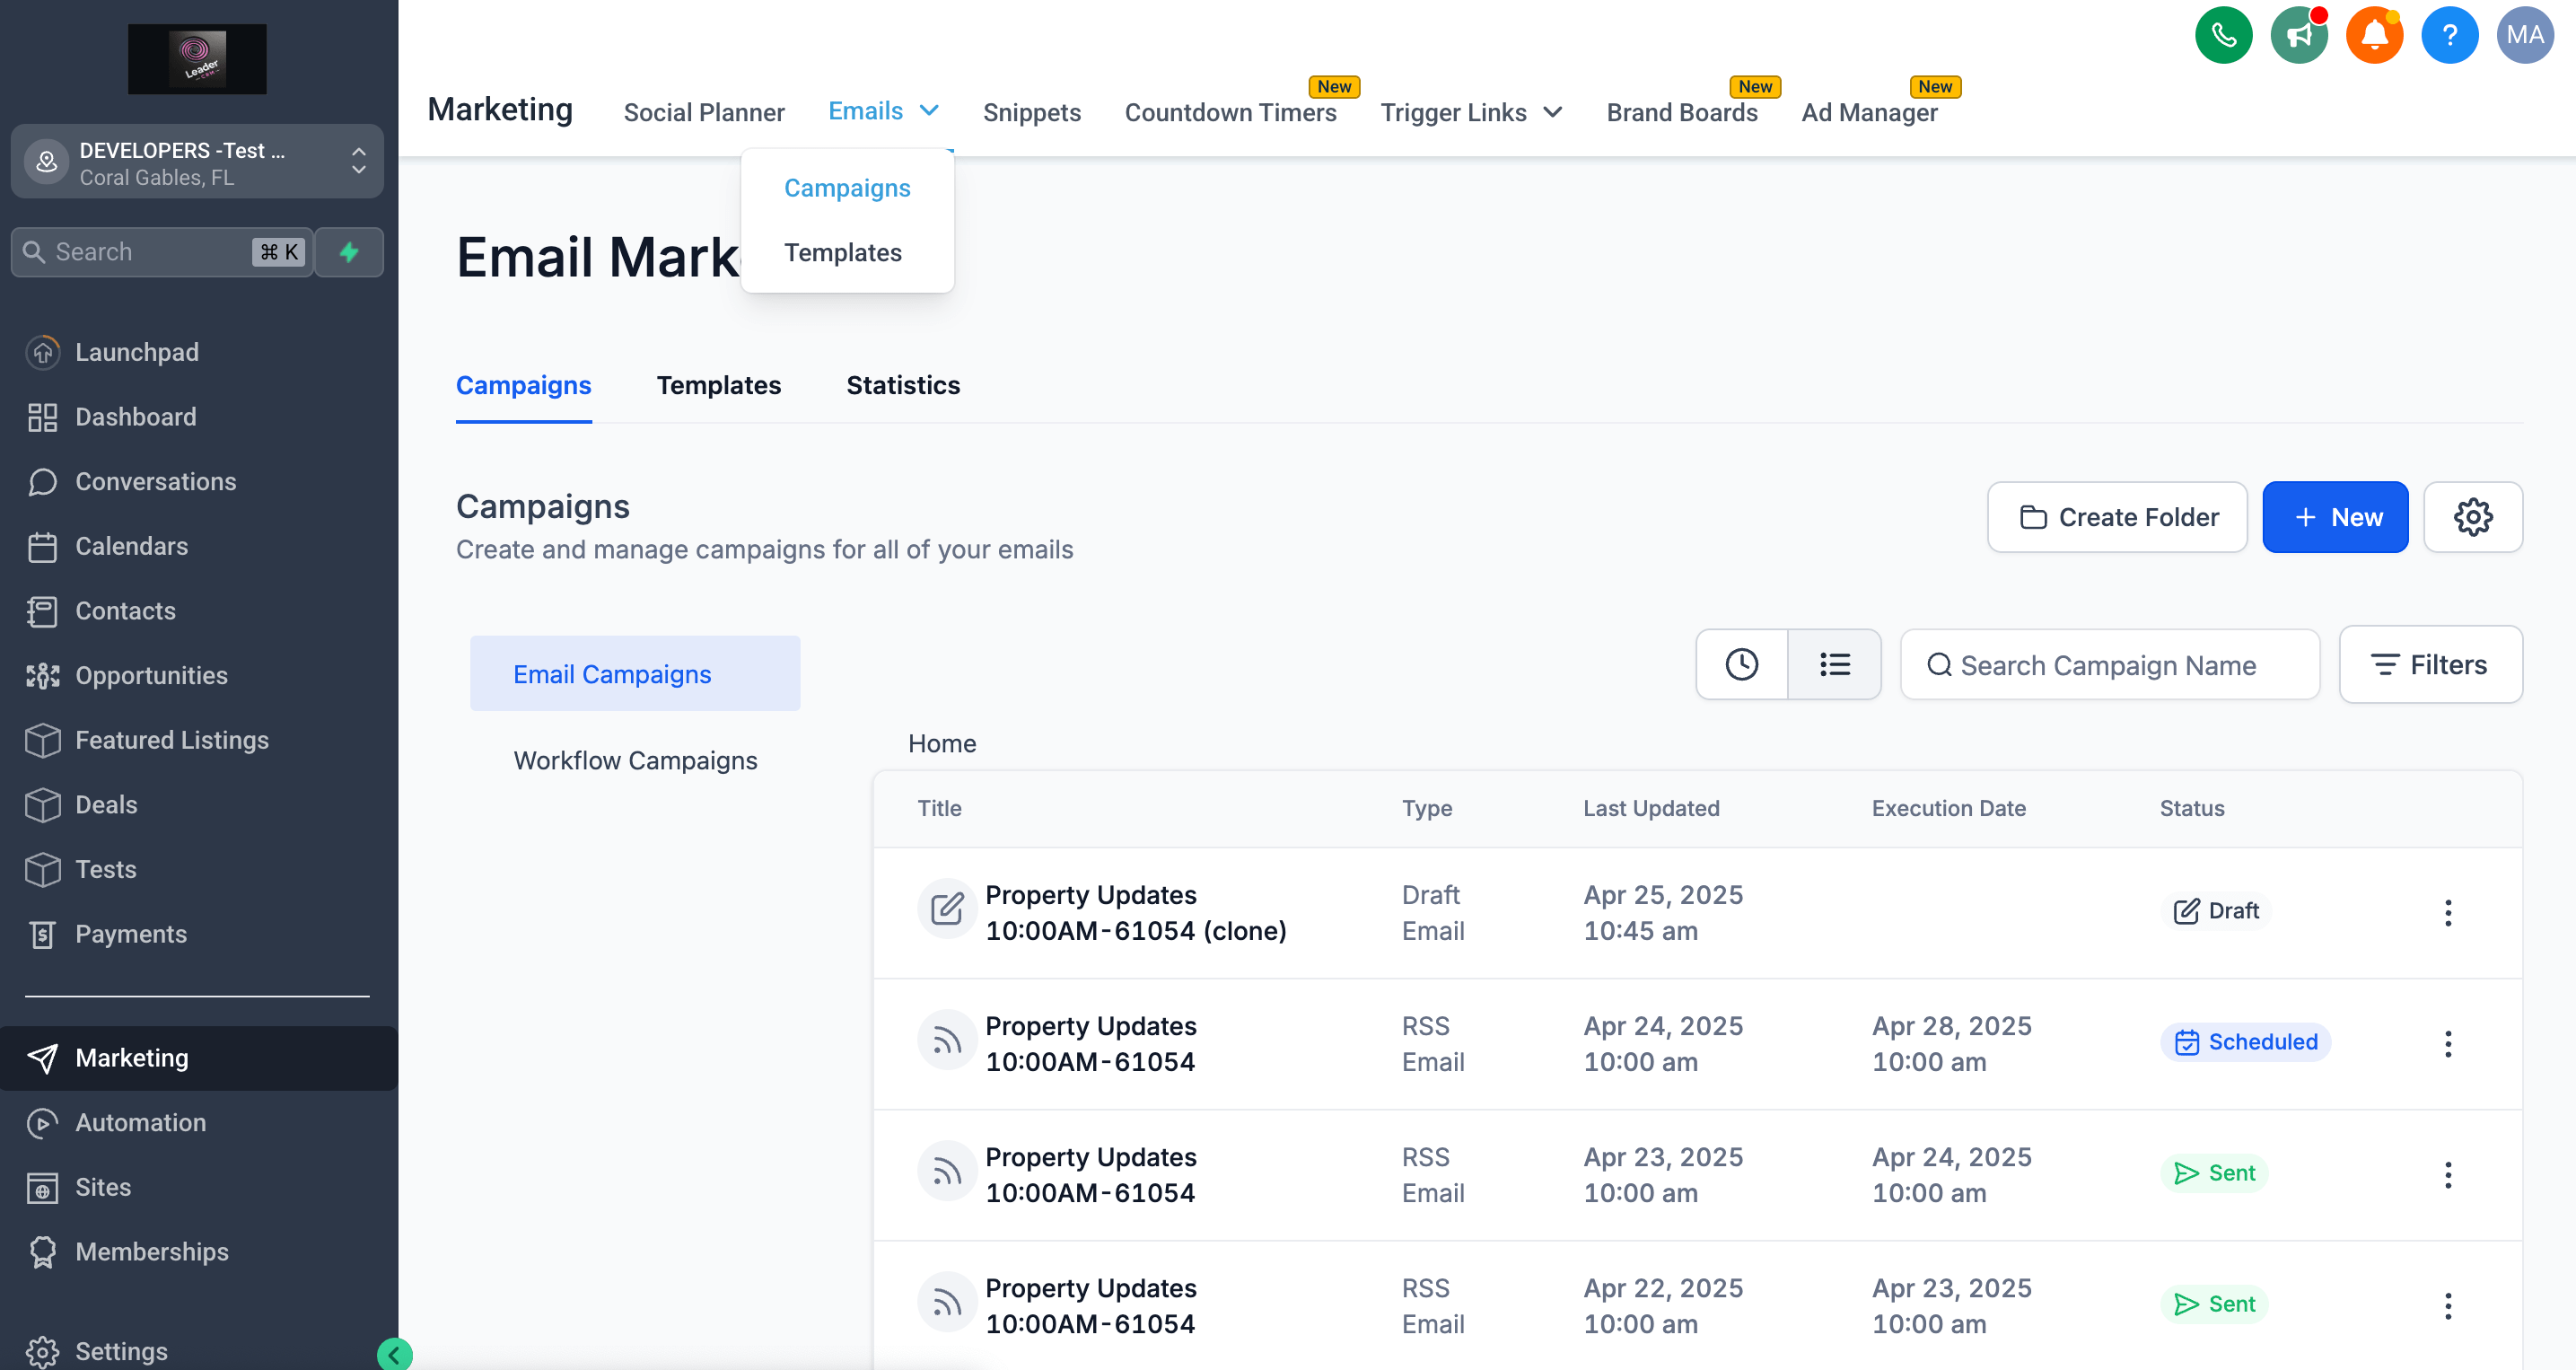
Create a New campaign
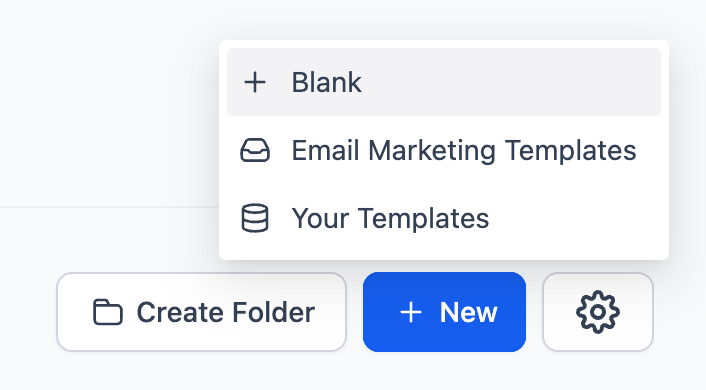
Click the + Blank button and select the card labeled Design Editor. This will allow you to start customizing how your RSS feed content is styled and displayed.
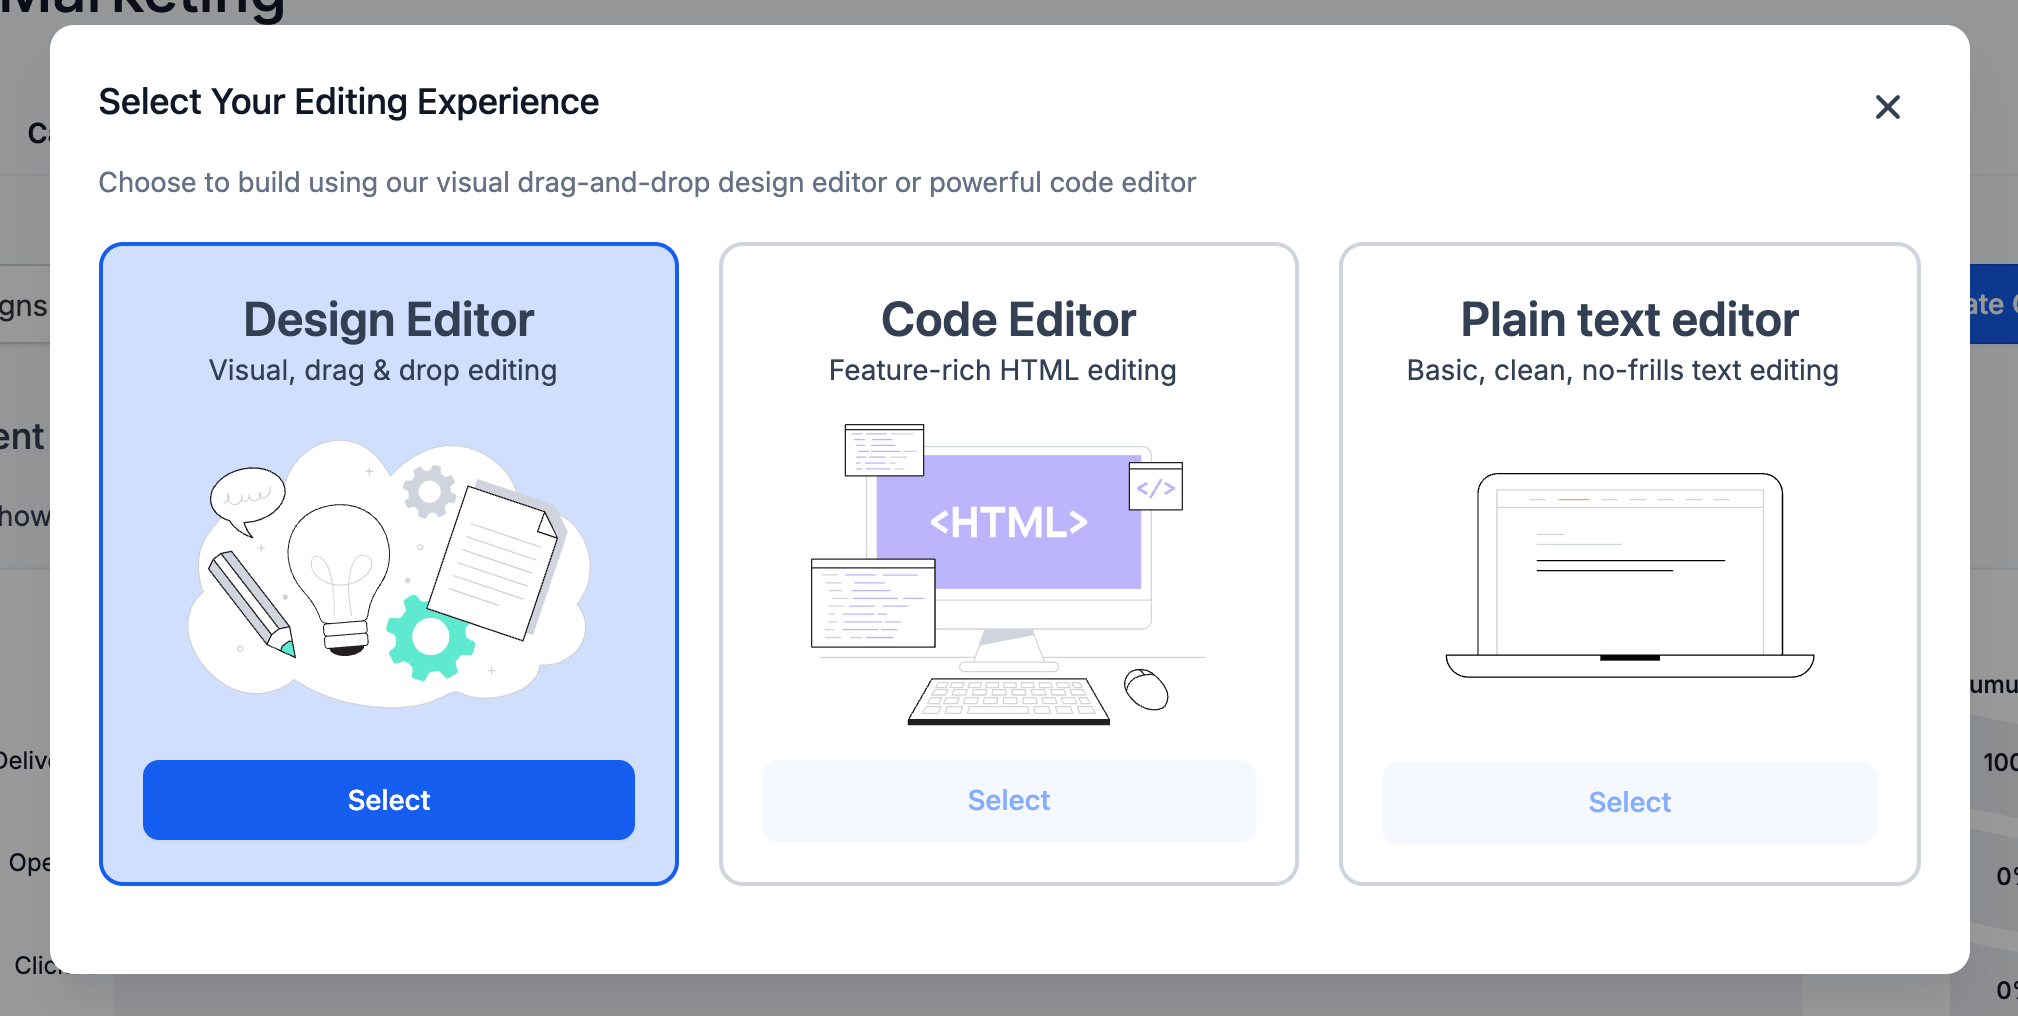
Once you're inside the Design Editor, you’ll enter a drag-and-drop section where you can edit your email content layout.
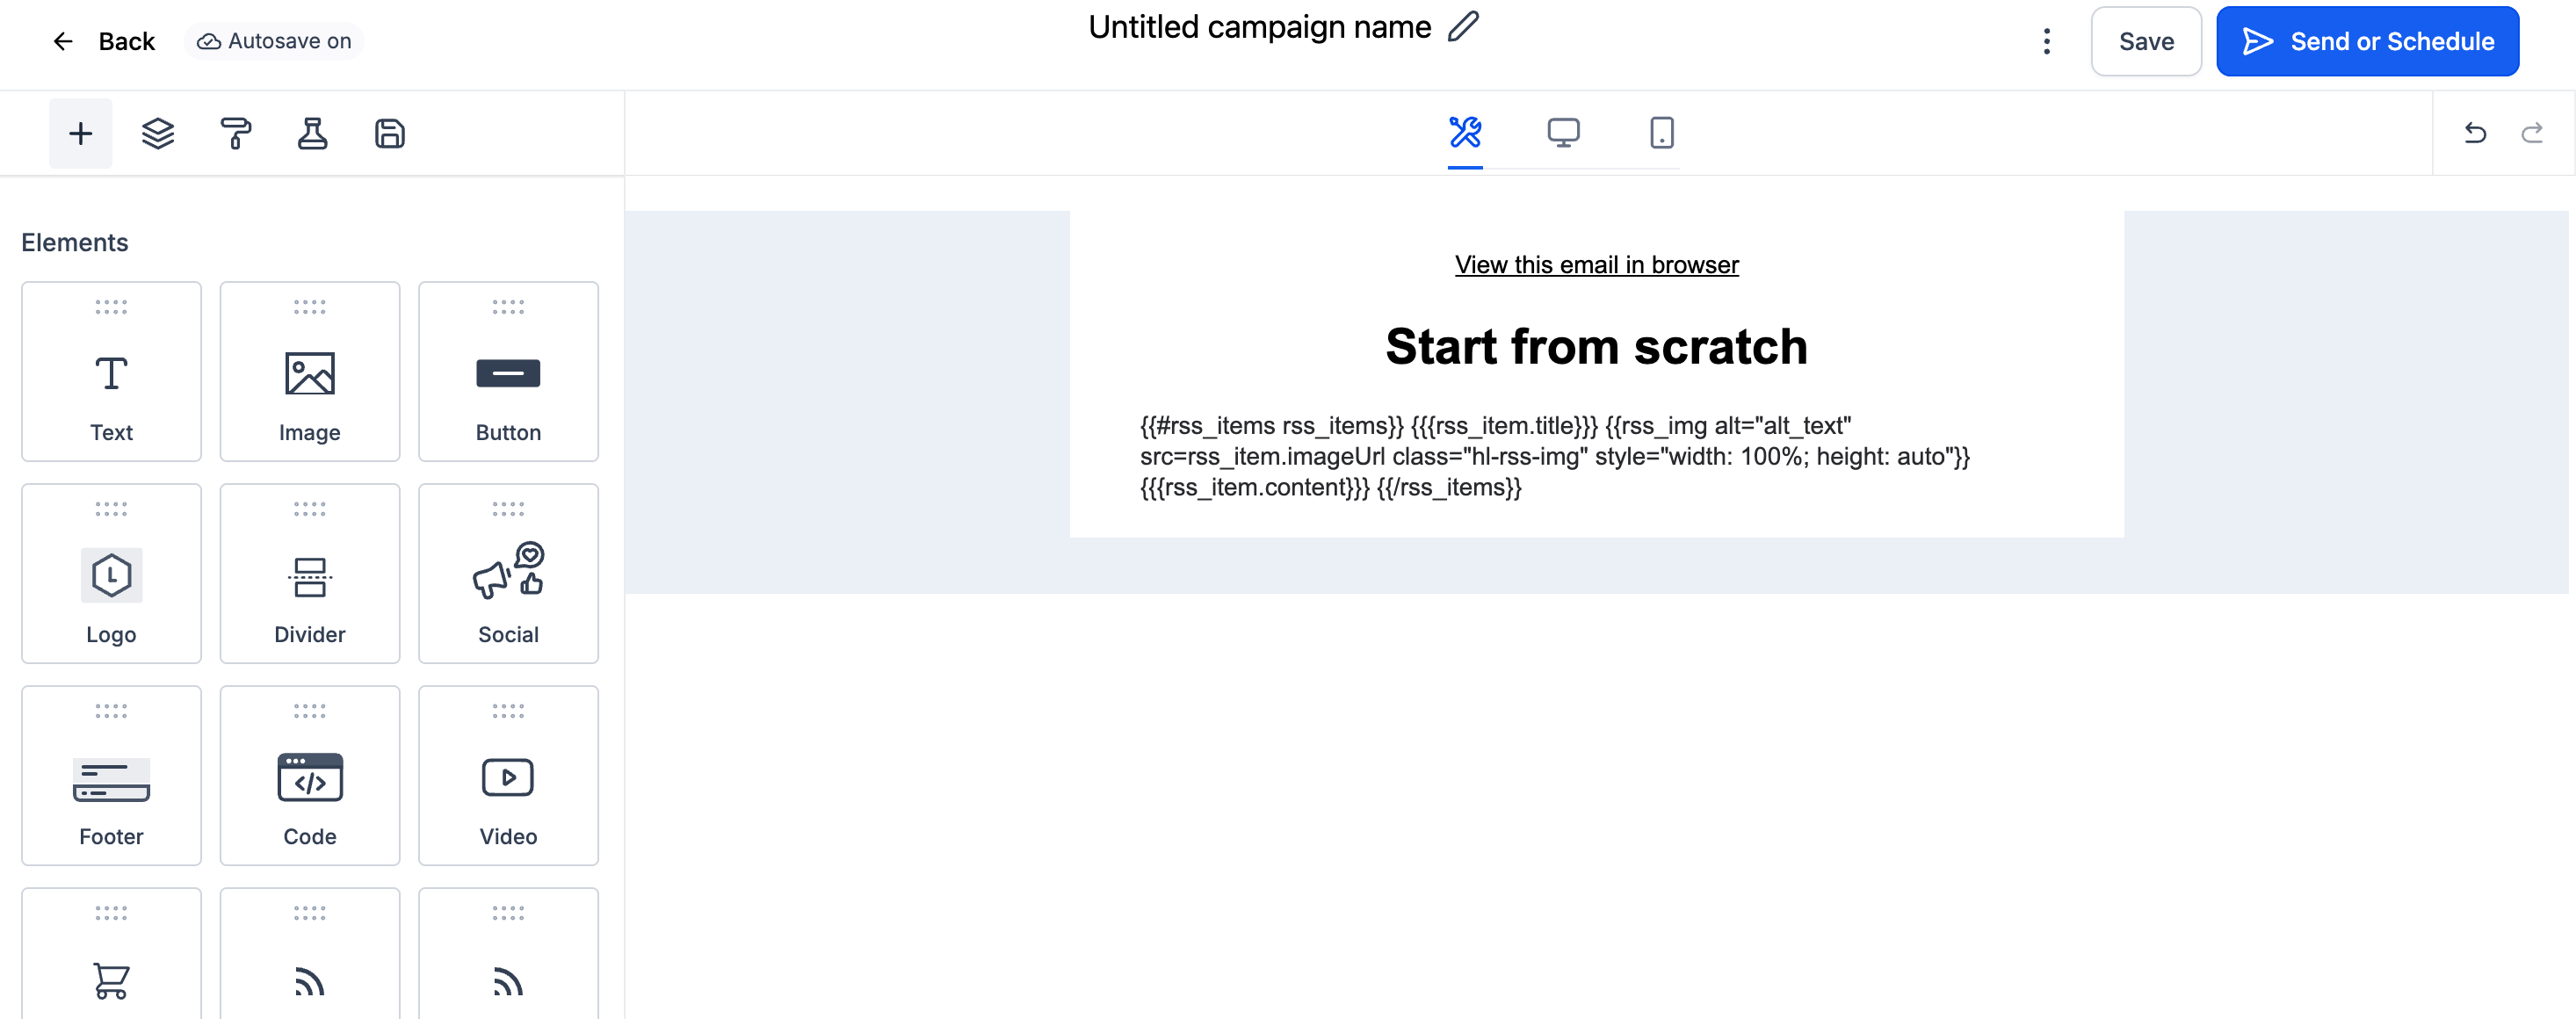
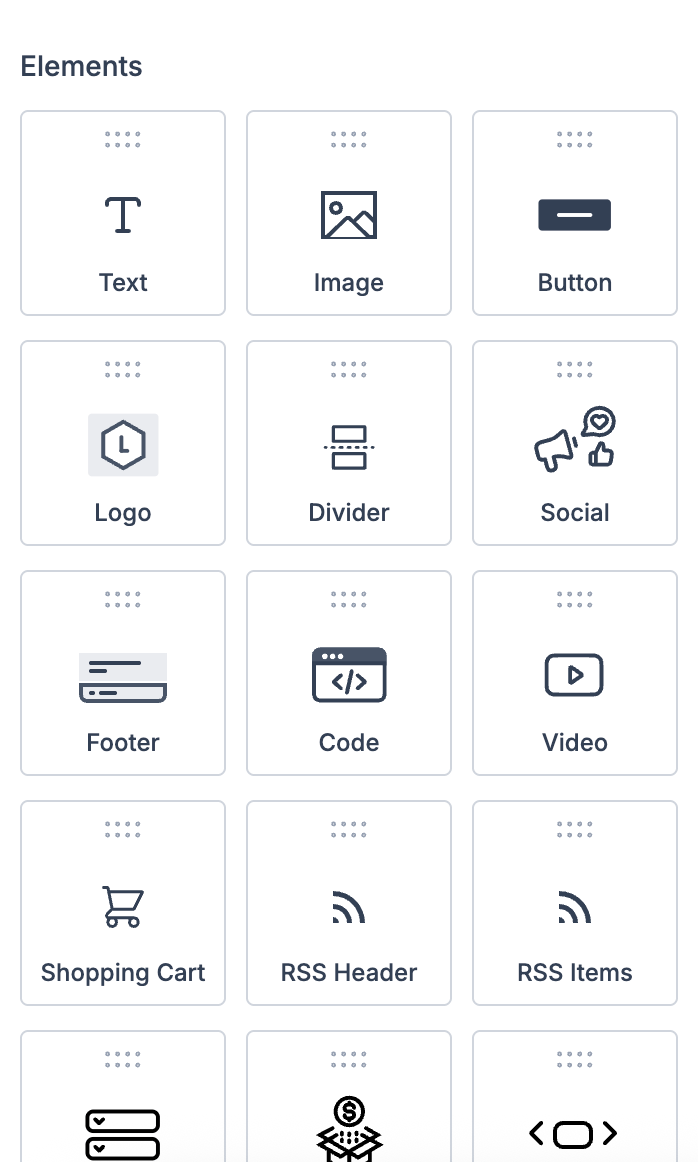
From the list of available elements, drag the “RSS Items” block into the structure of your email.
Then, replace the placeholder content with the following template:
HTML Template{{#rss_items rss_items}} {{{rss_item.title}}} {{rss_img alt="alt_text" src=rss_item.imageUrl class="hl-rss-img" style="width: 100%; height: auto"}} {{{rss_item.content}}} {{/rss_items}}After inserting the RSS template, click the “Send or Schedule” button located at the top-right corner of the screen.
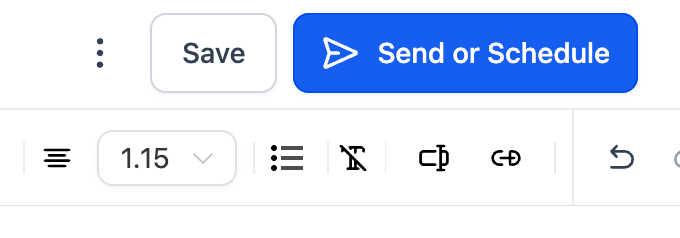
You’ll be taken to a configuration page where you can complete several key settings—such as the email subject, sender details, audience, and delivery time. Once everything is set, you’ll be ready to finalize and launch your RSS-powered campaign.
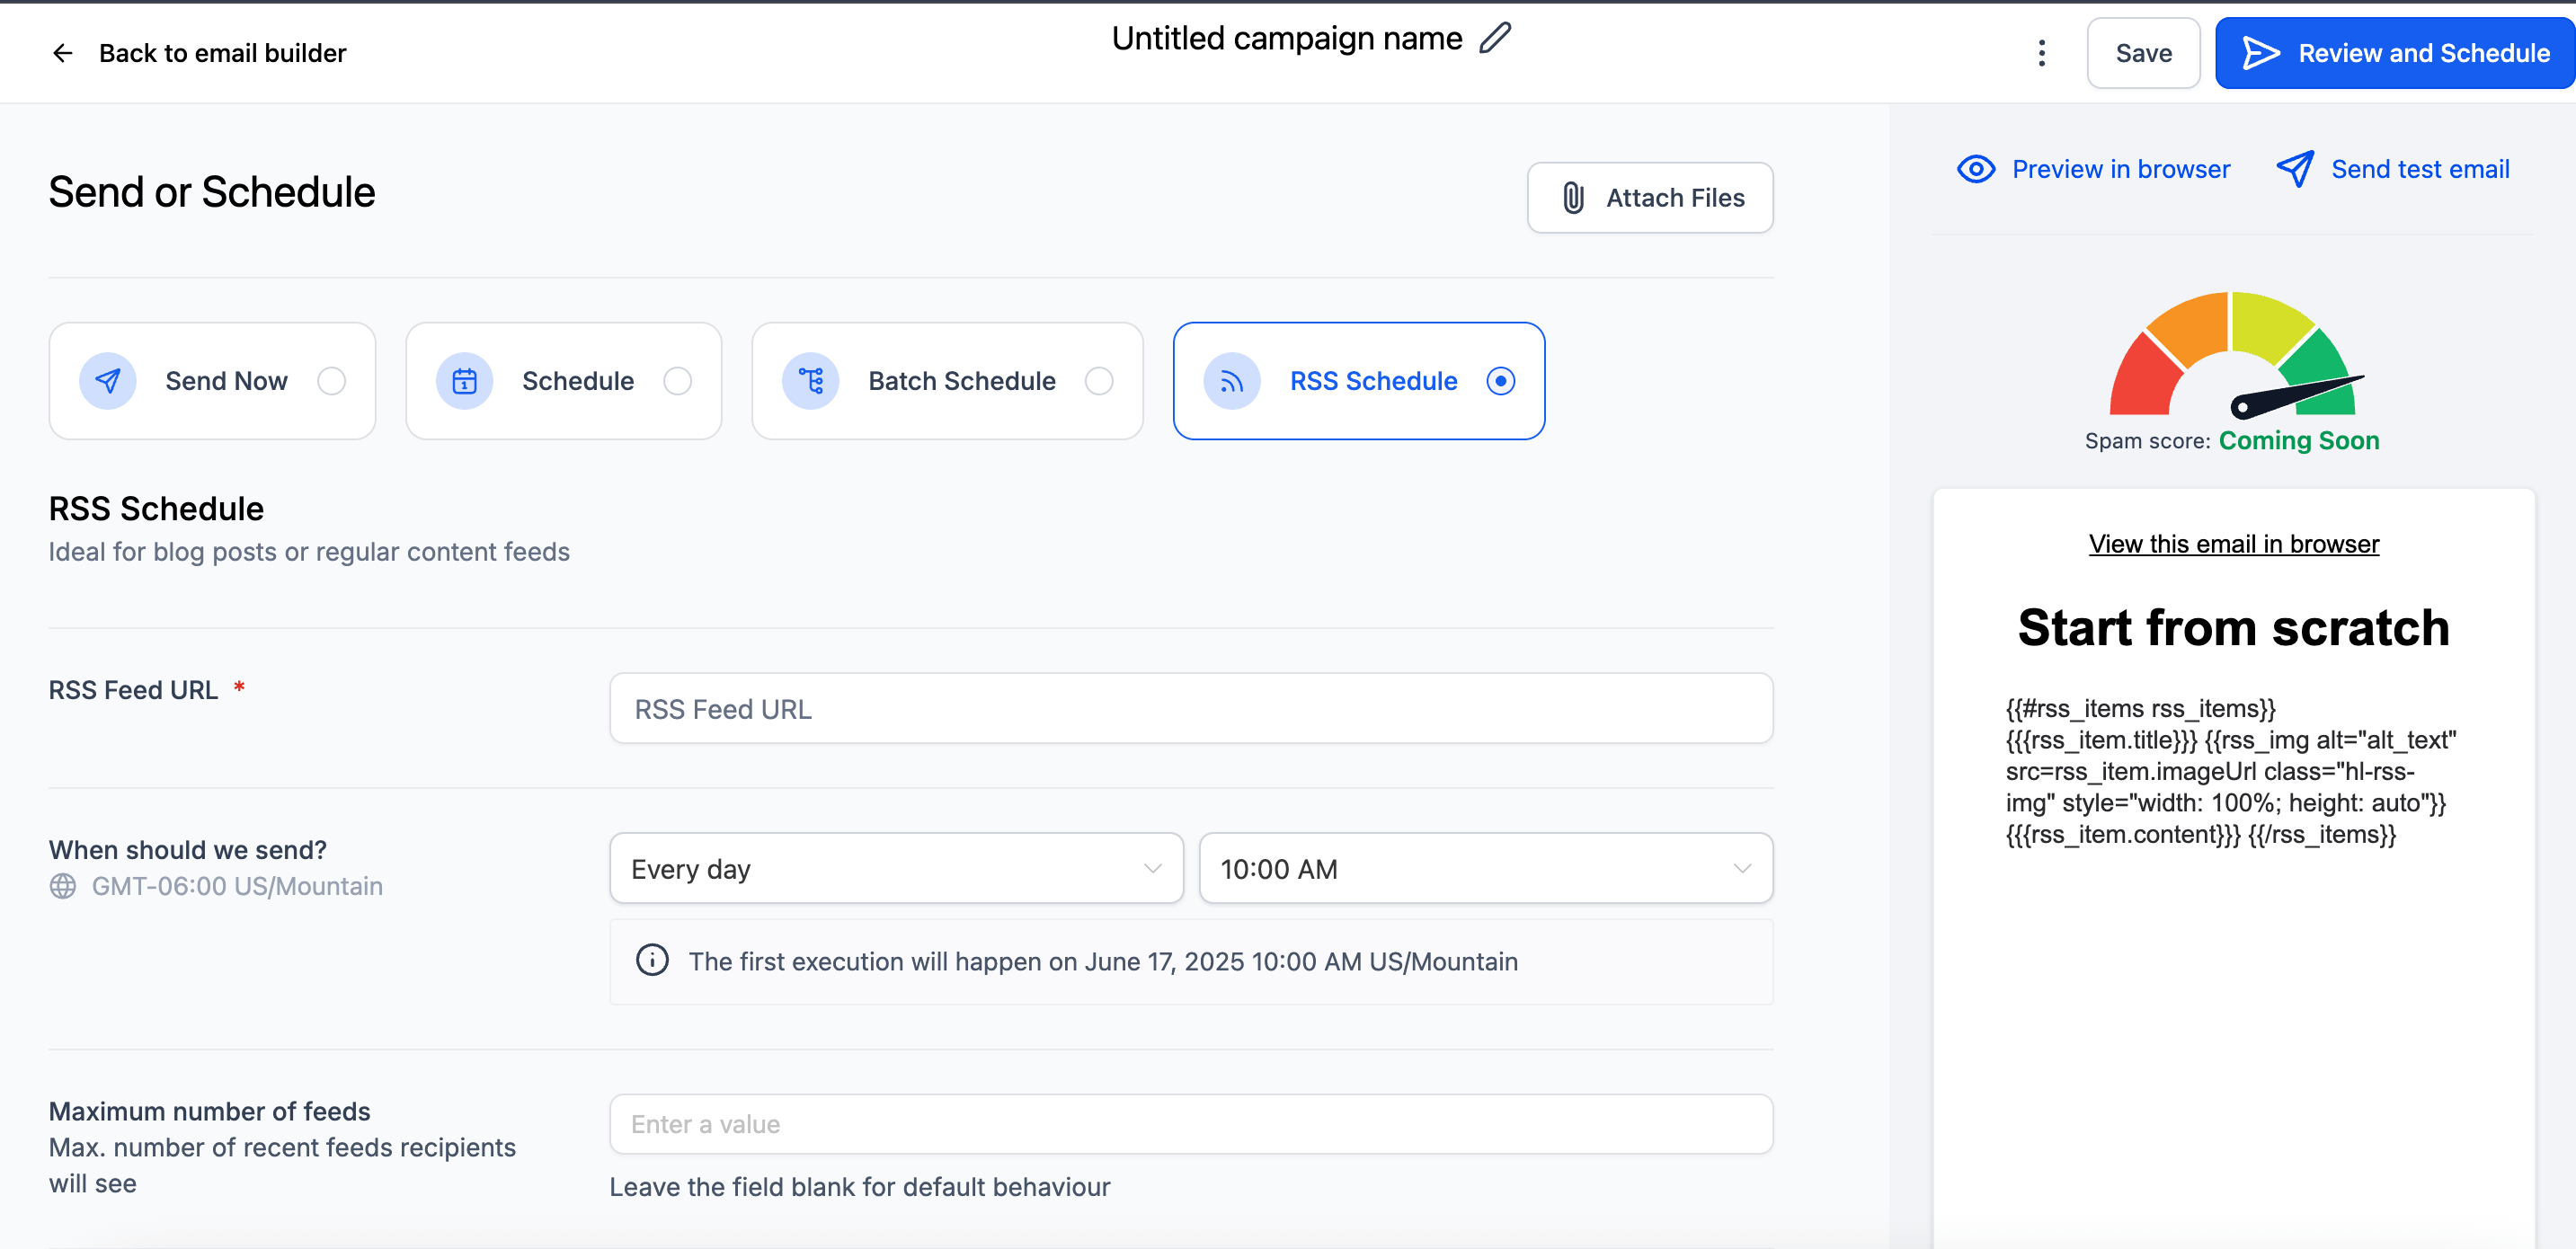
On the configuration screen, you’ll see several options—but the key step here is to set the delivery type to RSS Schedule.

Just below the delivery type options, you’ll find an input field for the RSS feed URL. To complete this step, go to the bottom section of the RSS Feed app's main page—you’ll see a section labeled with the link to your items.
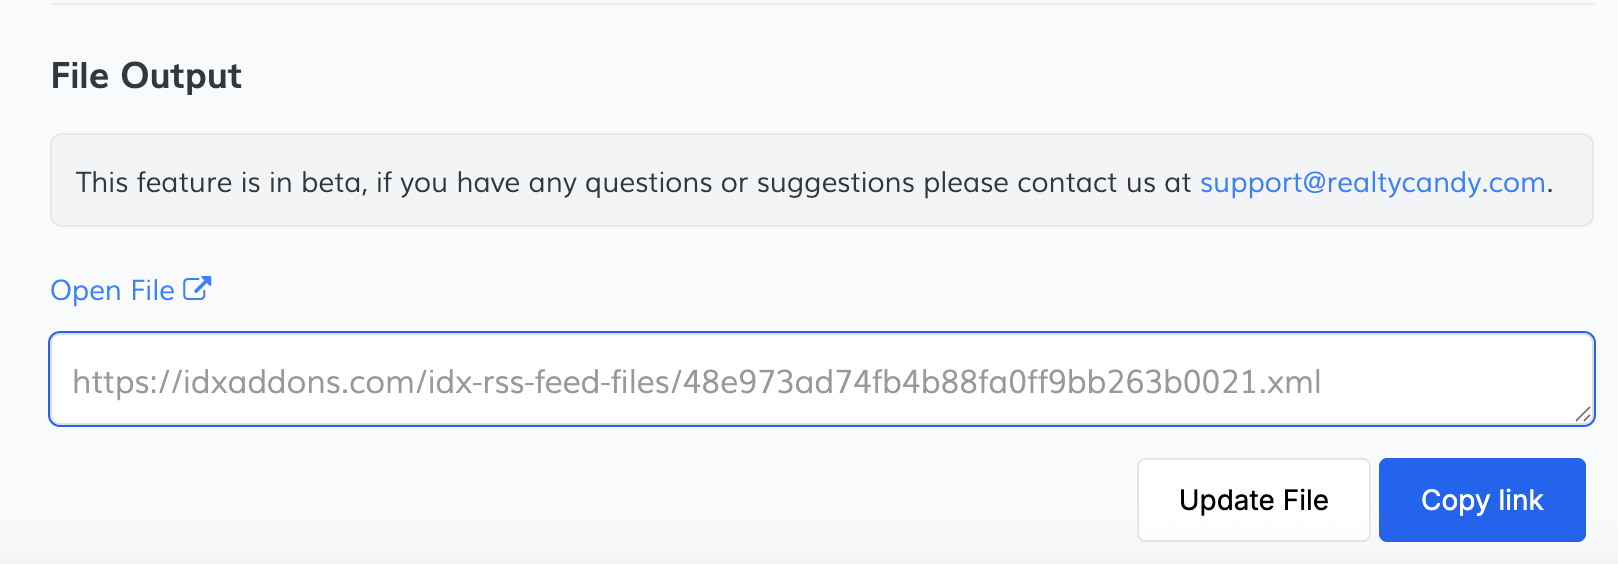
Copy that link and paste it into the configuration field to connect your campaign to the live feed.
 Complete the Campaign Configuration
On this screen, you’ll finalize all the key settings for your RSS campaign. Below is a breakdown of what to complete:
- When should we send? Set the frequency, time, and time zone for the campaign. The system will also show when the first execution is scheduled to run.
- Maximum number of feeds: (Optional) Define how many recent RSS items to include in each email. Leave it blank to use the default setting.
- Send On: Choose which days of the week the campaign should run (e.g., Mon–Fri).
- Sender Email: Required. This is the email address your recipients will see. You must verify this email to confirm ownership before you can send from it.
- Sender Name: (Optional) The name that will appear in your recipients’ inboxes.
- Subject Line & Preview Text: Subject line is required. The preview text is optional but recommended for better visibility in email clients.
- Recipient (To): Required. Select the contact list or audience that will receive your campaign. You won’t be able to proceed without choosing at least one recipient.
- Additional Settings (Optional):
- UTM Tracking to add default campaign parameters to your links.
- Tags based on user interaction.
- Resend to unopened for automated follow-ups.
Once the required fields are completed and your sender email is verified, you’ll be ready to send or schedule your campaign.
-
How the Feed Looks
Once the campaign is created, the feeds will be automatically sent at the scheduled times to the selected contacts.
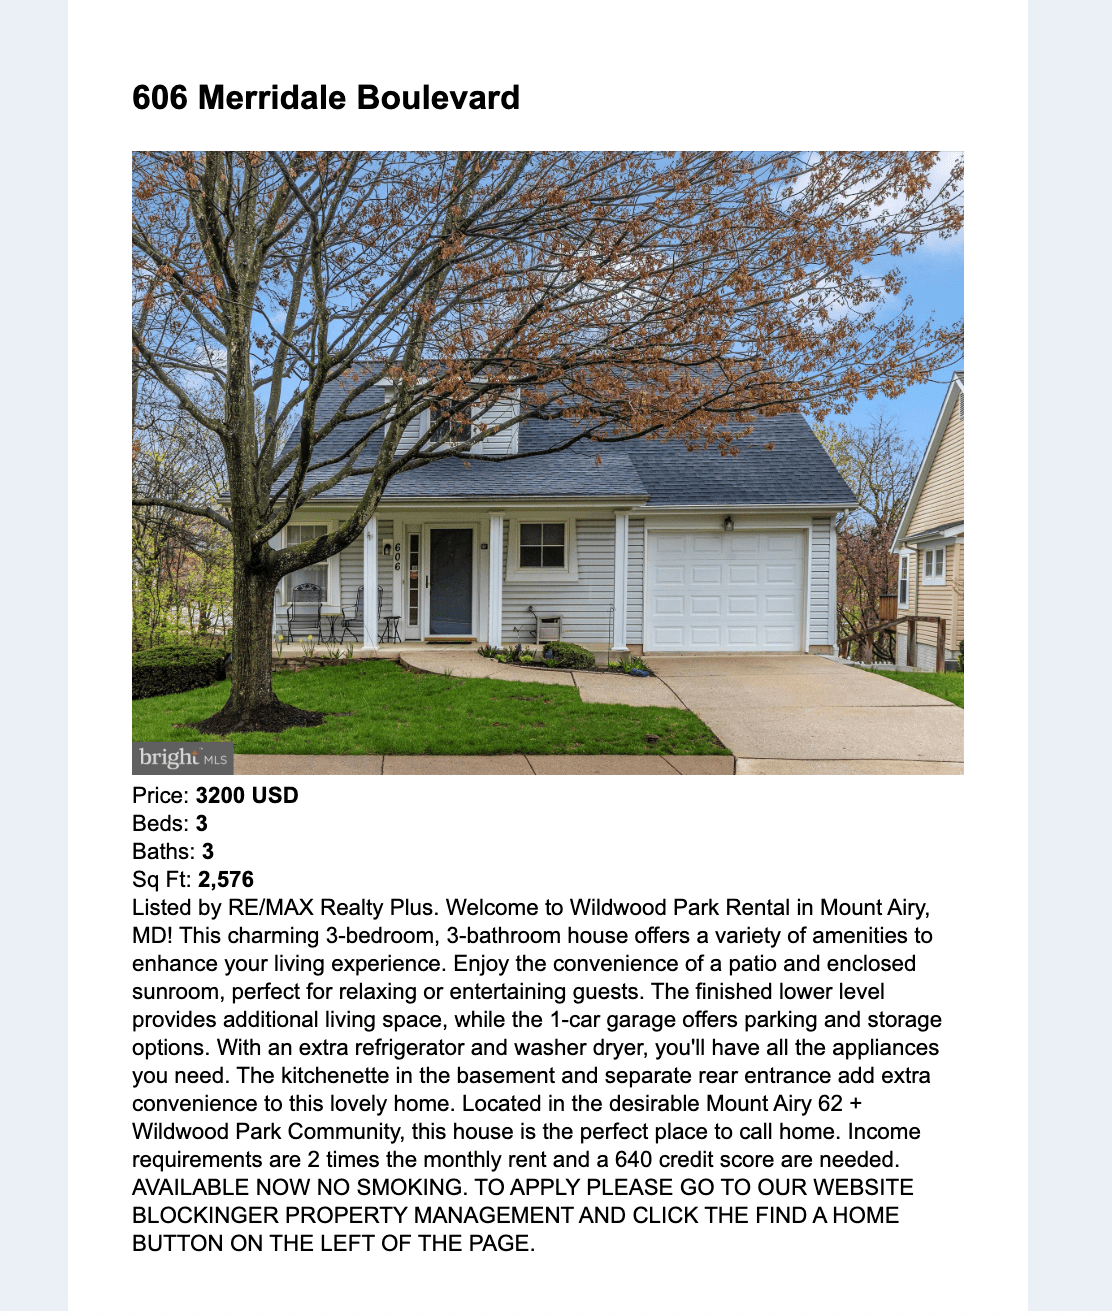
This is how the feed will appear to your recipients:
