-
Access the Platform
Log in to your IDXAddons platform account
In the dashboard, select the Showing Planner app.
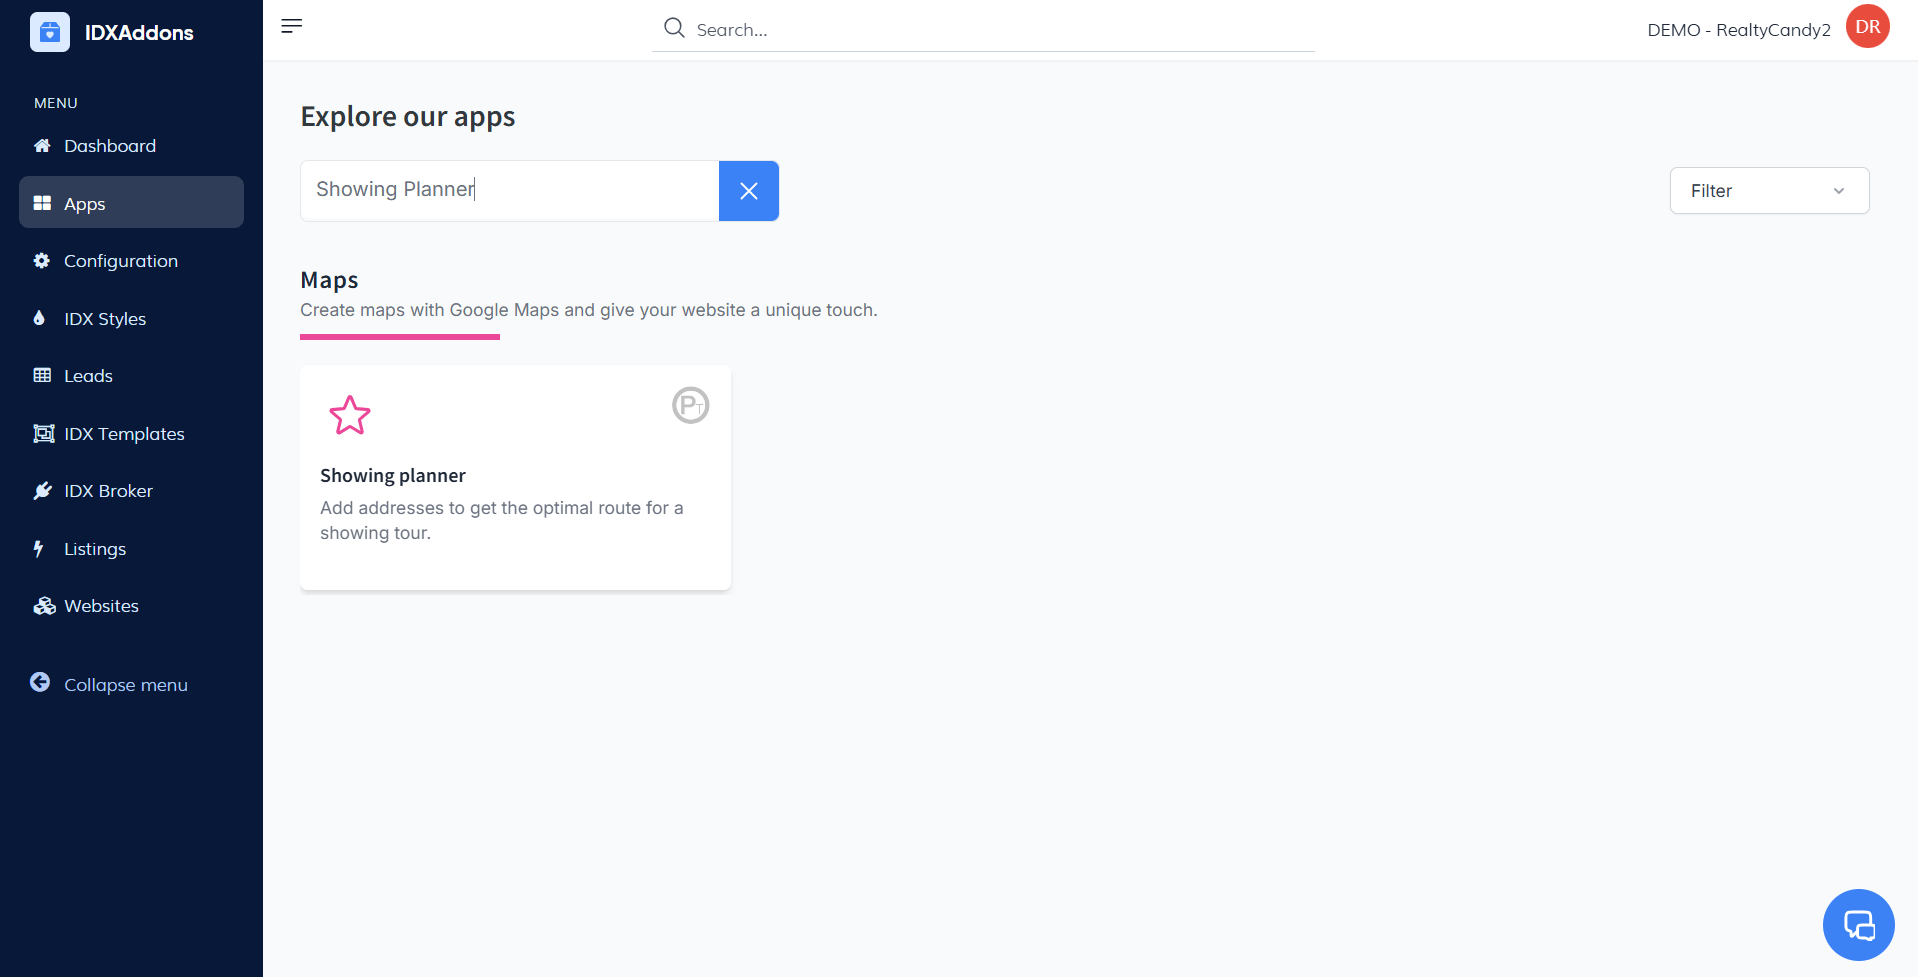
-
Purpose
The Showing Planner app is designed to optimize property tour routes, providing a more efficient and organized showing experience for your clients. This app is available exclusively for Platinum accounts.
-
Accessing the "My Tours" Tab
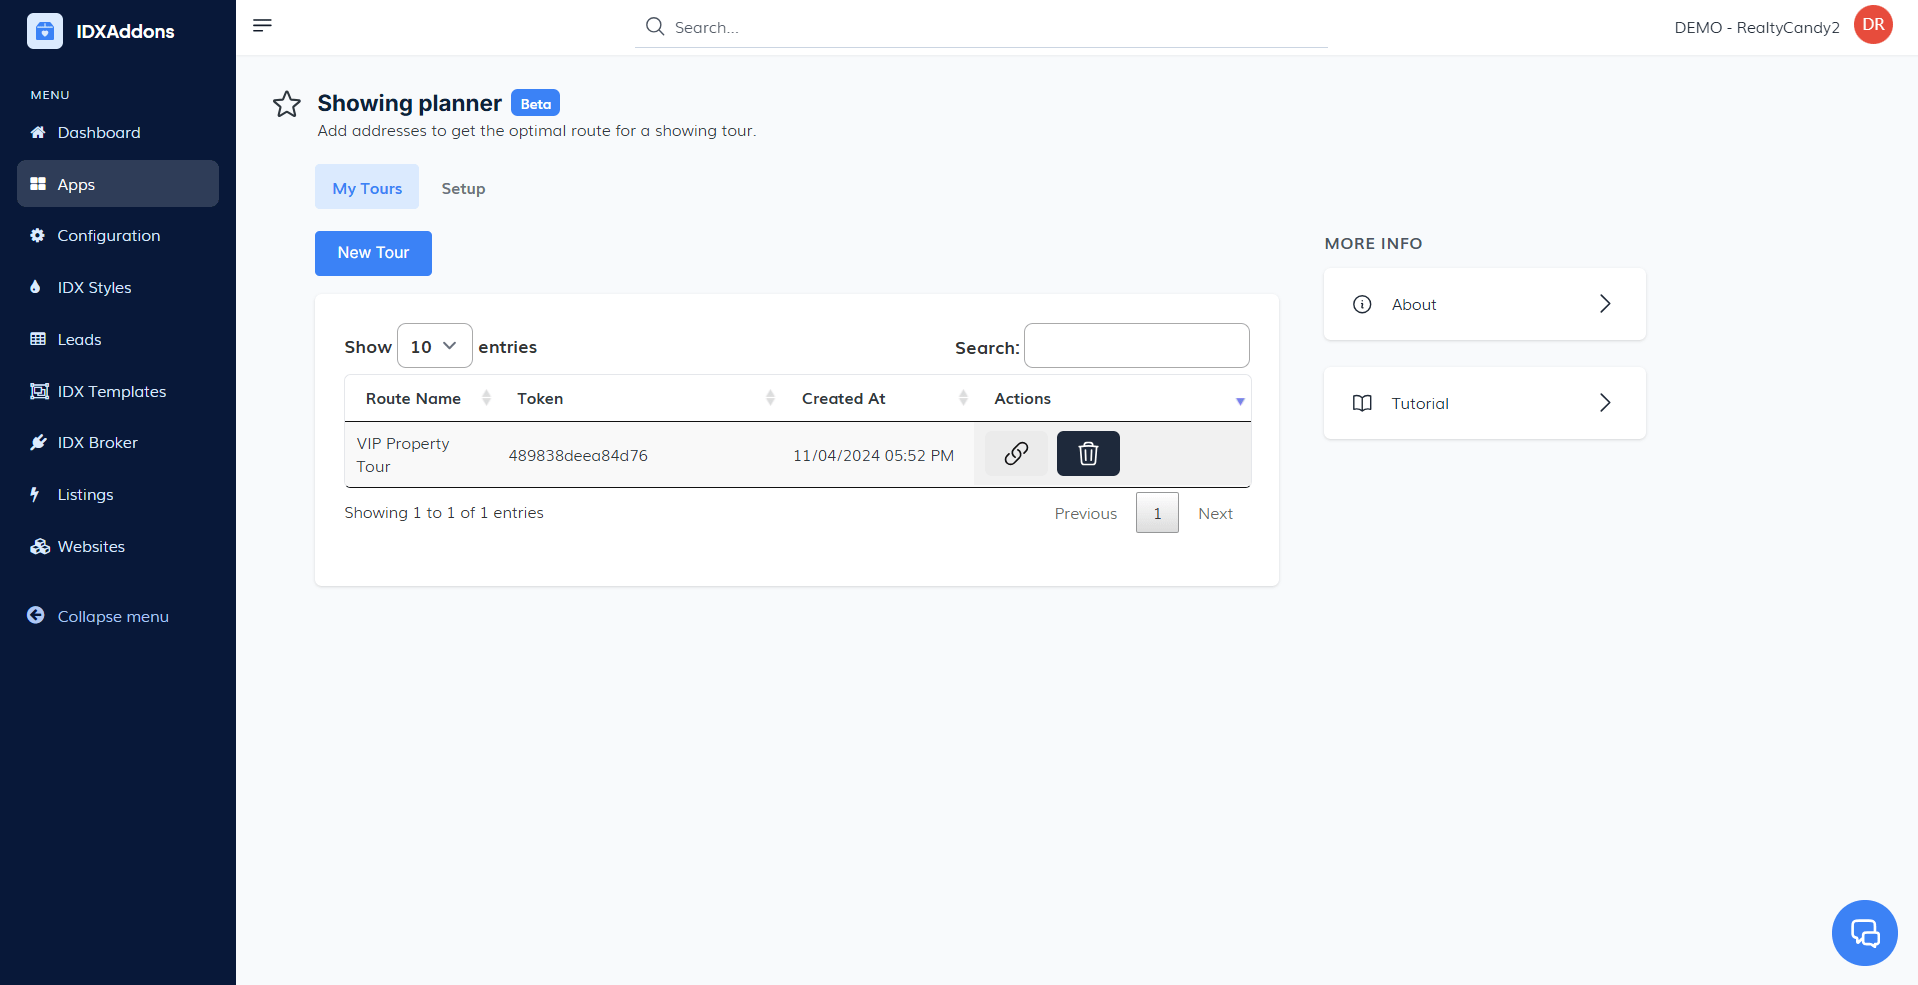
When you open the app, you’ll see the My Tours tab, where you can review all previously created tours.
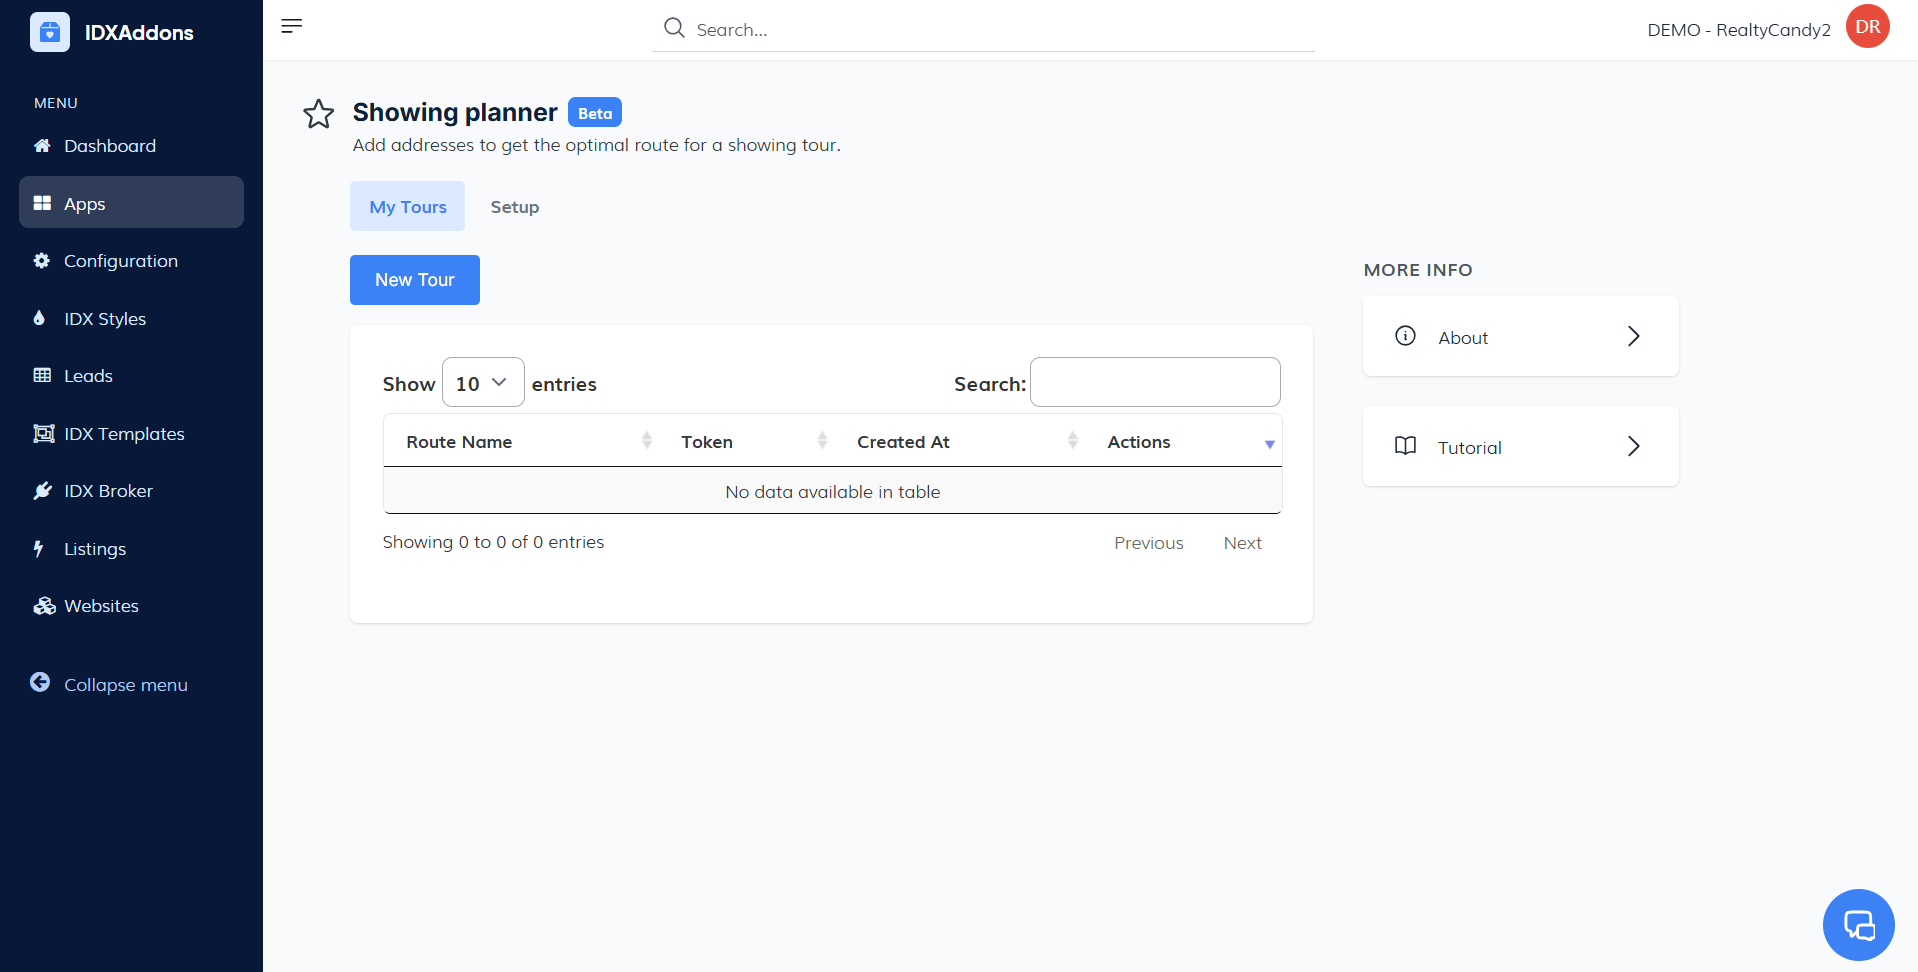
To start a new tour, click the New Tour button. You’ll be automatically redirected to the Setup tab to configure the new tour.
-
Creating a New Tour in the Setup Tab
In the Setup tab, enter a name for your tour. For this example, we’ll use VIP Property Tour.
 Set the Starting Point
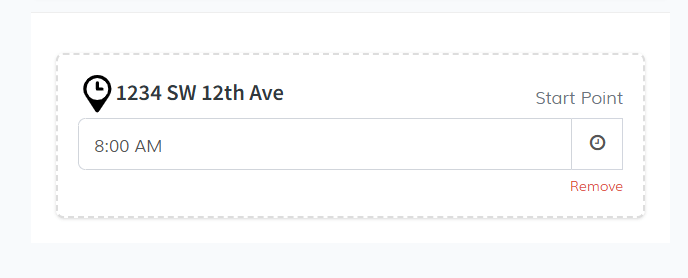
- Enter the first address to set the starting point of your route.
- Then, specify the time you’d like the tour to begin (for example, 8:00 AM).
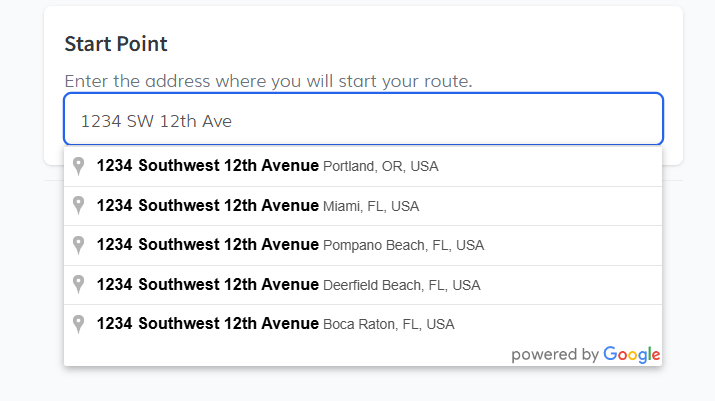
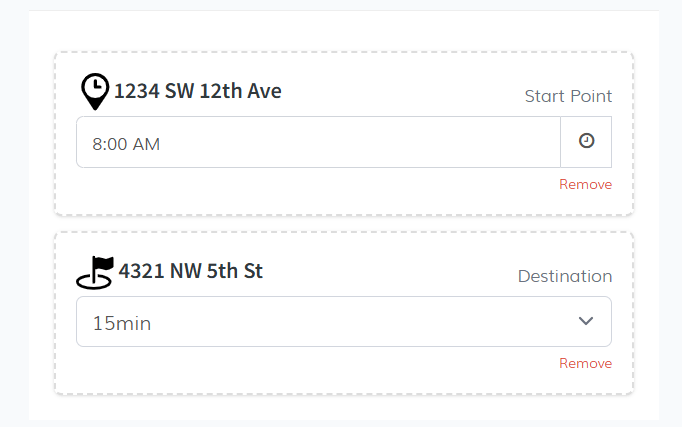
- Enter the next address, which will be the next stop on your route.
- Specify the amount of time you plan to spend at this stop (e.g., 15 minutes).
- Continue adding addresses and time durations for each additional stop. For this example, we’ll add a total of 4 stops.
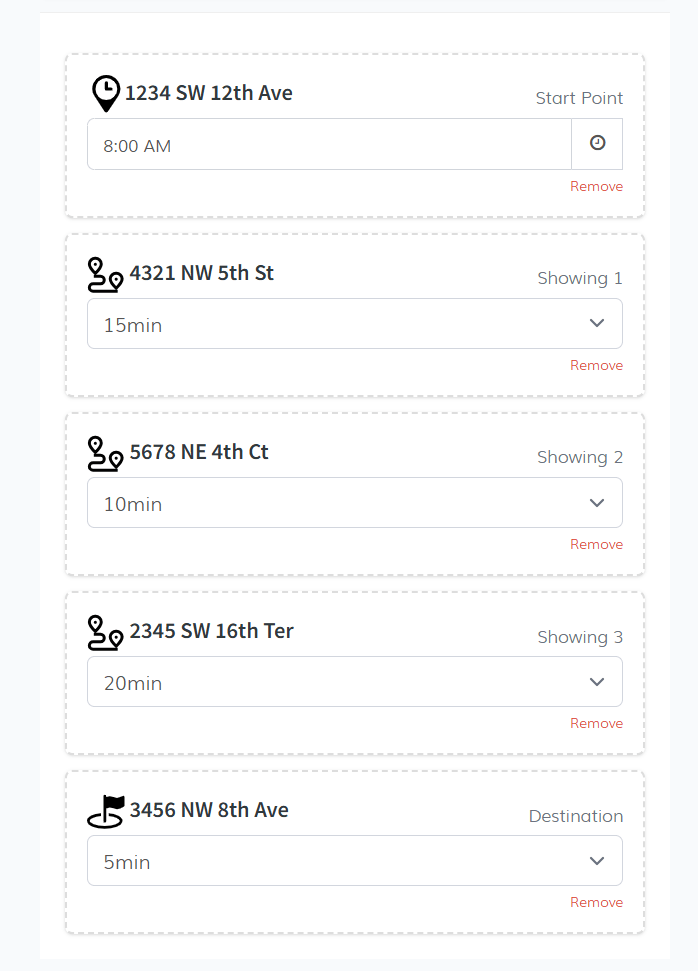
If you need to adjust the order of the stops, simply drag and drop each location to rearrange them. You can move any stop to the beginning, end, or any other position in the sequence.
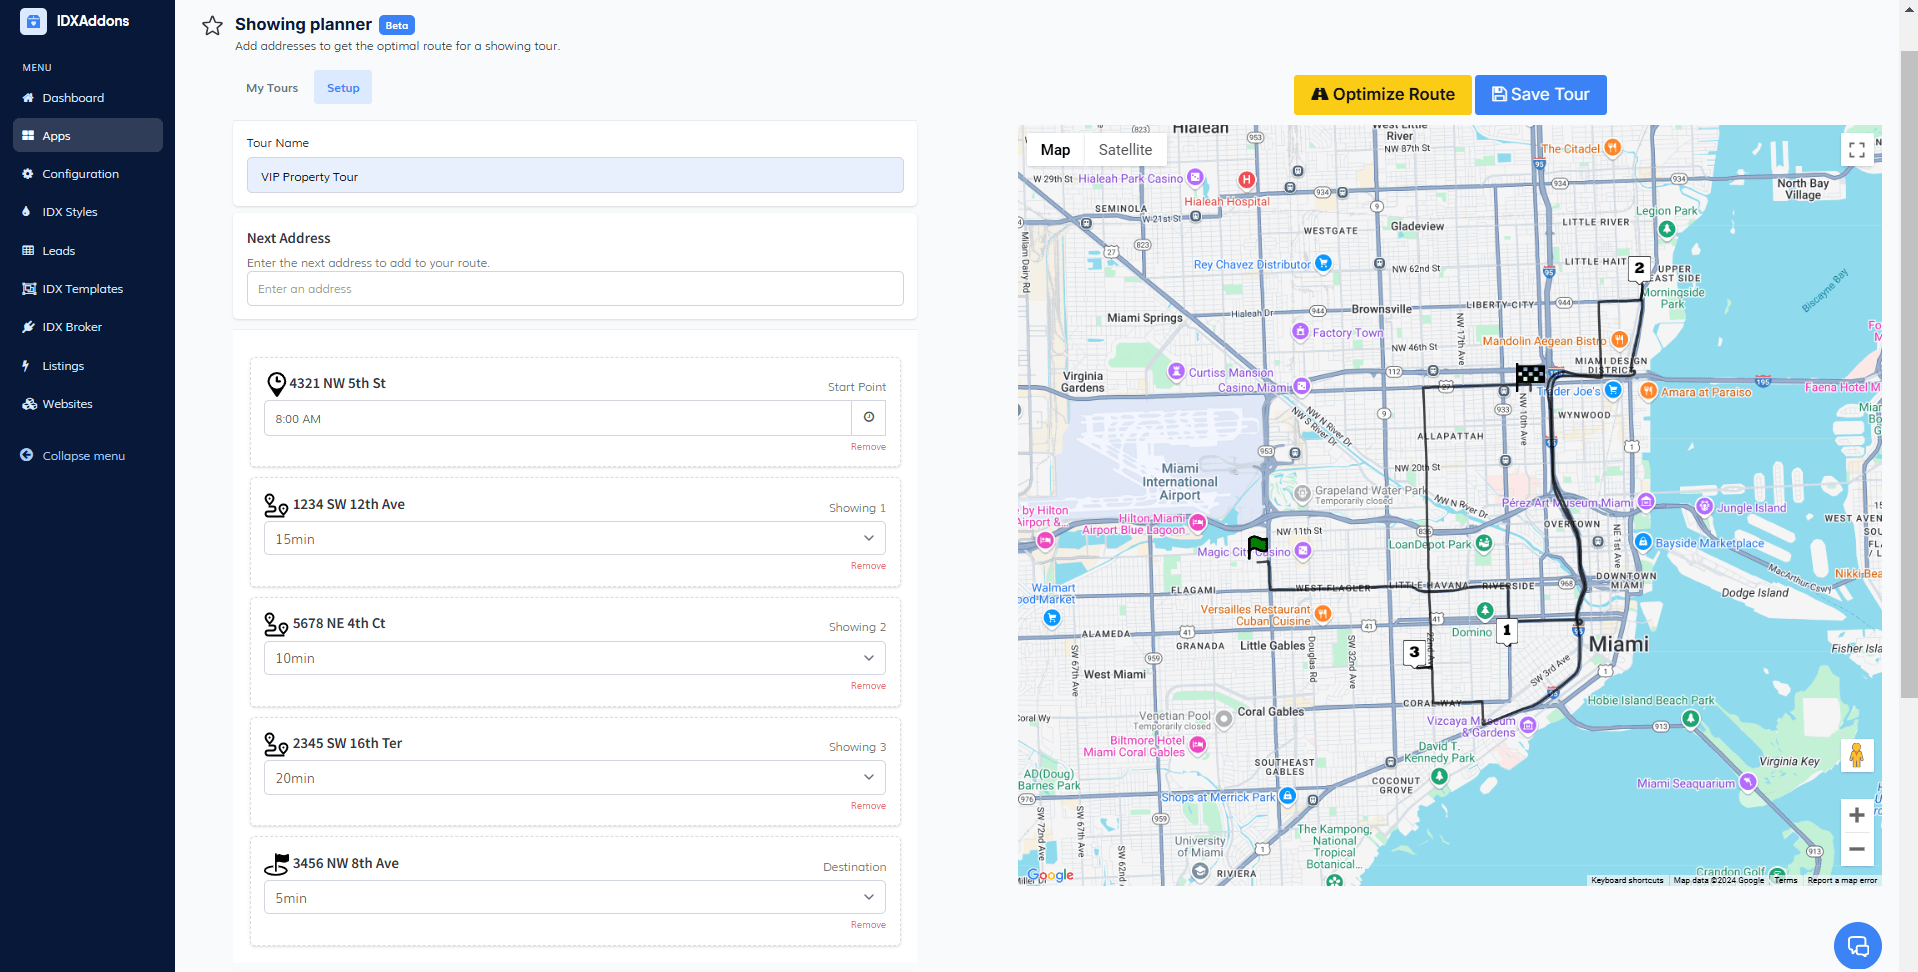 Review Route Details
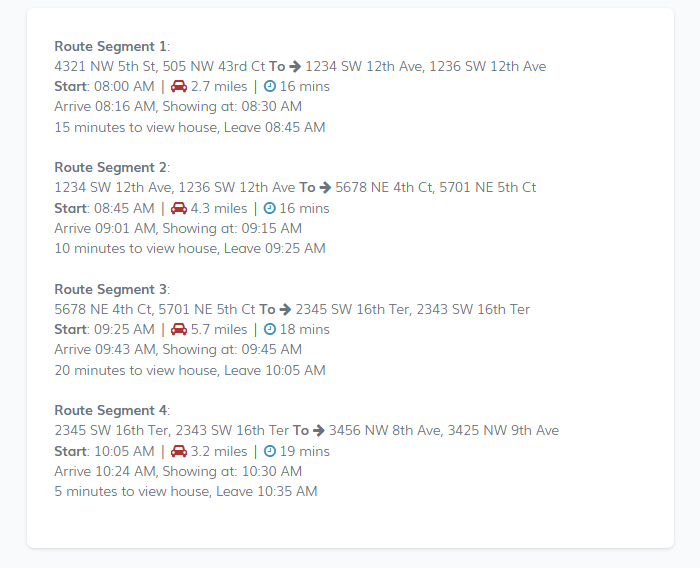
Once your route order is finalized, the app will display a summary with details for each segment of the route. You’ll see the start times, total travel time, distances in miles between each stop, and the estimated time spent at each property.
-
Optimize the Route
To make the route more efficient, click Optimize Route.
A pop-up window will appear with a Route Optimization Notice:
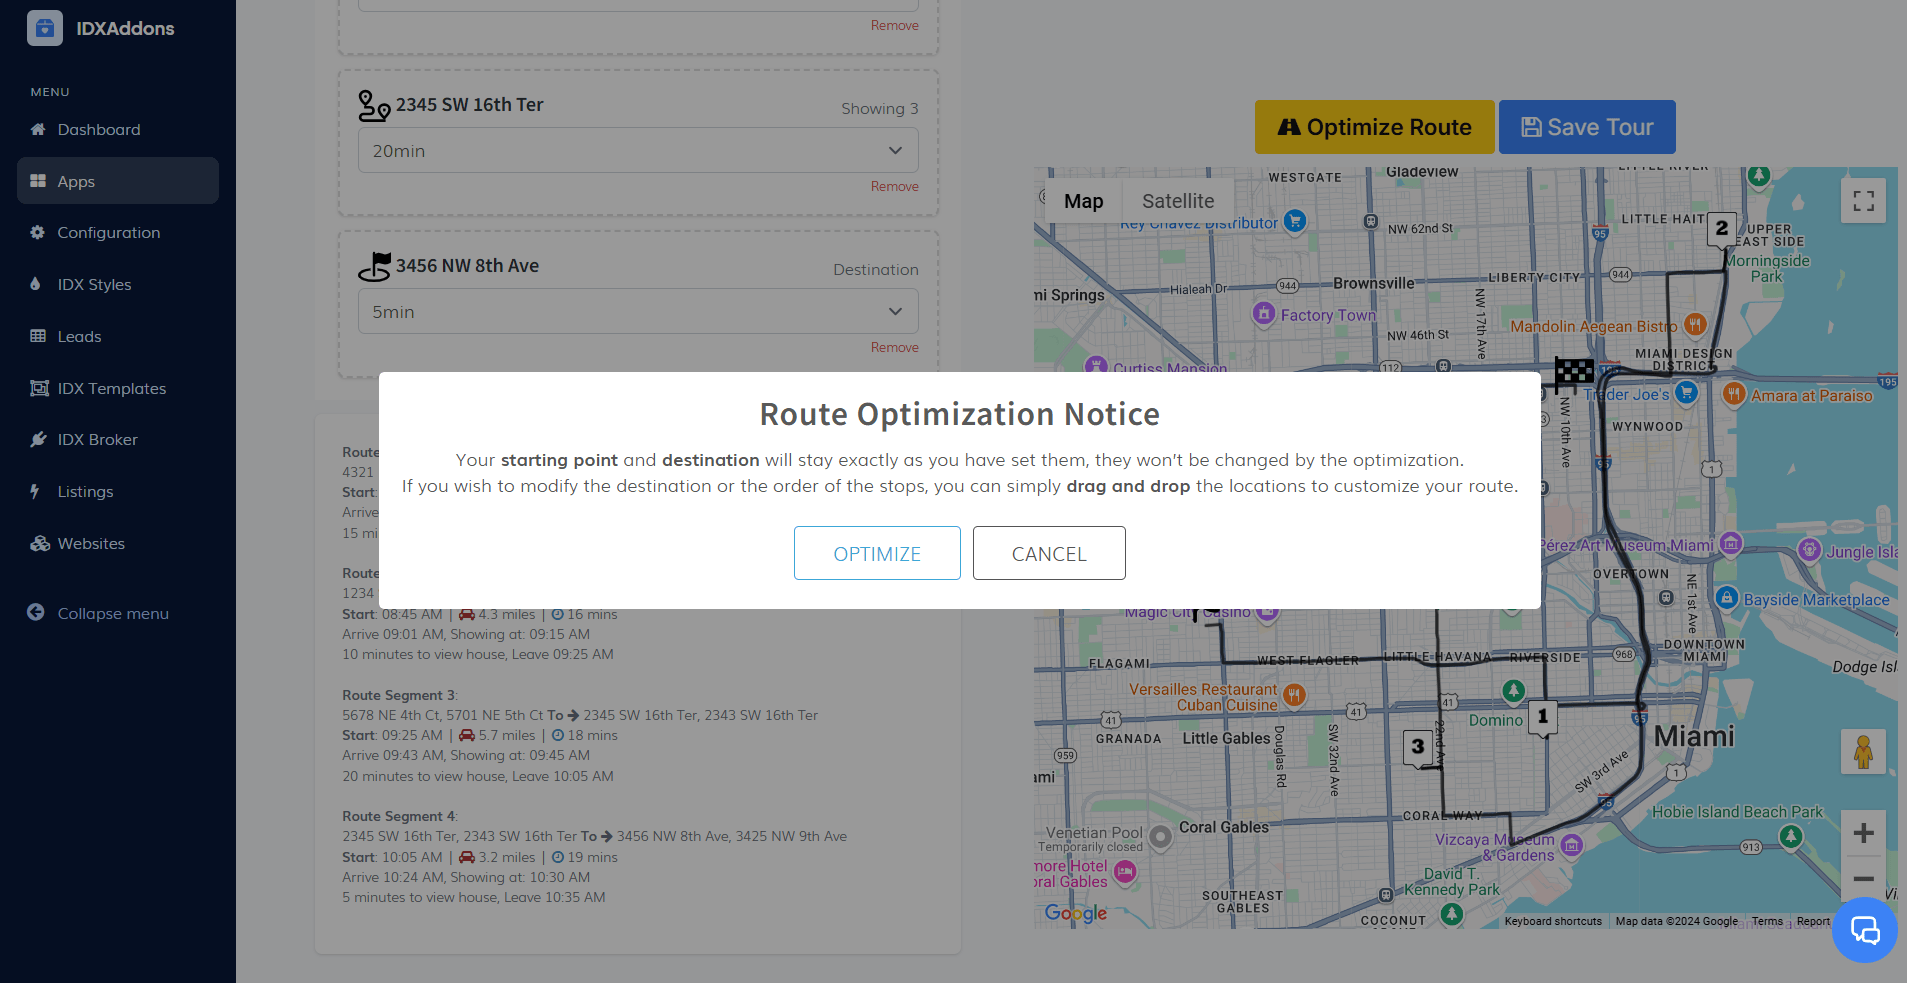
If you agree, click Optimize. The optimized route will then display on the map, with each stop clearly marked.
-
Save the Tour
To save this route, click Save Tour.

A pop-up message will appear, confirming that the tour has been successfully saved.
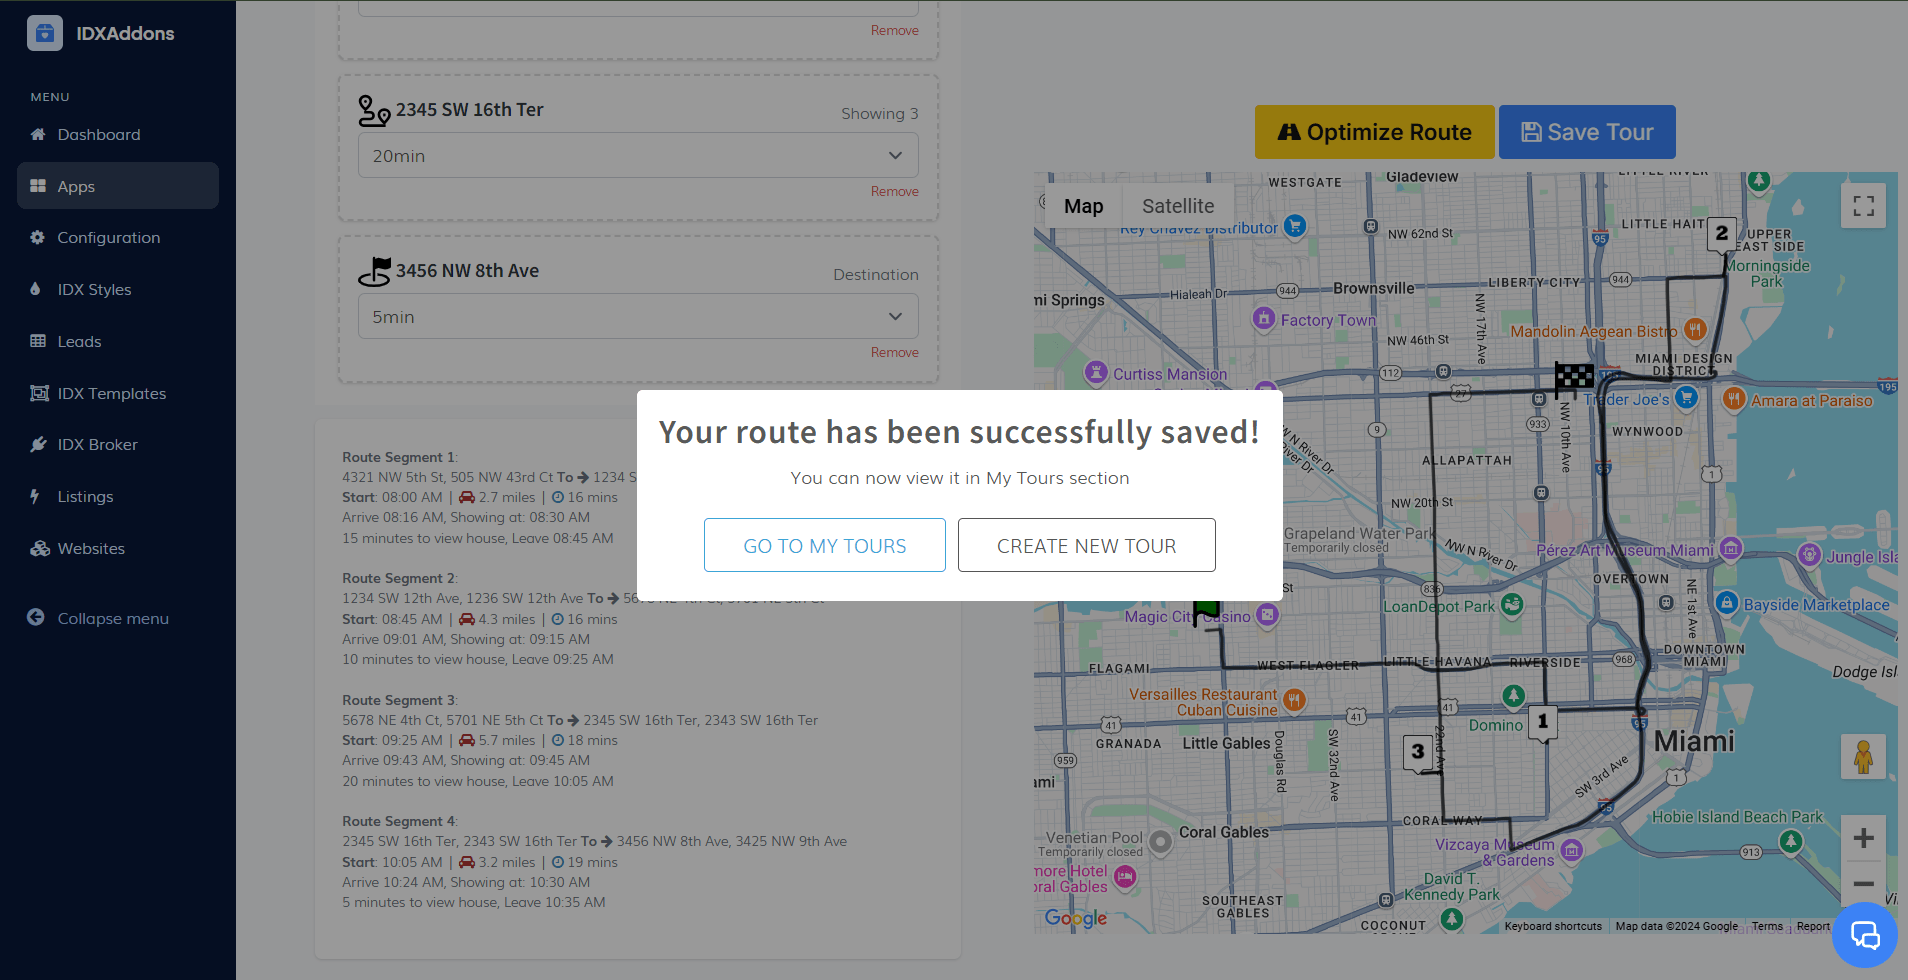
The saved tour information will be available in the My Tours tab, where you can review it at any time.
-
Share or Delete the Tour
Once the tour has been created, you will have the option to share the route. Click the Share button, and a pop-up window will appear with the URL.

Copy the URL to your clipboard, which you can then share as needed.
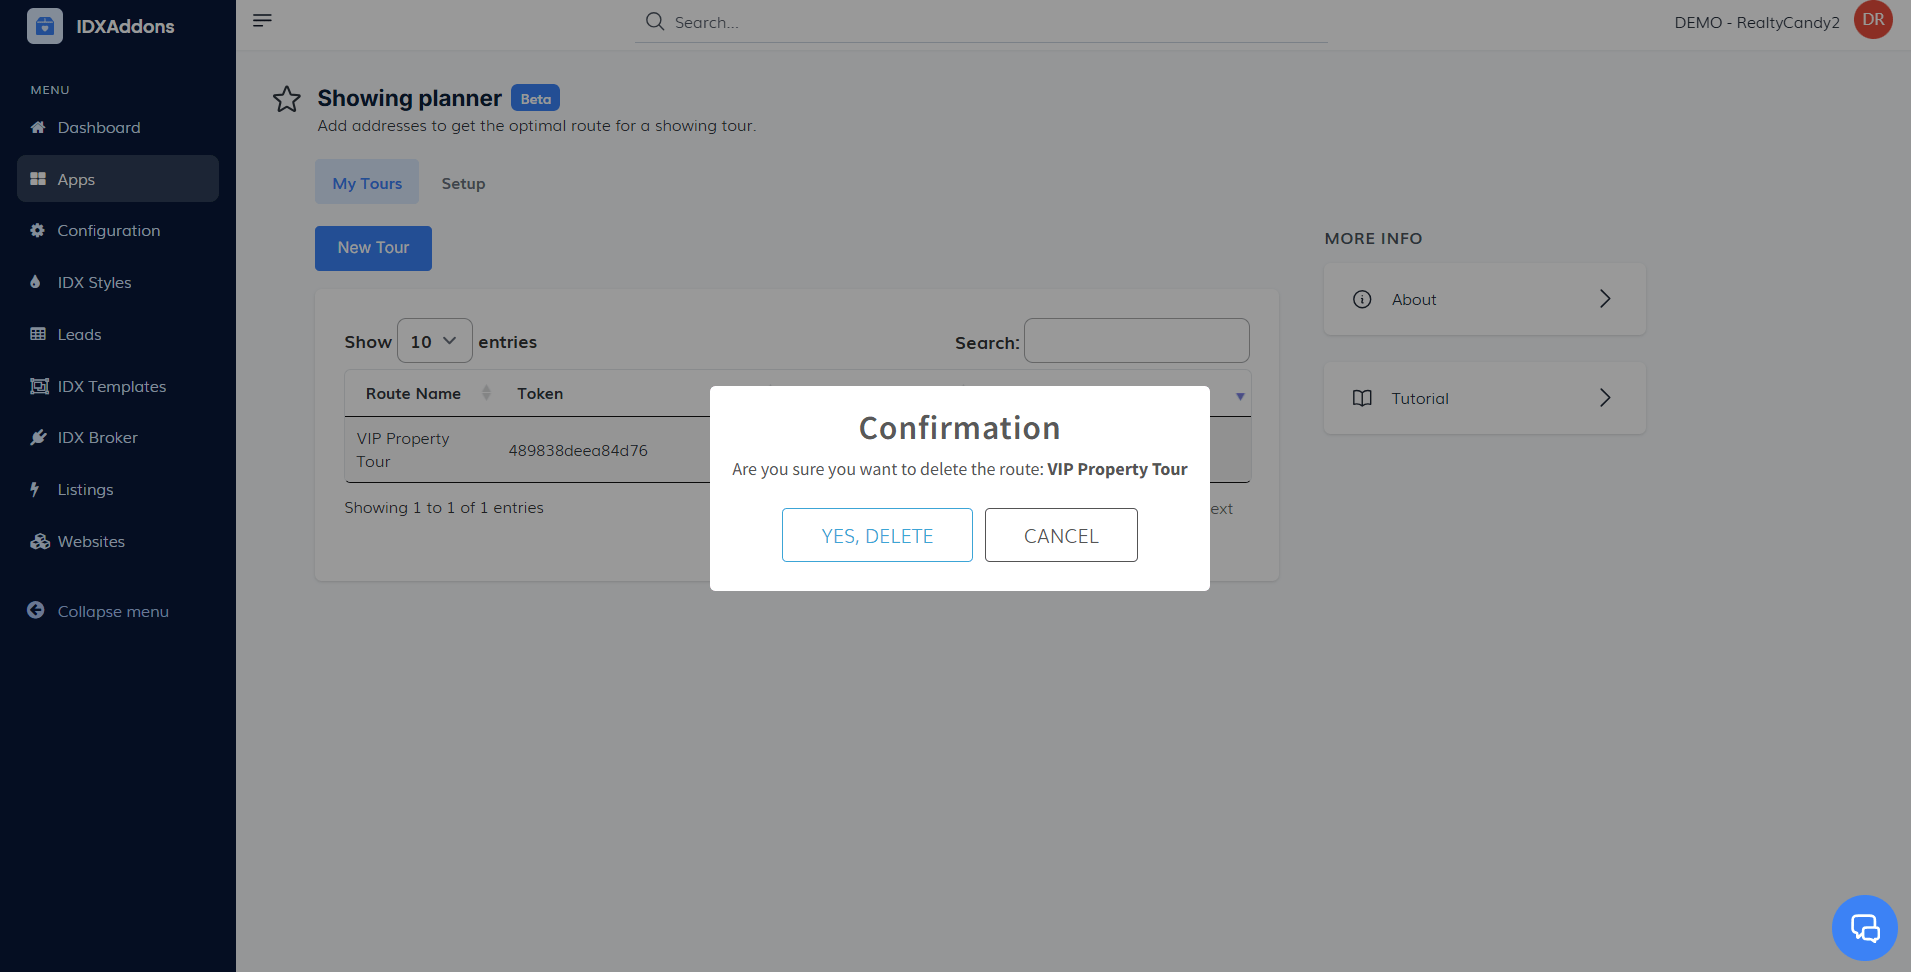
If you wish to remove a tour, you will also have the option to delete it from the My Tours tab.
