-
Access the Platform
Log in to your IDXAddons platform account
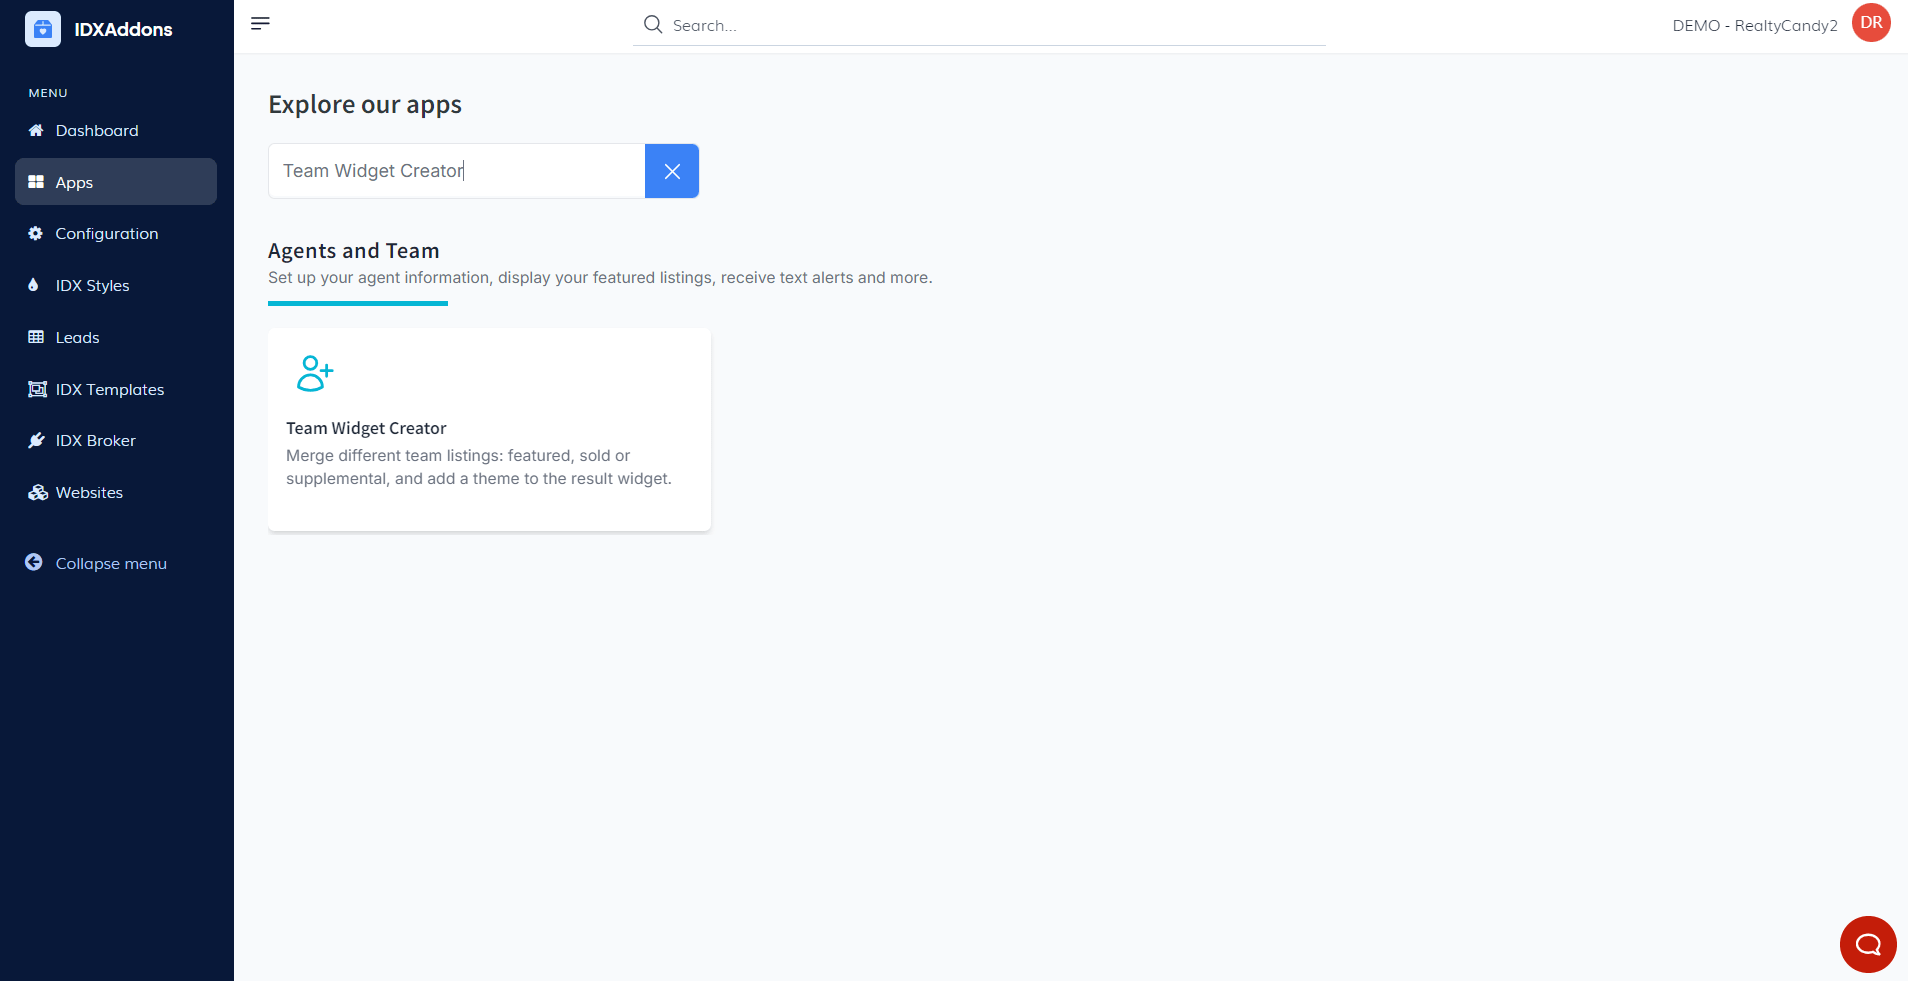
In the main menu, select the Team Widget Creator App option.
-
Setup Tab
After logging in, you'll see the Setup tab. The first section is Listings, where you'll need to select the type of listings you want to display in the widget. Clicking on the dropdown menu will show three options:
- Featured: These are your active MLS listings. You can find them in your IDX Broker account here: Active Listings.
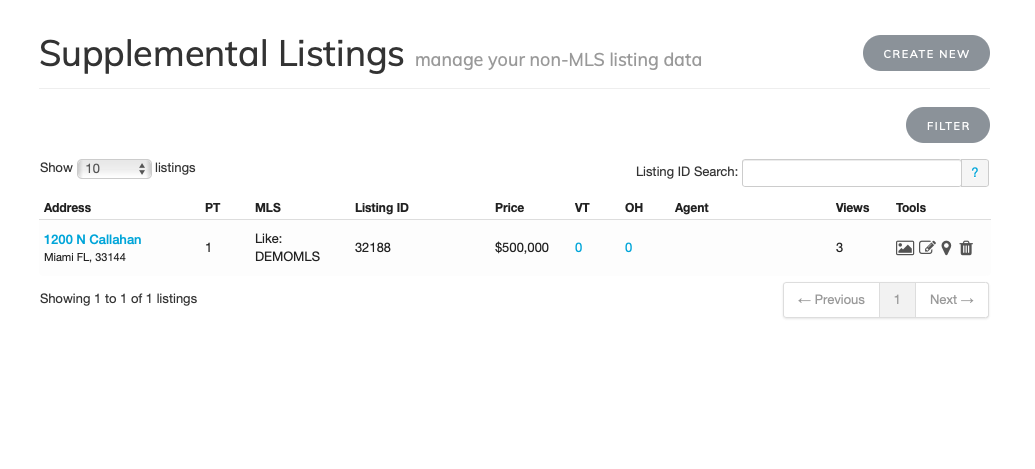
- Supplemental: These are listings that are not currently active but are still available. You can find them in your IDX Broker account here: Supplemental Listings.
 Creating New Supplemental Listings
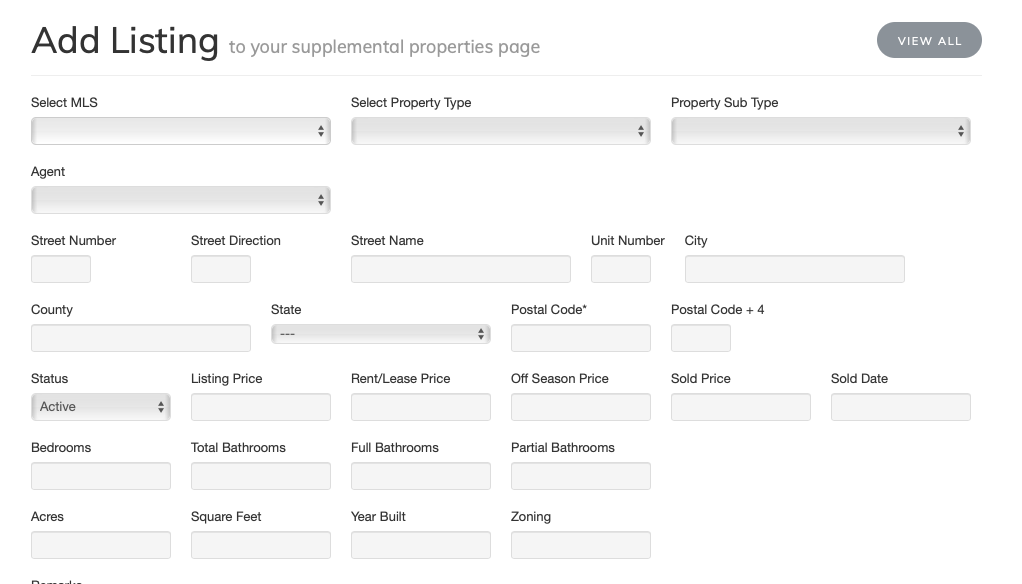
You can create new supplemental listings by clicking the "Create New" button, which will open a form for you to fill out.
- Sold/Pending: This option shows listings that have been sold or are pending.
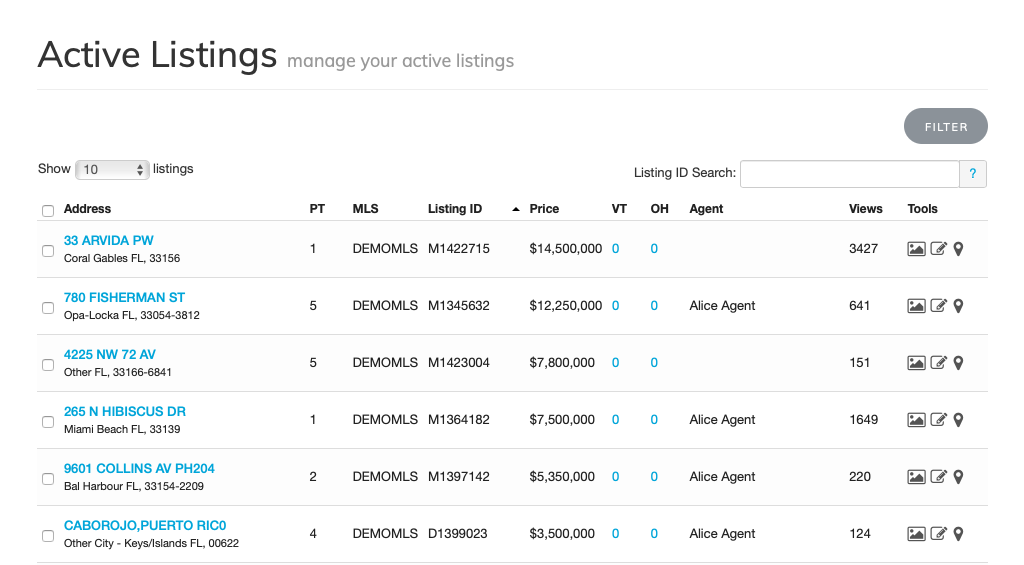
Next, select the number of listings you want to display. Note that if you leave the default number as is, the changes won’t be registered. To adjust the number, either type in the number of listings you want or use the up and down arrows to change it.
 Select Agents
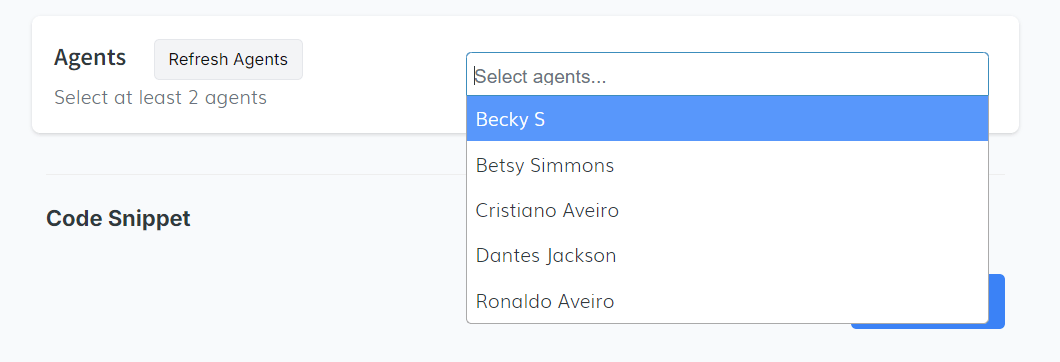
In the Agents section, choose the agents whose listings will be merged. Click the select field to view the available agents. You must select at least two agents to proceed.
There is also a Refresh Agents button. Clicking this will clear the previously selected agents, allowing you to choose new ones.
-
Select a Theme
In the Style tab, the first option you'll find is the Choose Theme section. When you click this, a dropdown will appear, showing the available themes for your widget. It is recommended to choose only one theme at a time.
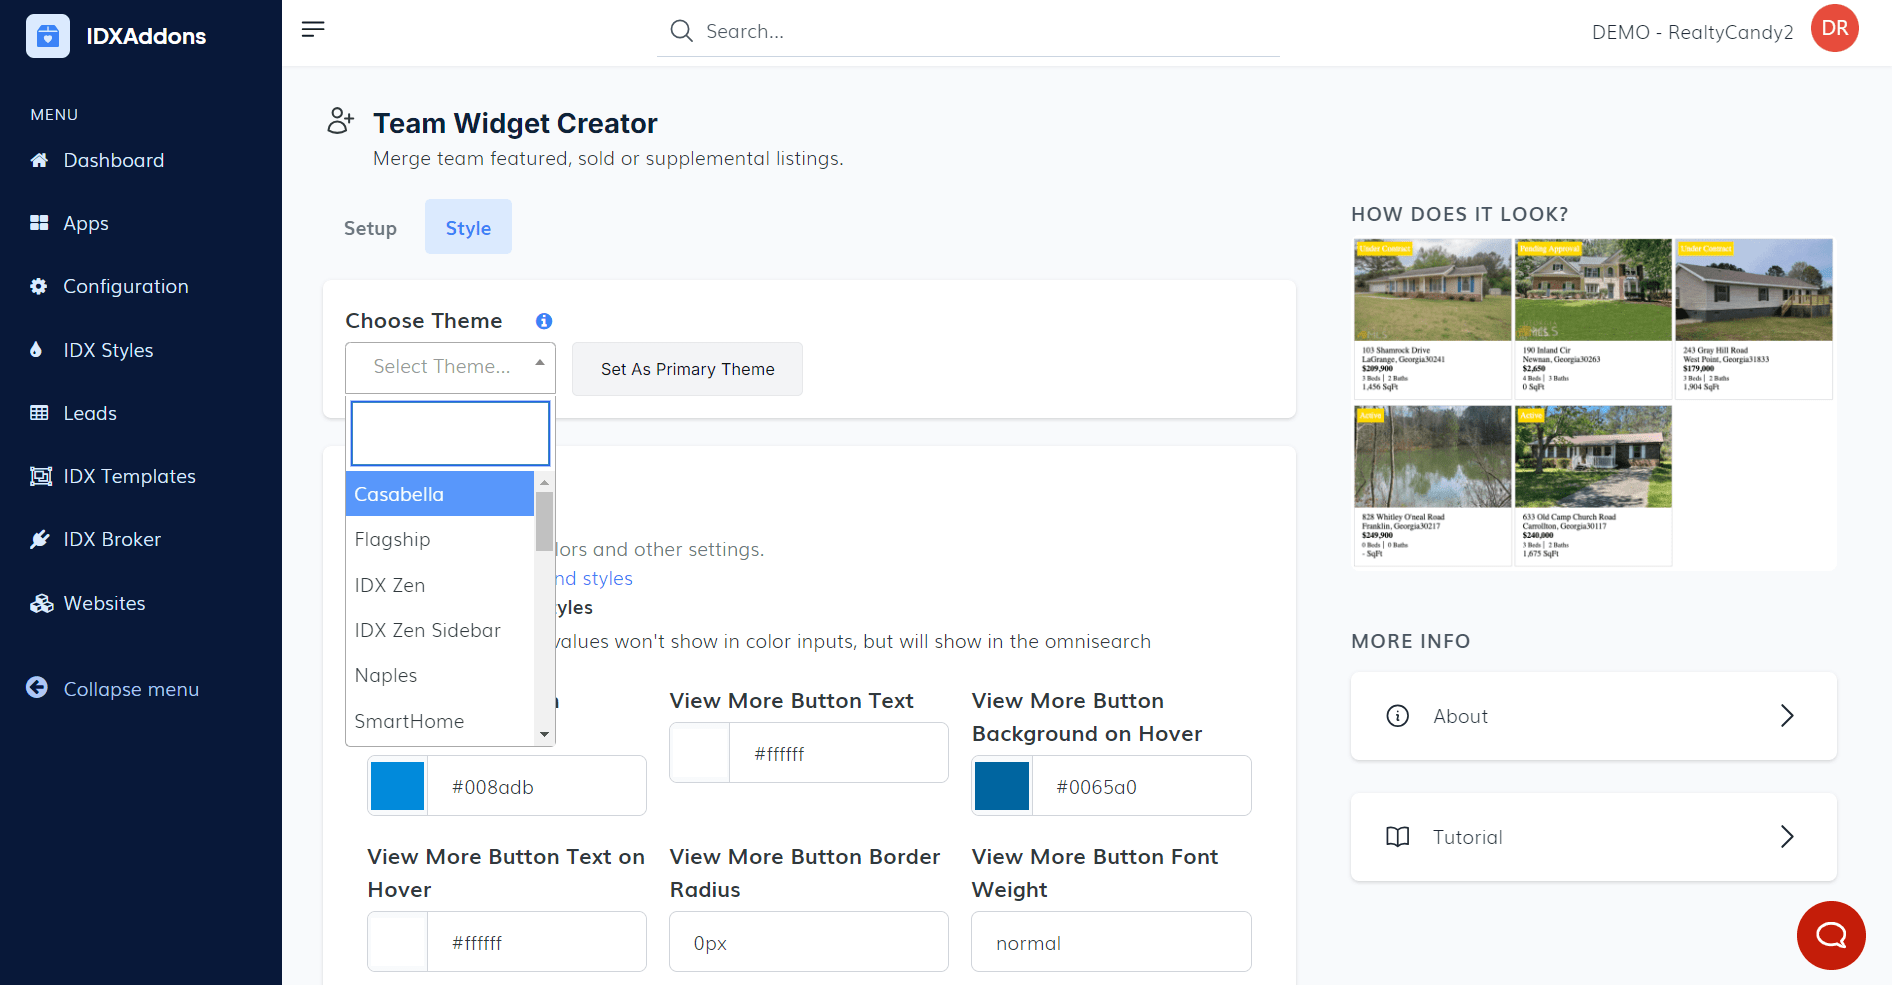
Once you've selected your theme, you can select it as the Primary Theme. A pop-up will appear to confirm your choice.
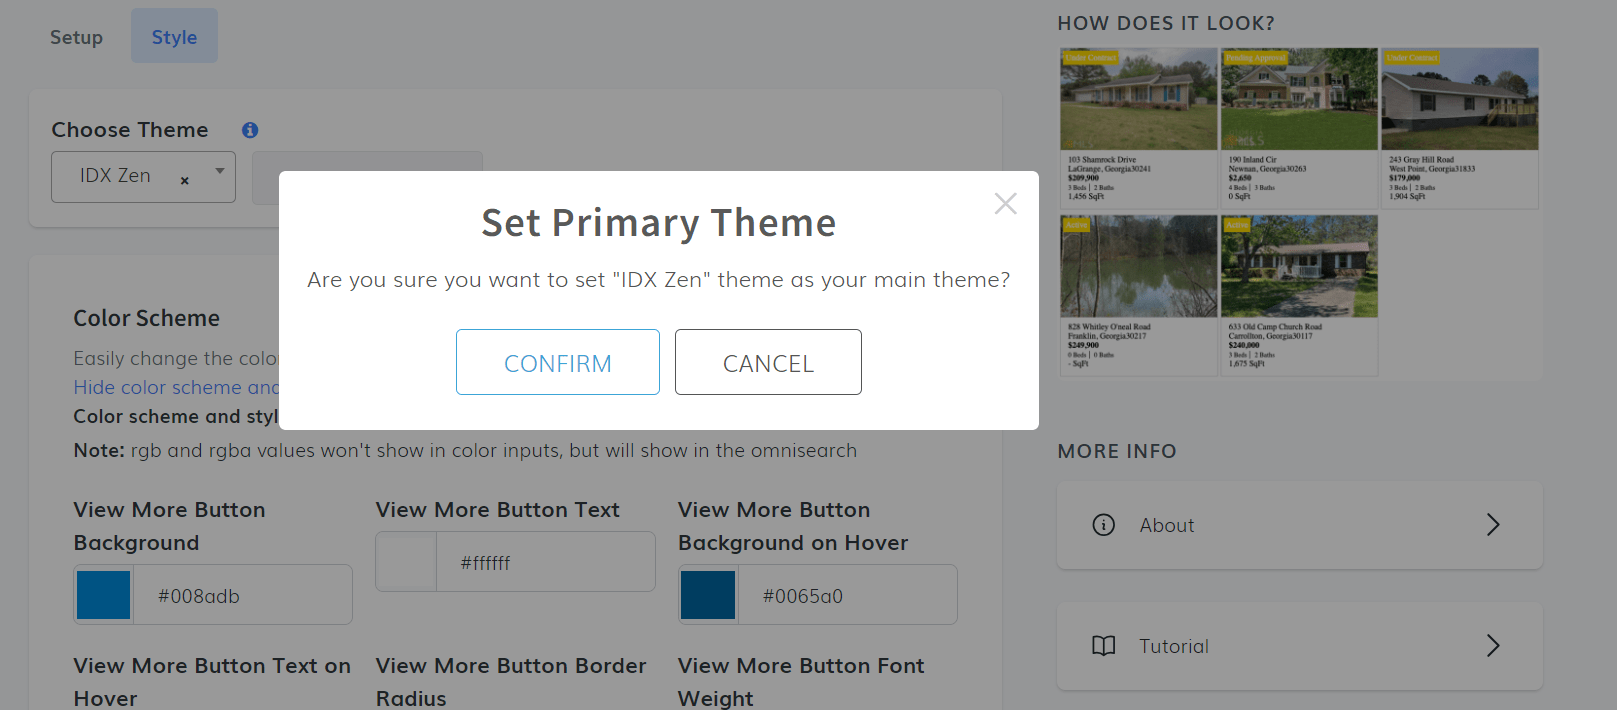
Important: changing the primary theme will not change the theme your website widgets are already using. This setting is used only for making it easy for you to find the theme you used before.
After setting the theme, click Show Color Scheme to view the color options associated with the selected theme. Here, you can adjust colors to match your desired look. Keep in mind that certain colors may apply only to specific elements depending on the theme.
Once you're happy with your color choices, click Save Color Scheme to finalize the settings.

-
Show Advanced Settings
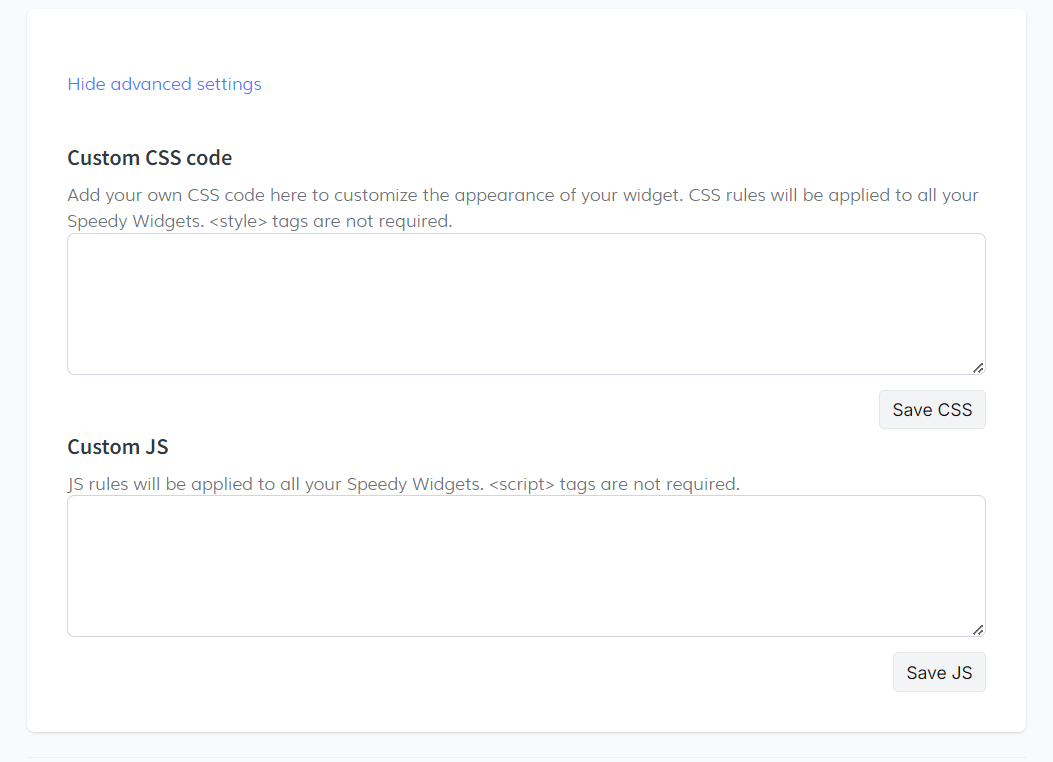
Now, click the Show Advanced Settings button to access two more customization features
Custom CSS CodeIn this section, you can add custom CSS code to style your widget. These CSS rules will apply to all Speedy Widgets. Note that you don't need to include style tags.
After entering your CSS code, click Save CSS to apply the changes.
Custom JSThis section allows you to add custom JavaScript rules for further functionality. These JavaScript rules will apply to all your widgets, and there's no need to include script tags.
-
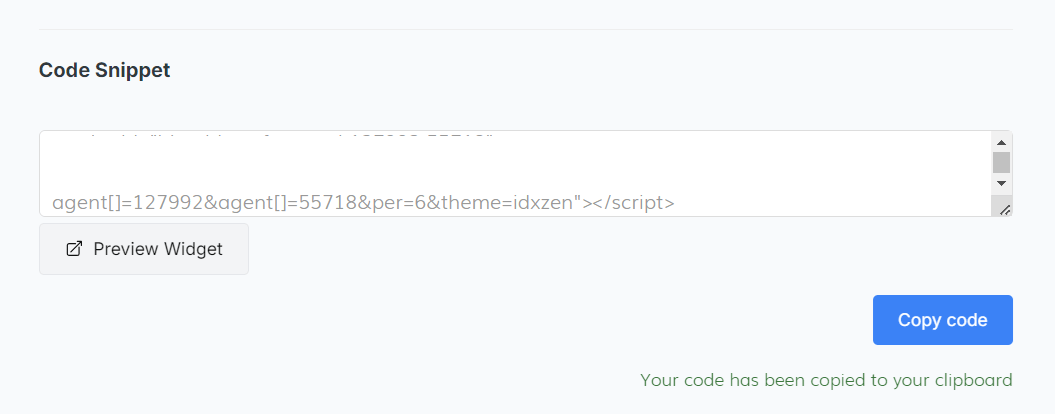
Copy the Code Snippet
After filling out all the information, a code snippet will appear. Copy the code and paste it into your site to see the selected changes.
