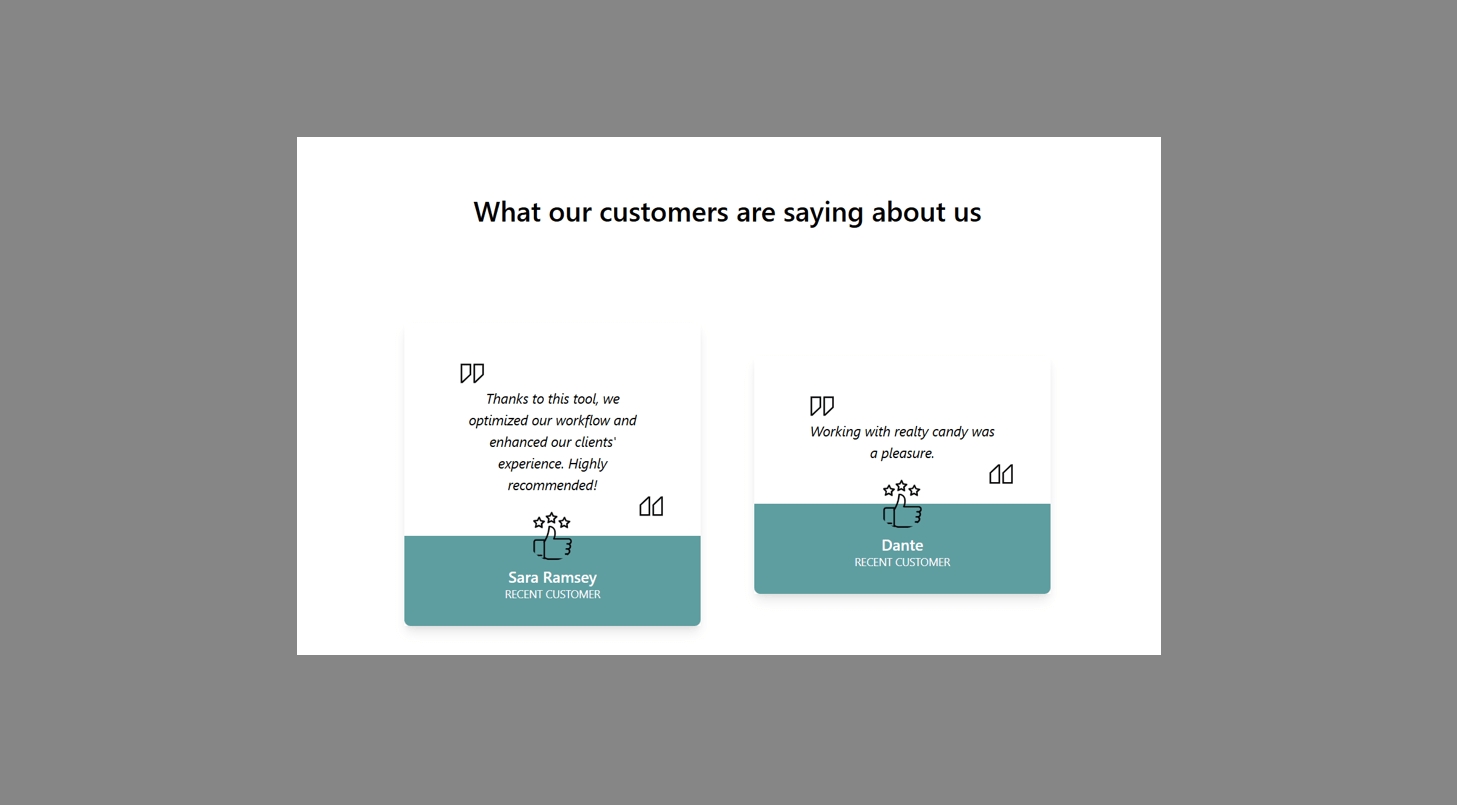
-
Access the Platform
Log in to your IDXAddons account
In the dashboard, select the Testimonials Widget App.
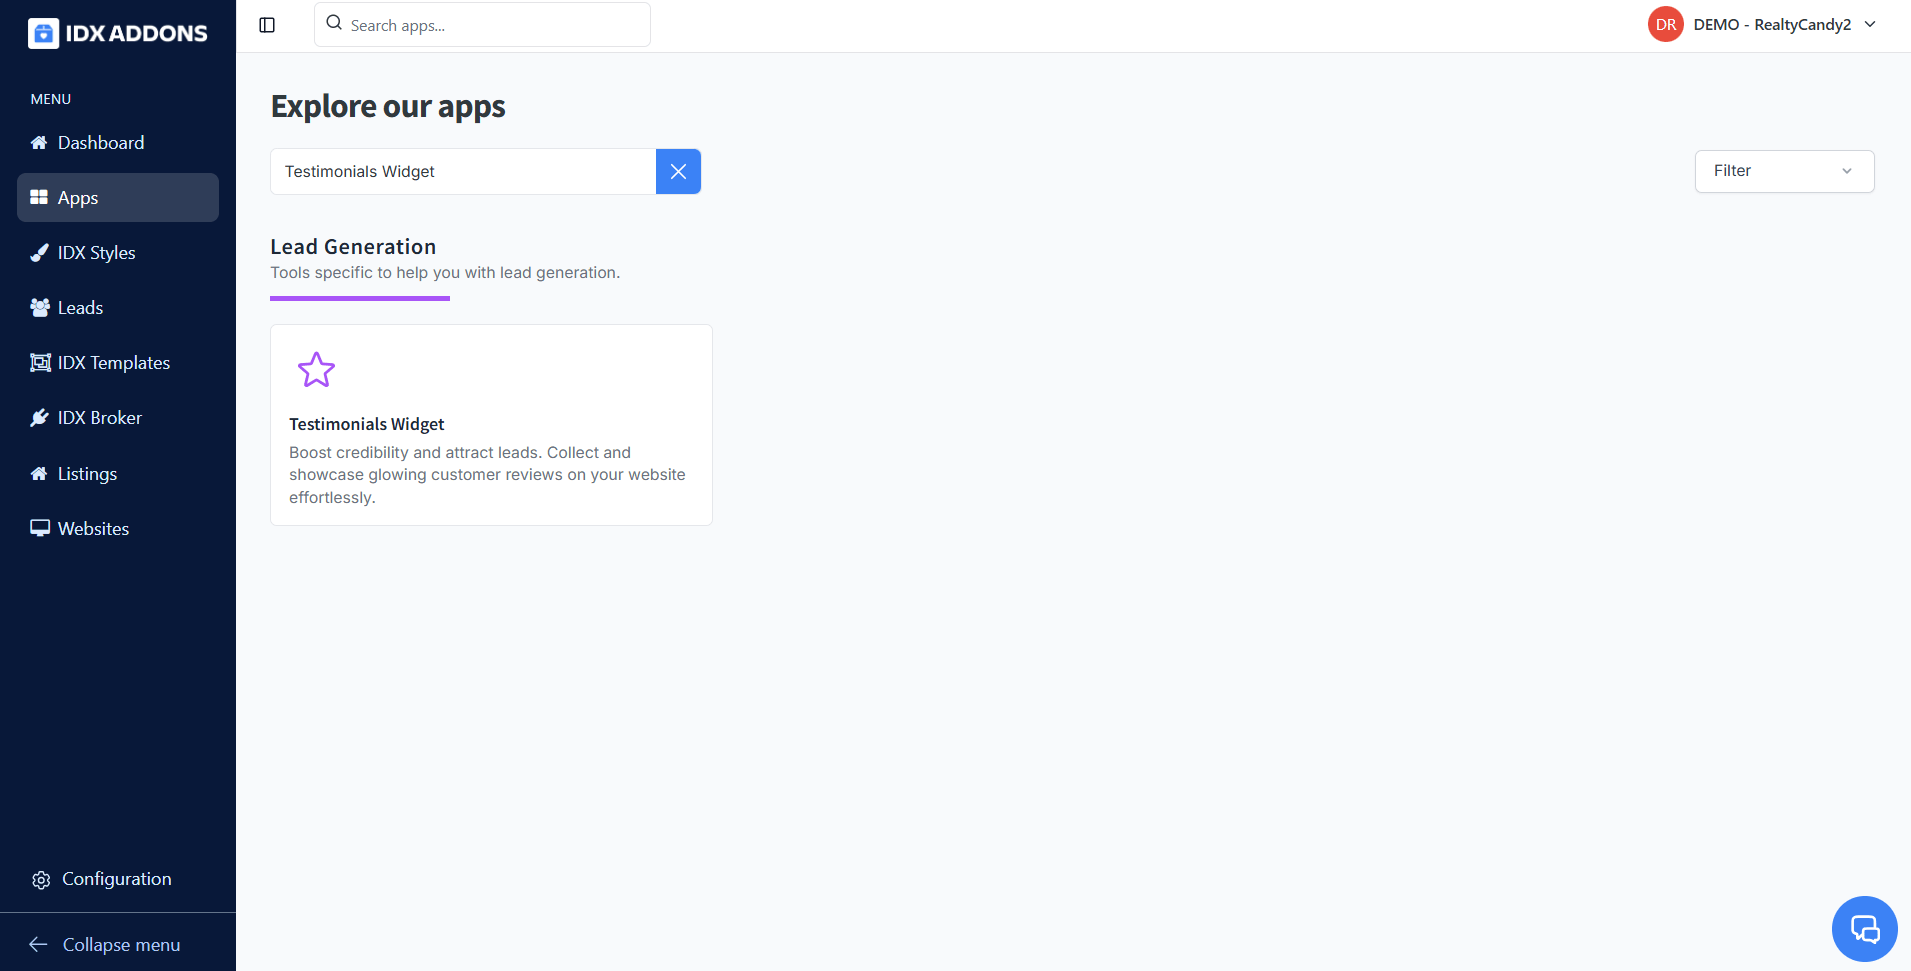
-
Setup Tab
This is the first step to configure and manage your testimonials. Here, you can create new entries, import data from a file, or edit and delete existing testimonials.
Create a New Testimonial- Click the "Create Testimonials" button to get started.
- A table with brief examples will appear as a reference.
- Click the button again to open a popup where you need to enter:
- Name: The name of the author.
- Position or Title: The role or title of the author.
- Quote: The testimonial text.
- Image: Use the default image or upload a custom one by providing a URL.
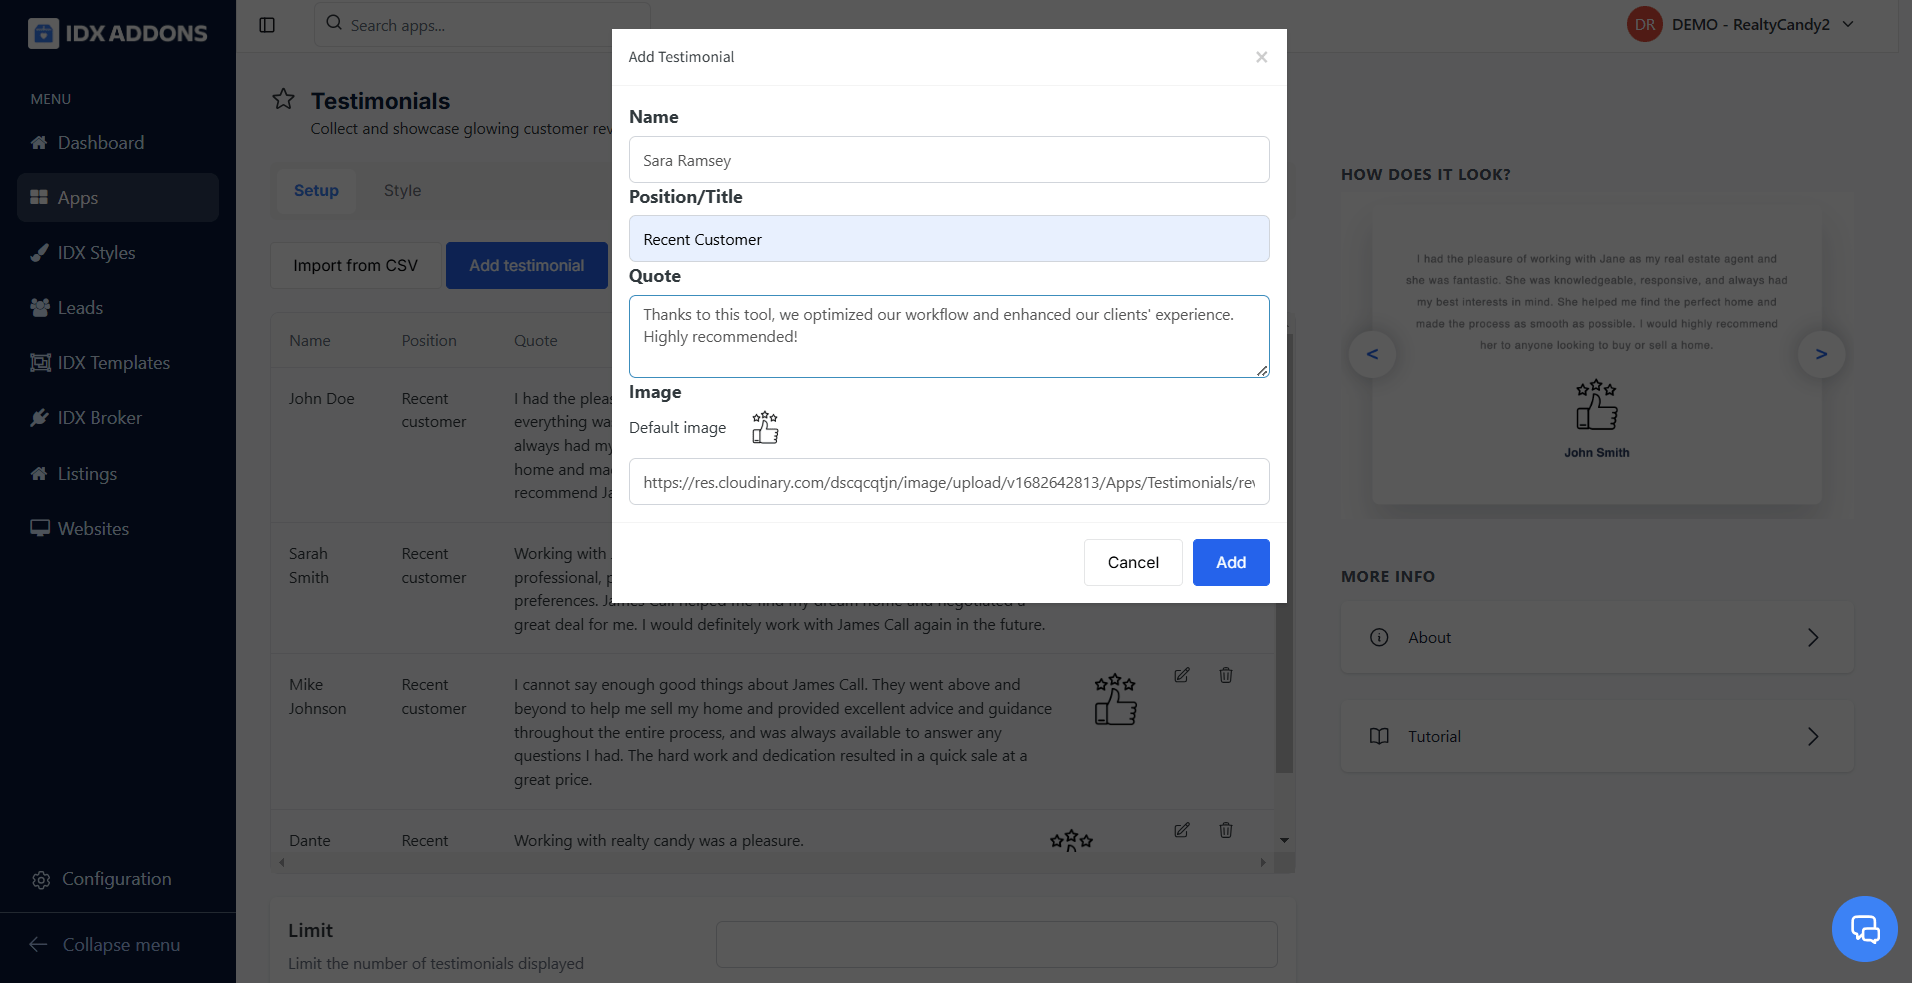
Once all fields are filled, click "Add" to save the testimonial.
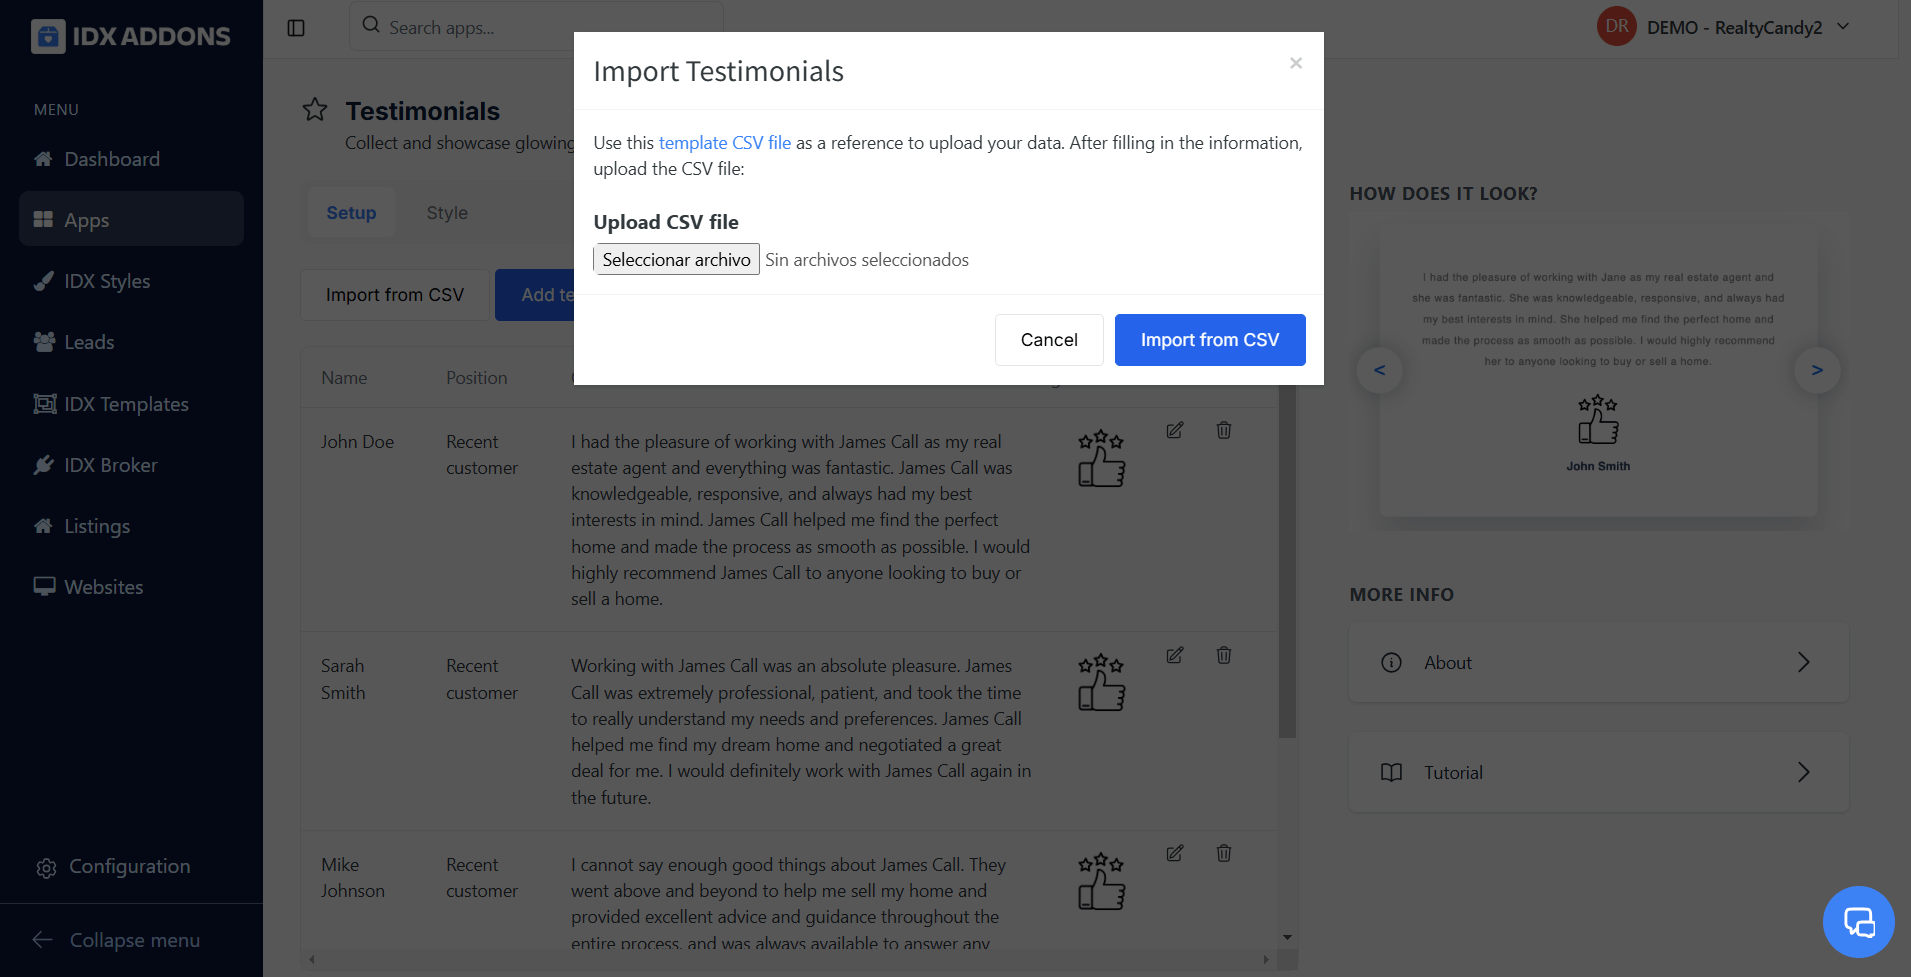
Import Testimonials from a CSV File- Click the "Import CSV" button.
- A popup will appear where you can upload a .csv file.
- Select the file and click the "Import File" button to import the data.
 Edit a Testimonial
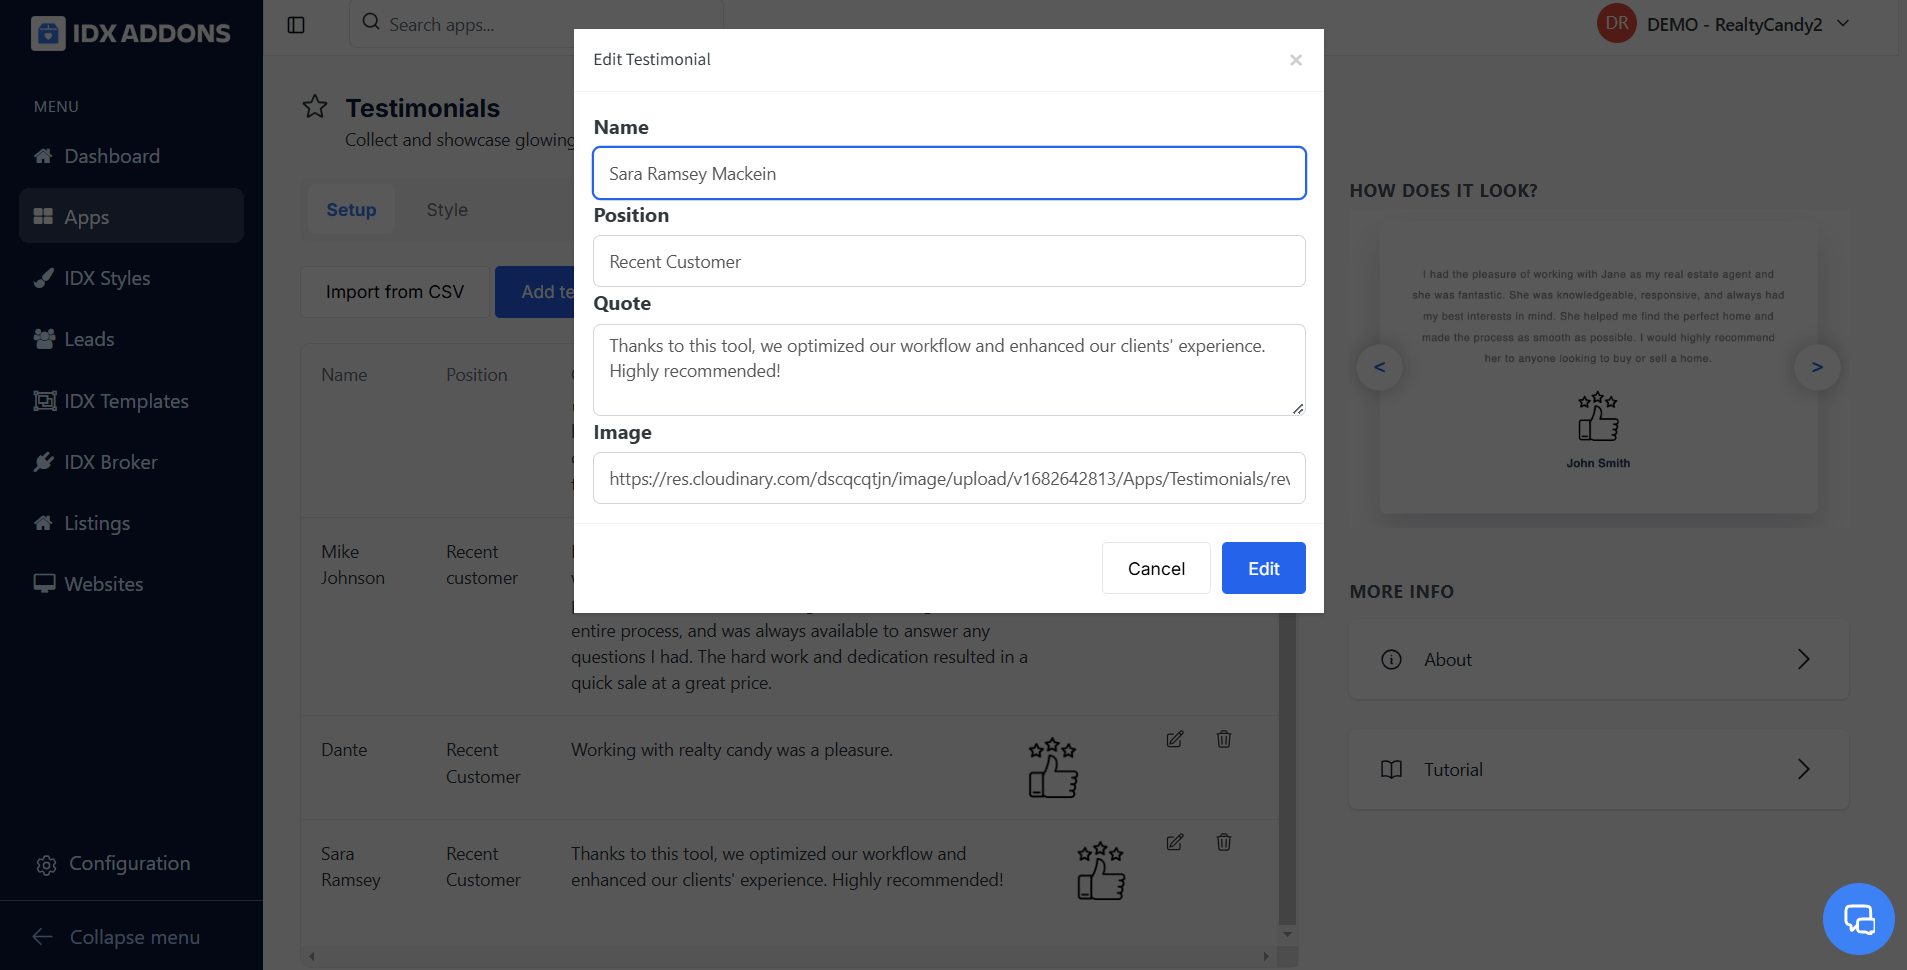
- Click the "Edit" button for the testimonial you want to modify.
- A popup will open, showing the current information. Edit as needed.
- Click "Edit" to save your changes.
 Delete a Testimonial
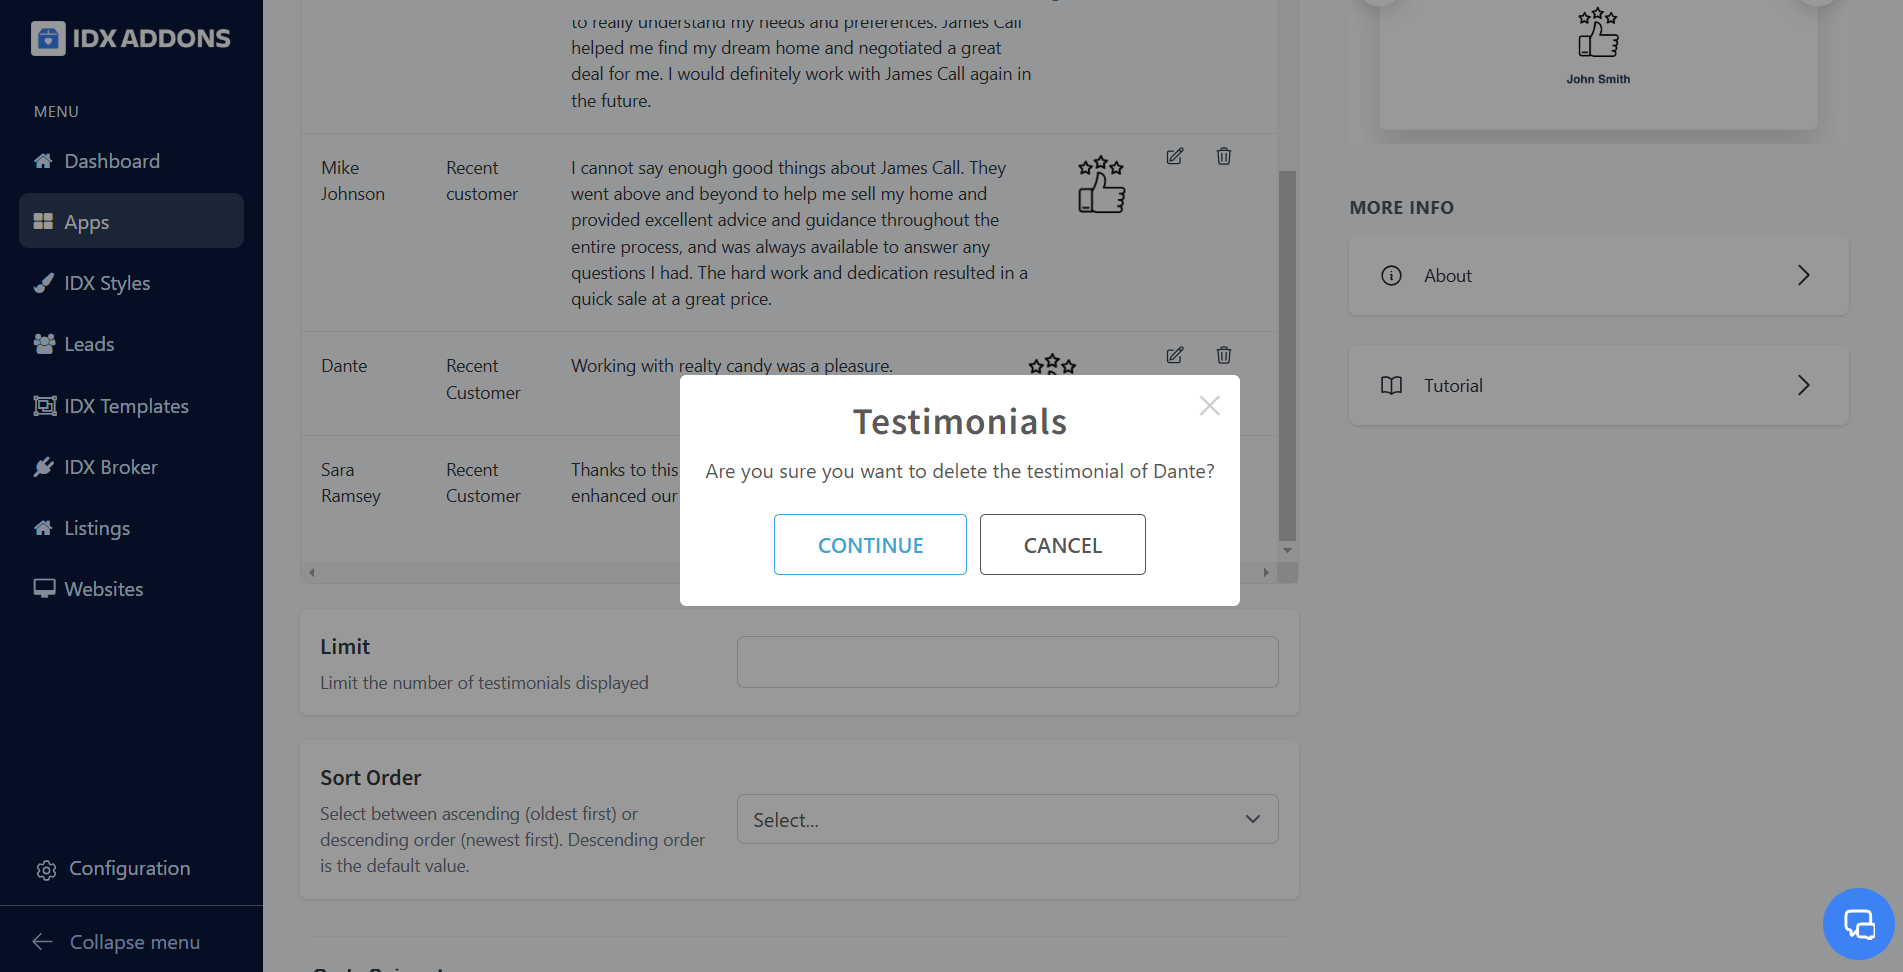
- Click the "Delete" button for the testimonial you want to remove.
- A popup will appear asking for confirmation. Click "Continue" to delete the entry.
 Limit Section
This section lets you set how many testimonials will be displayed on your website. Simply enter the desired number.
 Sort Order Section
Here, you can determine how testimonials will be ordered:
- Ascending (older testimonials first).
- Descending (newer testimonials first, which is the default).

-
Style Tab
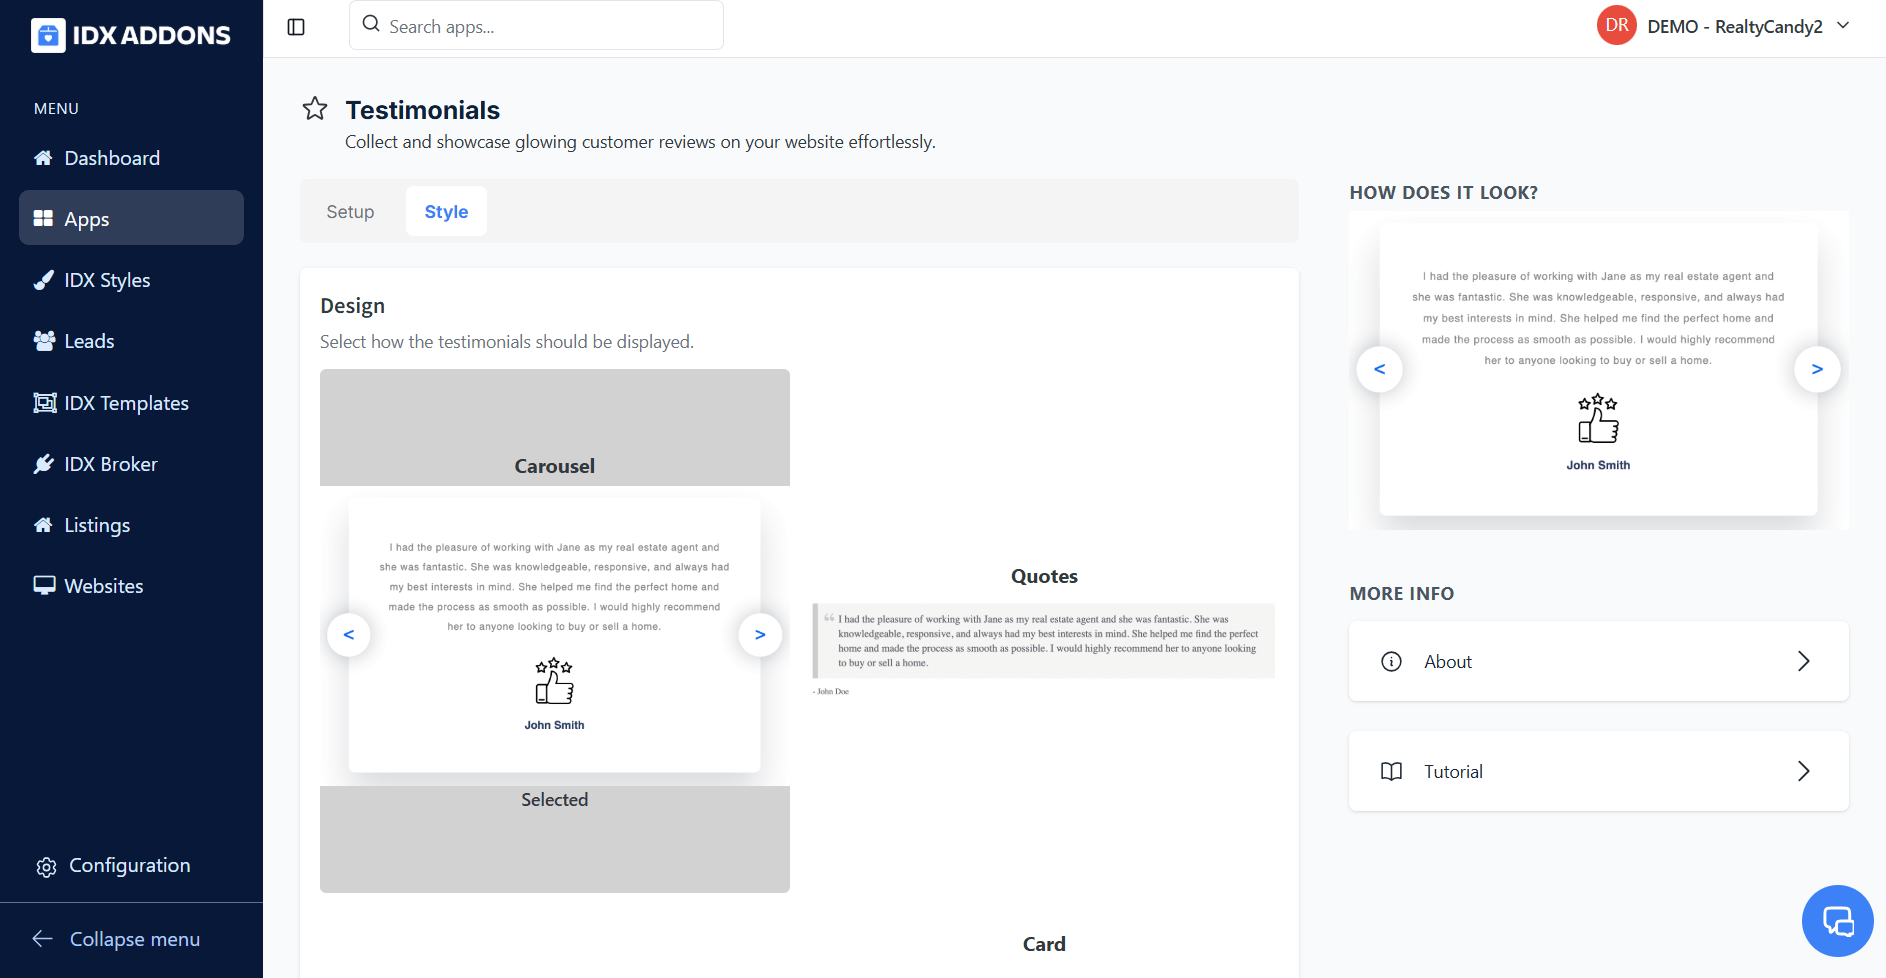
Customize how testimonials appear on your website. Choose from five different styles and select the one that best suits your needs.
 Number of Columns Section
Set the number of columns to display testimonials. This option only works with the Quote template and allows between 1 and 3 columns (default is 1).

-
Copy Code Snippet
After completing all settings, copy the provided code snippet to integrate the changes into your website.
