Quick Setup Guide for Community Apps
- Last Updated April 29, 2025
🌟 Welcome to the Community Guru Guide, your go-to resource for building high-converting community pages and showcasing local expertise. Whether you want to highlight a city, neighborhood, or zip code, this guide will walk you through setting up each app quickly and clearly.
The following tools are covered:
- One Click community - Create a community page using artificial intelligence with a single click.
- Counts Widget – Offer your visitors an easy way to see how many properties your website has in each city.
- Community Areas – Show the number of listings each IDX Broker saved link has, with an eye-catching image.
🏘️ One Click Community Page
The One Click Community Page app helps you build a full IDX-based community page in just a few steps. It's ideal for showcasing local areas, driving SEO traffic, and positioning yourself as a local expert—no technical skills required.
1. Access the AppLog in to your IDXAddons account and open the One Click Community app from your dashboard.
2. Fill Out the FormOn the One Click Community page, you’ll start by completing a short form with the following fields:
-
Location Type: Choose whether the page is for a City, County, Subdivision, or Zip Code.

- Location Selector: Based on your MLS, a dropdown will appear to let you choose the specific location.
-
Property Type: Select the property type for the page (e.g., Residential, Commercial, etc.). If none is selected, all property types will be included.

-
Community Name: This label will be used on your page and widgets.

-
ChatGPT Tool: When enabled, it generates original written content for your community page.

-
Yelp Business Widget: Adds a curated list of top-rated local businesses (restaurants, parks, etc.).
 Note: You must have your Yelp API key configured to use this feature.
-
Market Report: Displays current market stats and trends for the selected location.
 Note: Requires an IDX Broker Engage account.
Click the Create button to start the process. The app will:
- Create an IDX Broker Saved Link for the selected location.
- Inject scripts and widgets (like ChatGPT content, Yelp, Market Reports) into the Sub-headers of the saved link.
When the progress bar hits 100%, your page is live! A link will appear so you can view the result immediately.
 5. Customize Your Page
This is how it will look like. You can customize the page by adding more widgets or changing the layout directly on the Saved Link Sub-header's page.

📍Go to the One Click Community App.
🔢 Counts Widget
The Counts Widget app lets you create customizable widgets that display the number of listings by city or saved link. This is useful for showcasing market activity and adding dynamic, data-driven content to your website.
 1. Add a New Widget
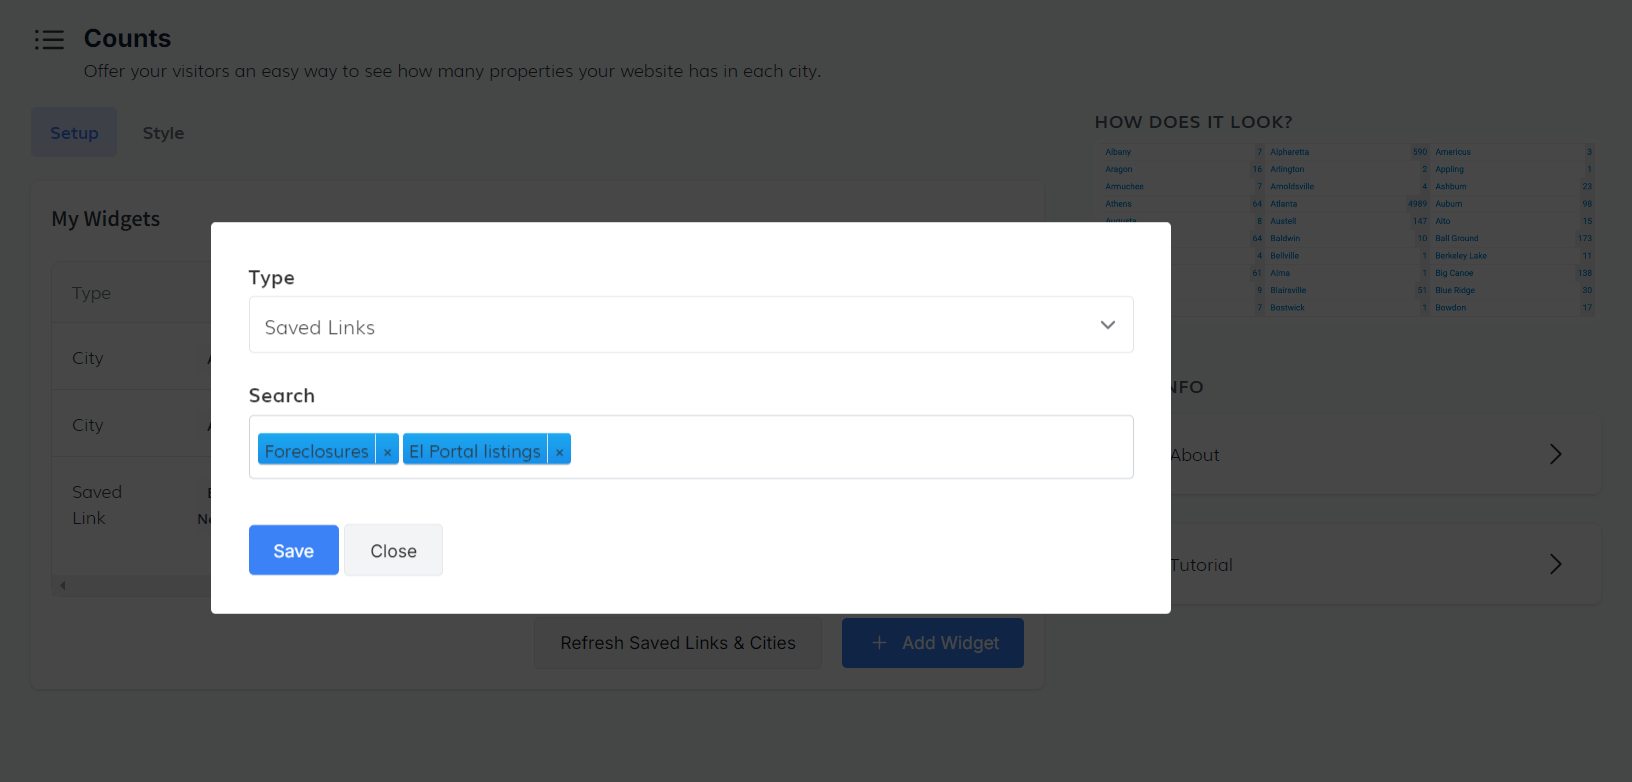
Click the Add Widget button to open a configuration pop-up.
- Cities: Select specific cities to show property counts.
- Saved Links: Use existing IDX Broker saved links.
After selecting your type and entries, click Save. The widget will appear in the data table.
 2. Manage Existing Widgets
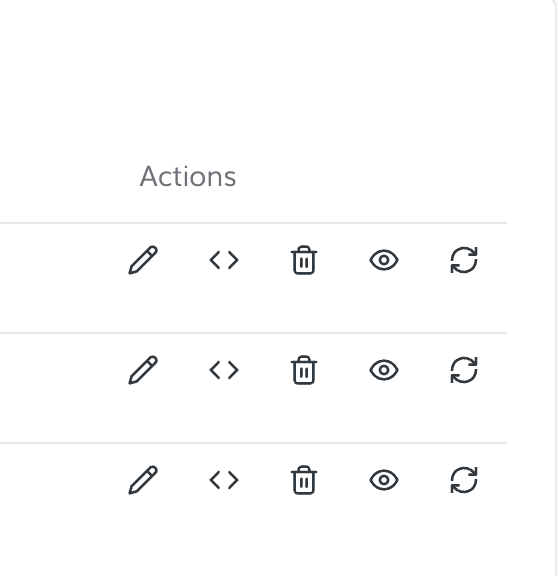
The widget table allows you to:
- Edit, Delete, or Update widgets
- Preview the output
- Copy Code: Click the Copy Code button to get the embed script. A pop-up will appear with the code ready to copy and paste into your site.
 3. Style Tab
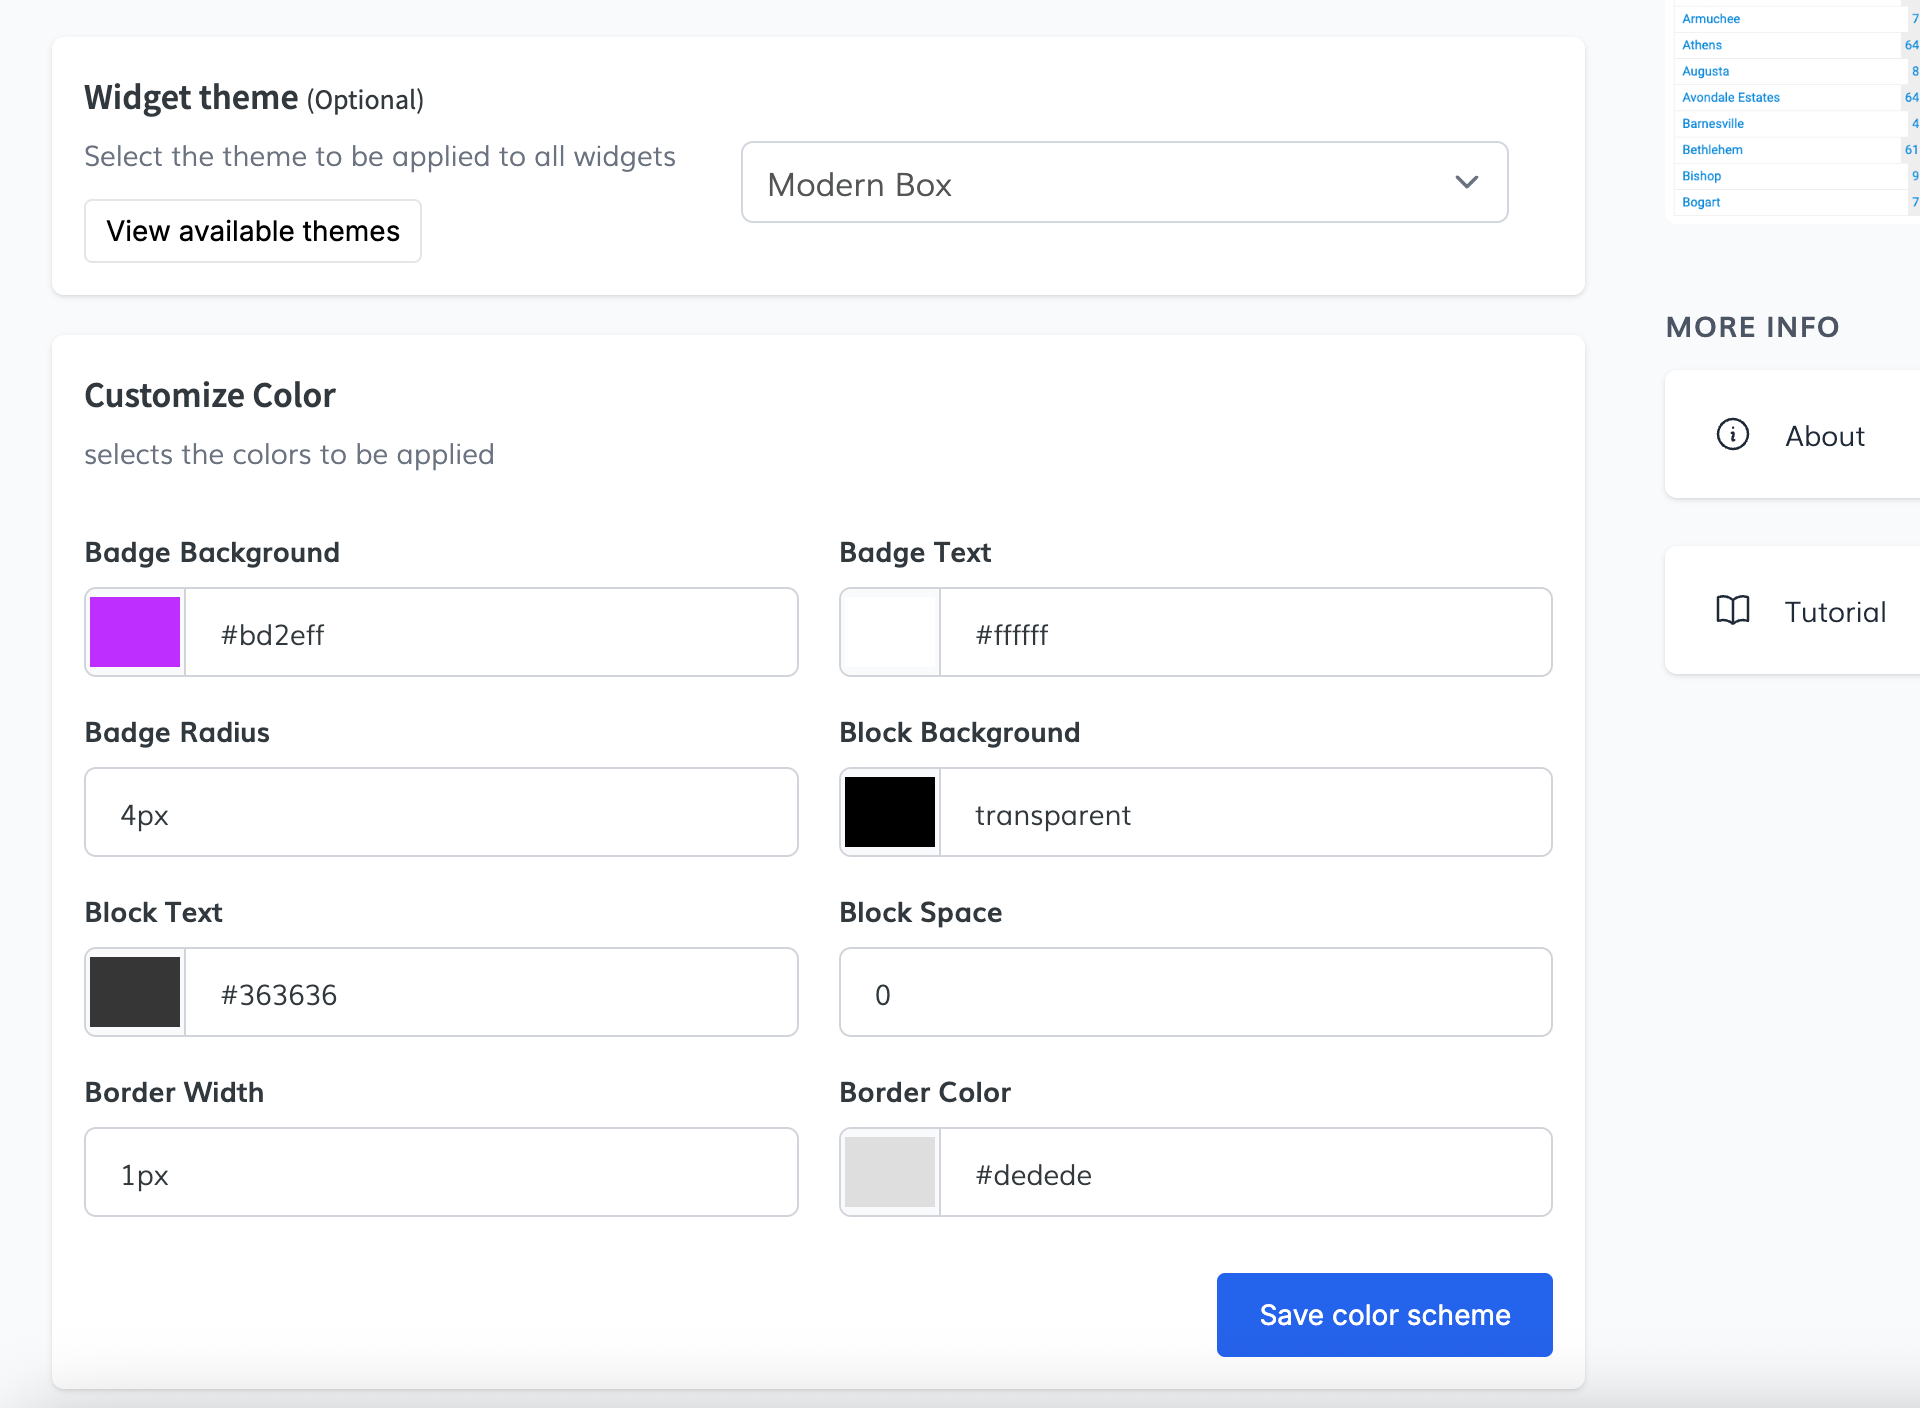
Go to the Style Tab to customize the appearance of all your count widgets.
Select theme:
- Modern Box
- Simple Box
- Simple List
Customize Colors: Choose your own colors for backgrounds, text, and more.
Click Save Color Scheme to apply the design to all your widgets.
For more information, go to the Counts Widget App.
🌎 Community Areas
The Community Areas widget integrates with IDX Broker Saved Links to display curated community listings on your website. Easily showcase neighborhoods, cities, or subdivisions with customized styling and featured area options.
 1. Create Saved Links in IDX Broker
Before setting up the widget, you need existing Saved Links:
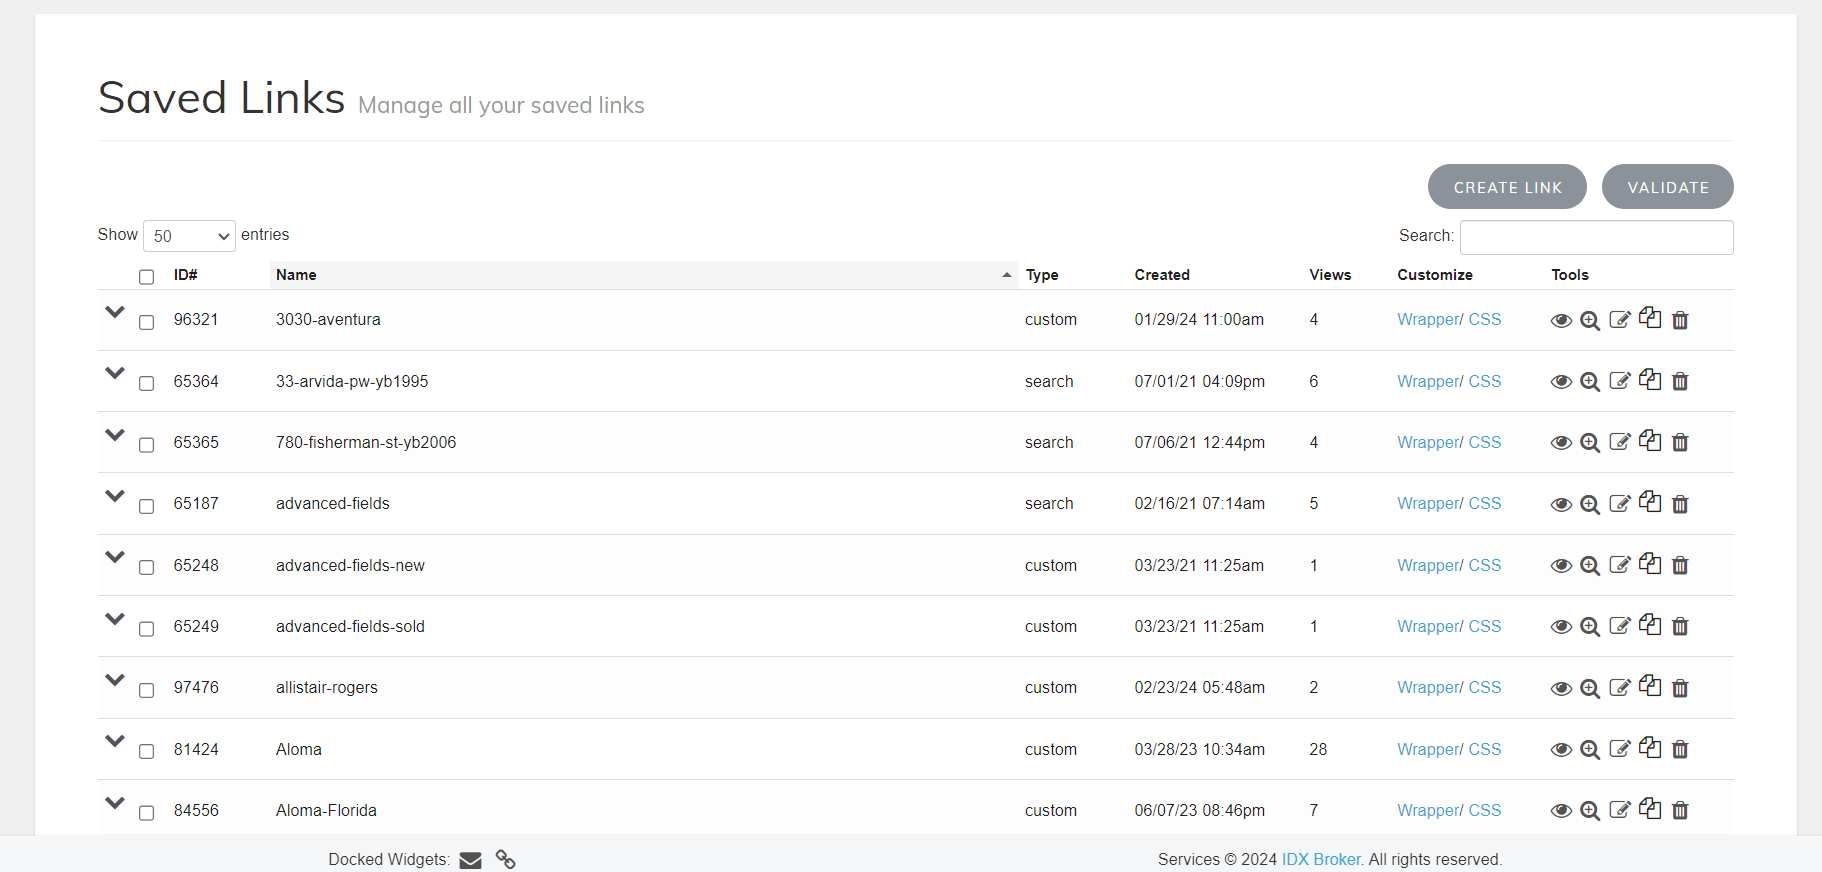
- Go to IDX Broker > Saved Links.
- Click Create Link and define your search criteria (address, property type, city, county, ZIP, etc.).
- Fill out the page title and required information.
- Click Save to finalize.
 2. Setup Tab
- After accessing the Community Areas app:
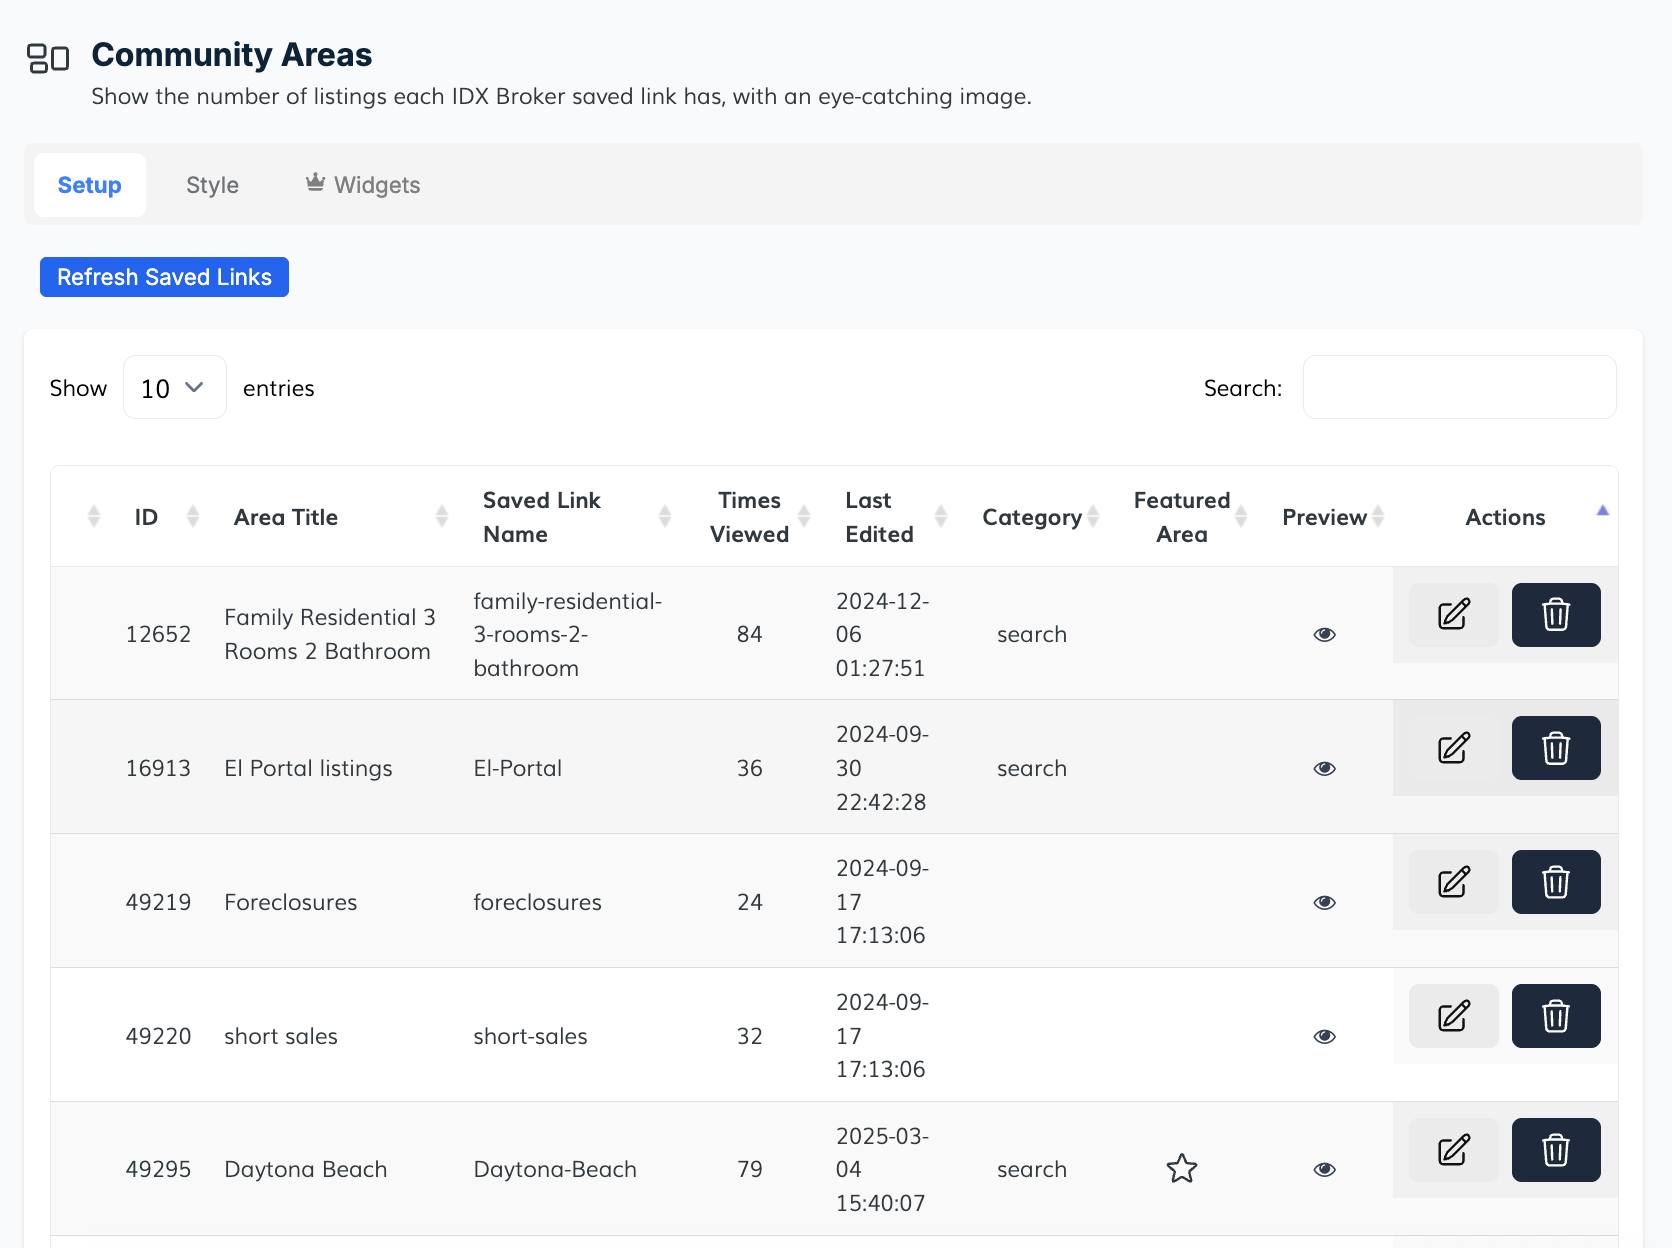
- Your existing Saved Links will appear in a data table, showing:
- ID
- Area Title
- Saved Link Name
- Times Viewed
- Last Updated
- Category
- Add a New Saved Link:
Click Add, confirm the action, and the link will be integrated into your community grid. - Edit or Remove a Link:
Edit the name, add/update an image URL, or mark an area as Featured.
Delete saved links if needed. - View More Details:
Click the + icon next to a link to see extra details like preview options and featured status.
- Your existing Saved Links will appear in a data table, showing:
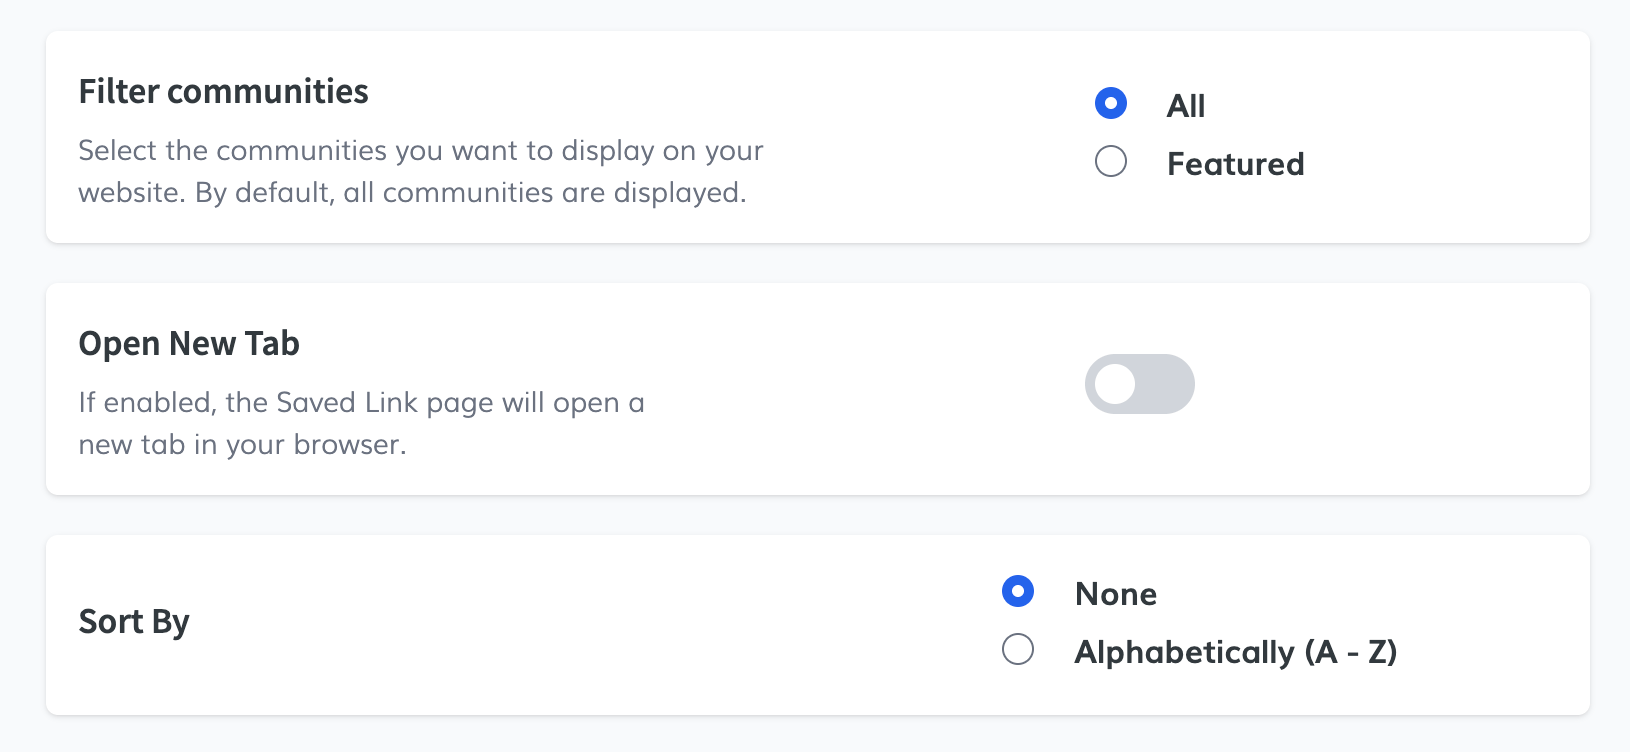
 3. Filter and Sort Communities
- Filter: Choose to display either All communities or only Featured ones.
- Sort: Arrange communities by None (default) or Alphabetically.
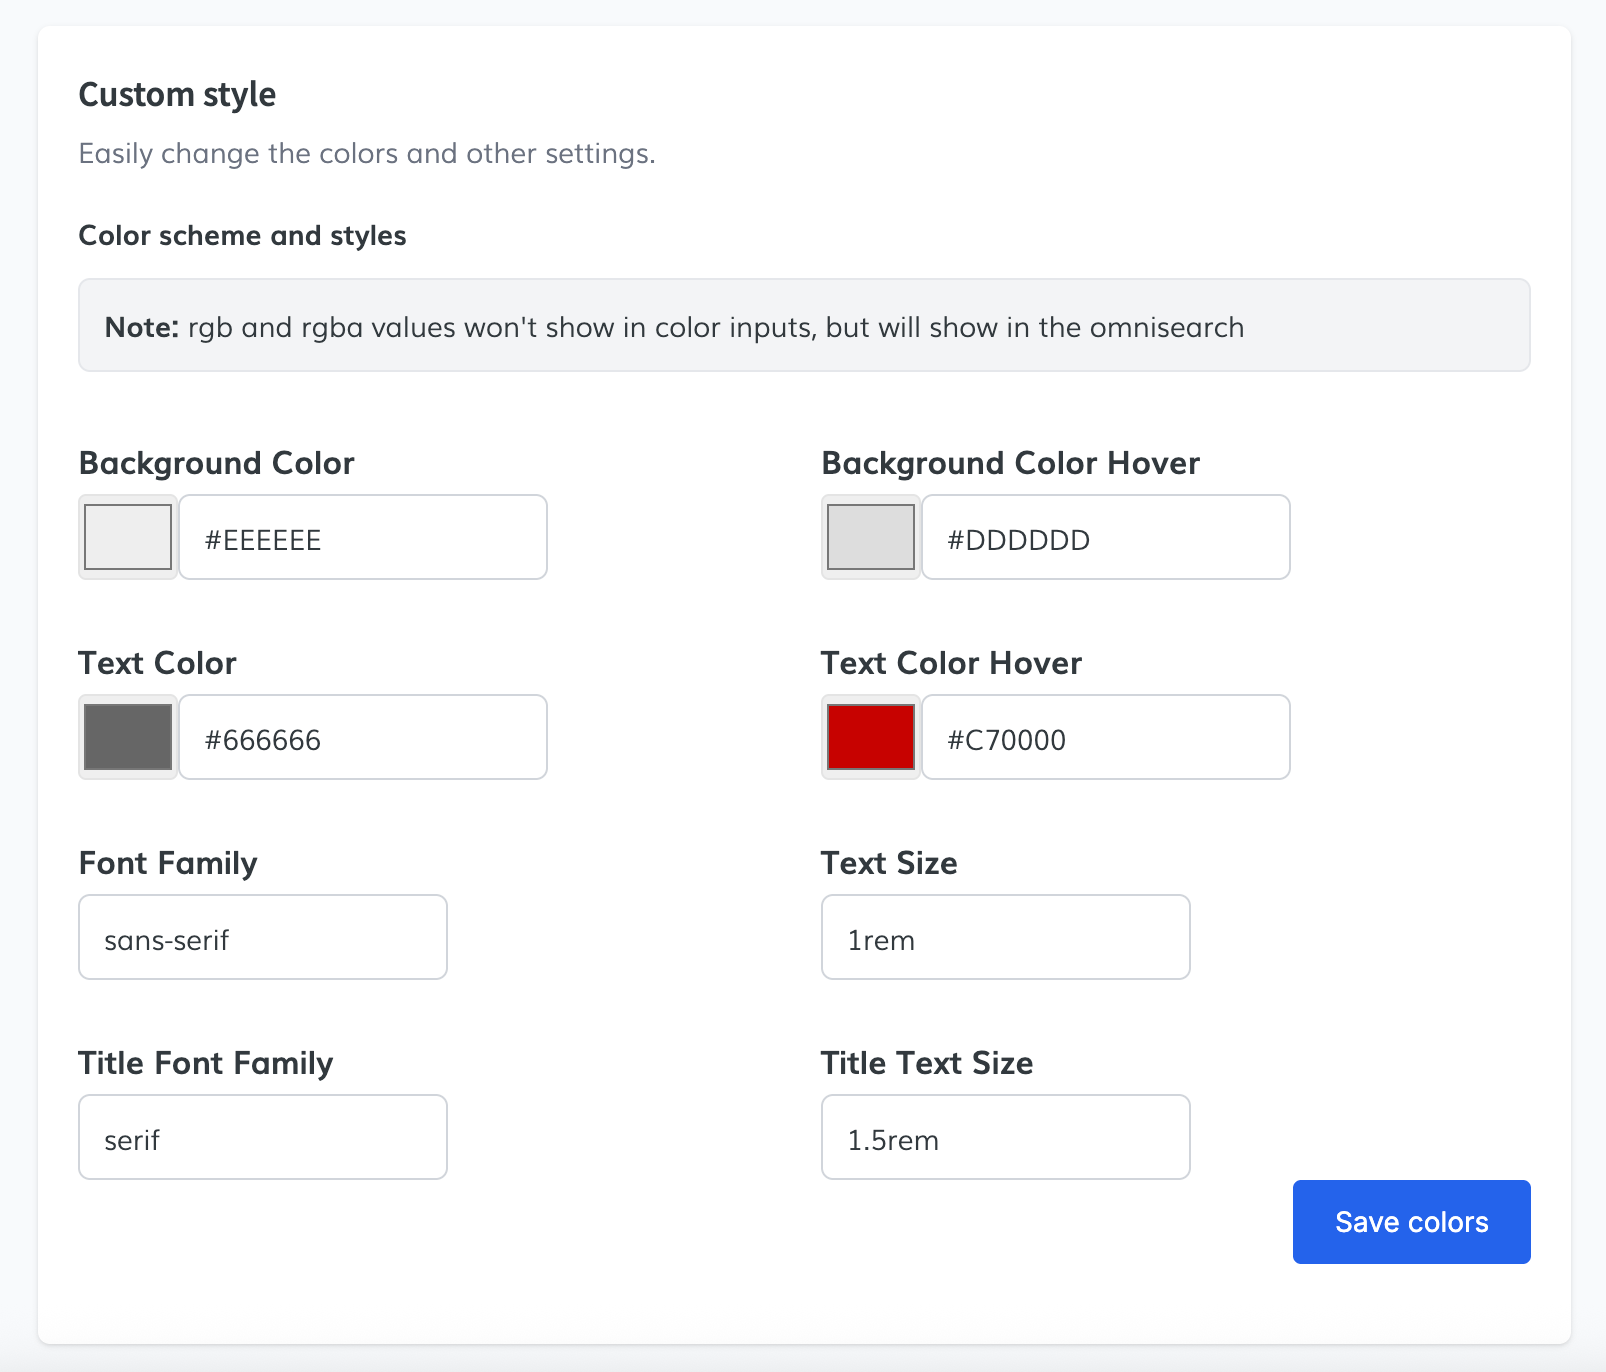
 4. Style Tab
Customize the appearance of your community grid:
- Select a Design: Choose between:
- Cancun
- Classic
- Customize Style:
Adjust background color, hover effects, text colors, font families, and font sizes. - Save Colors: Click Save Colors to apply your style changes.
- Advanced Settings:
Add custom CSS code for even more precise control.
 5. Embed the Widget
When finished:
- Click Copy Code to grab your personalized widget snippet.
- Paste it into your website where you want the community grid to appear.
For more information, go to the Community Areas app.