Quick Setup Guide for Office Account Apps
- Last Updated April 22, 2025
👥 Welcome to the Quick Setup: Office Account, your go-to resource for configuring the most essential apps in the IDXAddons platform. Whether you're just getting started or looking to optimize your IDX integration, this guide will walk you through the initial setup of each widget—quickly and clearly.
The following tools are covered:
- Agent Carousel - Customizable agent profiles widget.
- Excellent Agent – Fully branded IDX Broker agent pages.
- Office Information widget – Display office details and listings.
🔍 Agent Carousel
The Agent Carousel app allows you to display agent profiles on your website and control how they appear through filters, themes, and layout options. You can manage agent data, update social media links, and customize the visual design of the carousel.
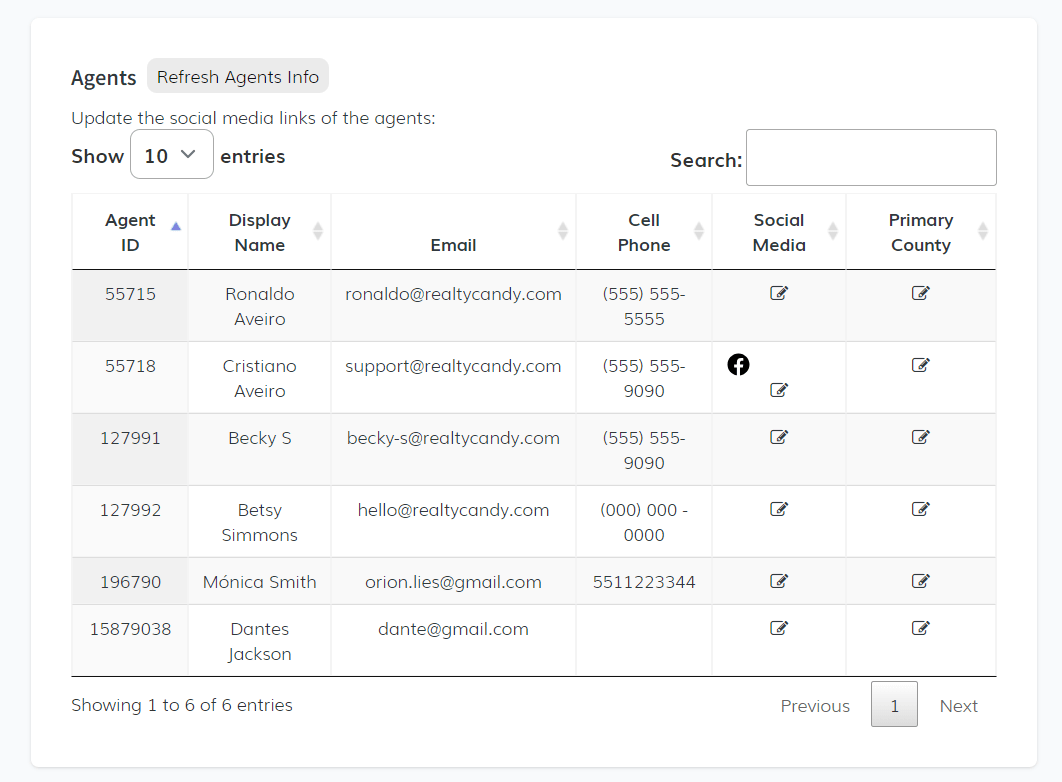
1. Setup TabThe Setup tab displays a data table where you can manage agents’ profile information. Each row includes:
- Agent ID
- Display Name
- Cell Phone
- Social Media
- Primary County
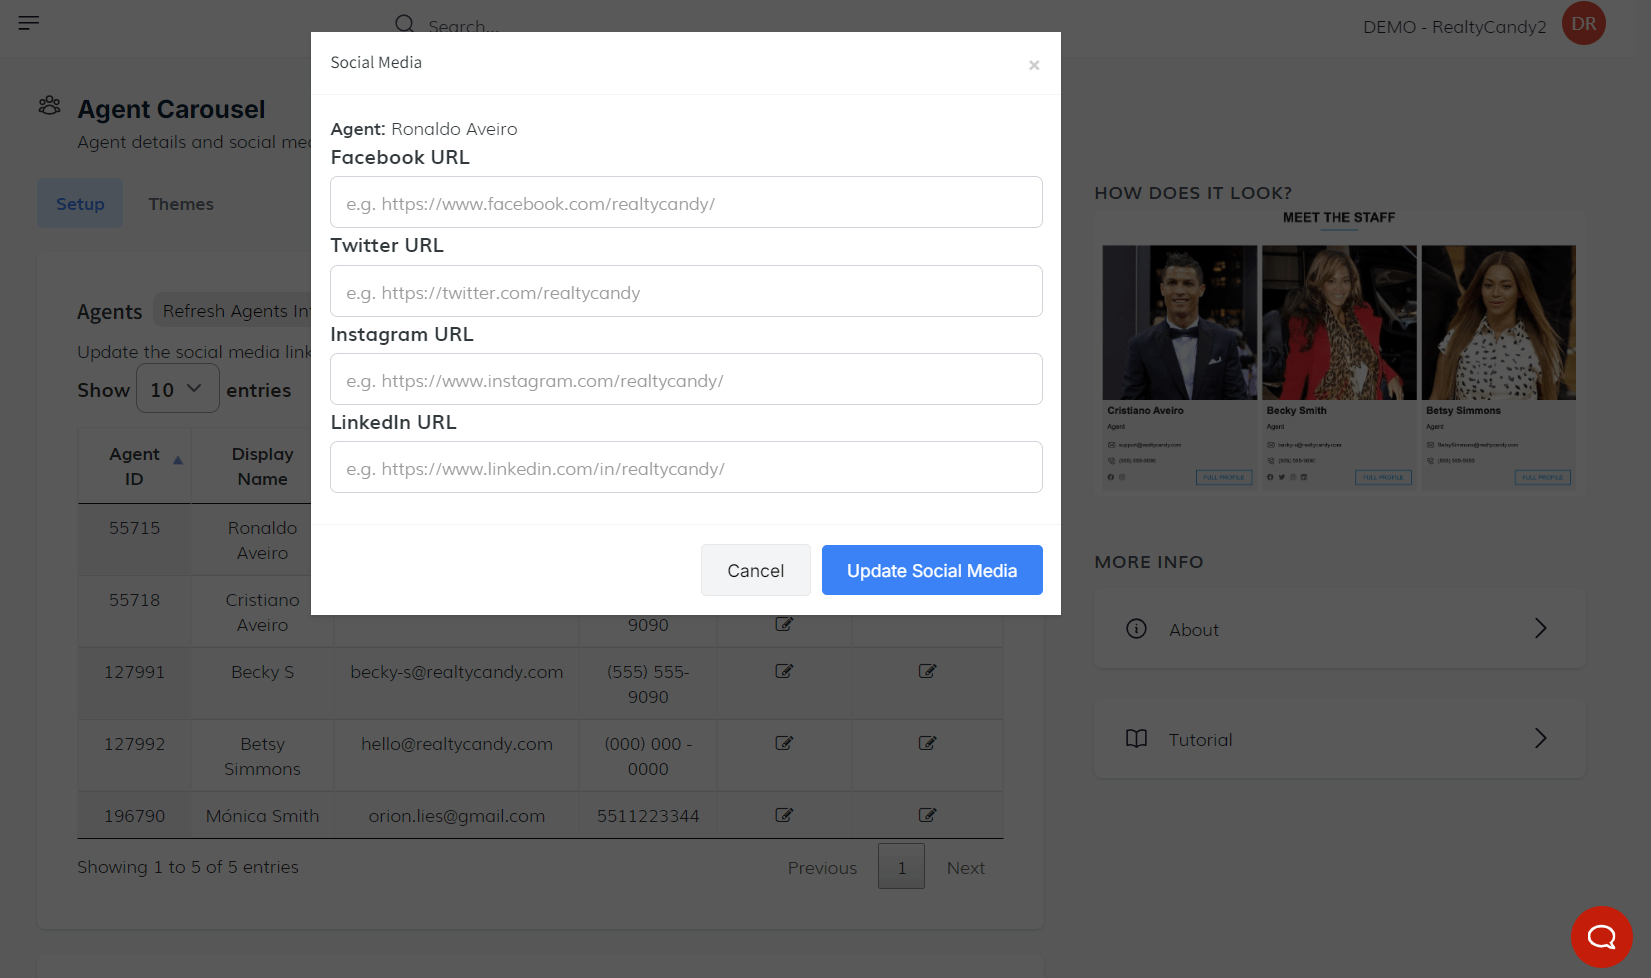
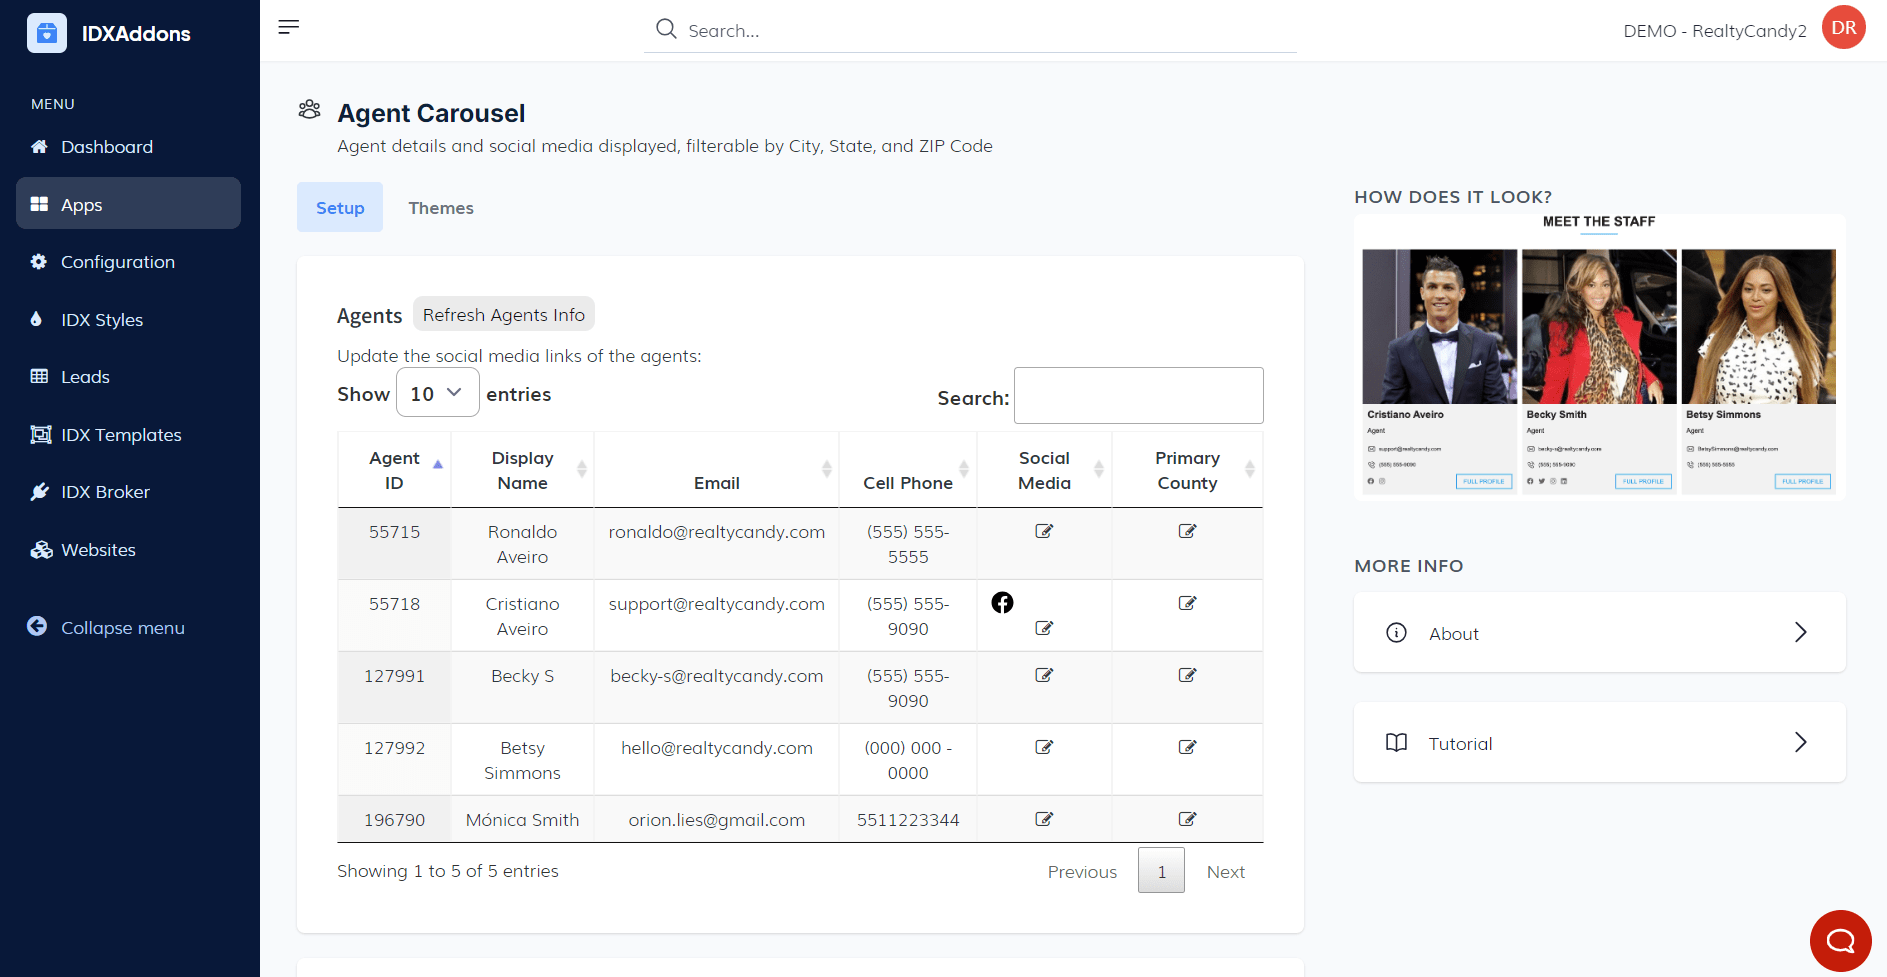 Edit Social Media
Click the pencil icon in the Social Media column to open a pop-up and add URLs for:
Click Update Social Media to save changes.
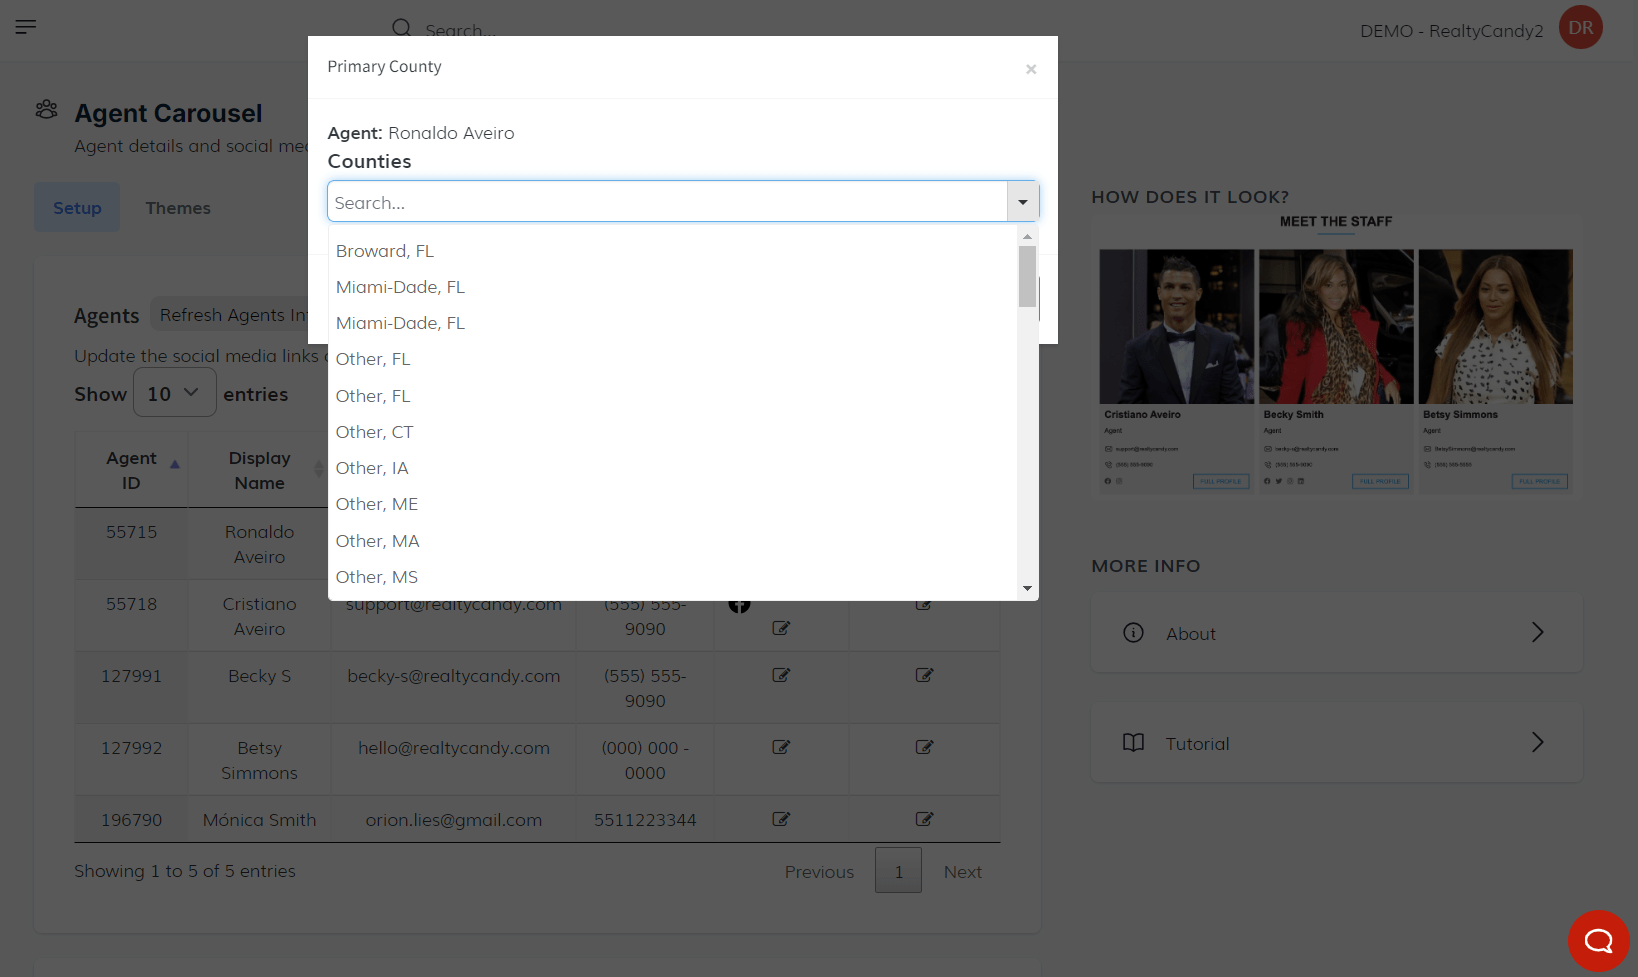
 Set Primary County
Click the county field to open a dropdown. Choose the primary county for that agent, then click Update to save.
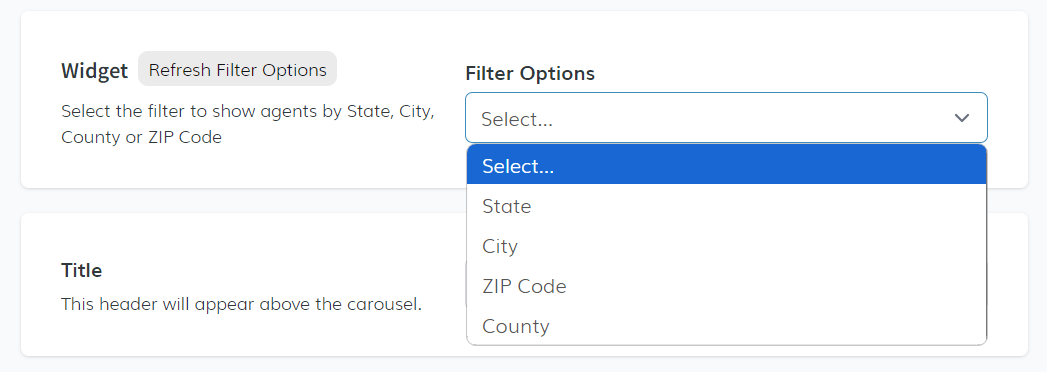
 2. Widget Section
This section lets you configure how agents are displayed on your site.
- Filter By: Choose how to group agents—by State, City, County, or ZIP Code.
- Filter Values: After selecting a filter type, a second dropdown will appear to pick the value (e.g., Miami, 33166).
- Title: Set a custom title to appear above the carousel.
- Color Selection: Choose button and dot colors for the carousel navigation.
-
Sort By: Choose the display order:
- Default
- Alphabetical
- Agent ID
- Random
 3. Themes Tab
Select the visual style for your carousel:
- Default
- Clovis
Once configured, copy the generated code snippet and paste it into your website where you'd like the carousel to appear.
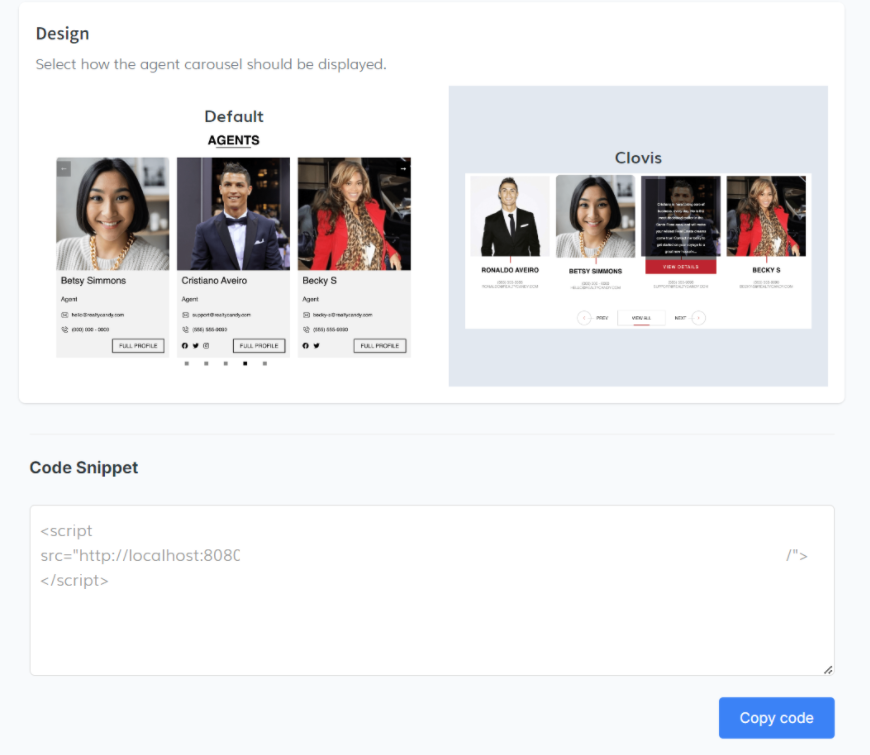 4. Managing Agents in IDX Broker
You can manage agent information directly from your IDX Broker account: Account > Users > Agents
From here you can:
- Edit agent profiles
- View bios
- Login as an agent
- Send password reset emails
- Add new agents
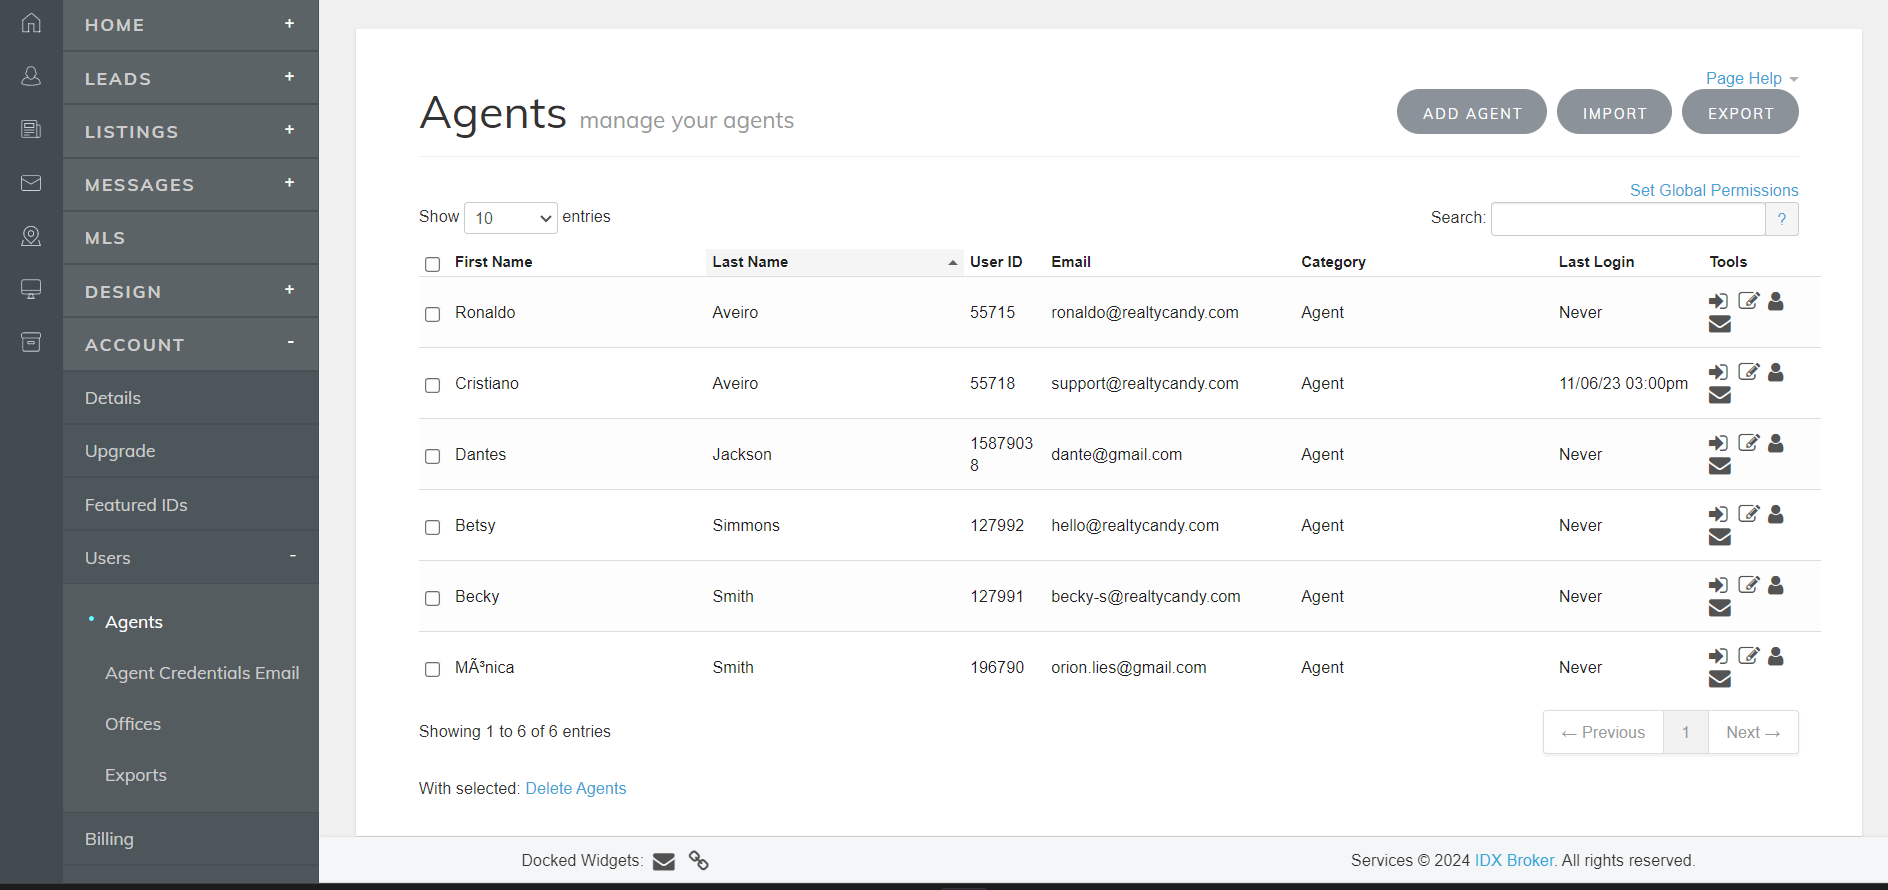
After adding a new agent, return to the Agent Carousel app and click Refresh Agents Info to display them in the carousel setup.
🧑💼 Excellent Agent
The Excellent Agent app guides you through building fully branded IDX Broker agent pages. With a built-in wizard, customizable layout, and direct IDX integration, you can create polished, personalized agent pages in minutes.
When you first open the app, a wizard will walk you through the initial setup:
1. Wizard Setup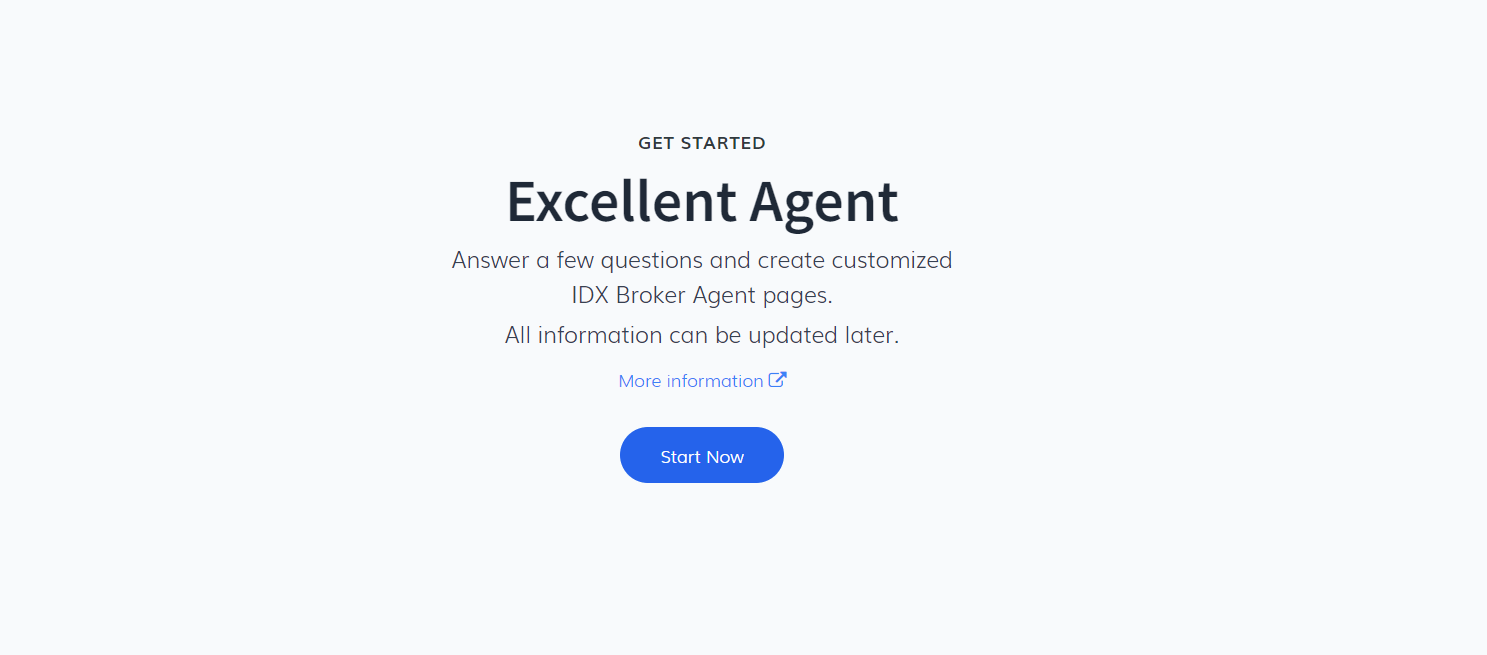
- Choose a Template: Select either Minimalist or Search Focused layout.

- Website Title: This will appear in the browser tab.
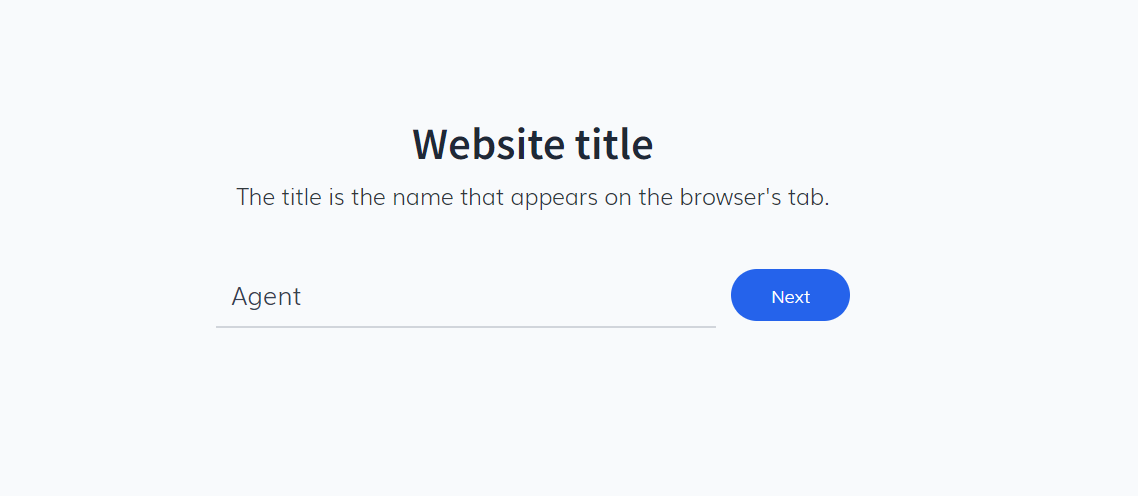
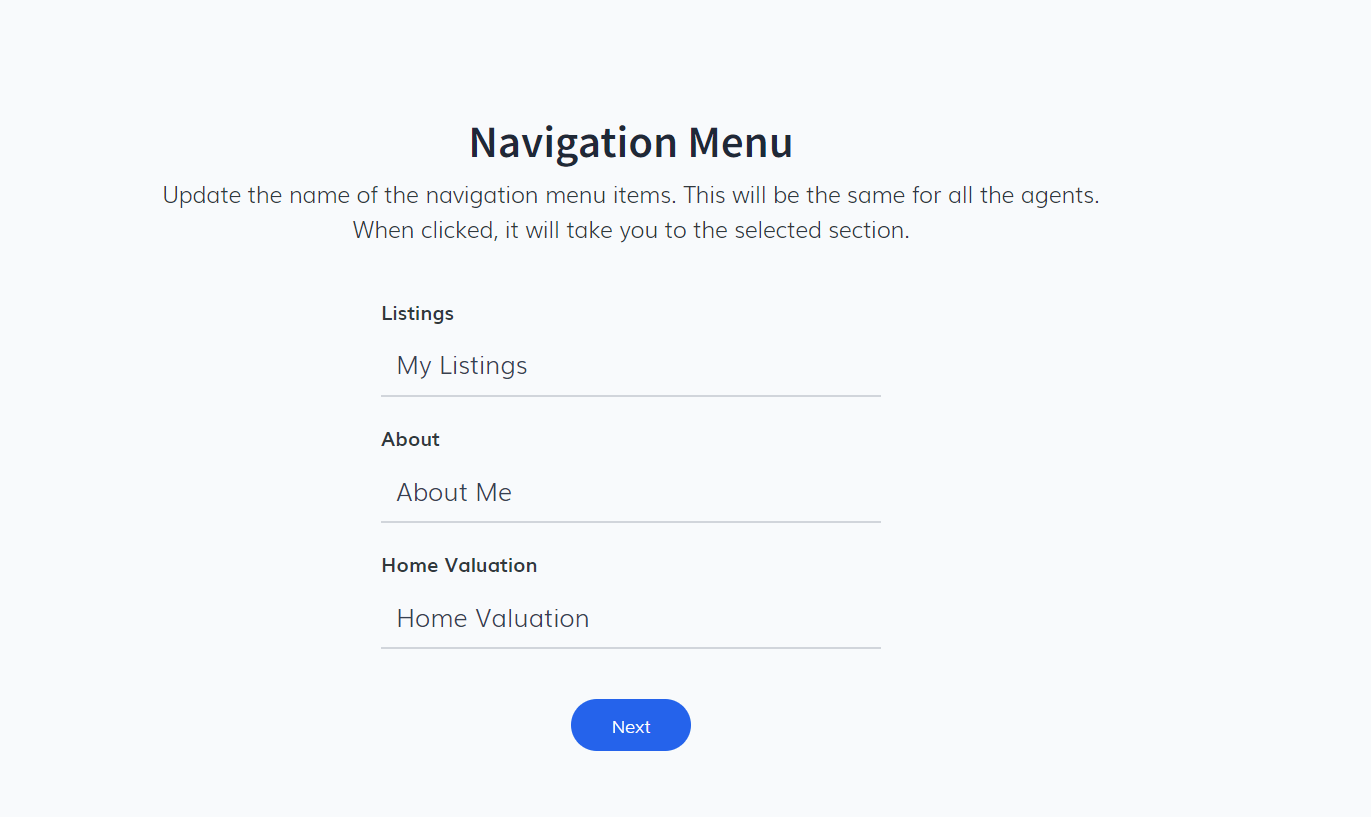
- Navigation Menu: Define universal menu items for your agent pages (e.g., Listings, About, Home Valuation).
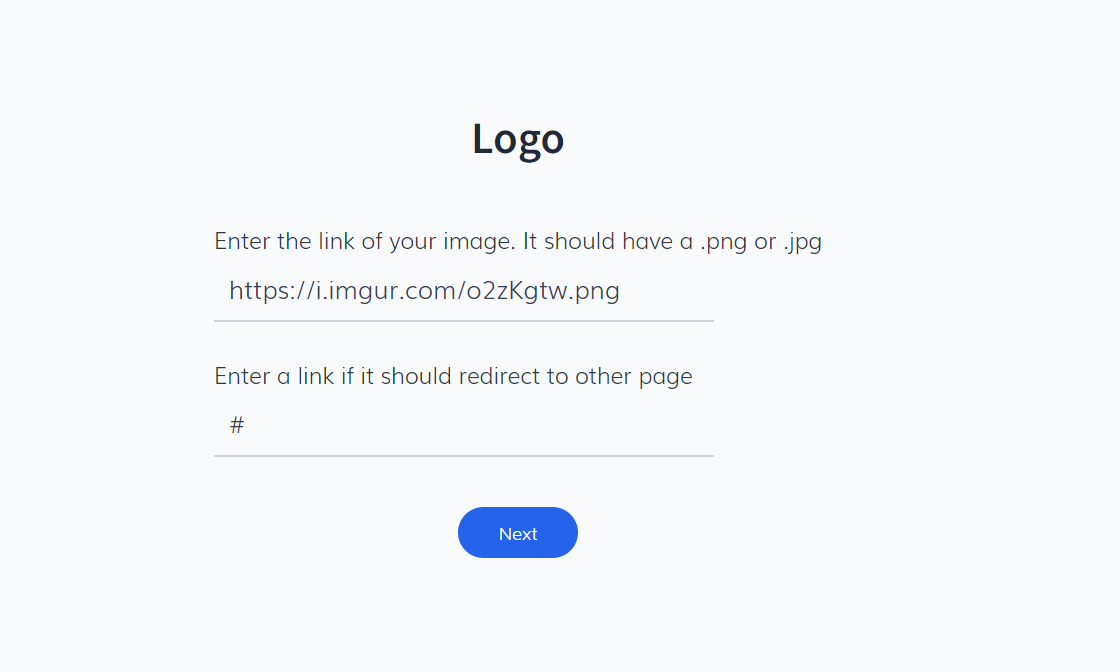
- Logo: Paste the URL to your logo image in .png or .jpg format.
- Hero Section: Add a section title and the image link for the hero banner.
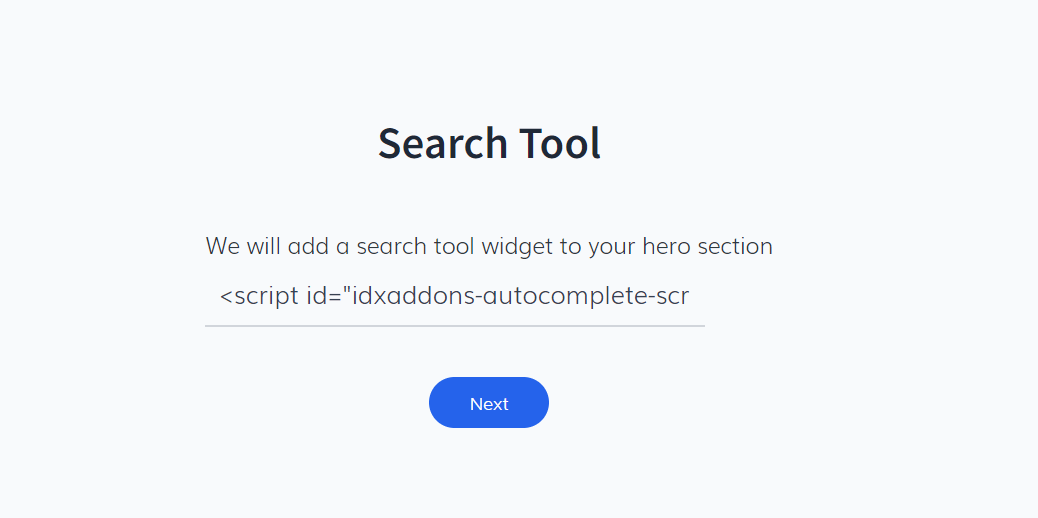
- Search Tool: The app will prompt you to include a search widget in the hero area.
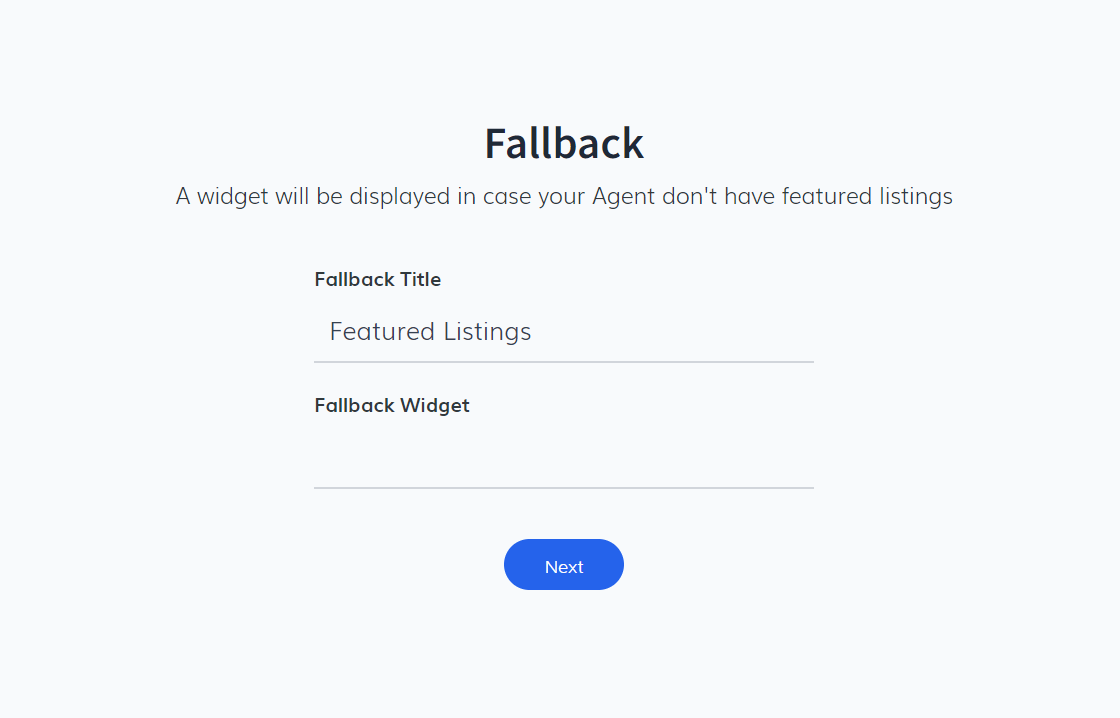
- Fallback Widget: Configure what displays when the agent has no featured listings (e.g., a message or featured properties).
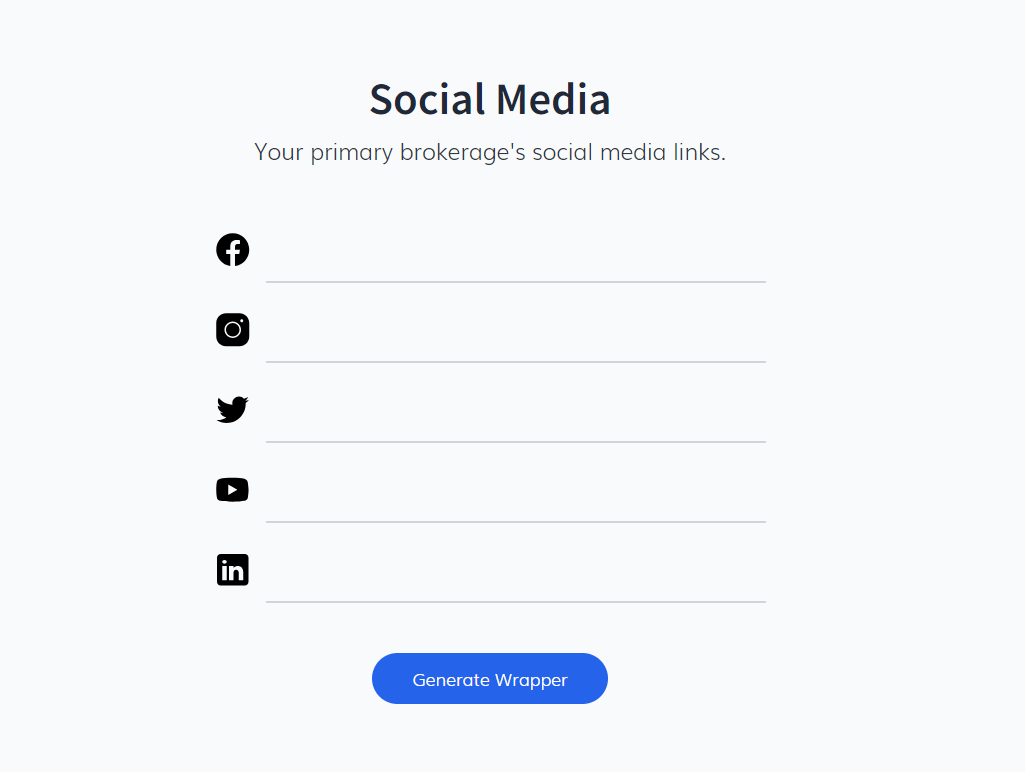
- Social Media Links: Add the main brokerage’s social media profiles.
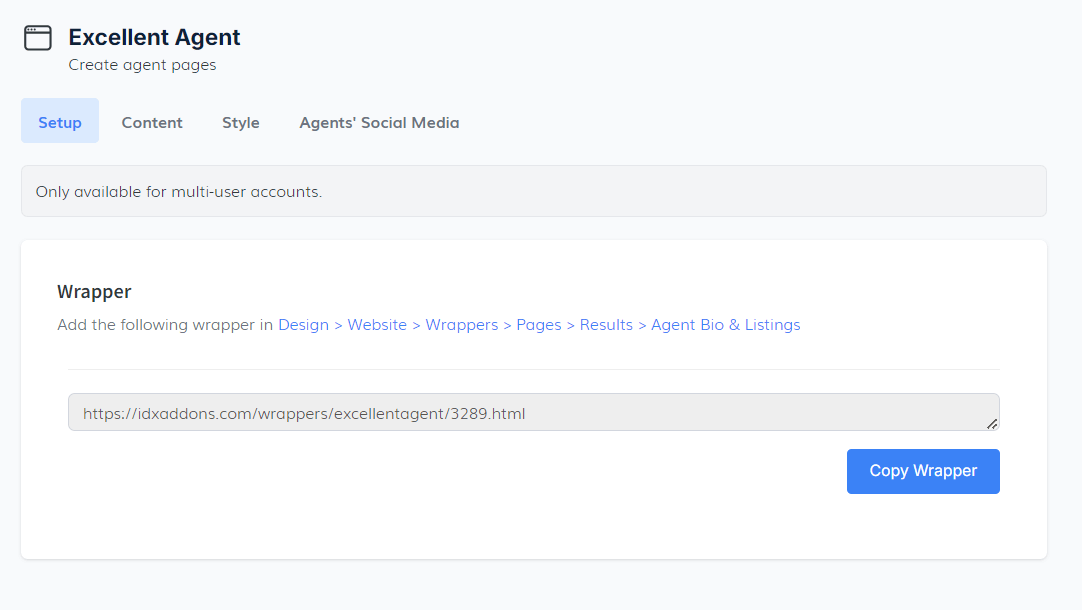
- Wrapper Location: Paste this code into IDX Broker: Design >
Website > Wrappers > Pages > Results > Agent Bio & Listings.
- Sub-Headers Script: Also in the Setup tab, you’ll find a script for sub-headers. Add this in IDX Broker: Design > Website > Sub-Headers > Pages > Results > Agent Bio & Listings.
- Site Title: Add a custom heading for the top of the page.
- Header Section: Add text or images to introduce your agent.

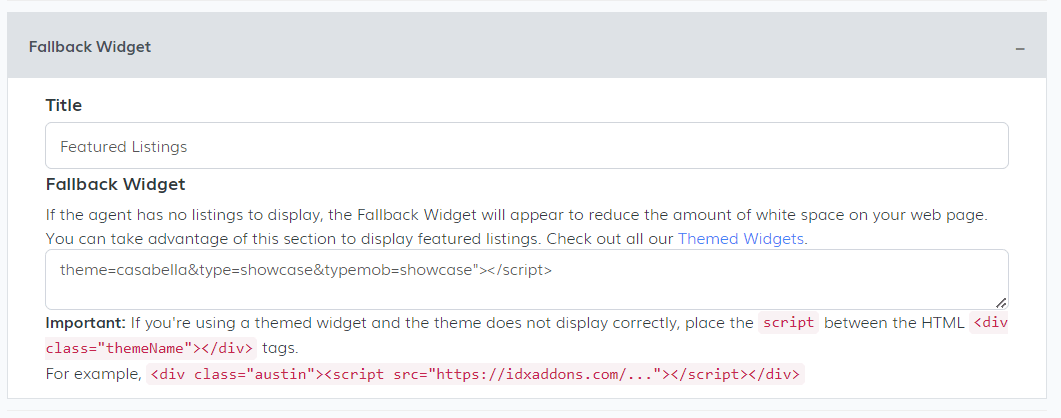
- Fallback Widget: Set what to display when no agent listings are
available.
- Footer Section: Add your logo, text, and links to your social
media accounts for a branded footer.
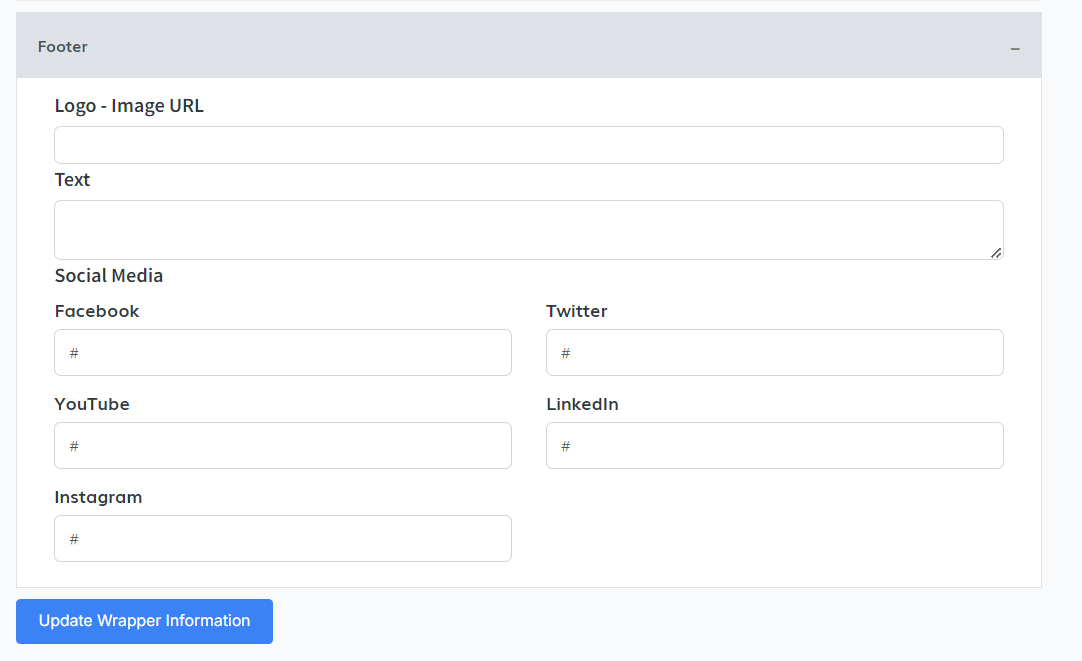
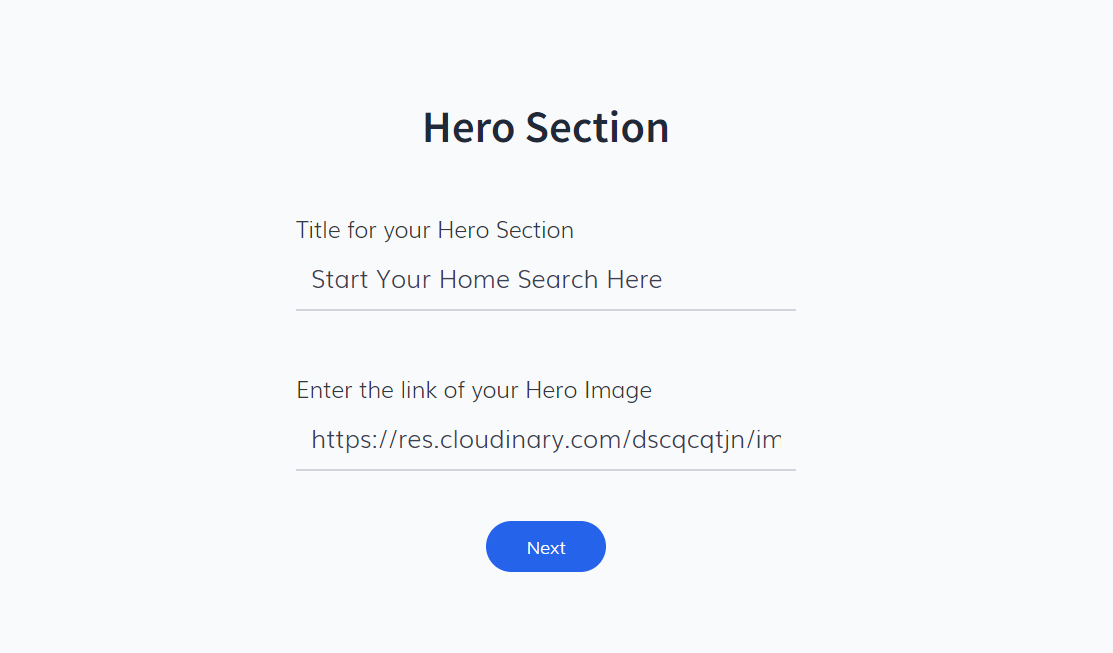
Once complete, click the Generate Wrapper button to finish.
2. Setup TabIn the Setup tab, the system will provide your Wrapper Code. This is essential for IDX integration.


These steps ensure the custom layout and widgets display properly on IDX agent pages.
3. Content TabUse the Content tab to personalize your agent pages:
Click Update Wrapper Information to apply your changes.
4. Style TabClick Change Design to select between Design 1 and Design 2.
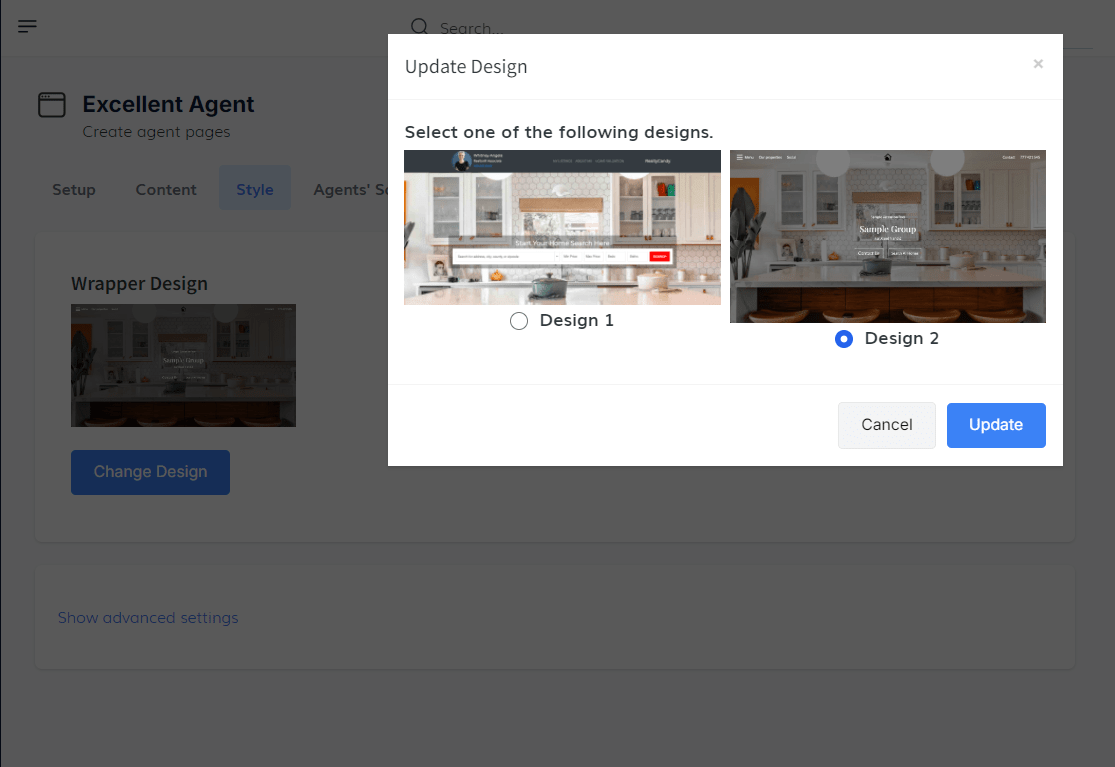
Open Advanced Settings to enter your Custom CSS (no <style> tags required).
This allows full control over fonts, spacing, colors, and layout adjustments.
5. Agent Social Media TabIn the final tab, you can update or add social media links and profile details for each agent individually. This ensures every agent profile is accurate, complete, and branded.
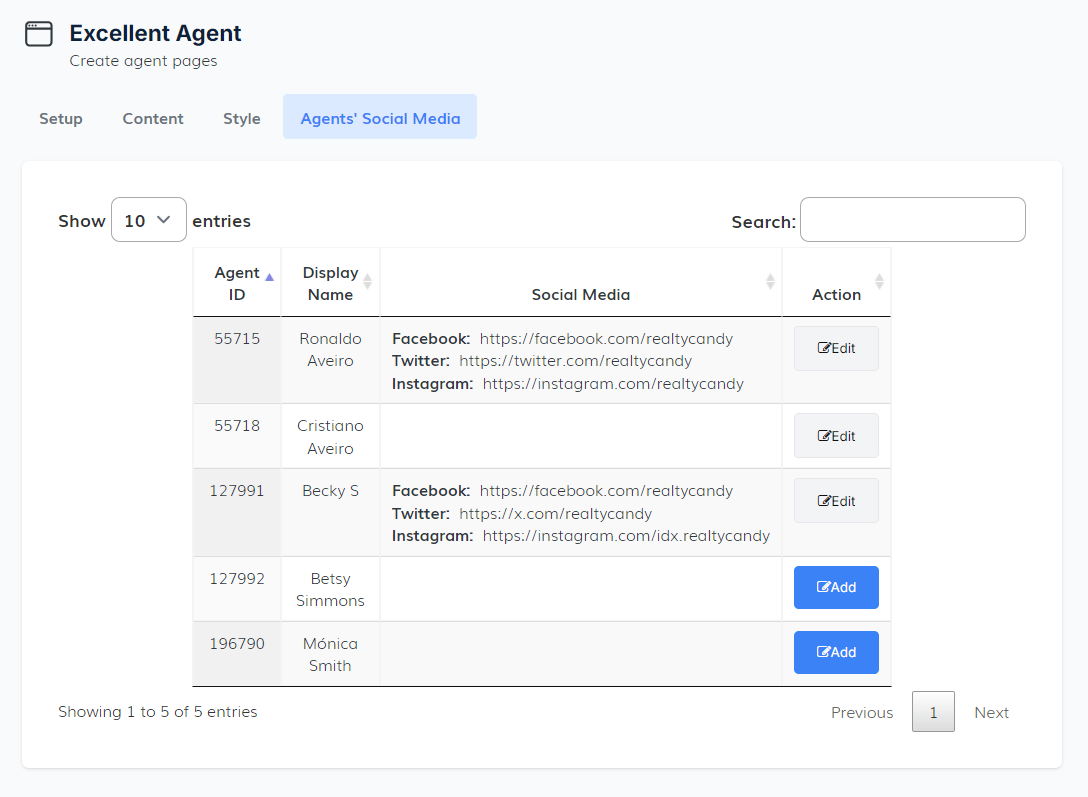
🏢 Office Information Widget
The Office Information Widget allows you to display your office’s branding and contact details directly on IDX property detail pages. You can also choose to show the assigned agent instead of the office information.
1. Setup TabEnable this toggle to display the widget on all IDX details pages. Disable it to hide the widget completely.

Display Assigned Agent Info: Turn this on to show the assigned agent’s contact information in place of the office info.
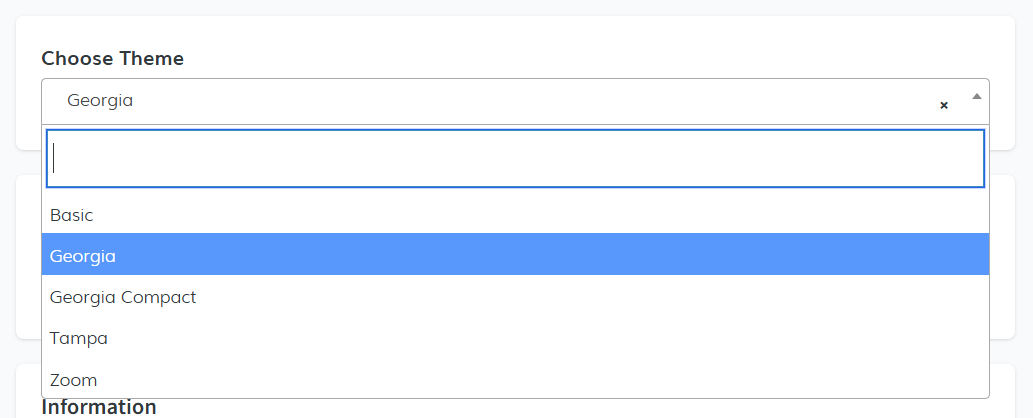
Select Widget ThemeChoose from five theme options to match your branding:
- Basic
- Georgia
- Georgia Compact
- Tampa
- Zoom
Paste the URL of your logo image to display it within the widget.
 Office Details
Fill in the following fields to complete the widget content:
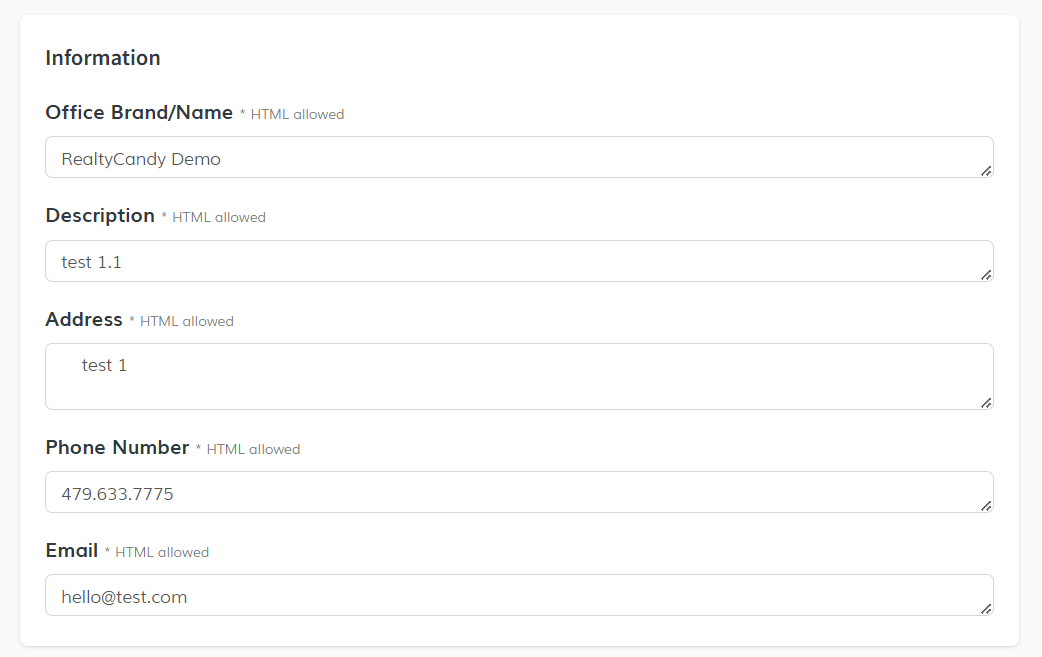
- Office Name or Brand
- Short Description
- Address
- Phone Number
Add links to your office’s social media accounts.
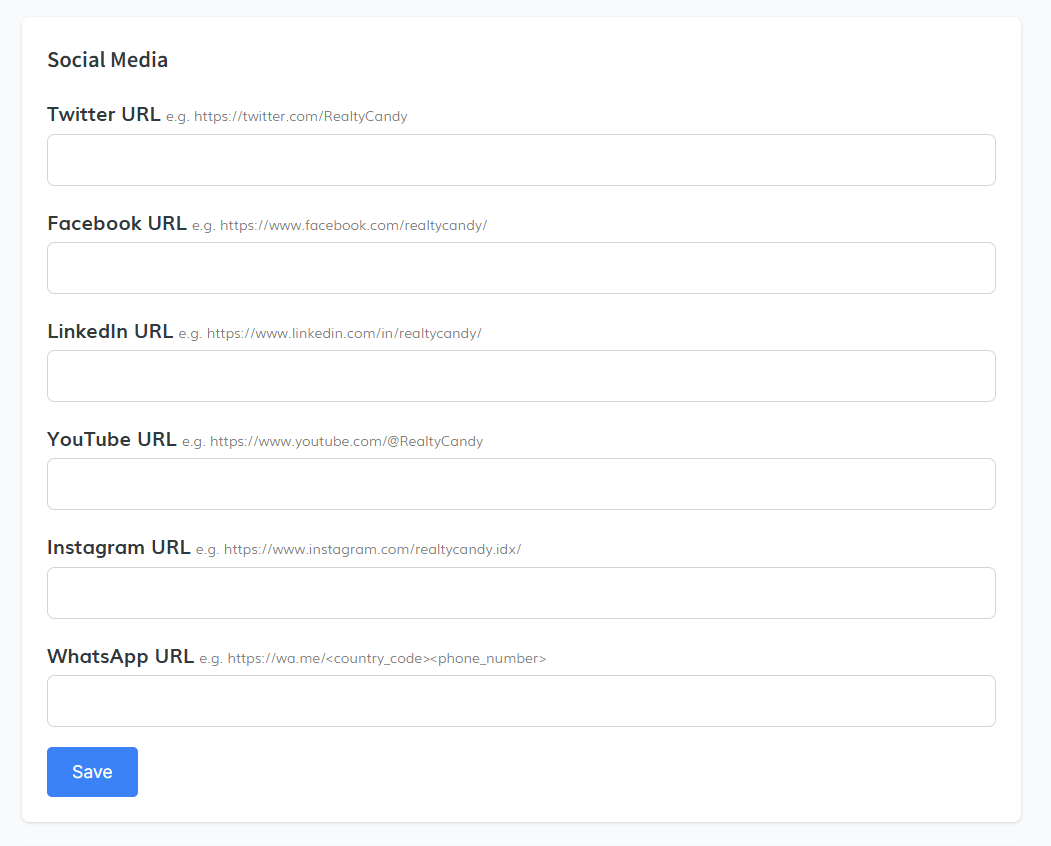
✅ Make sure to click Save after making changes.
2. Advanced SettingsUse the Custom CSS Code field to apply your own styles (no <style> tags needed).
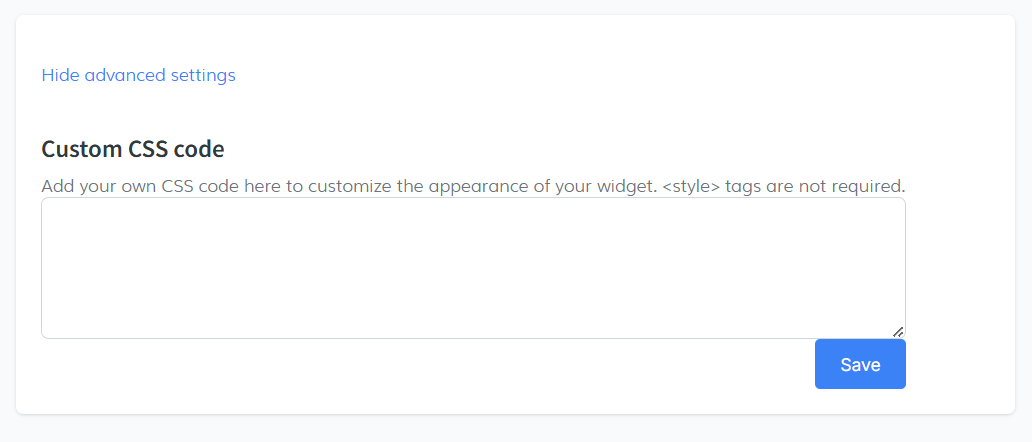
Click Save to apply the styling updates.
3. Get the Code Snippet (Optional)If you're using a Premium IDX Template, the widget is automatically integrated.
If not:
- Click Copy Code to grab the widget embed code.
- Paste it into any page where you want the office information to appear.