Condos Widget Tutorial
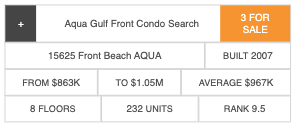
You can display a widget like this:

How to set it up:
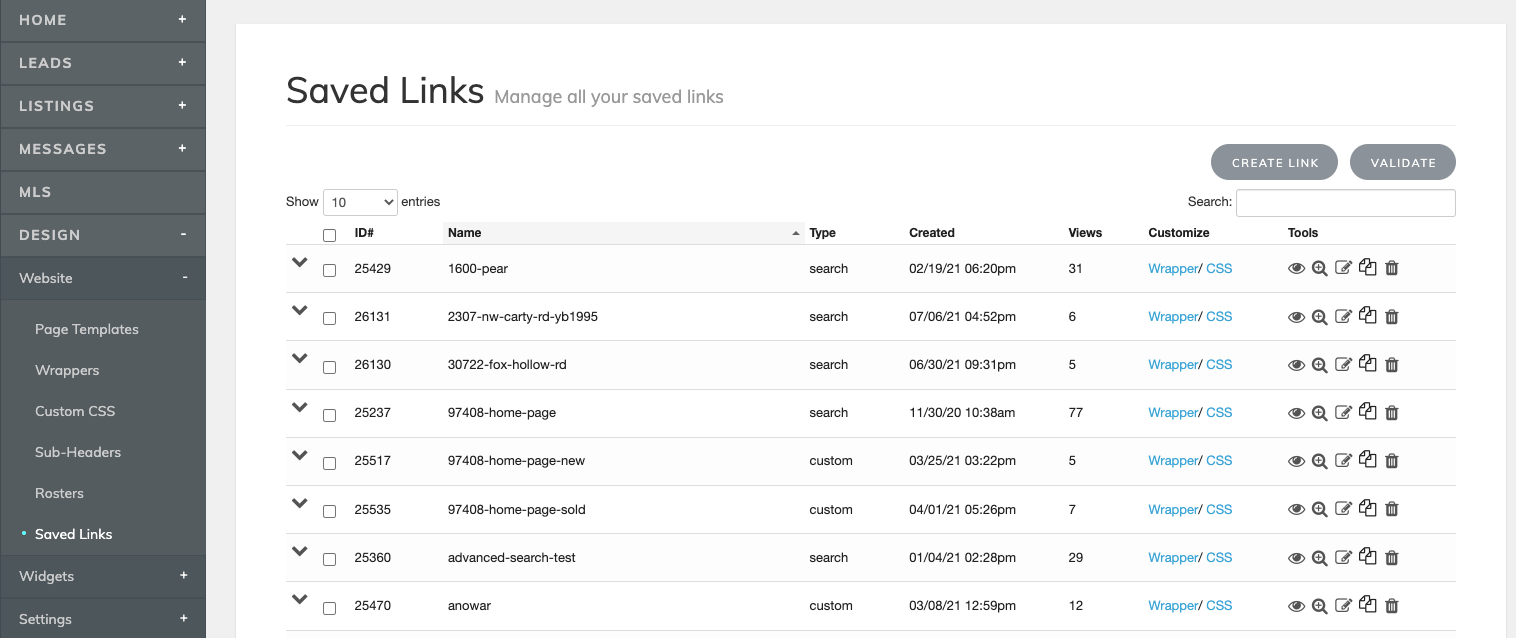
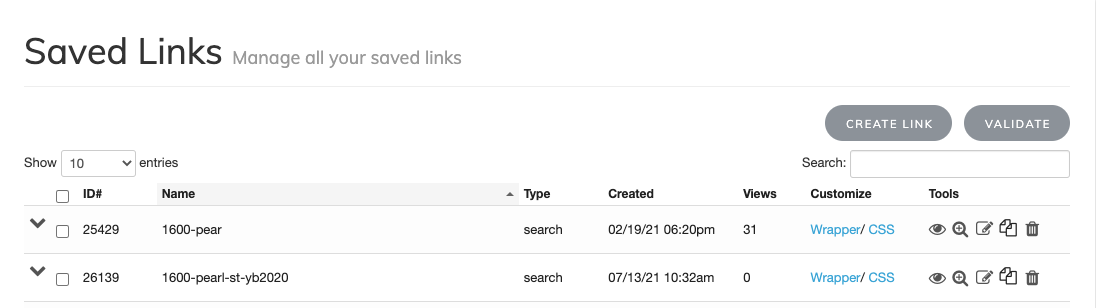
1. Create a new Saved Link with the following settings
Go to IDX Broker's Saved Links and select the option "Create Link".
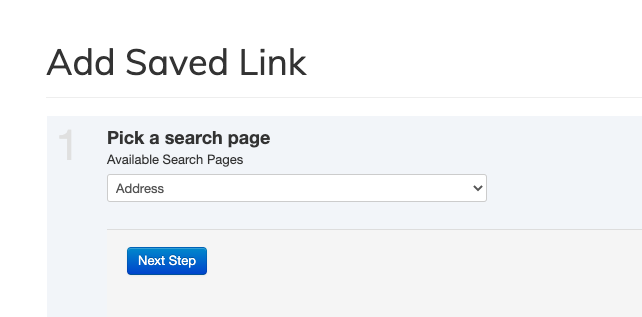
Select "Address" and click on "Next Step"
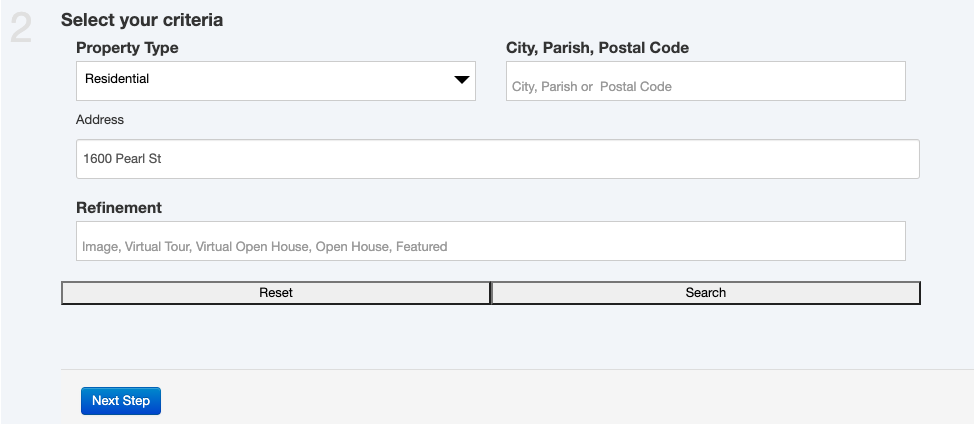
Enter the address where the listing is located without any interior number and click on "Next Step". For this example, we will use "1600 Pearl St".
After finishing setting the search name and preferences, click on "Save and Manage links".
Now your link is created
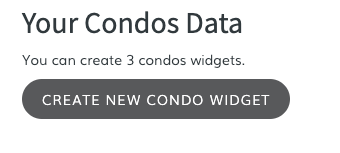
2. Create a new widget
Click on "Create New Condo Widget".
Fill the following fields in the form:
- Widget Name: the name that will appear in your widget to identify the condo
- Saved Link: the saved link used to get the properties information
- Rank: define a position or grade
- URL: custom the page to redirect after clicking on the condos information. The default link is the Saved Link URL
- Year: the condo built year
- Number of Units: number of units in the condo
- Number of Floors: number of floors that the condo has
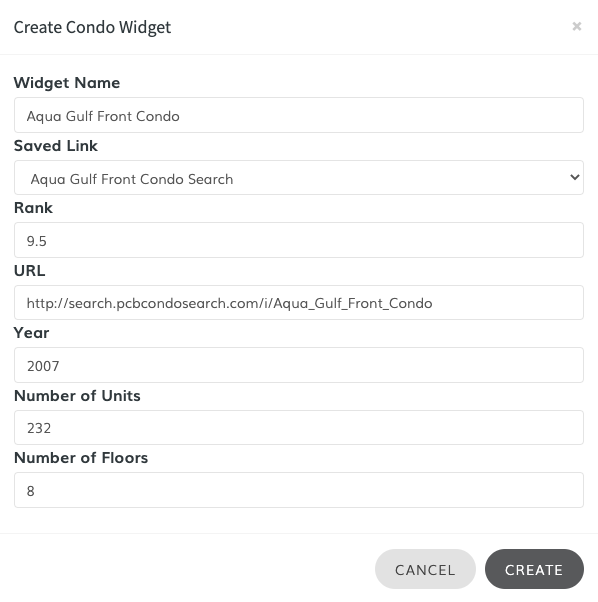
After clicking on "Create", the created widget will appear.

3. Use the widget code
Click on the condo that you've created to display the details
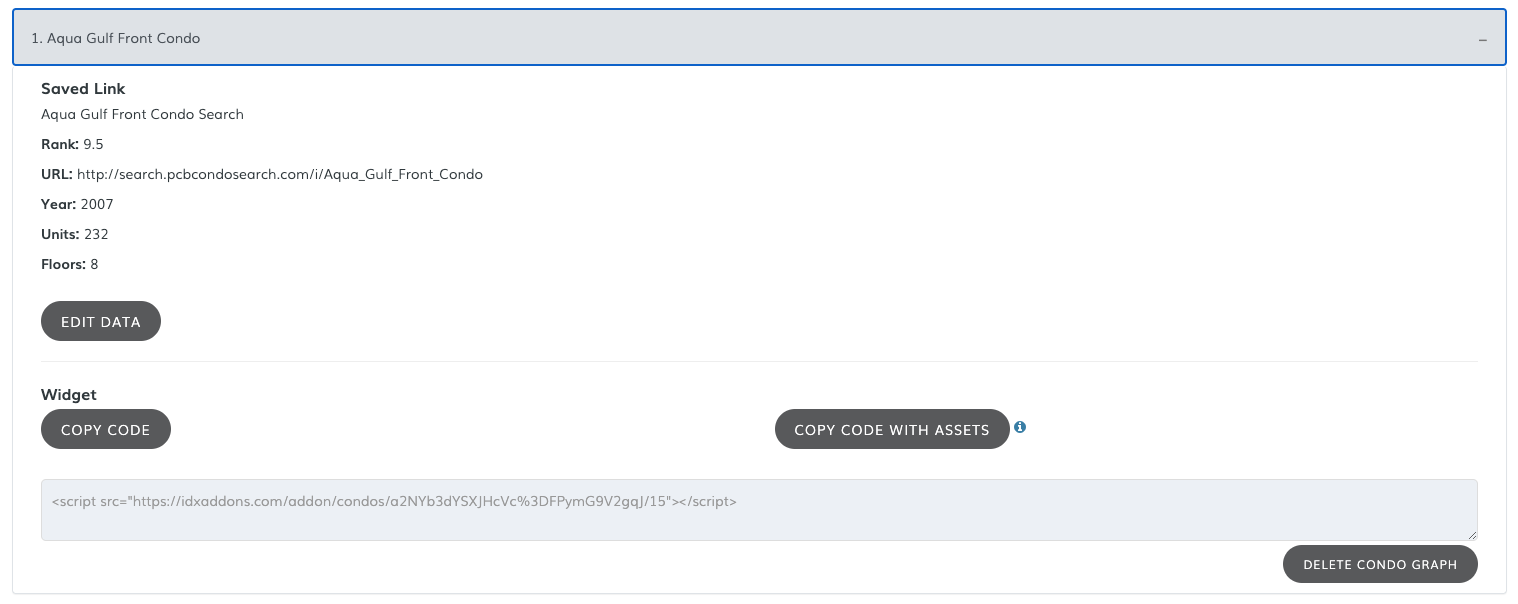
Click on "Copy code with assets" to include CSS styling, responsive JS behavior and the Header.
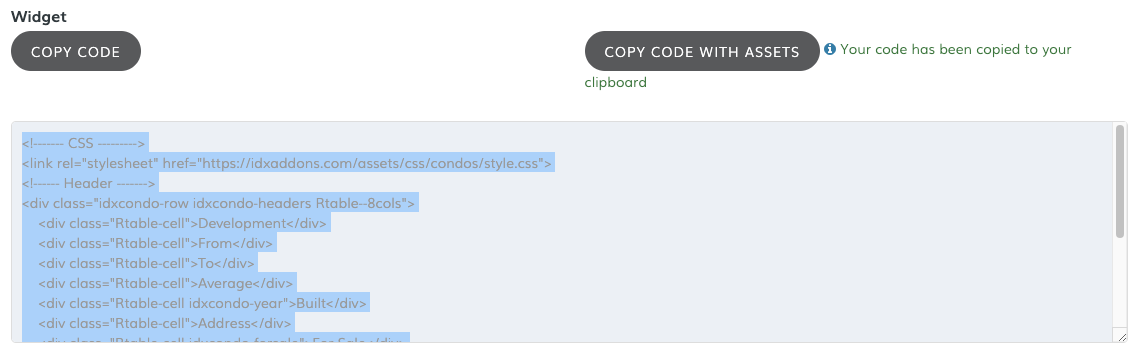
The widget code will be copied to your clipboard. Now, paste the code in the page where you want to use it. The widget will show like this:

4. Add more widgets
You can add more widgets to the same table to make use of the header and styles. Just select another saved link and click on "Copy code", without including the CSS, JS and Header.

Paste the code in the Saved Links section
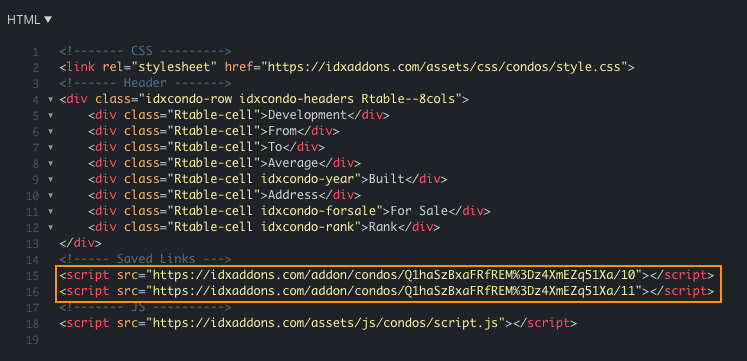
Now you'll have 2 saved links.
This is the responsive version of the Condos app: