-
Access the Platform
Log in to your IDXAddons account
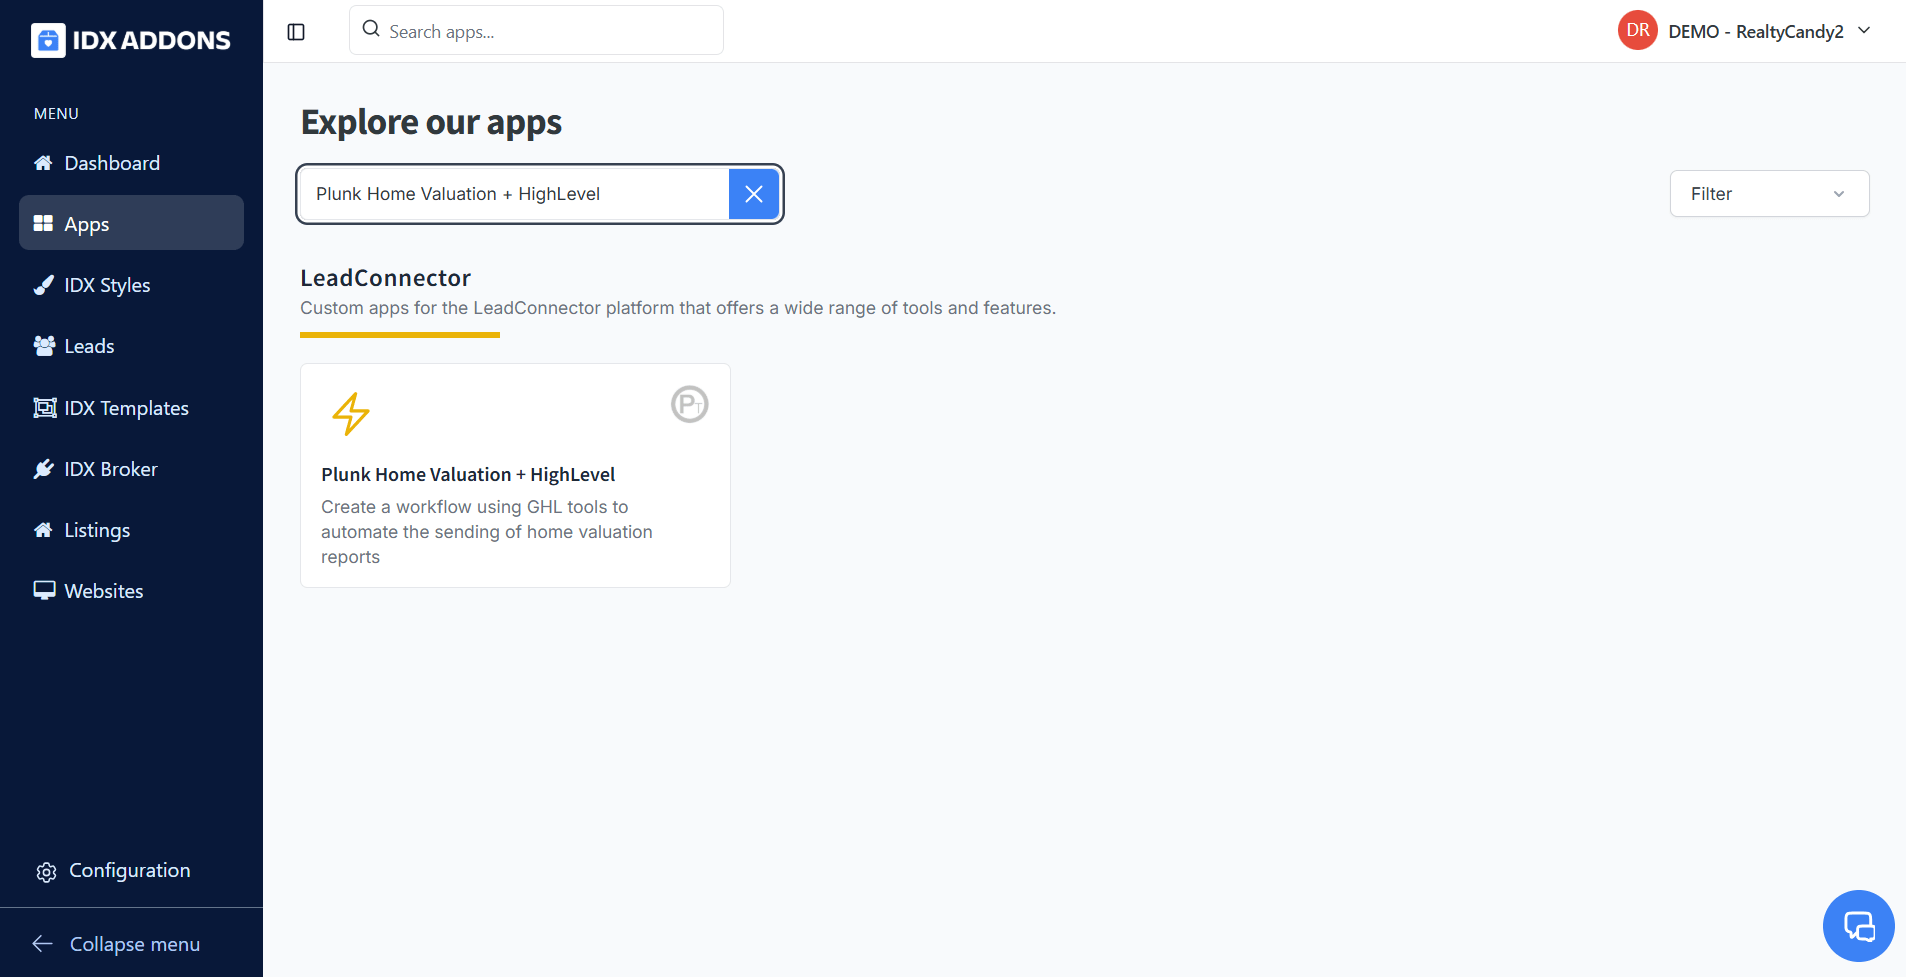
In the dashboard, select the Home Valuation + HighLevel app.
-
App Setup
The first time you go to the app, you will see a button that says "Connect HighLevel".
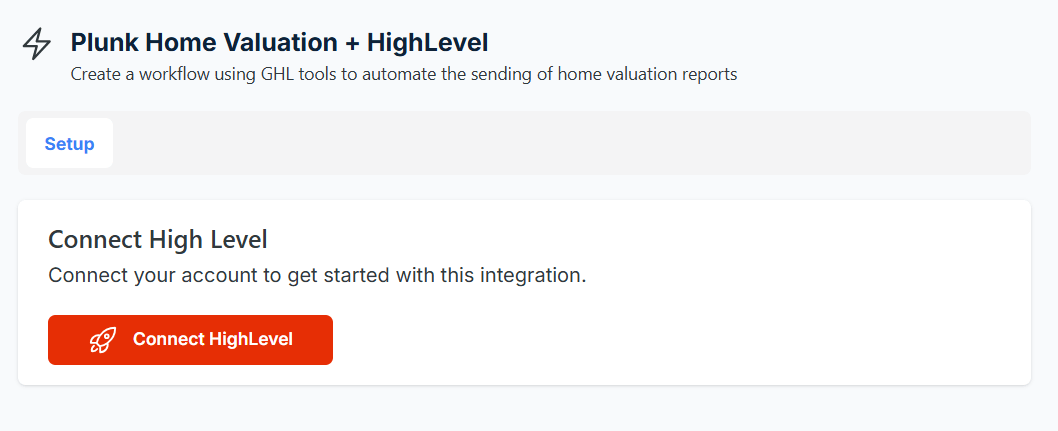
Click on the button and you will be redirected to the HighLevel page to select the sub-account you want to connect.
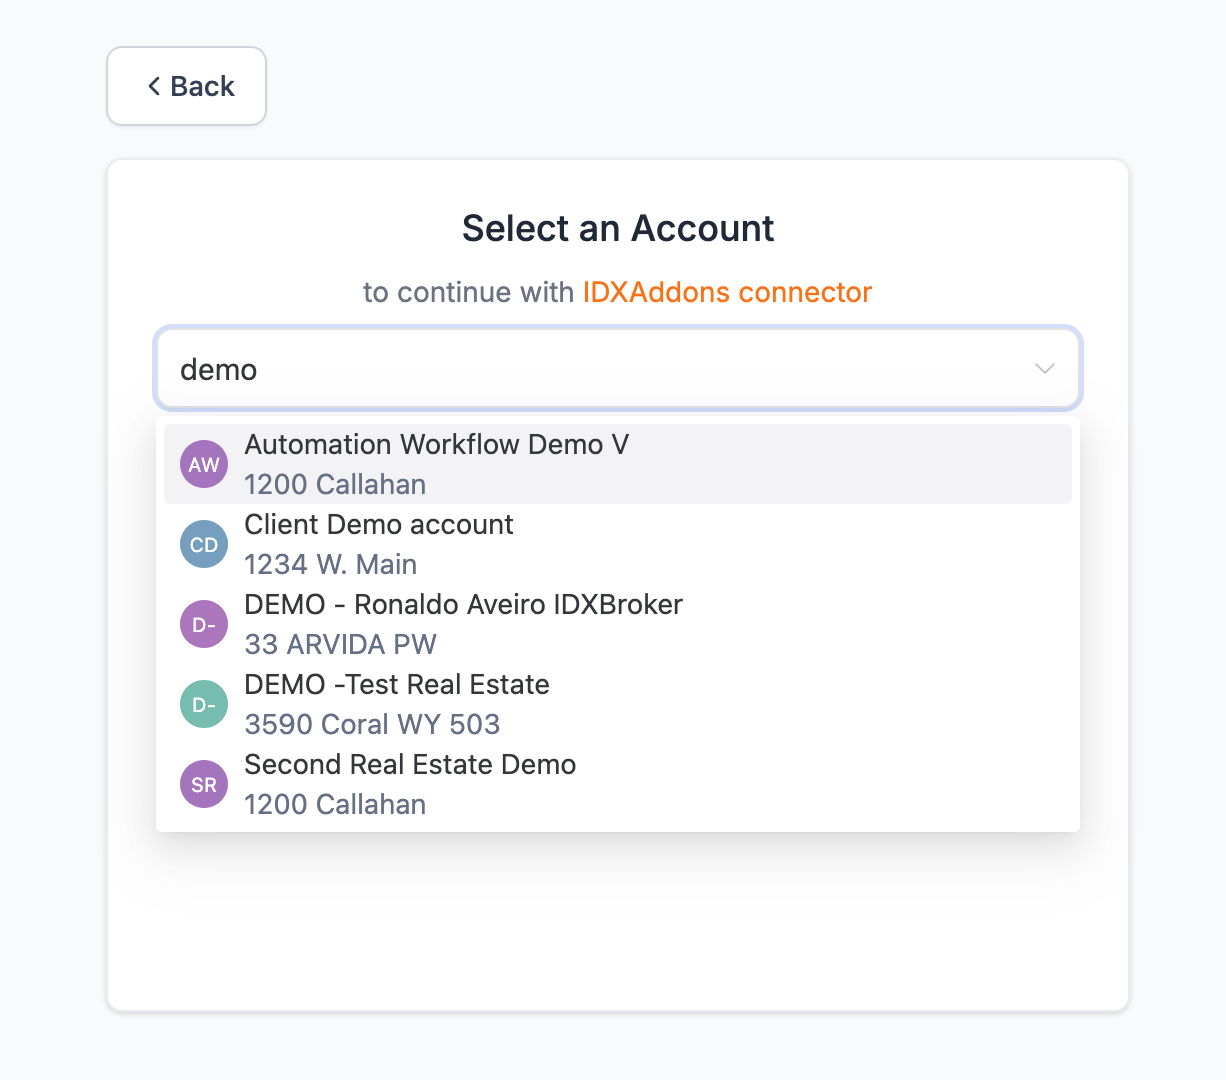
After selecting the sub-account, you will be redirected to IDXAddons to finish the setup.
Click on "Install".
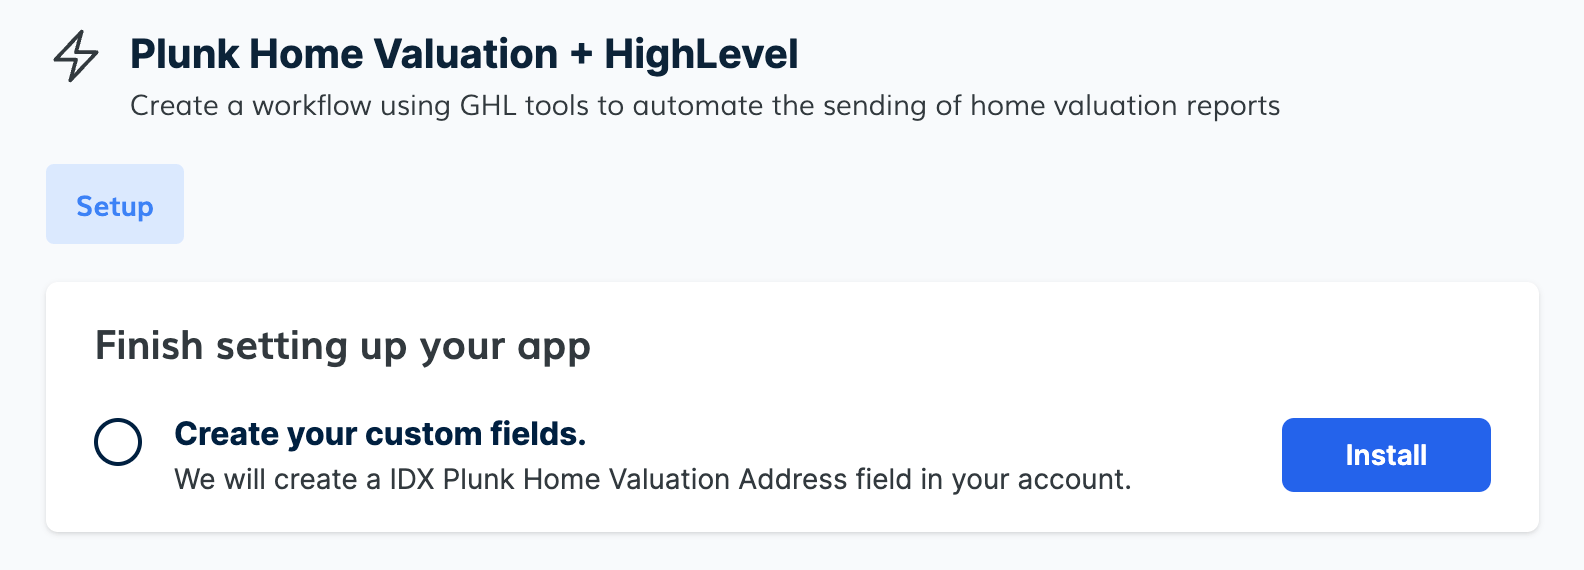
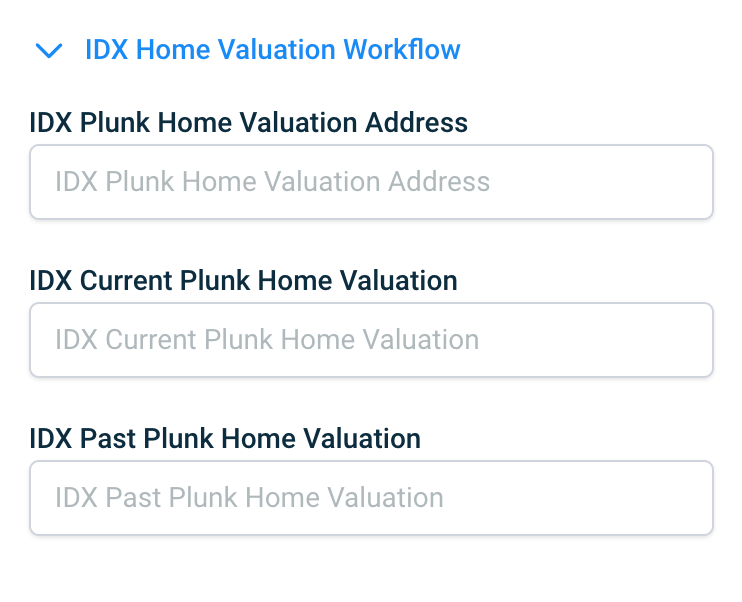
This will create the following custom fields in your HighLevel account.
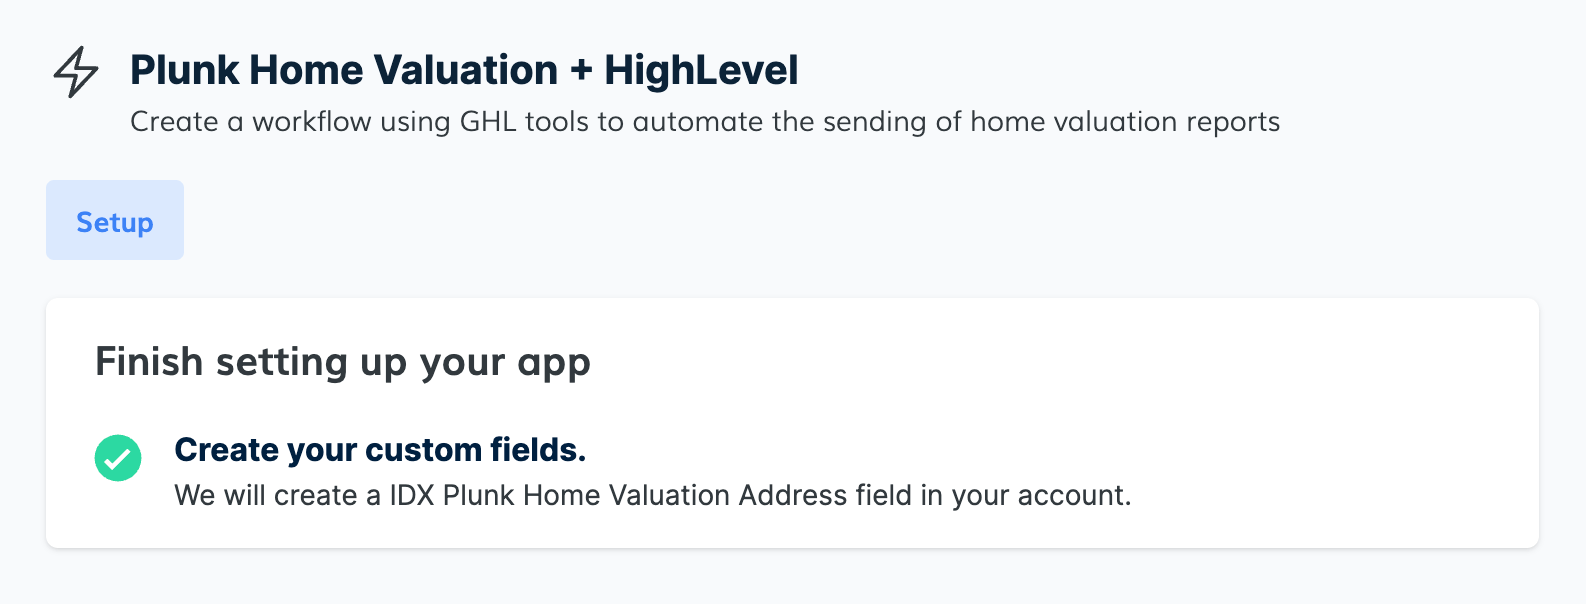
Once the app is installed, you will see a green checkmark.
-
Snapshot
In IDXAddons, go to LeadConnector Webhook & Workflows and copy the link to get the Snapshot that contains the workflows.
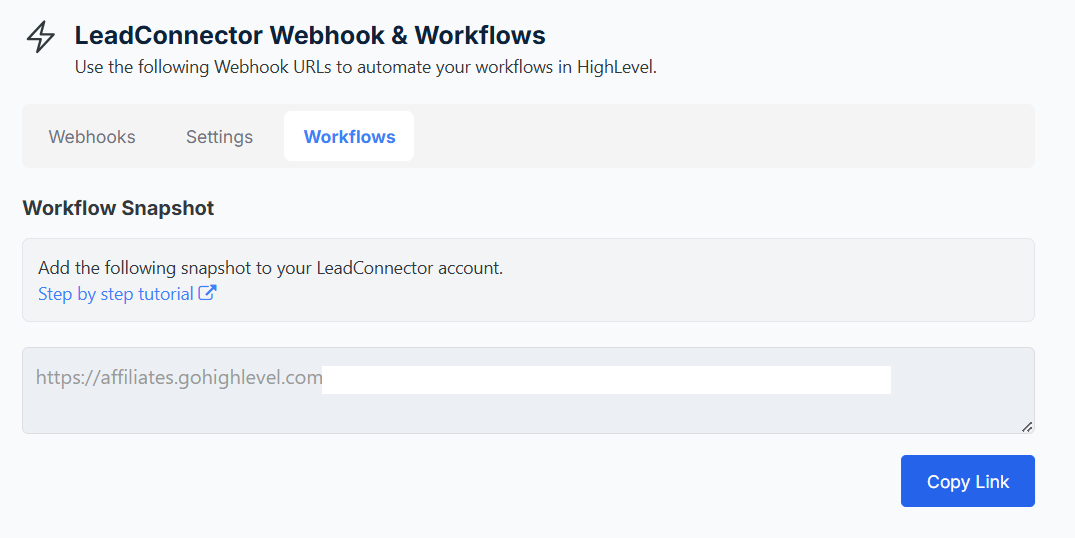
Open the link in a new tab and click on "Yes! Import now".

You will see the Imported Snapshot in your LeadConnector's Snapshot page.

Now go to your sub-accounts in HighLevel.
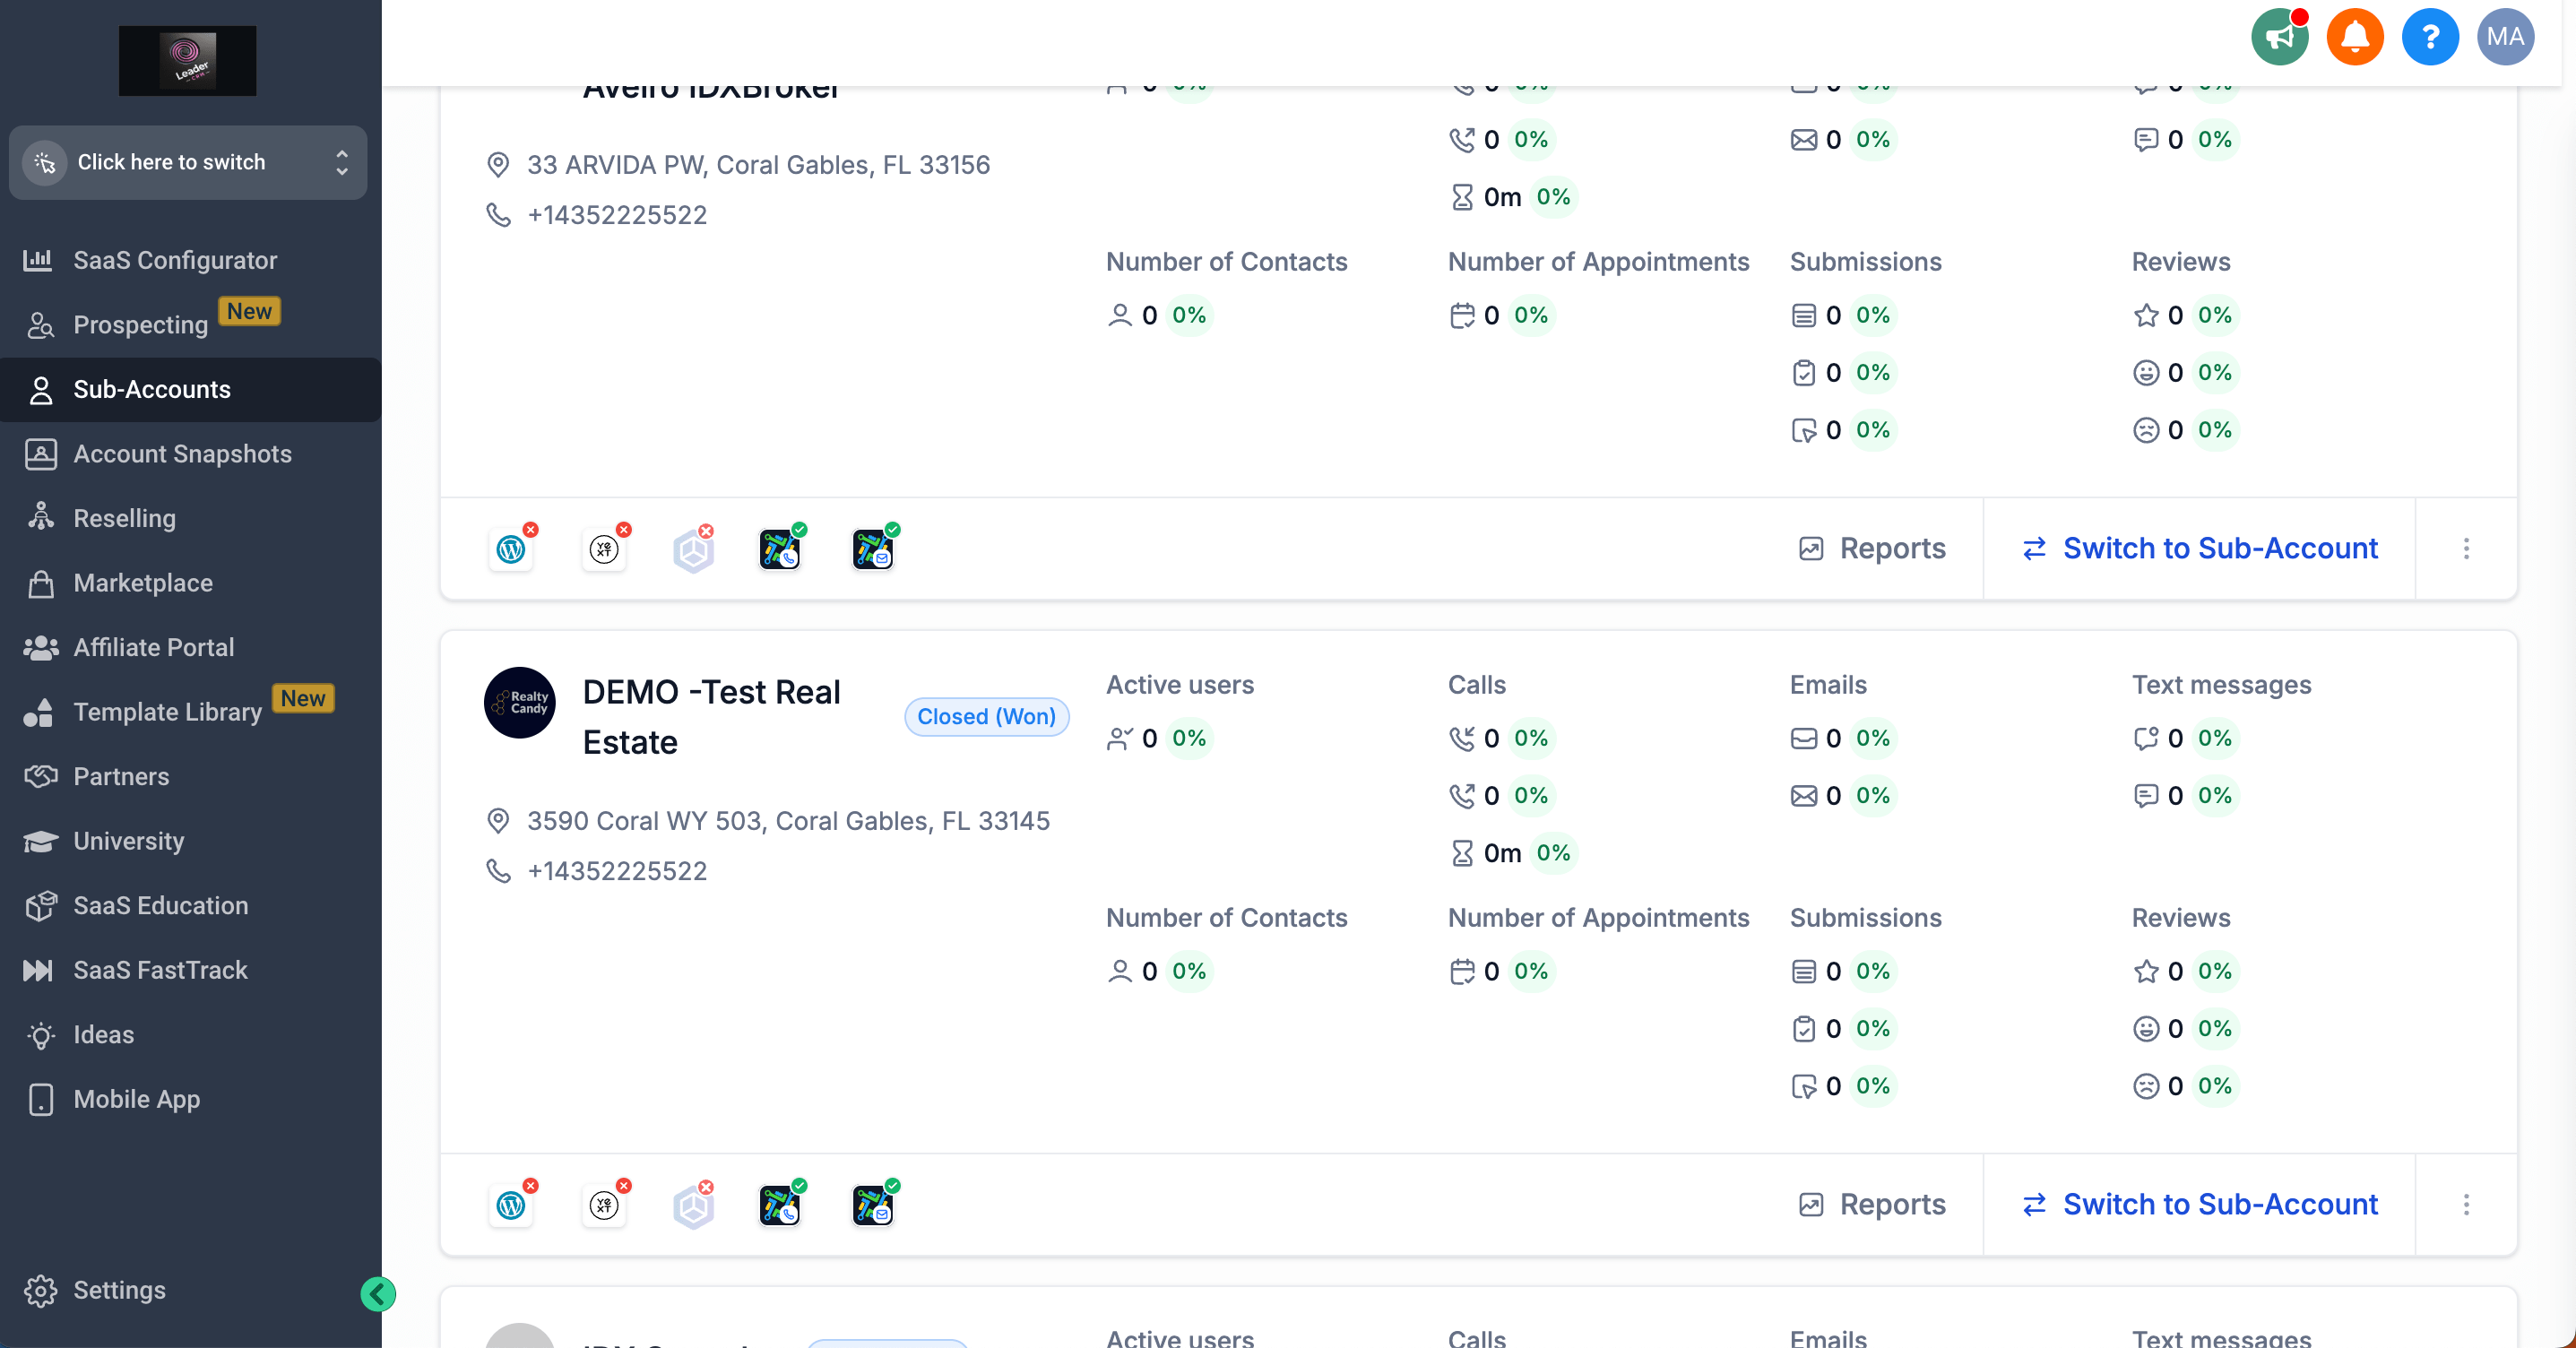
Select the one where you want to import the workflows and click on "Manage Client".

On the top right corner, click on Actions > Load Snapshot.
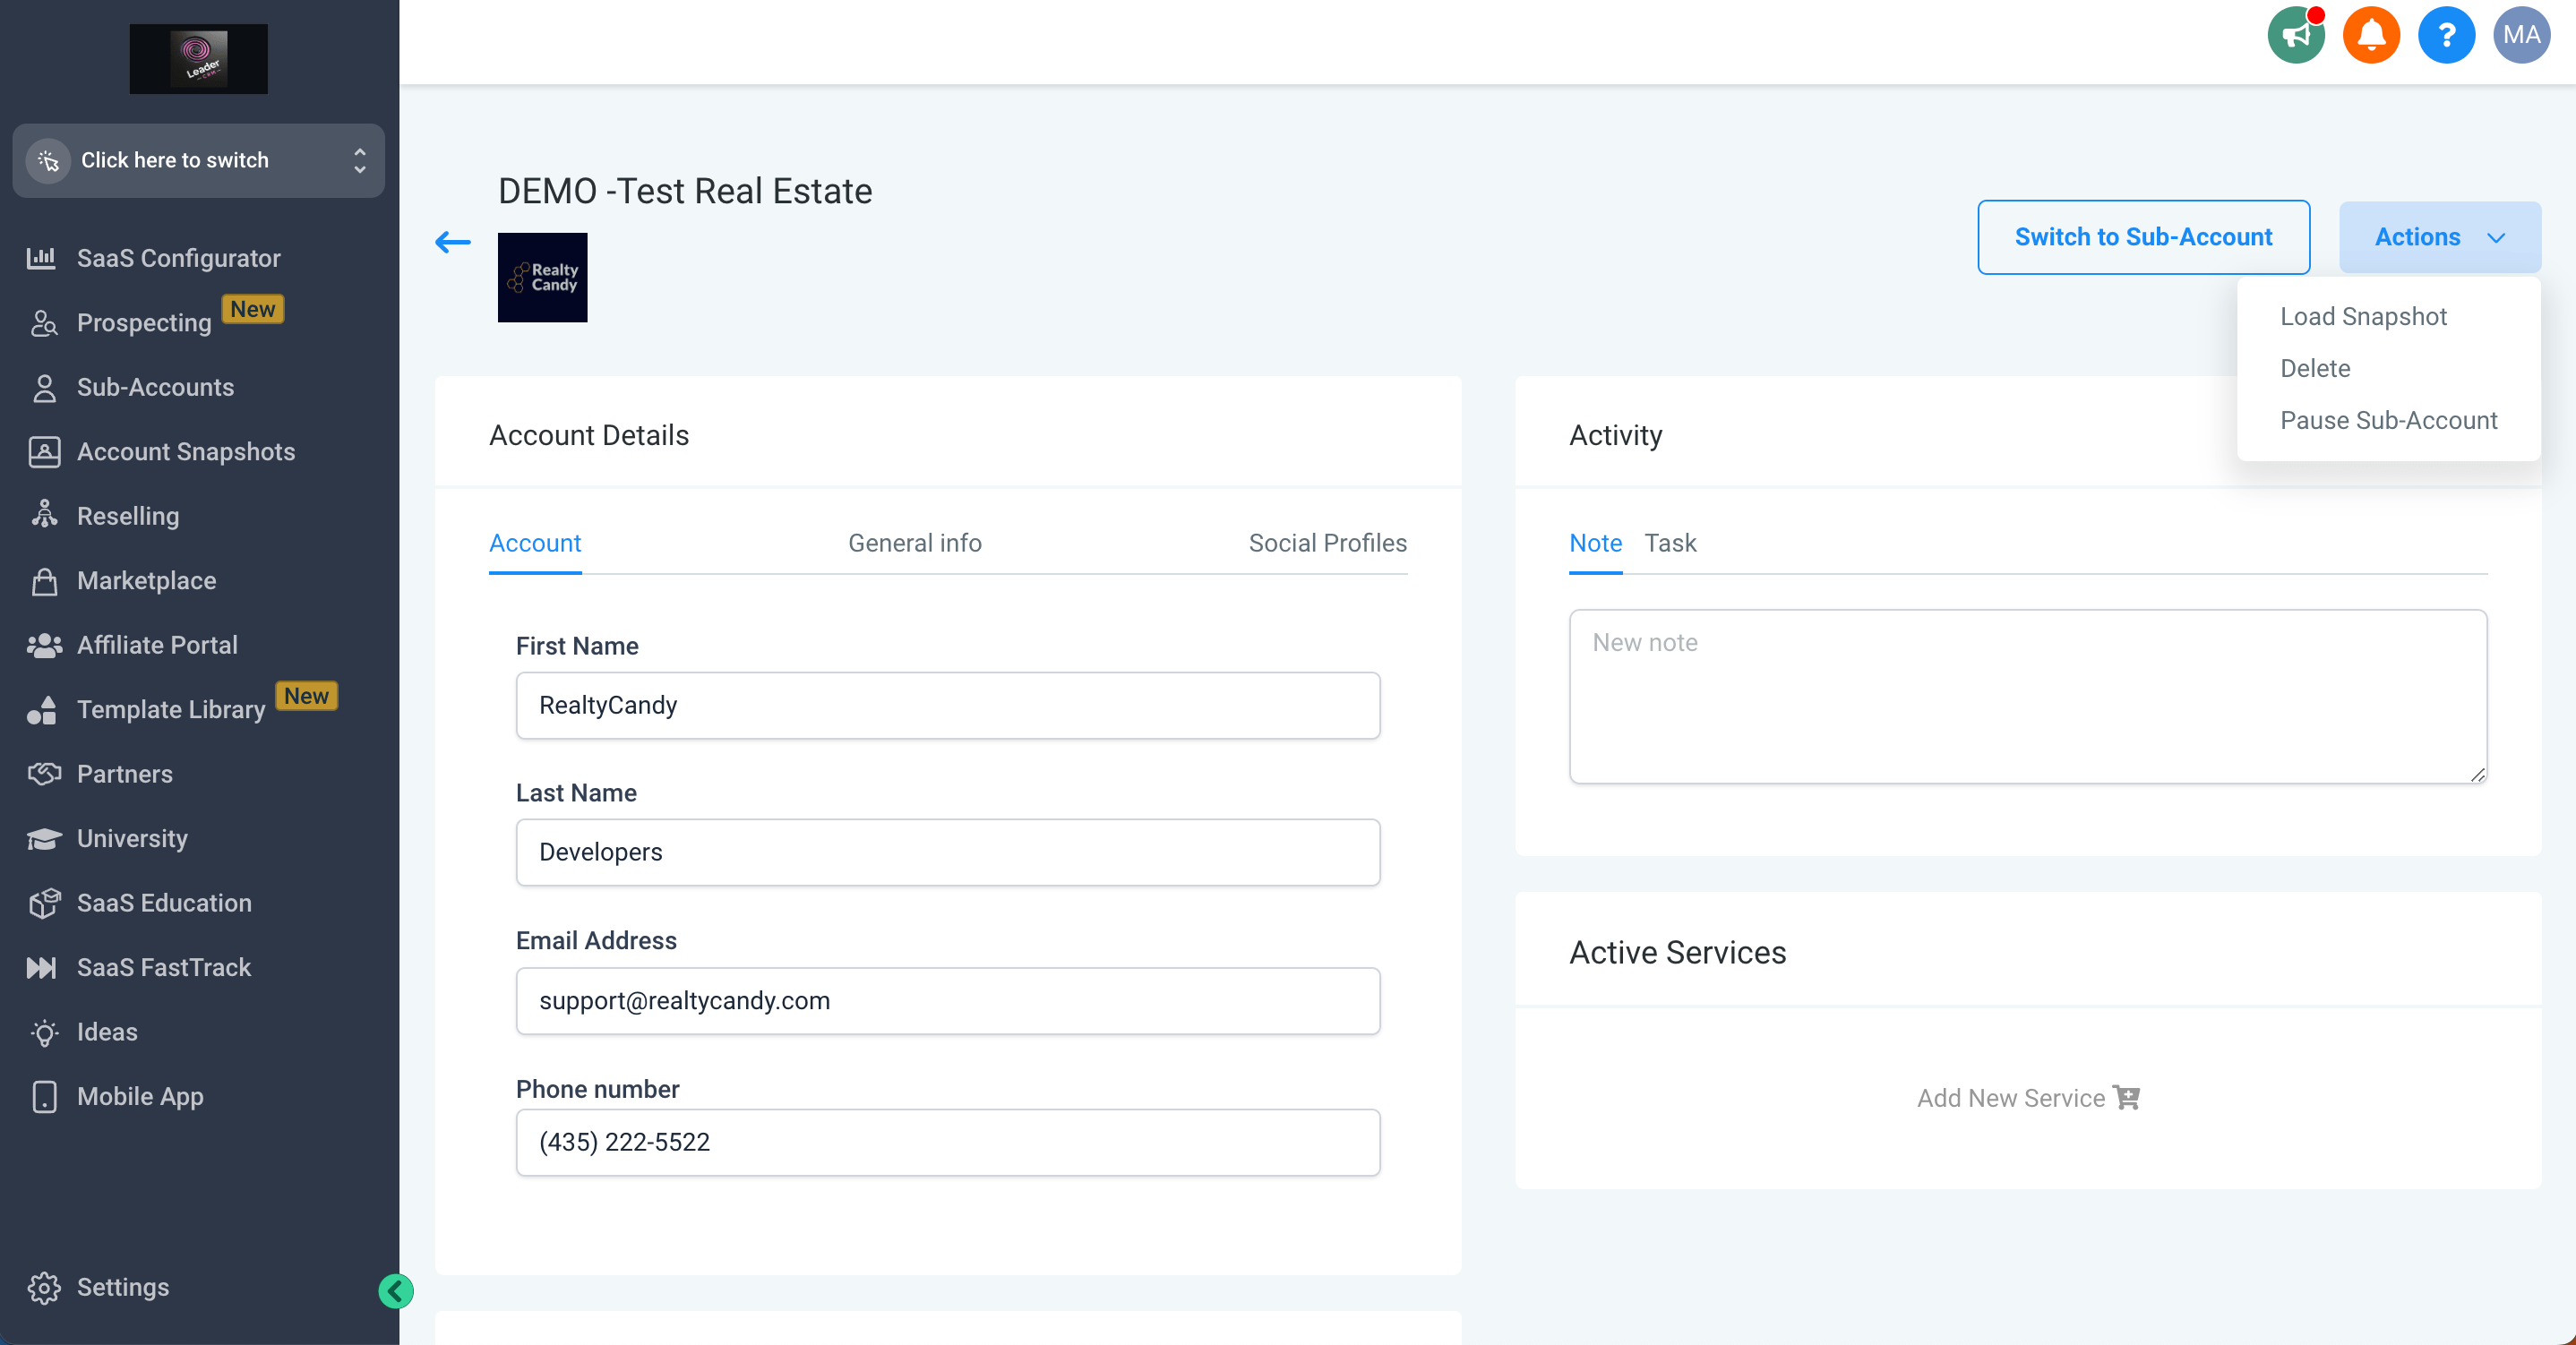
A wizard will appear.
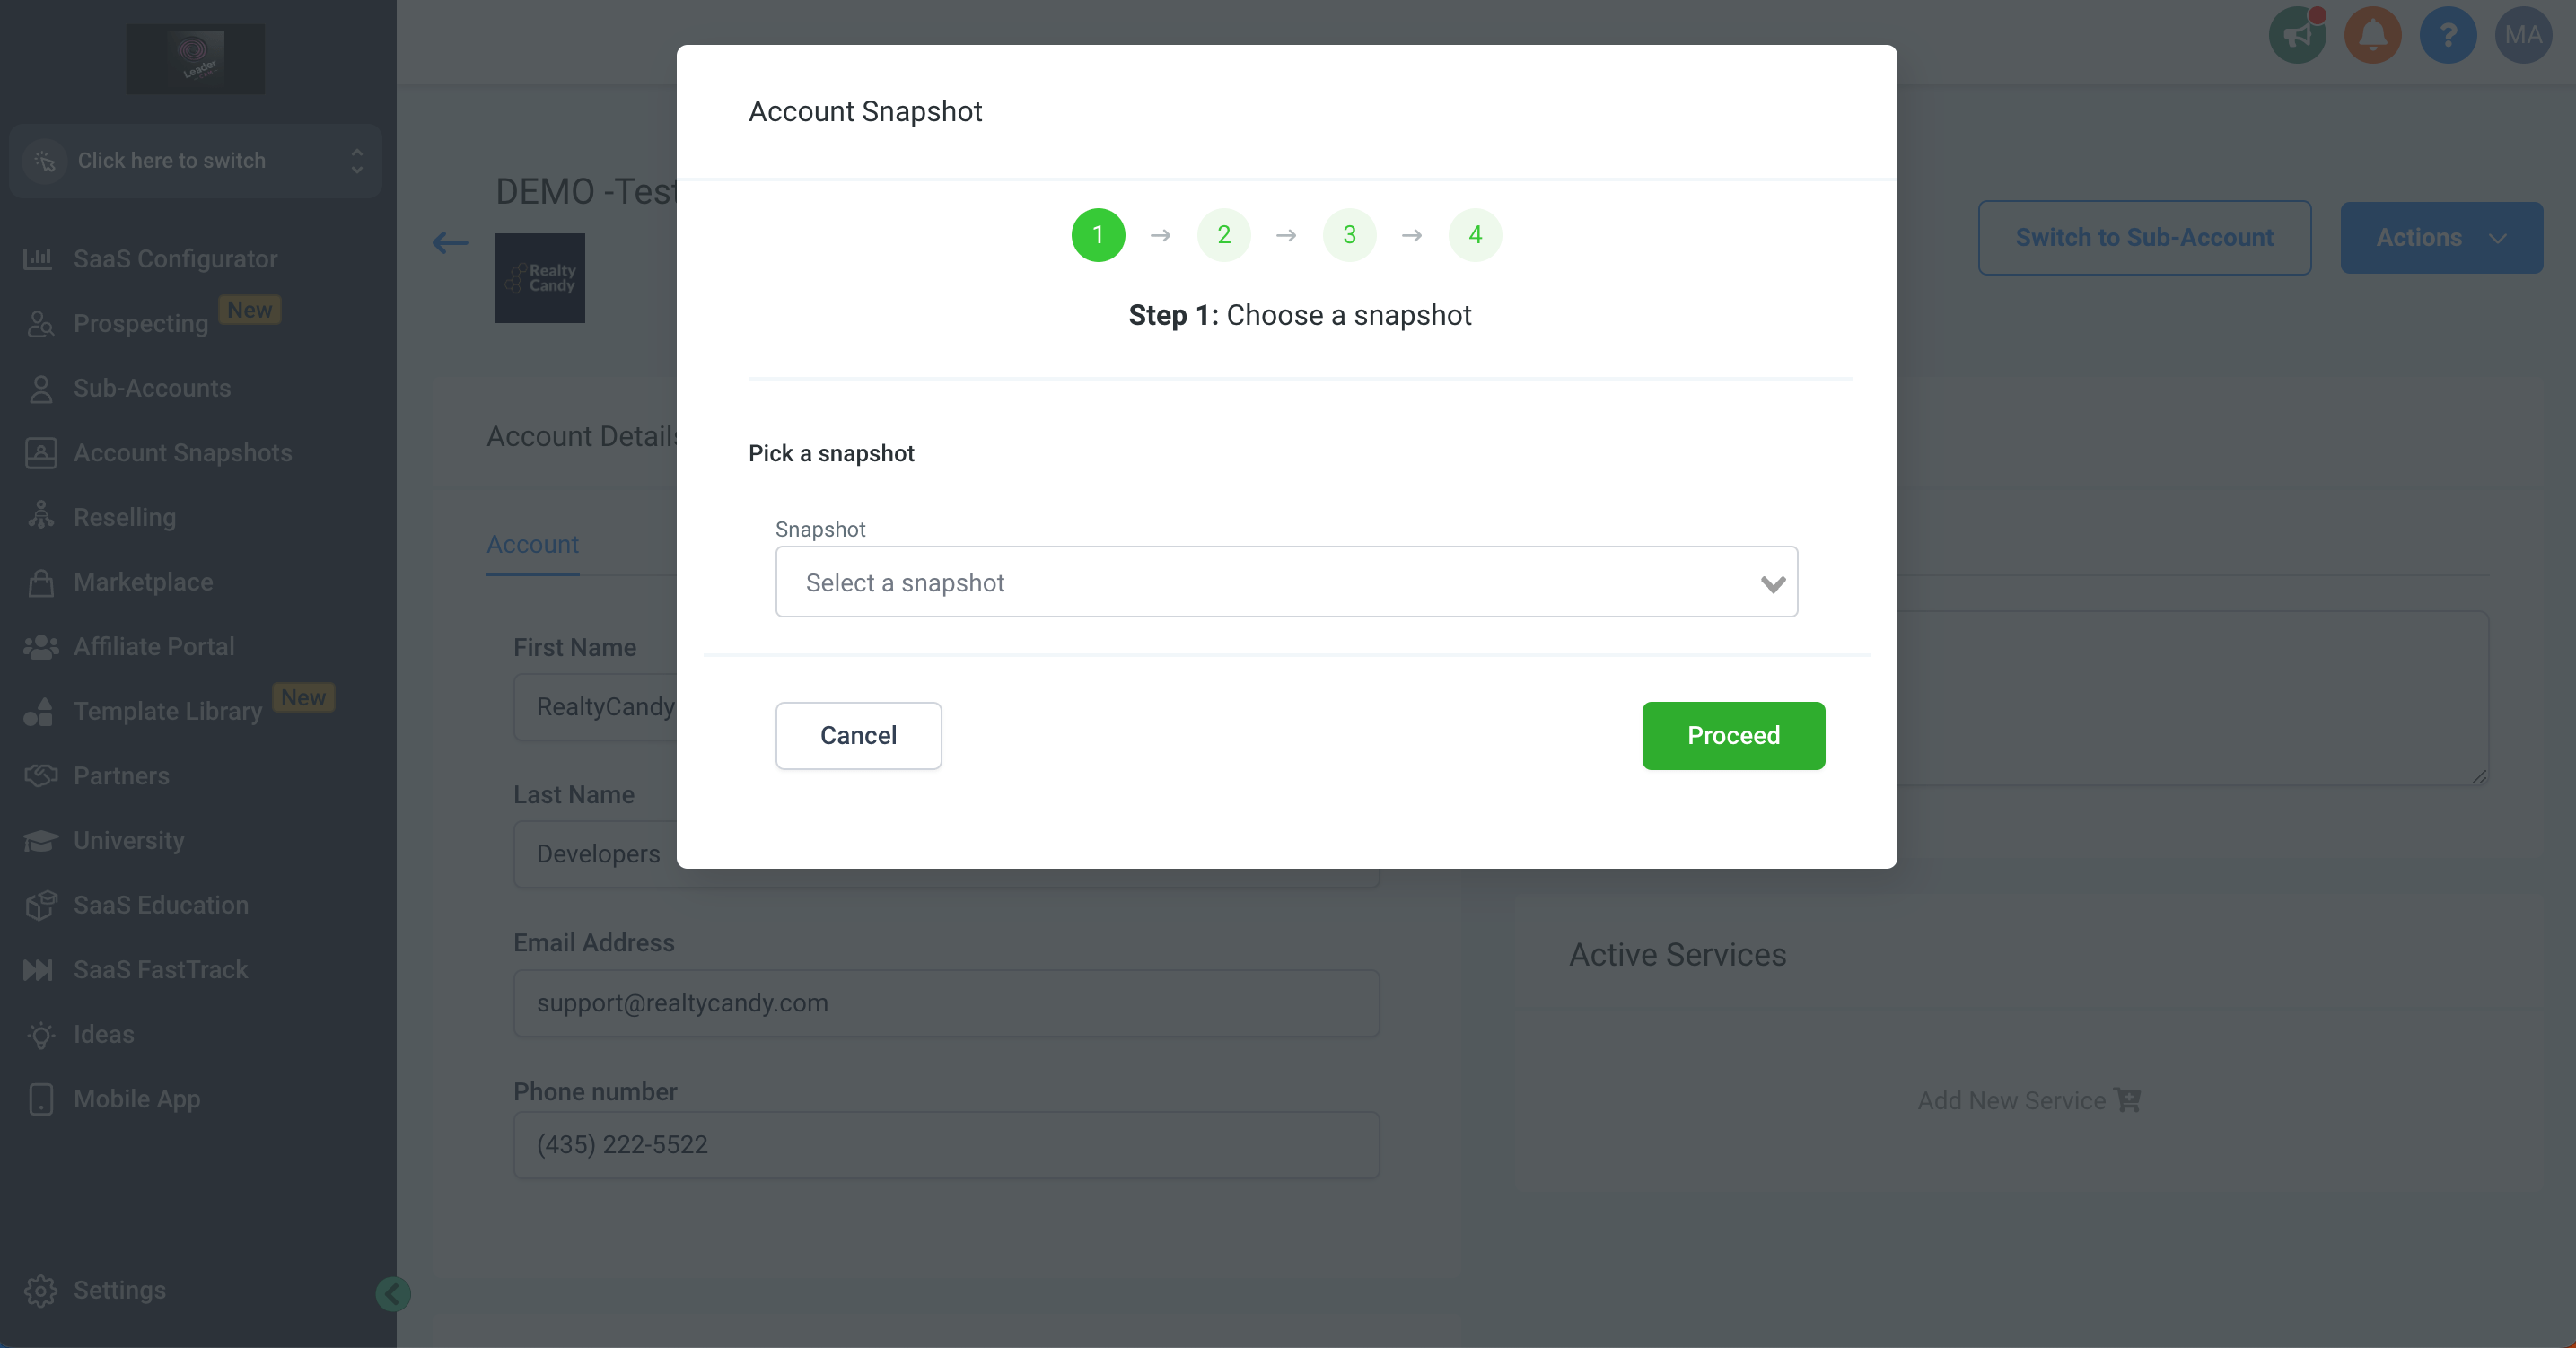
Select the Snapshot you want to import and click on "Proceed".
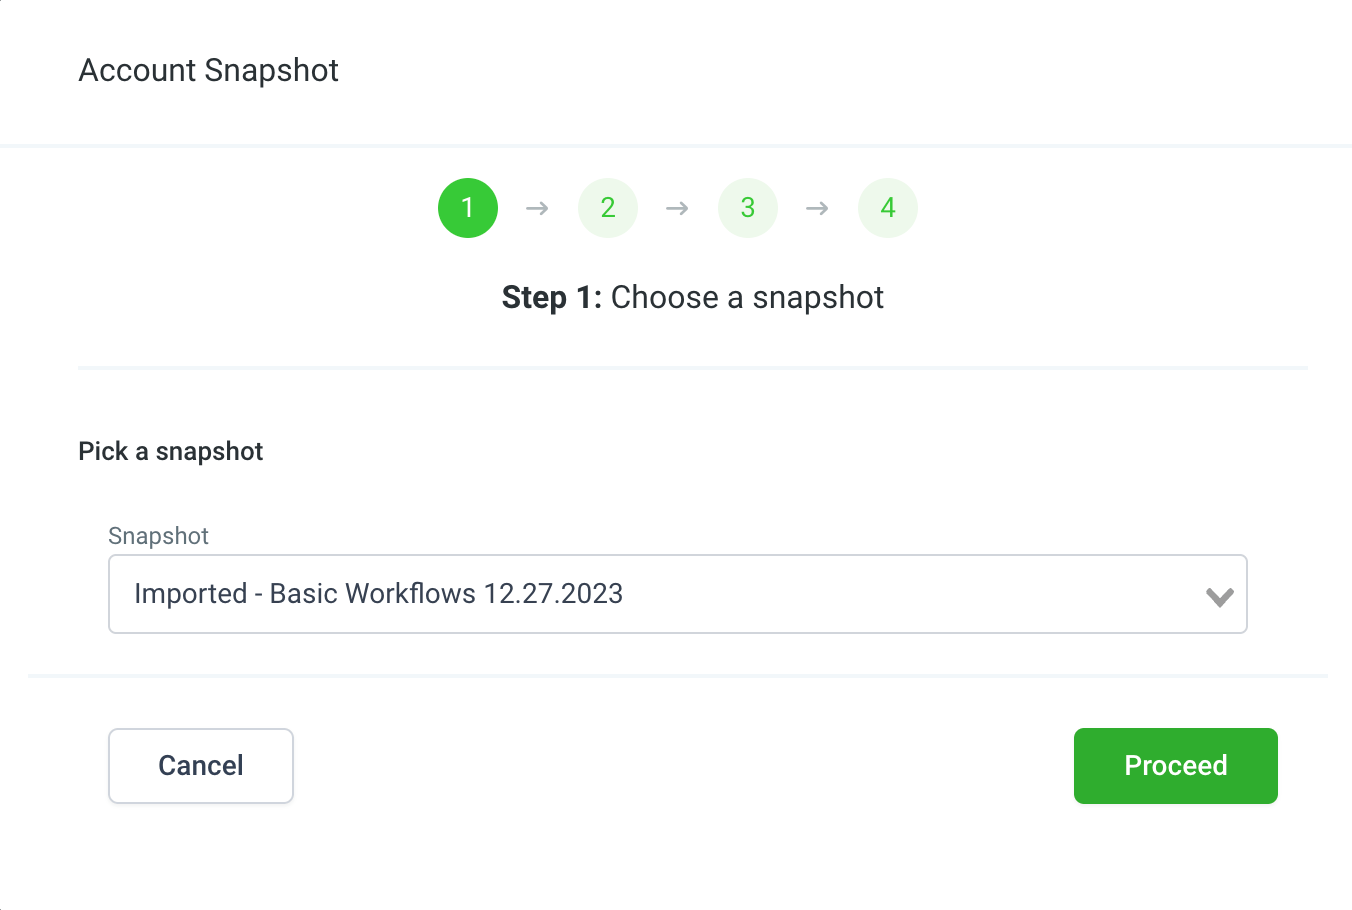
All assets found in the Snapshot will be listed. Click on "Proceed" to import all of them or select the ones you want to import and click on "Proceed".
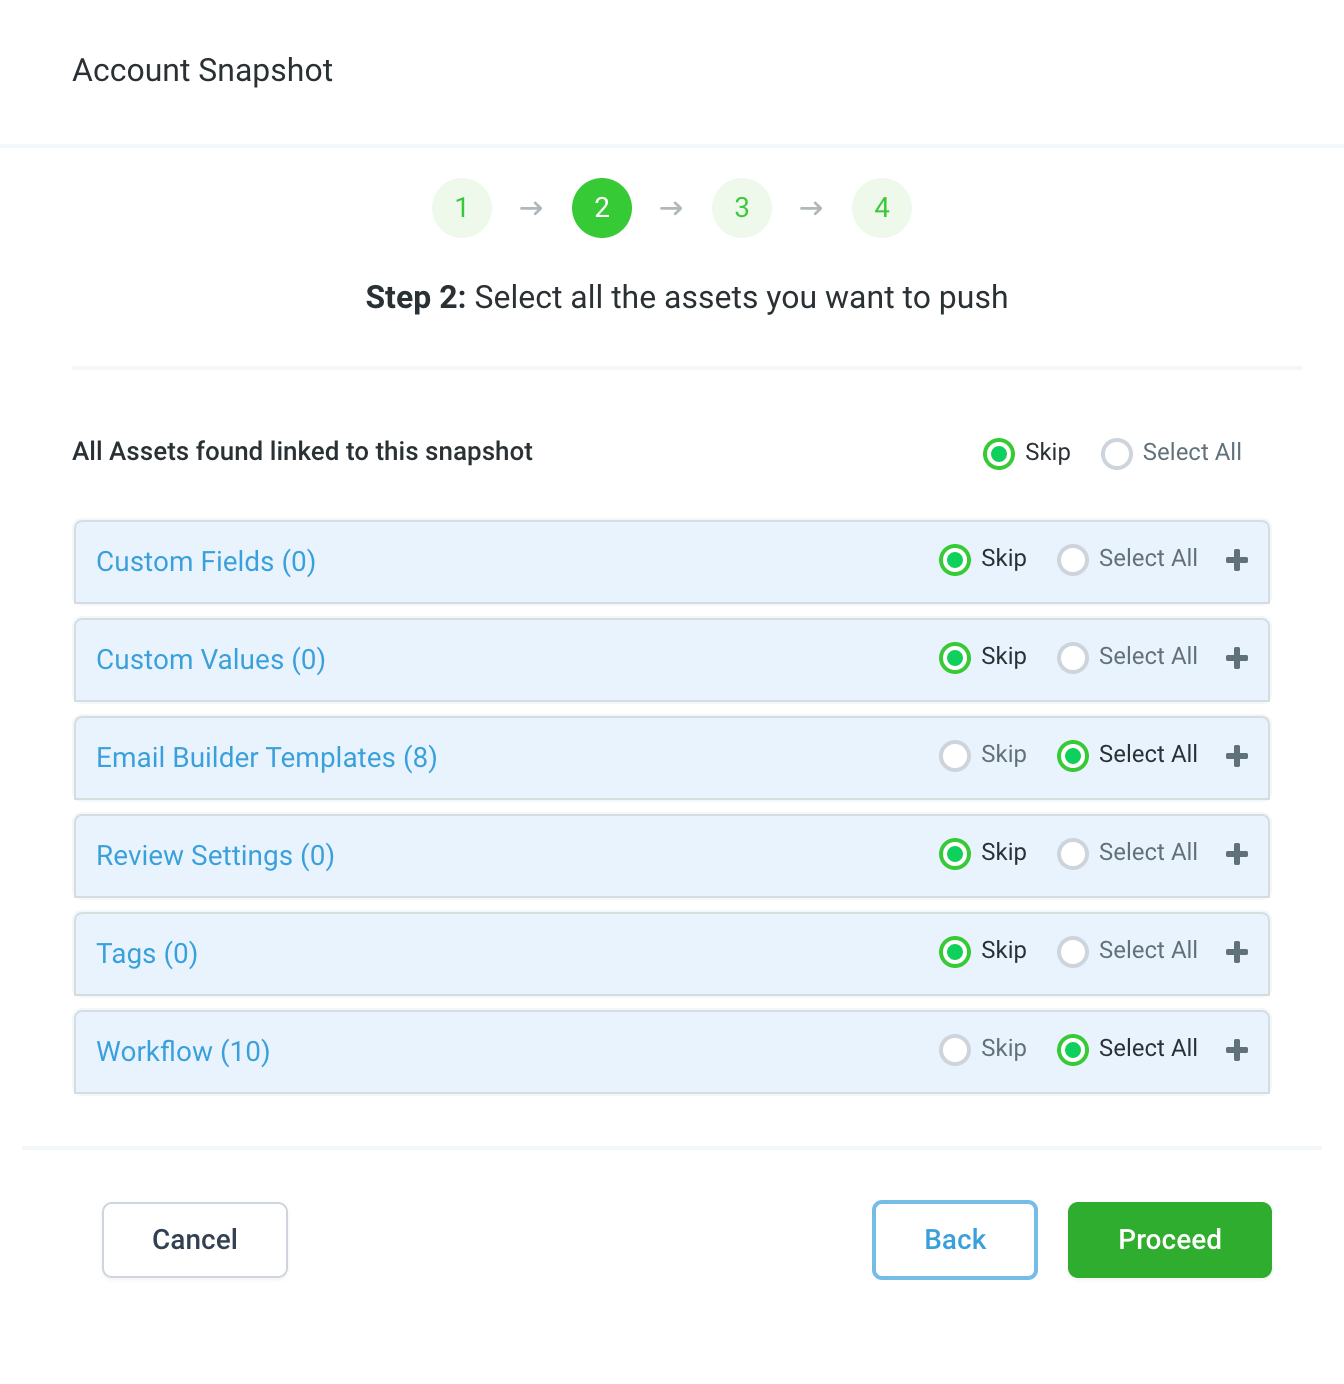
For this app to work, you need to import the following assets:
- Workflow: IDX Home Valuation
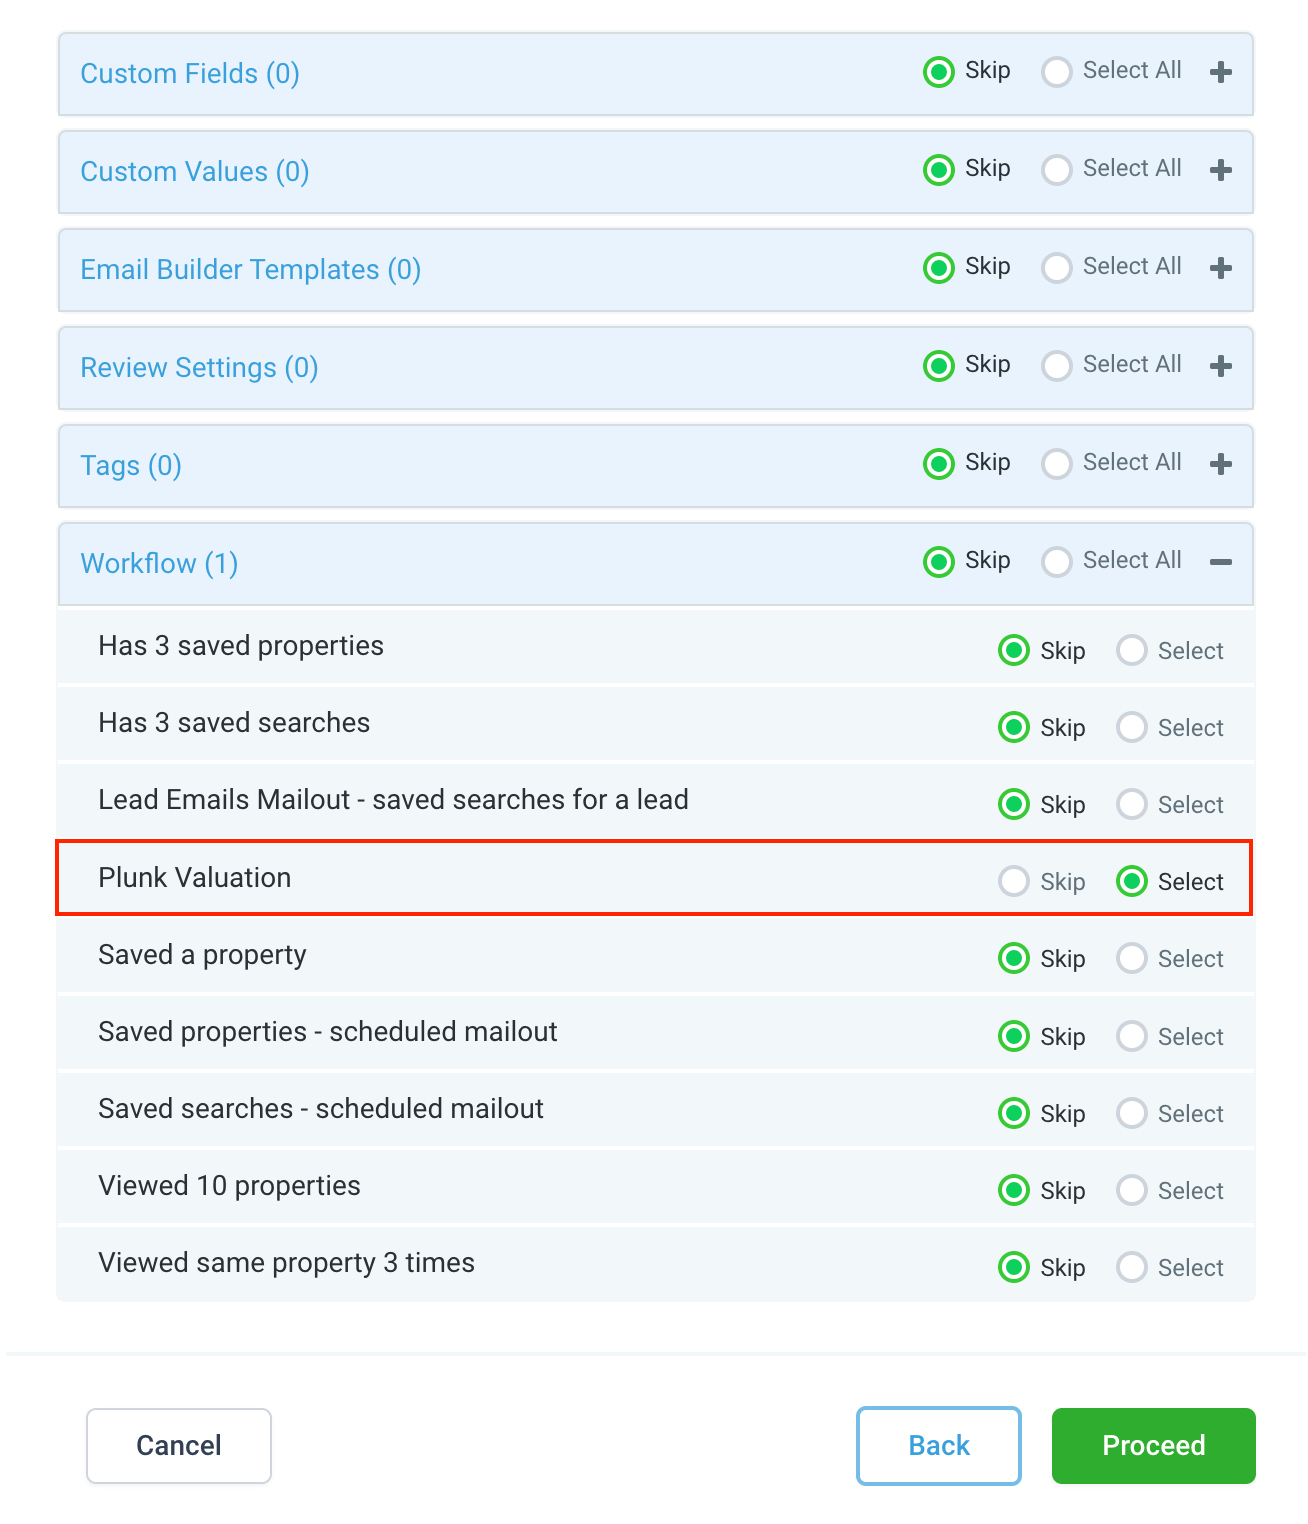
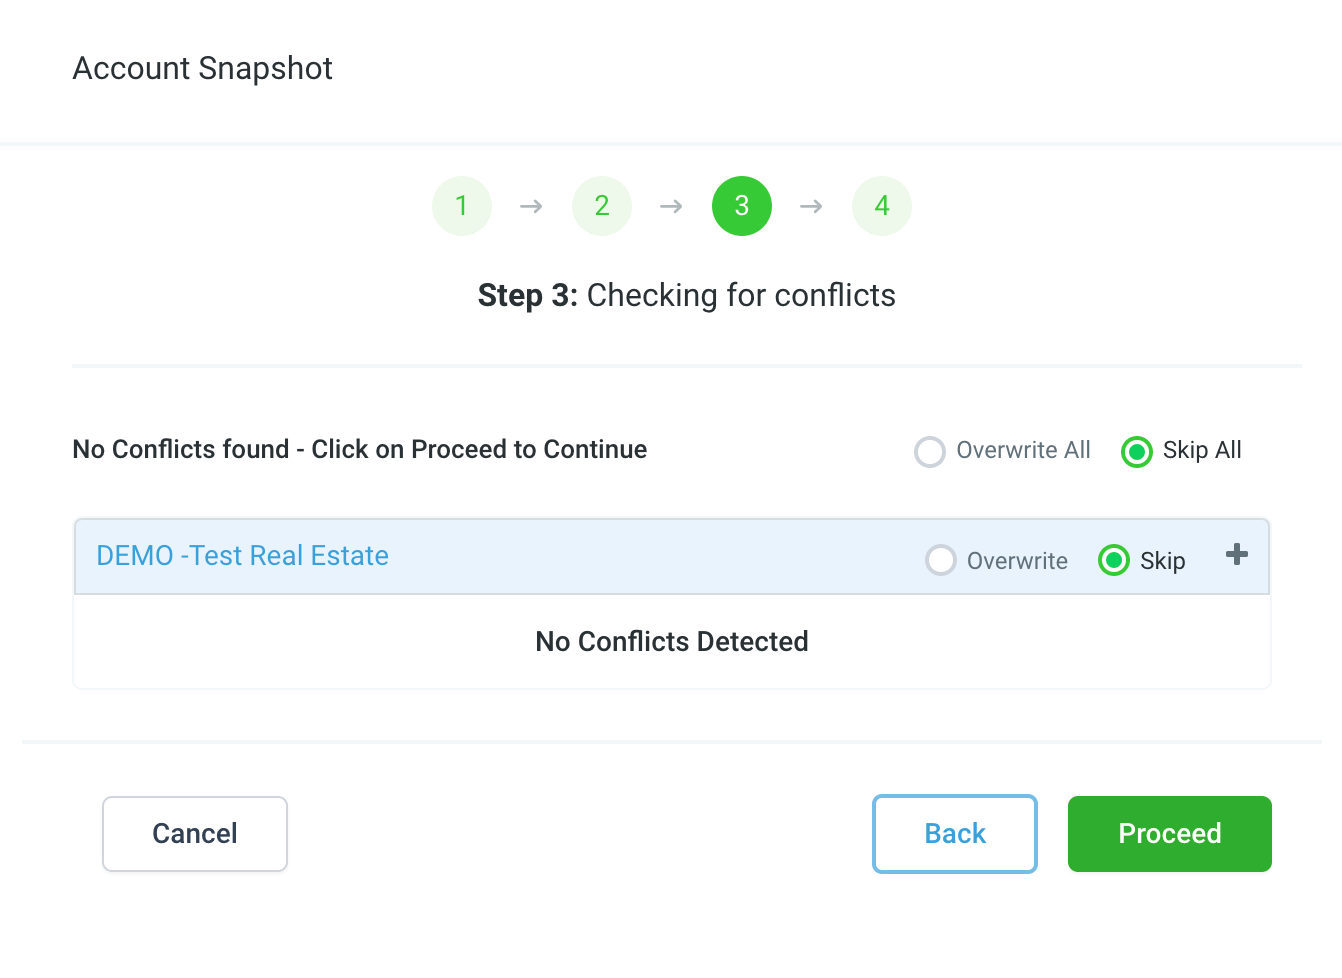
If no conflicts are found, you will see "No Conflicts Detected". Click on "Proceed" to import the assets.
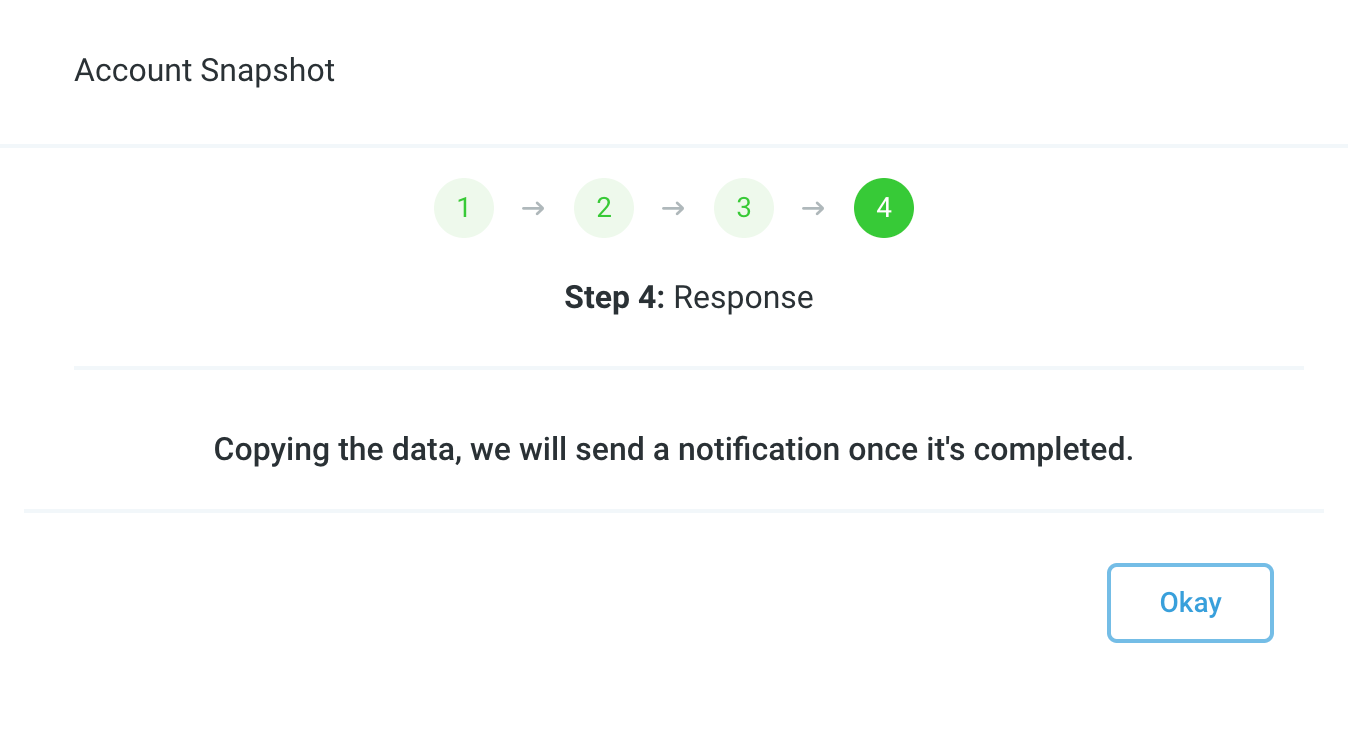
GHL will start importing the assets. This may take a few minutes and you will be notified when it's done.
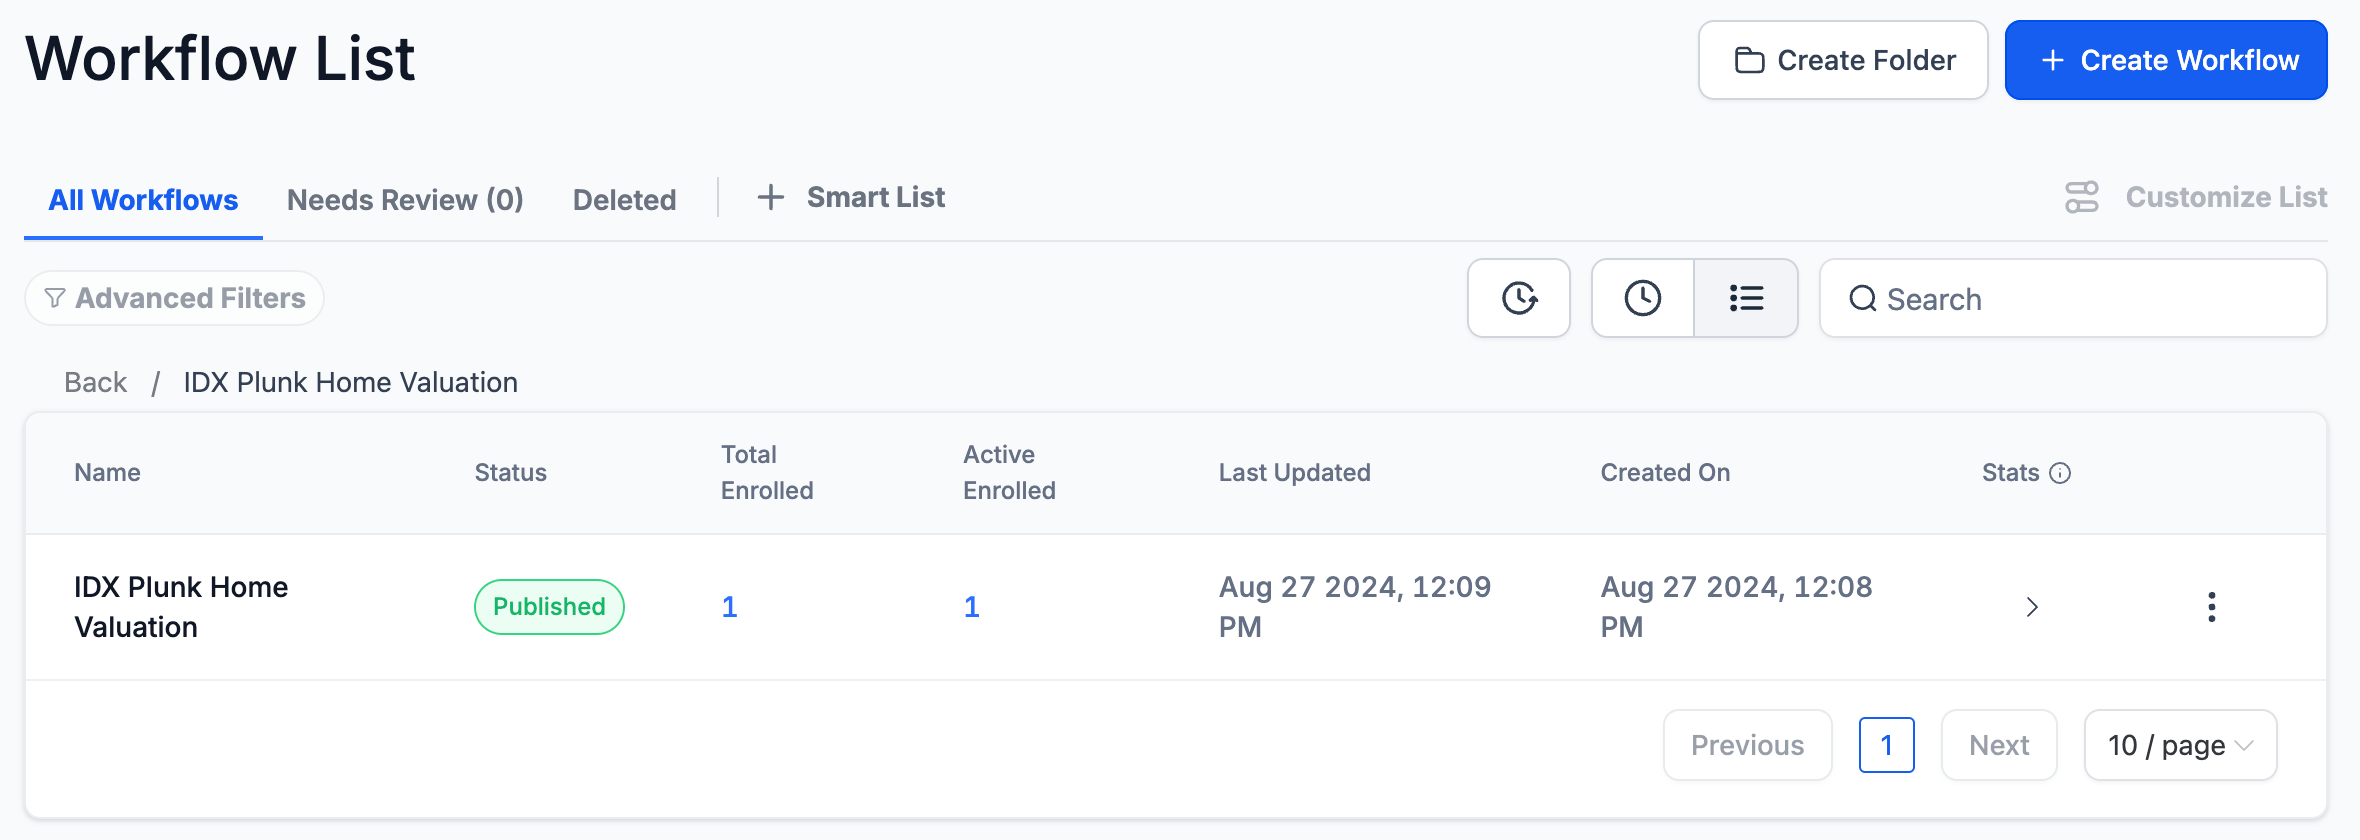
If you go to the sub-account's Automations > Workflows, you will see the imported workflow IDX Home Valuation
-
Publish workflow
Click on the workflow to see the details.

You can edit the workflow and change the settings if you want to. Don't forget to publish the workflow and save the settings.
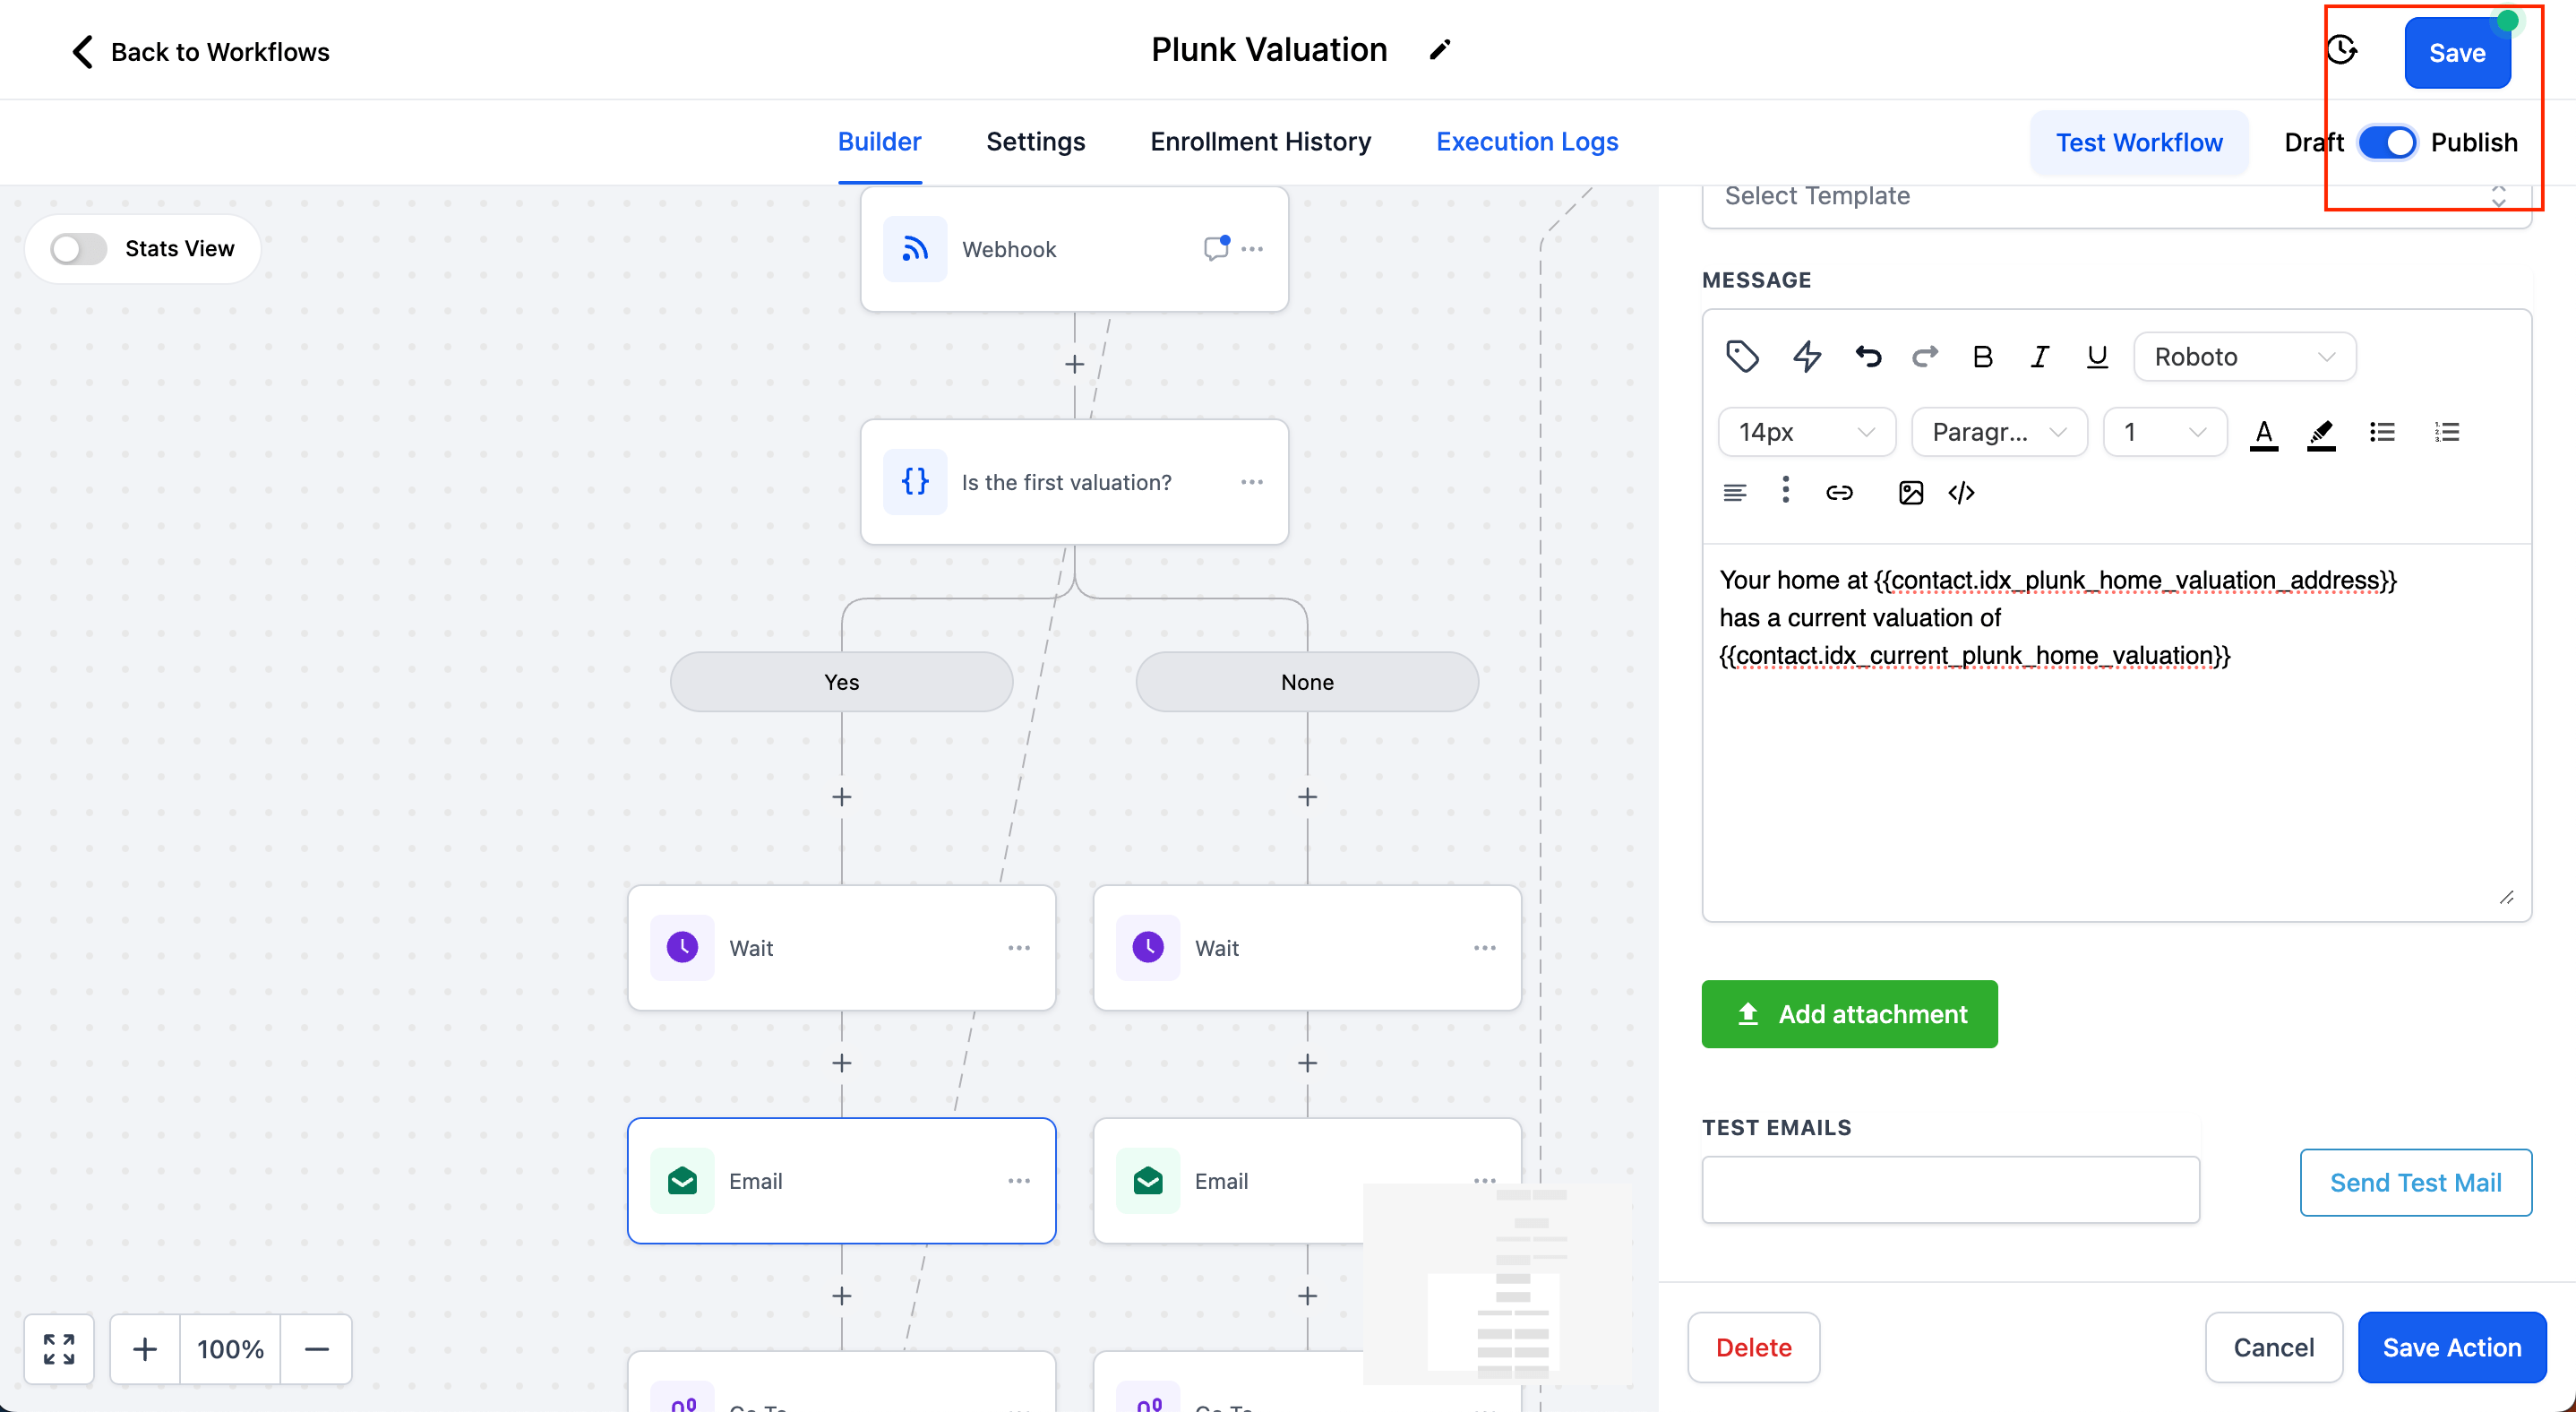
The published workflow will look like this:

-
Create Funnel
We provide a demo funnel that you can import to your HighLevel account. You can customize it as you want.
Copy the link to the funnel and open it in a new tab.

It will ask you to import the funnel. Click on "Add Funnel".

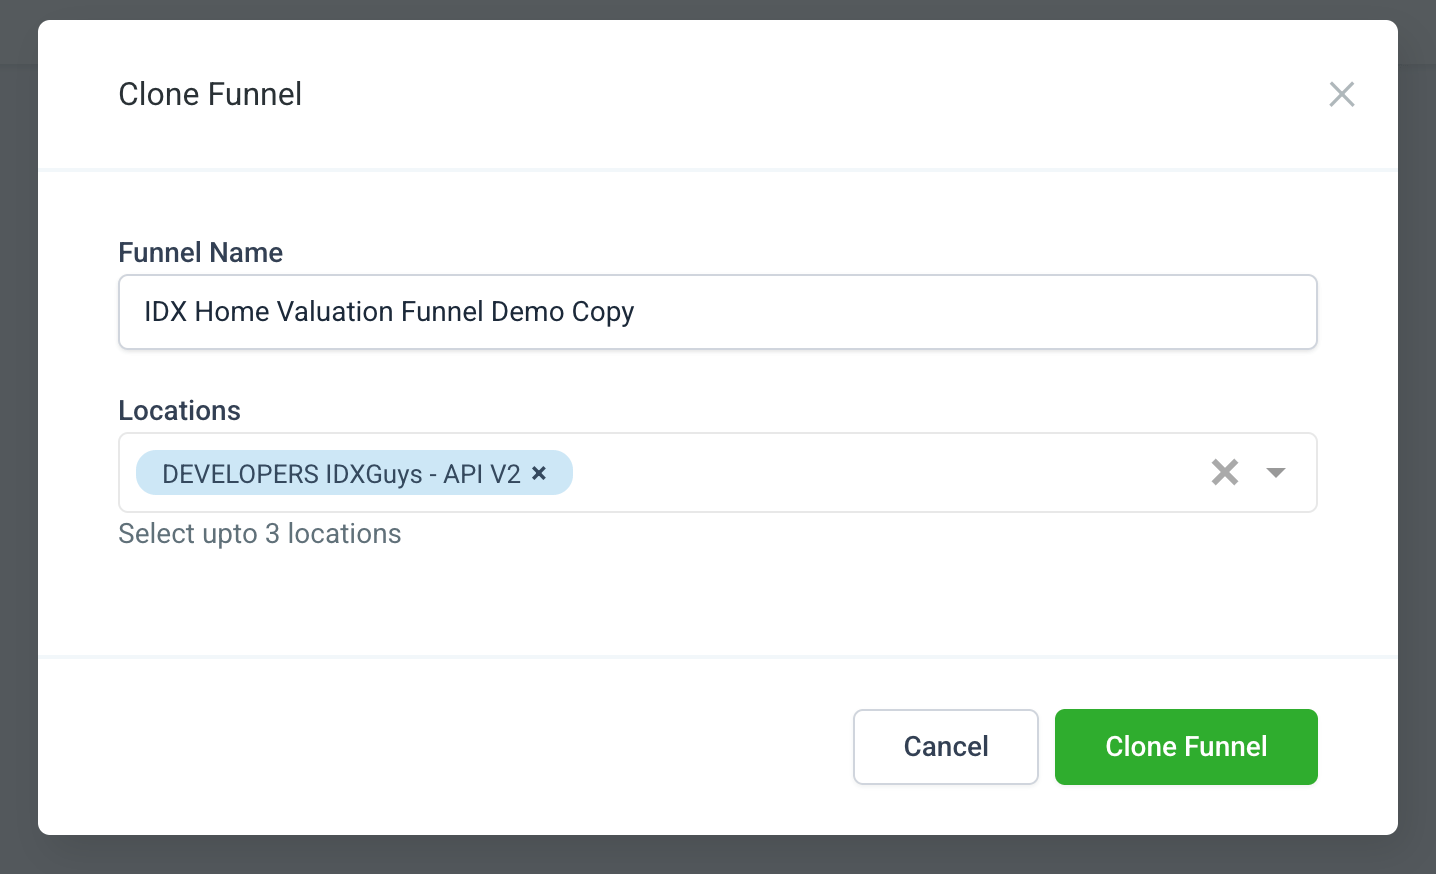
Select the sub-account where you want to import the funnel and click on "Clone Funnel".
Go to your sub-account in HighLevel and you will see the imported funnel.
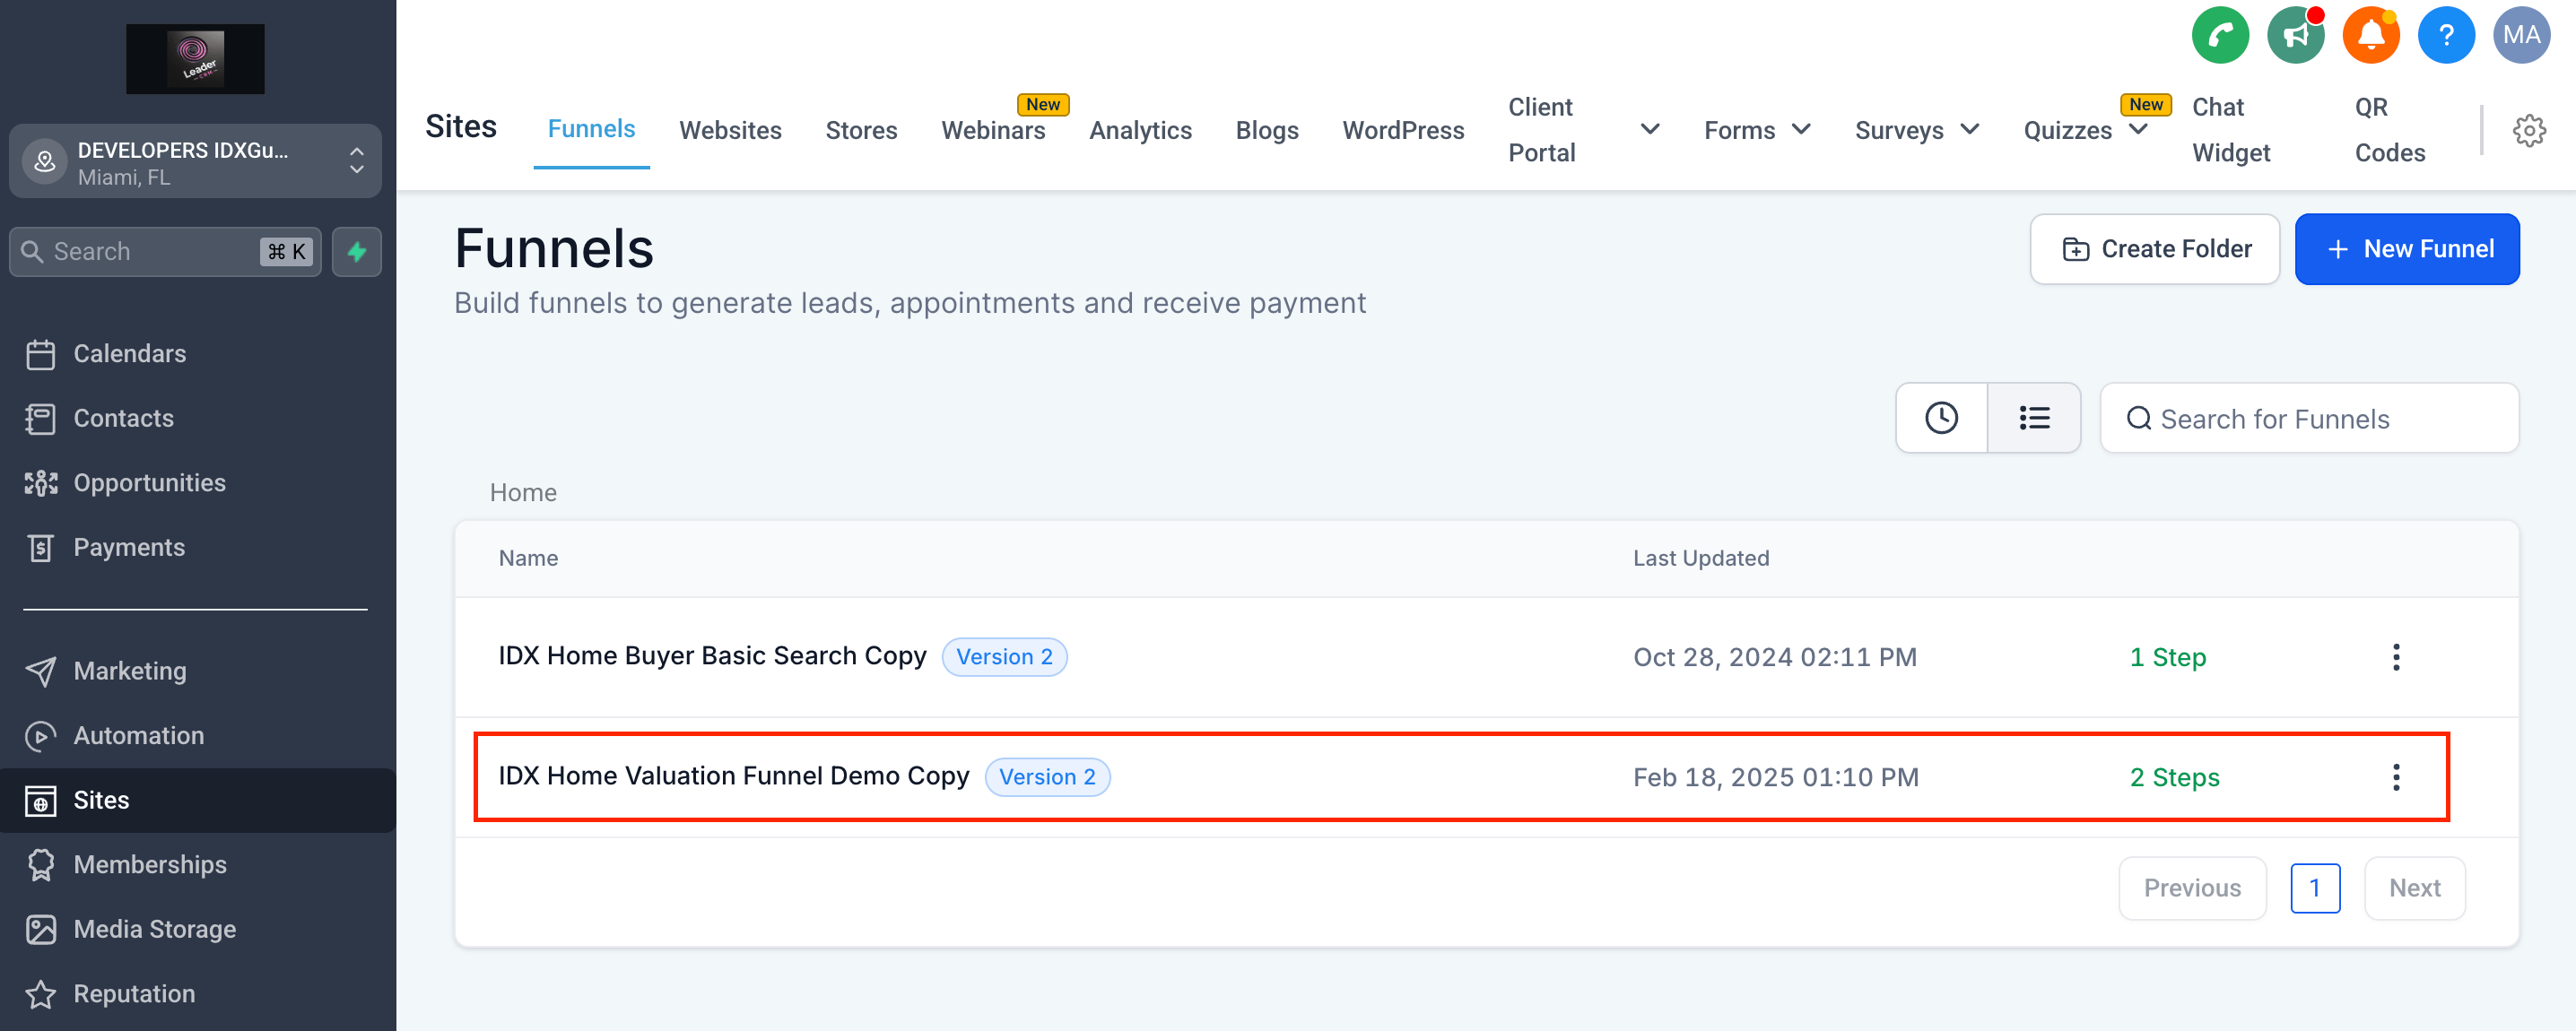
The funnel has 2 steps:
- Index - here you will insert a survey
- Success page - it will display the home valuation
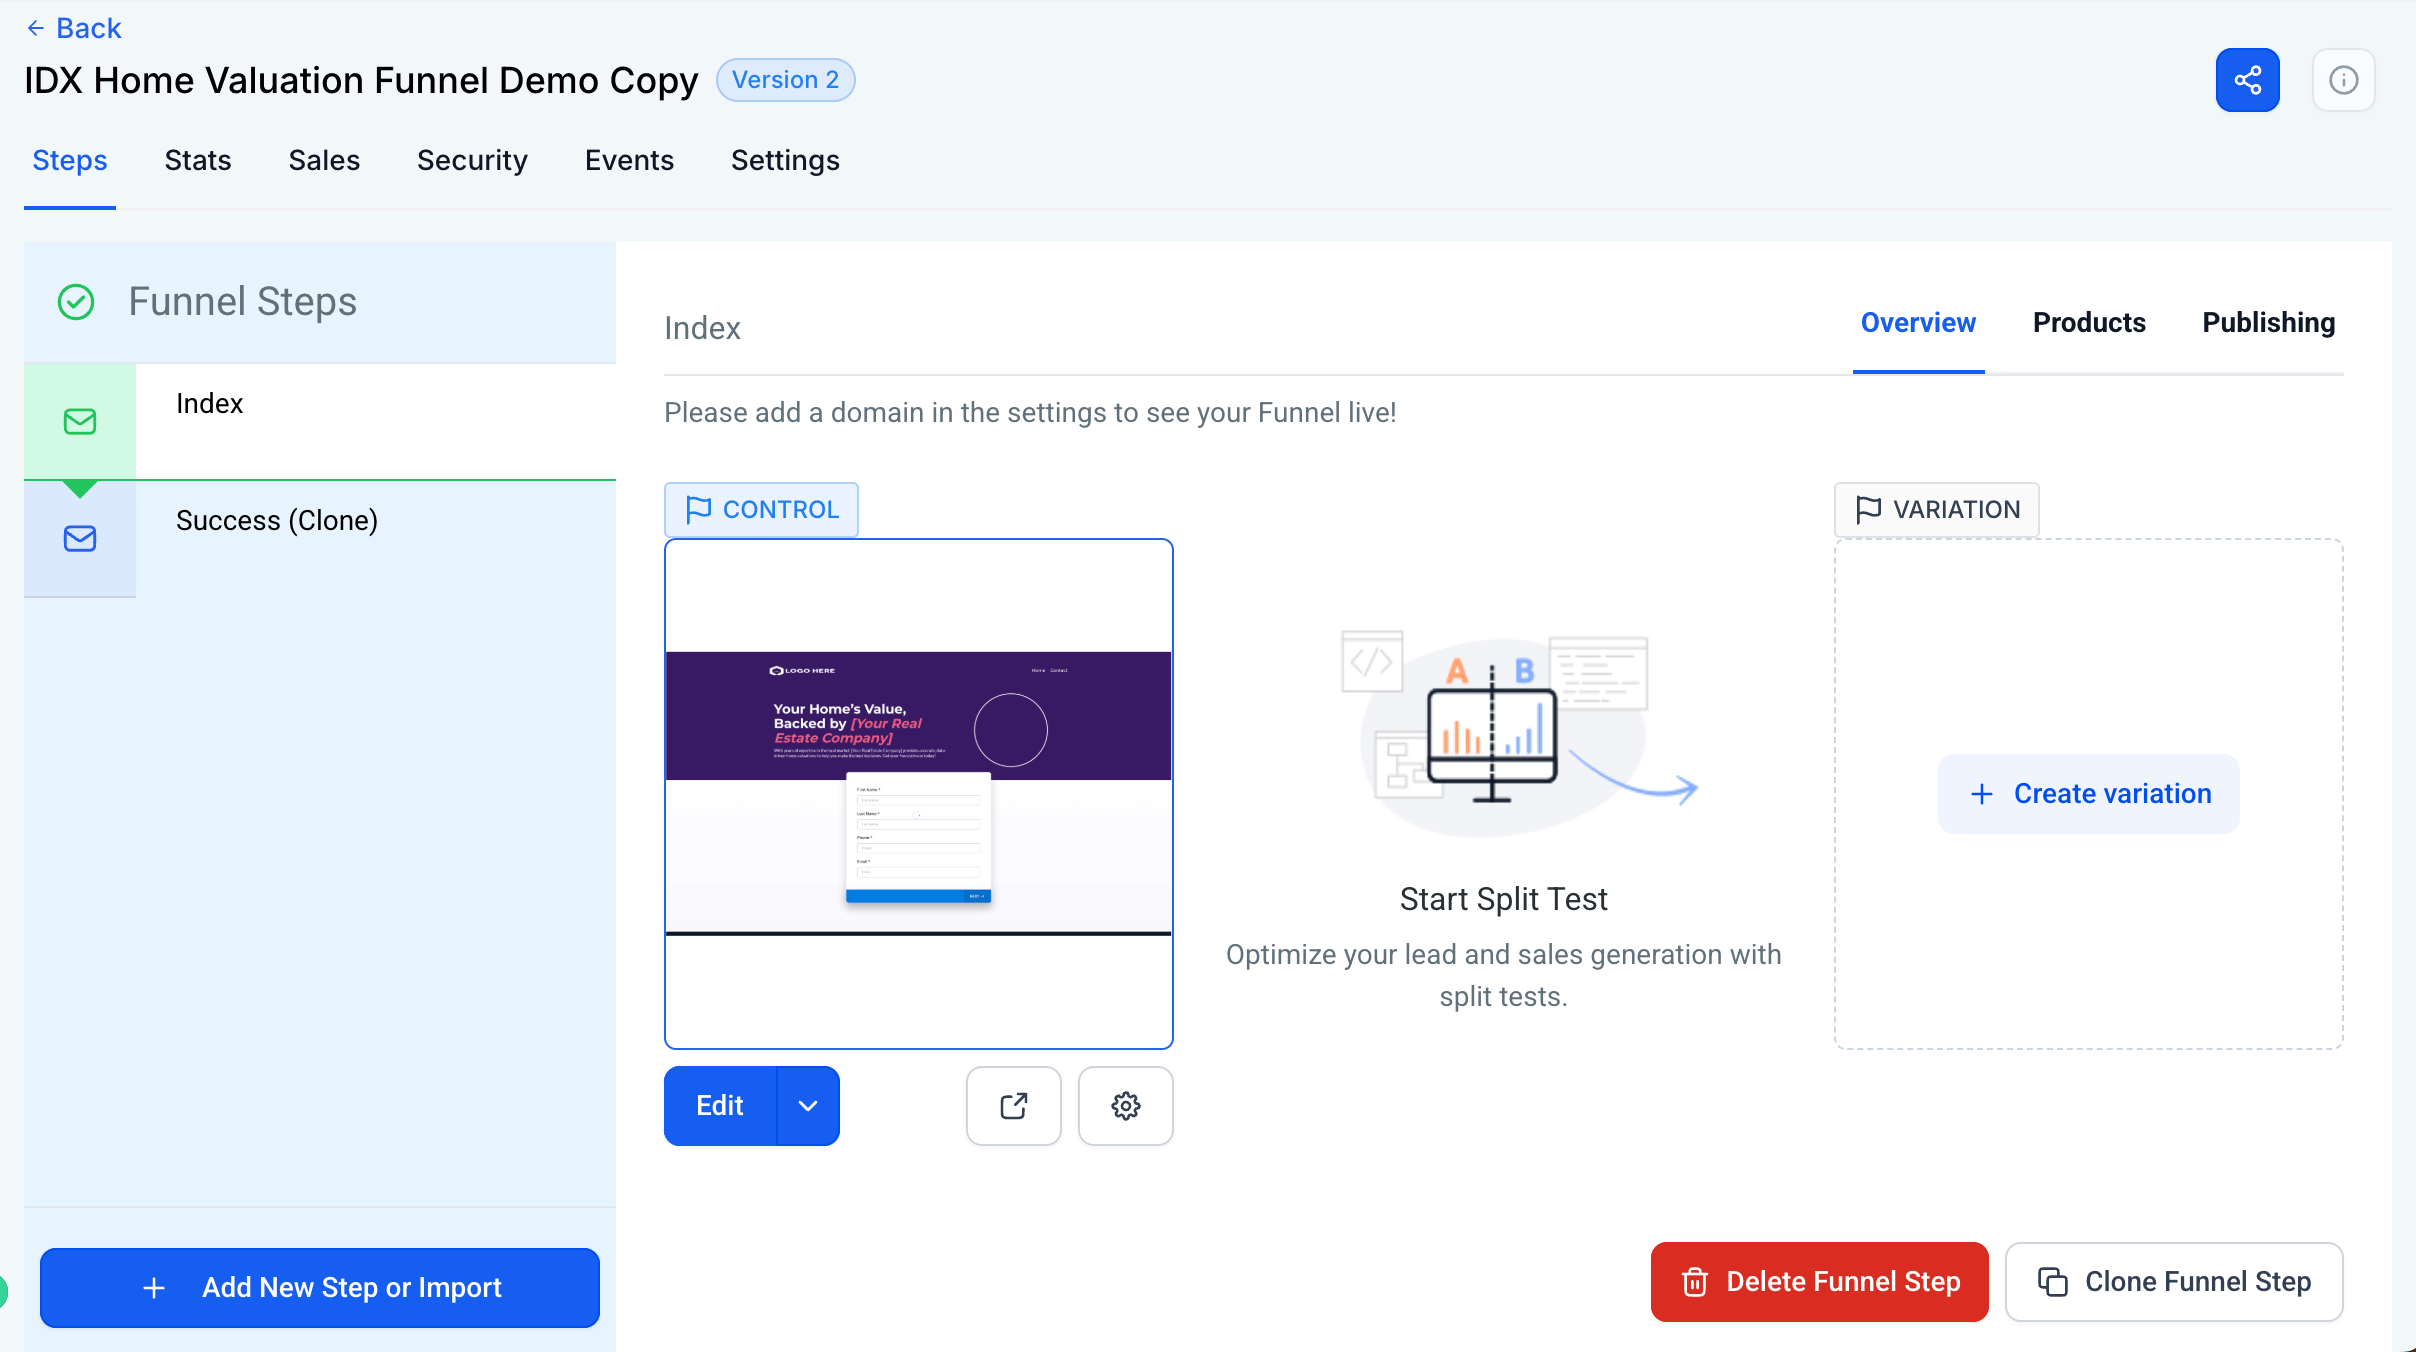
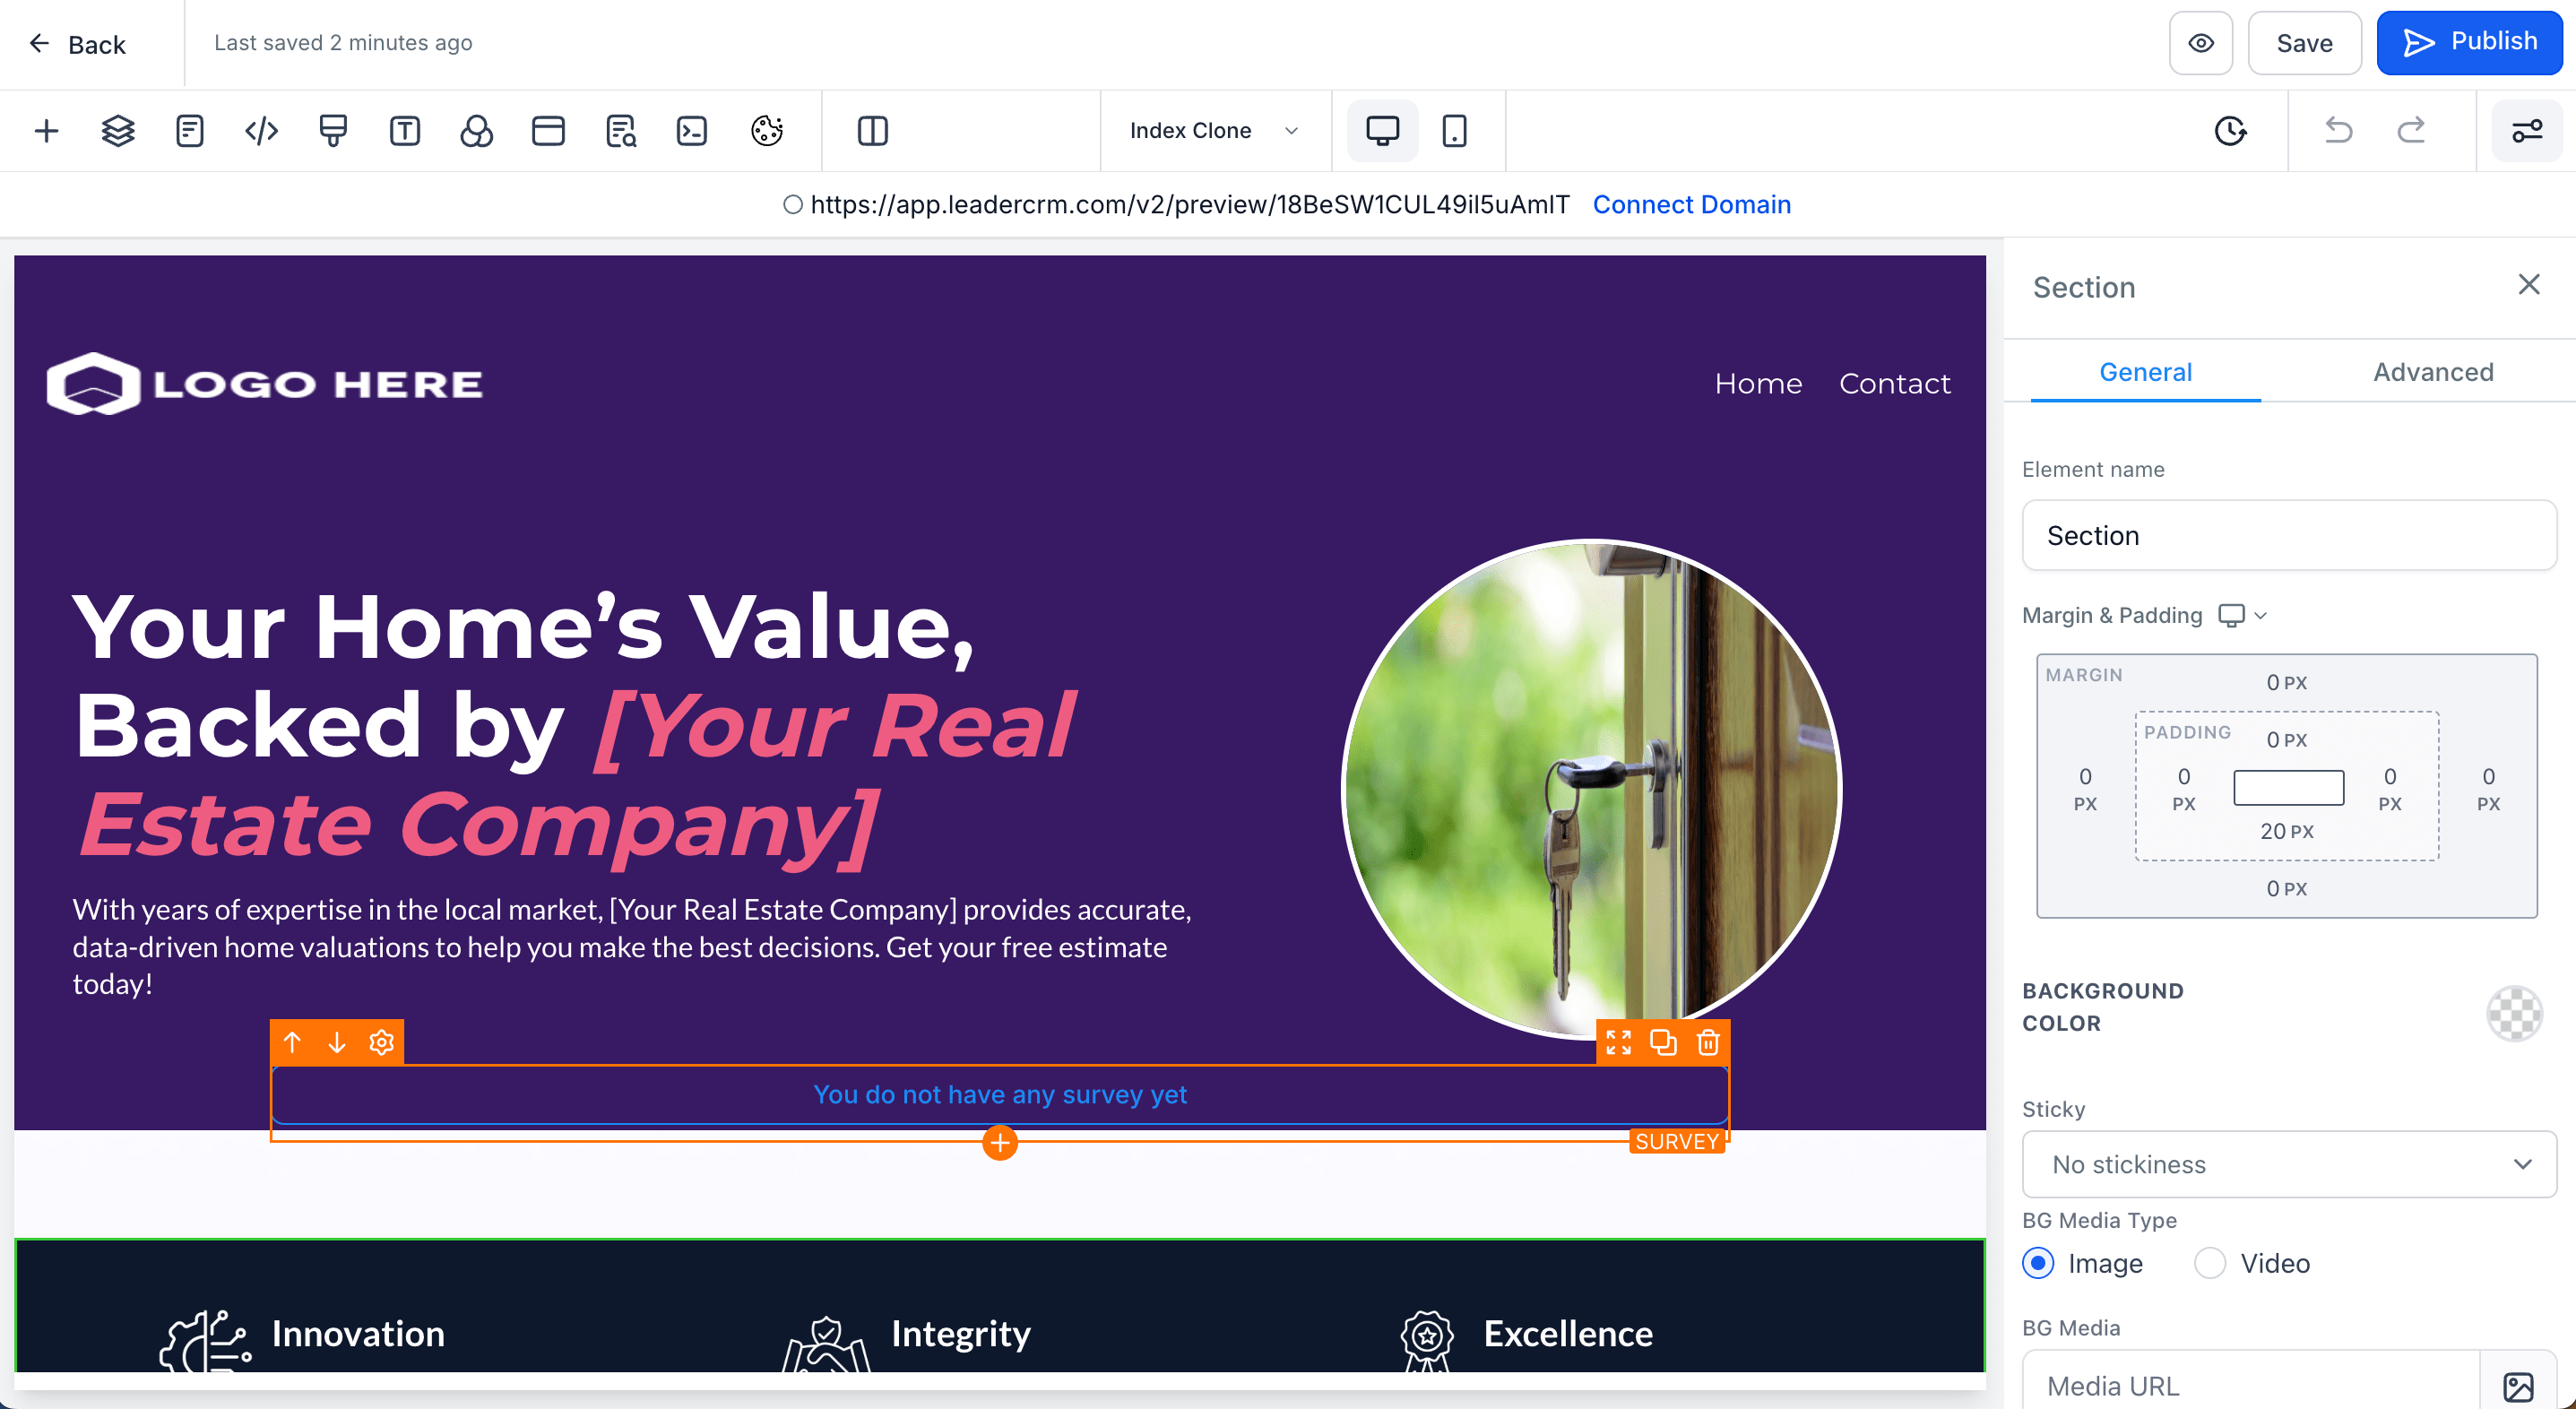
Edit the first step. You will see that the survey is missing. We are going to create the survey in the next step and then we will add it to the funnel.
-
Build Survey
Inside HighLevel, go to Sites > Surveys > Builder
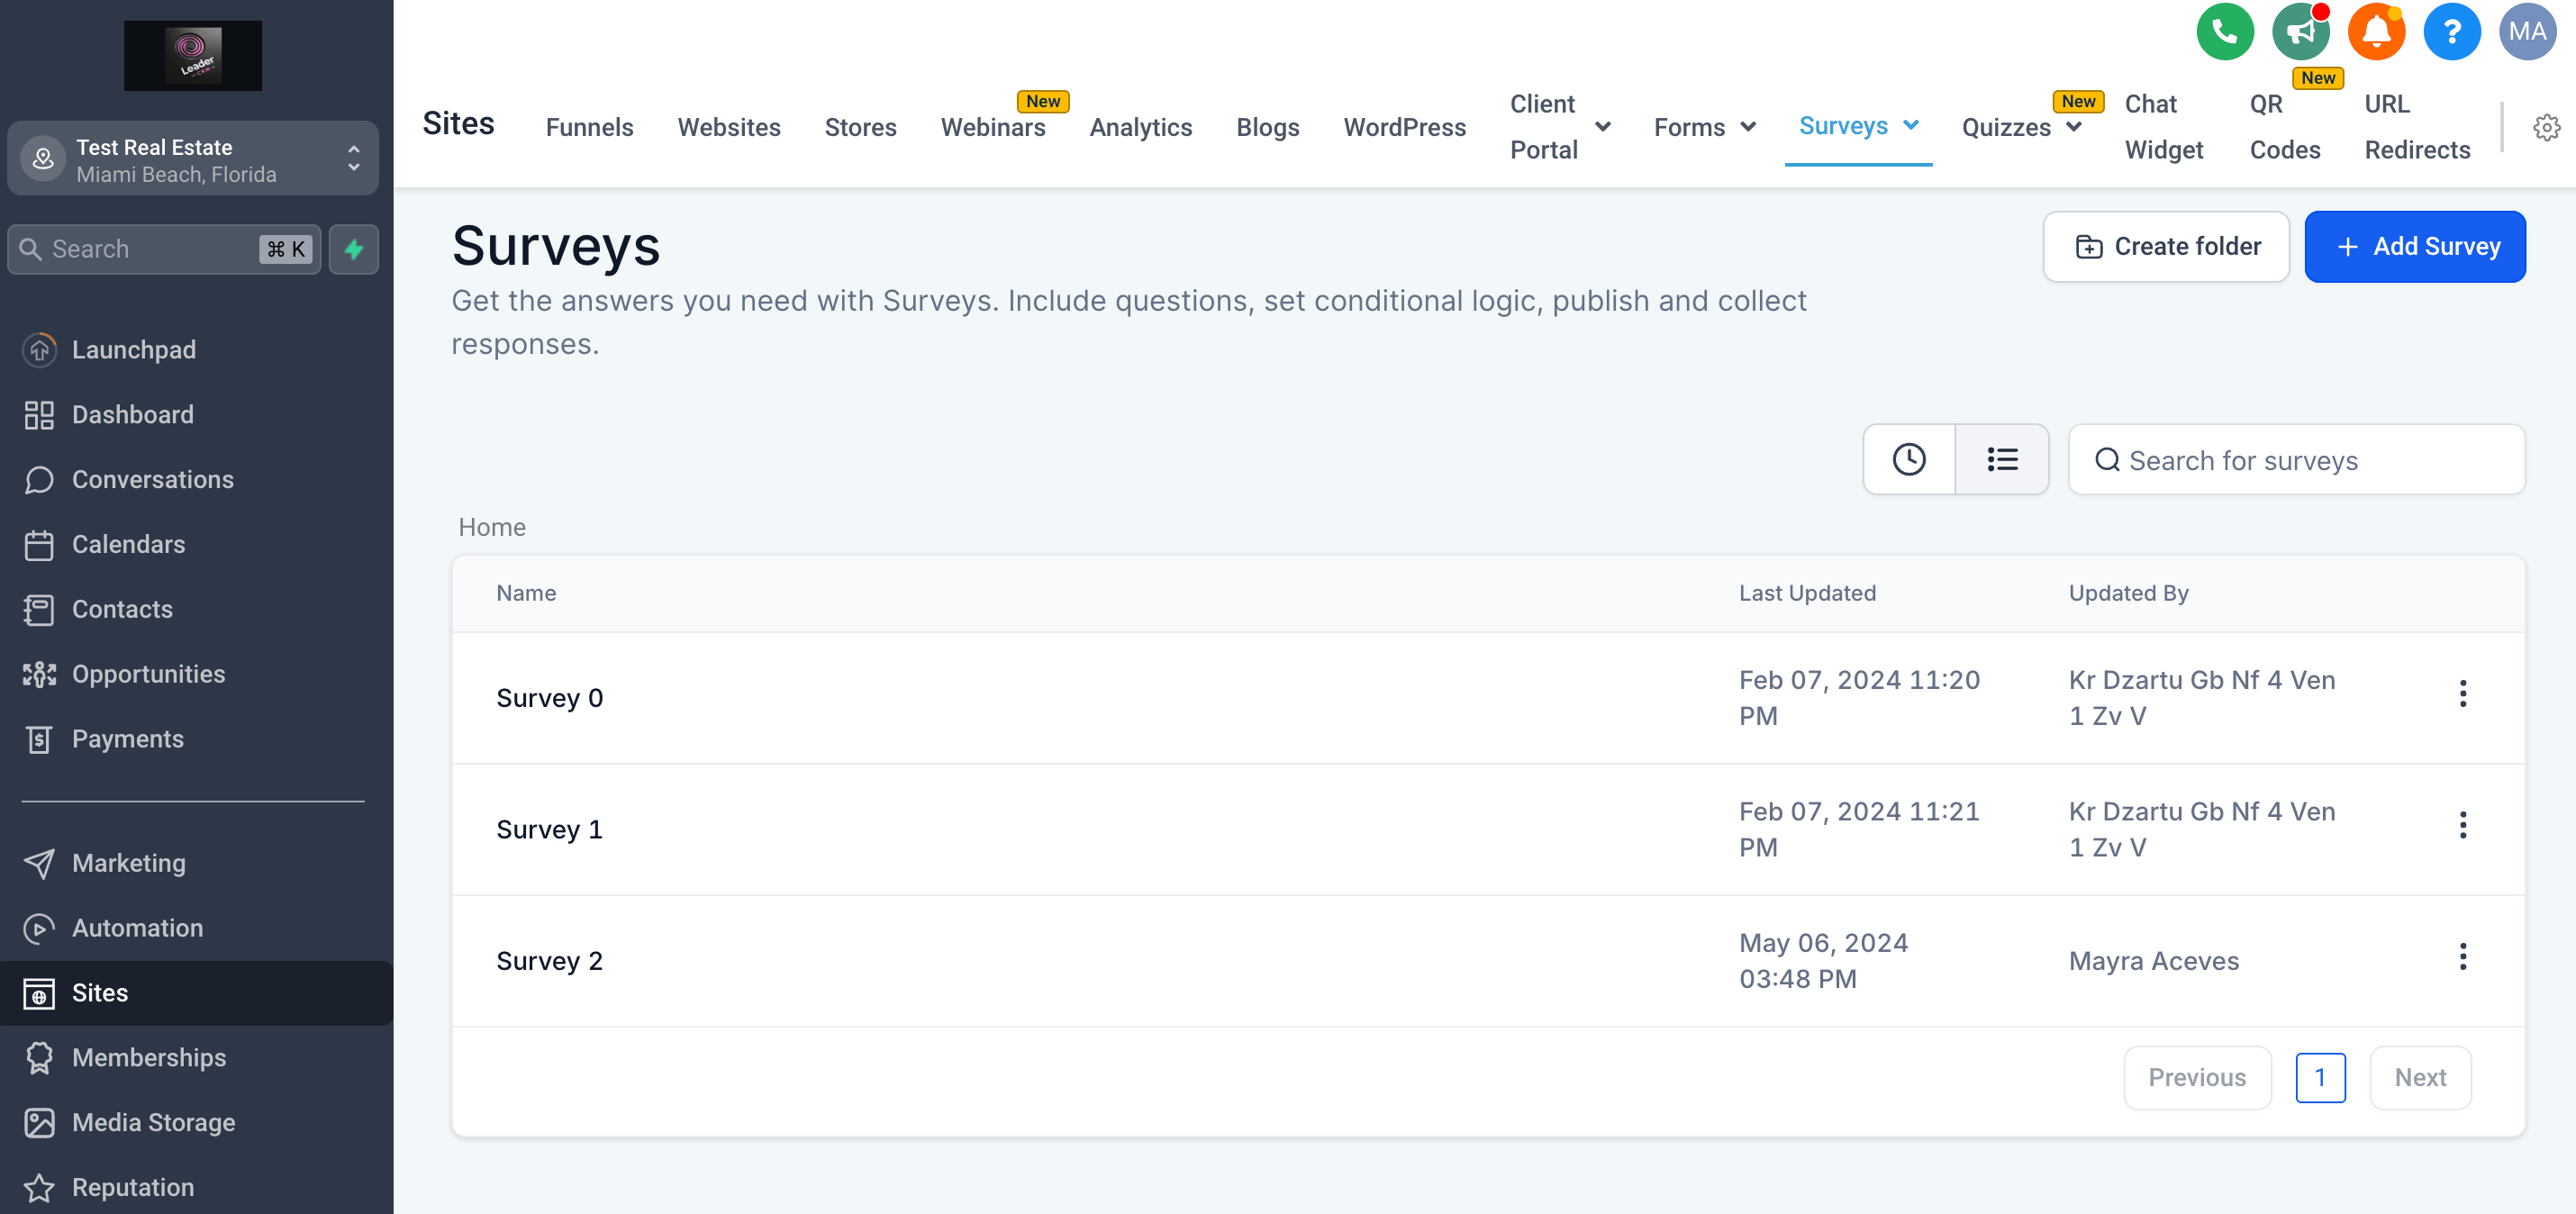
Click on "Add Survey". This is how the blank survey will look like.
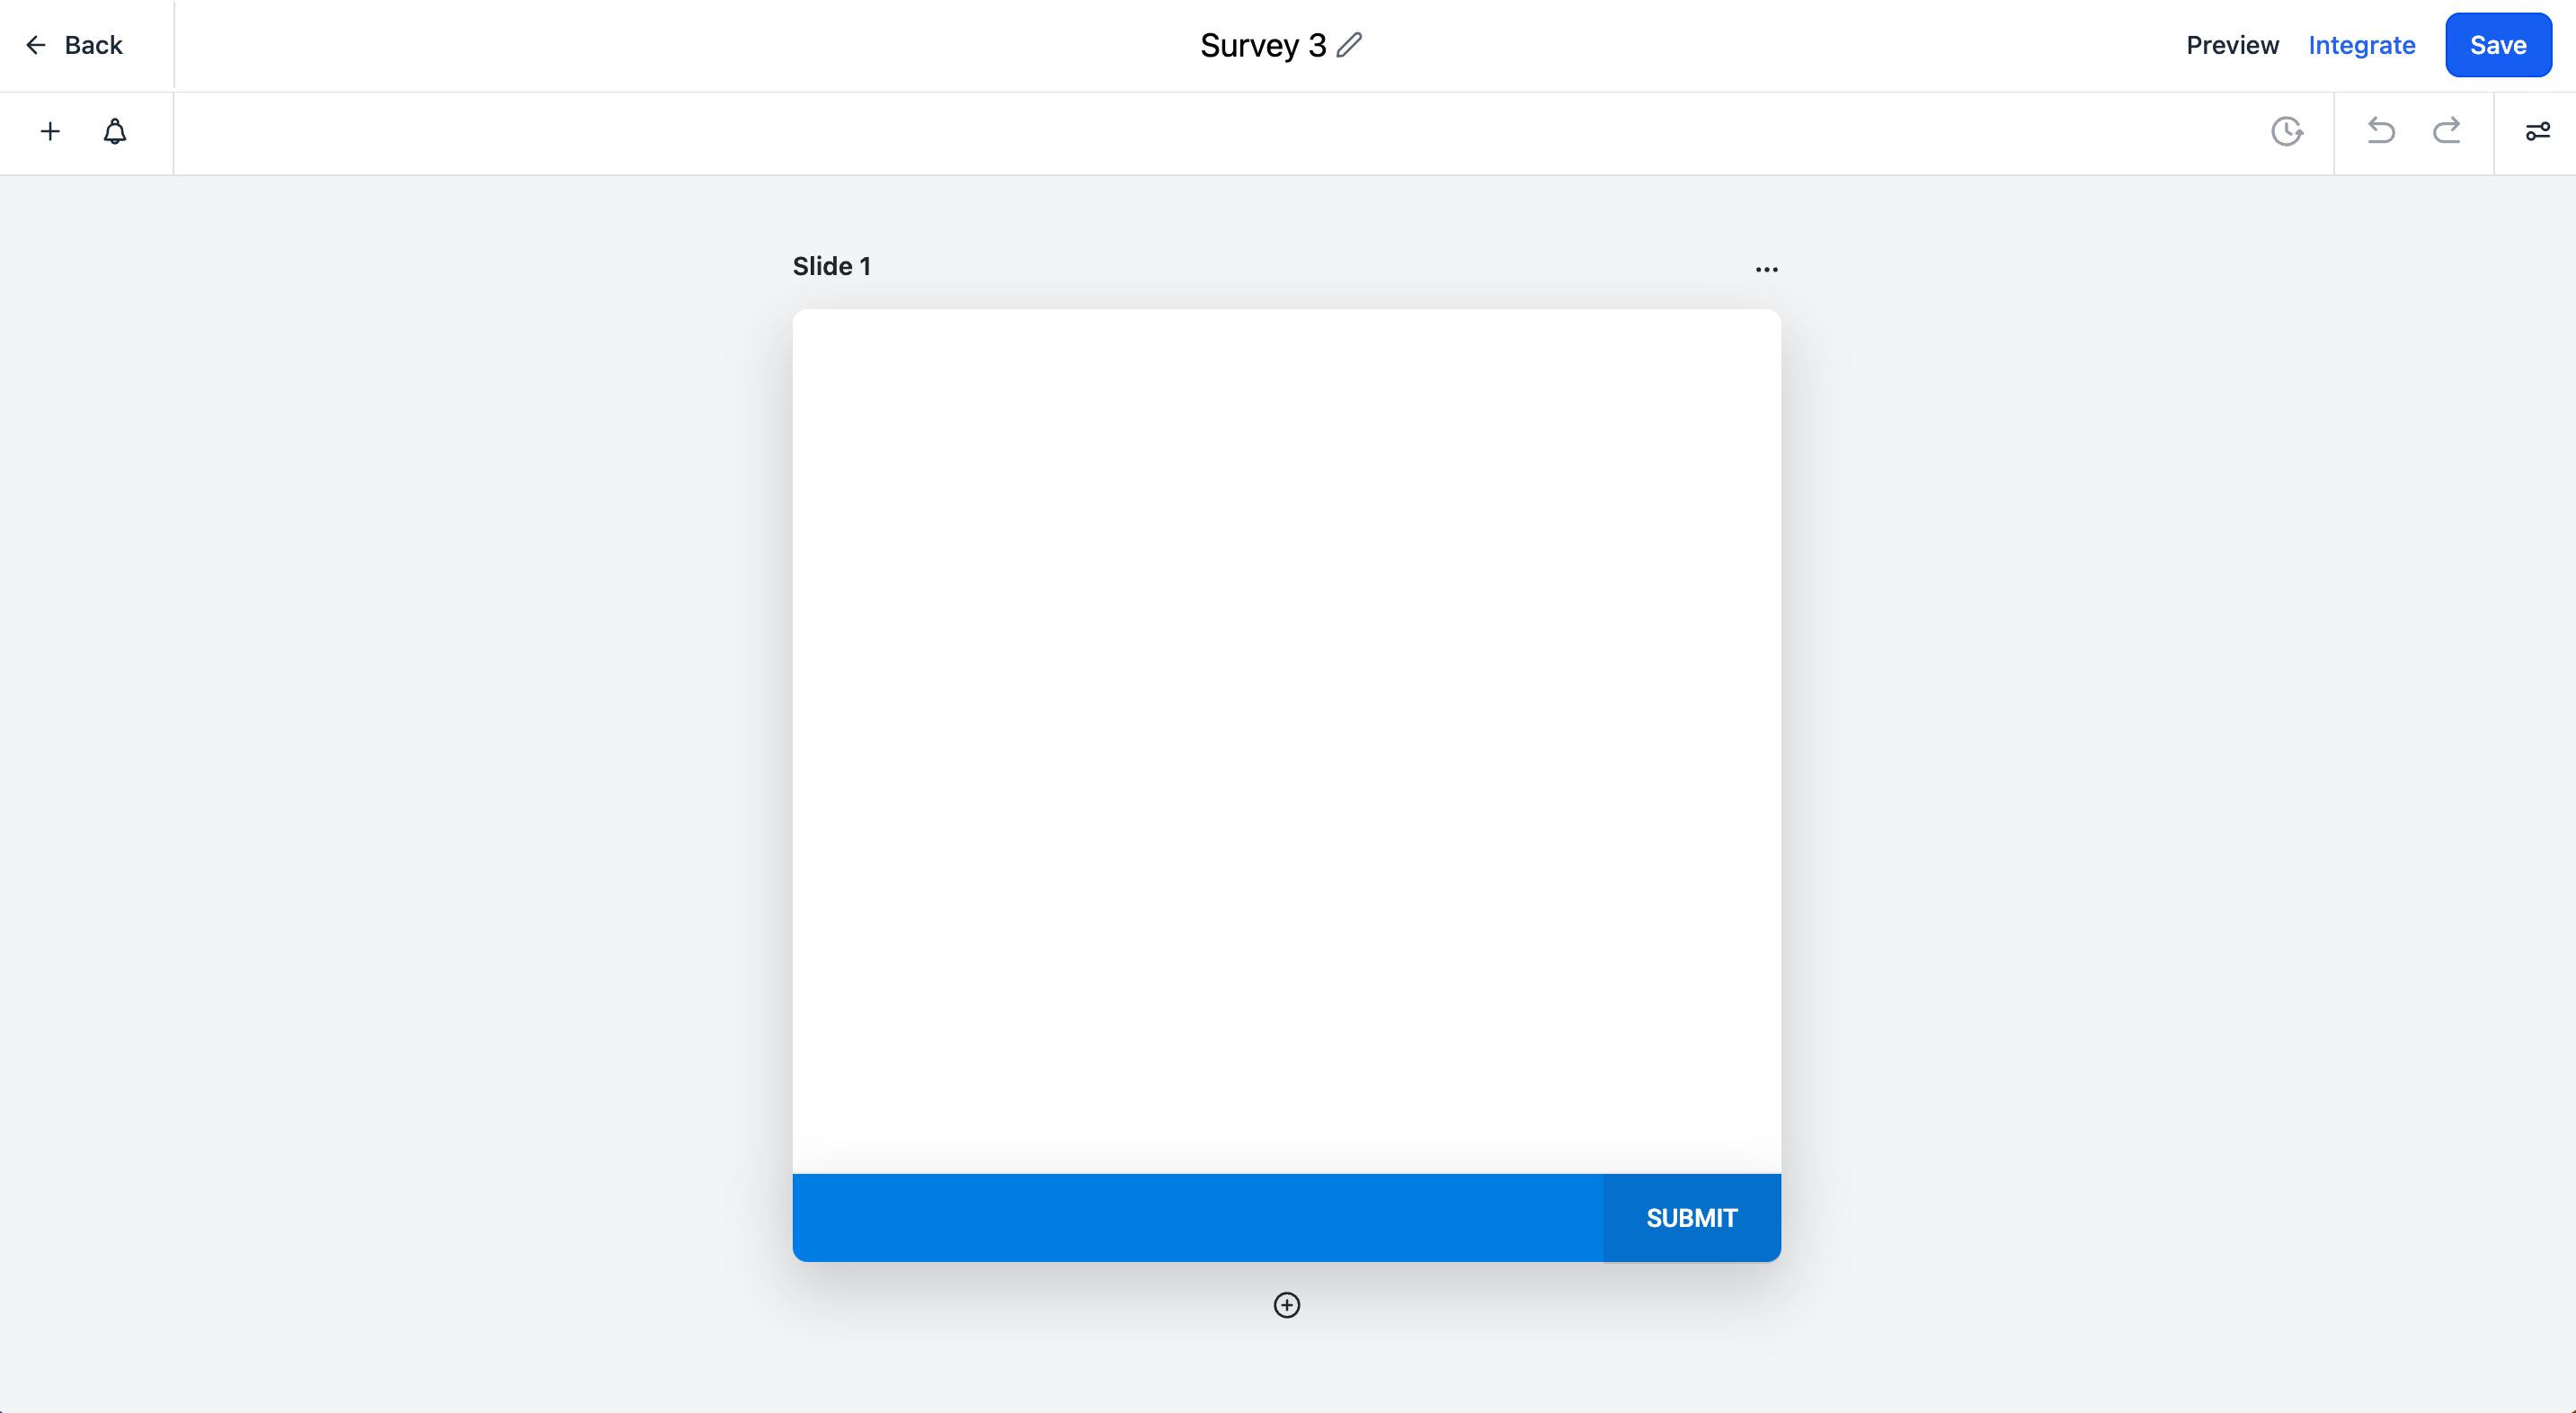
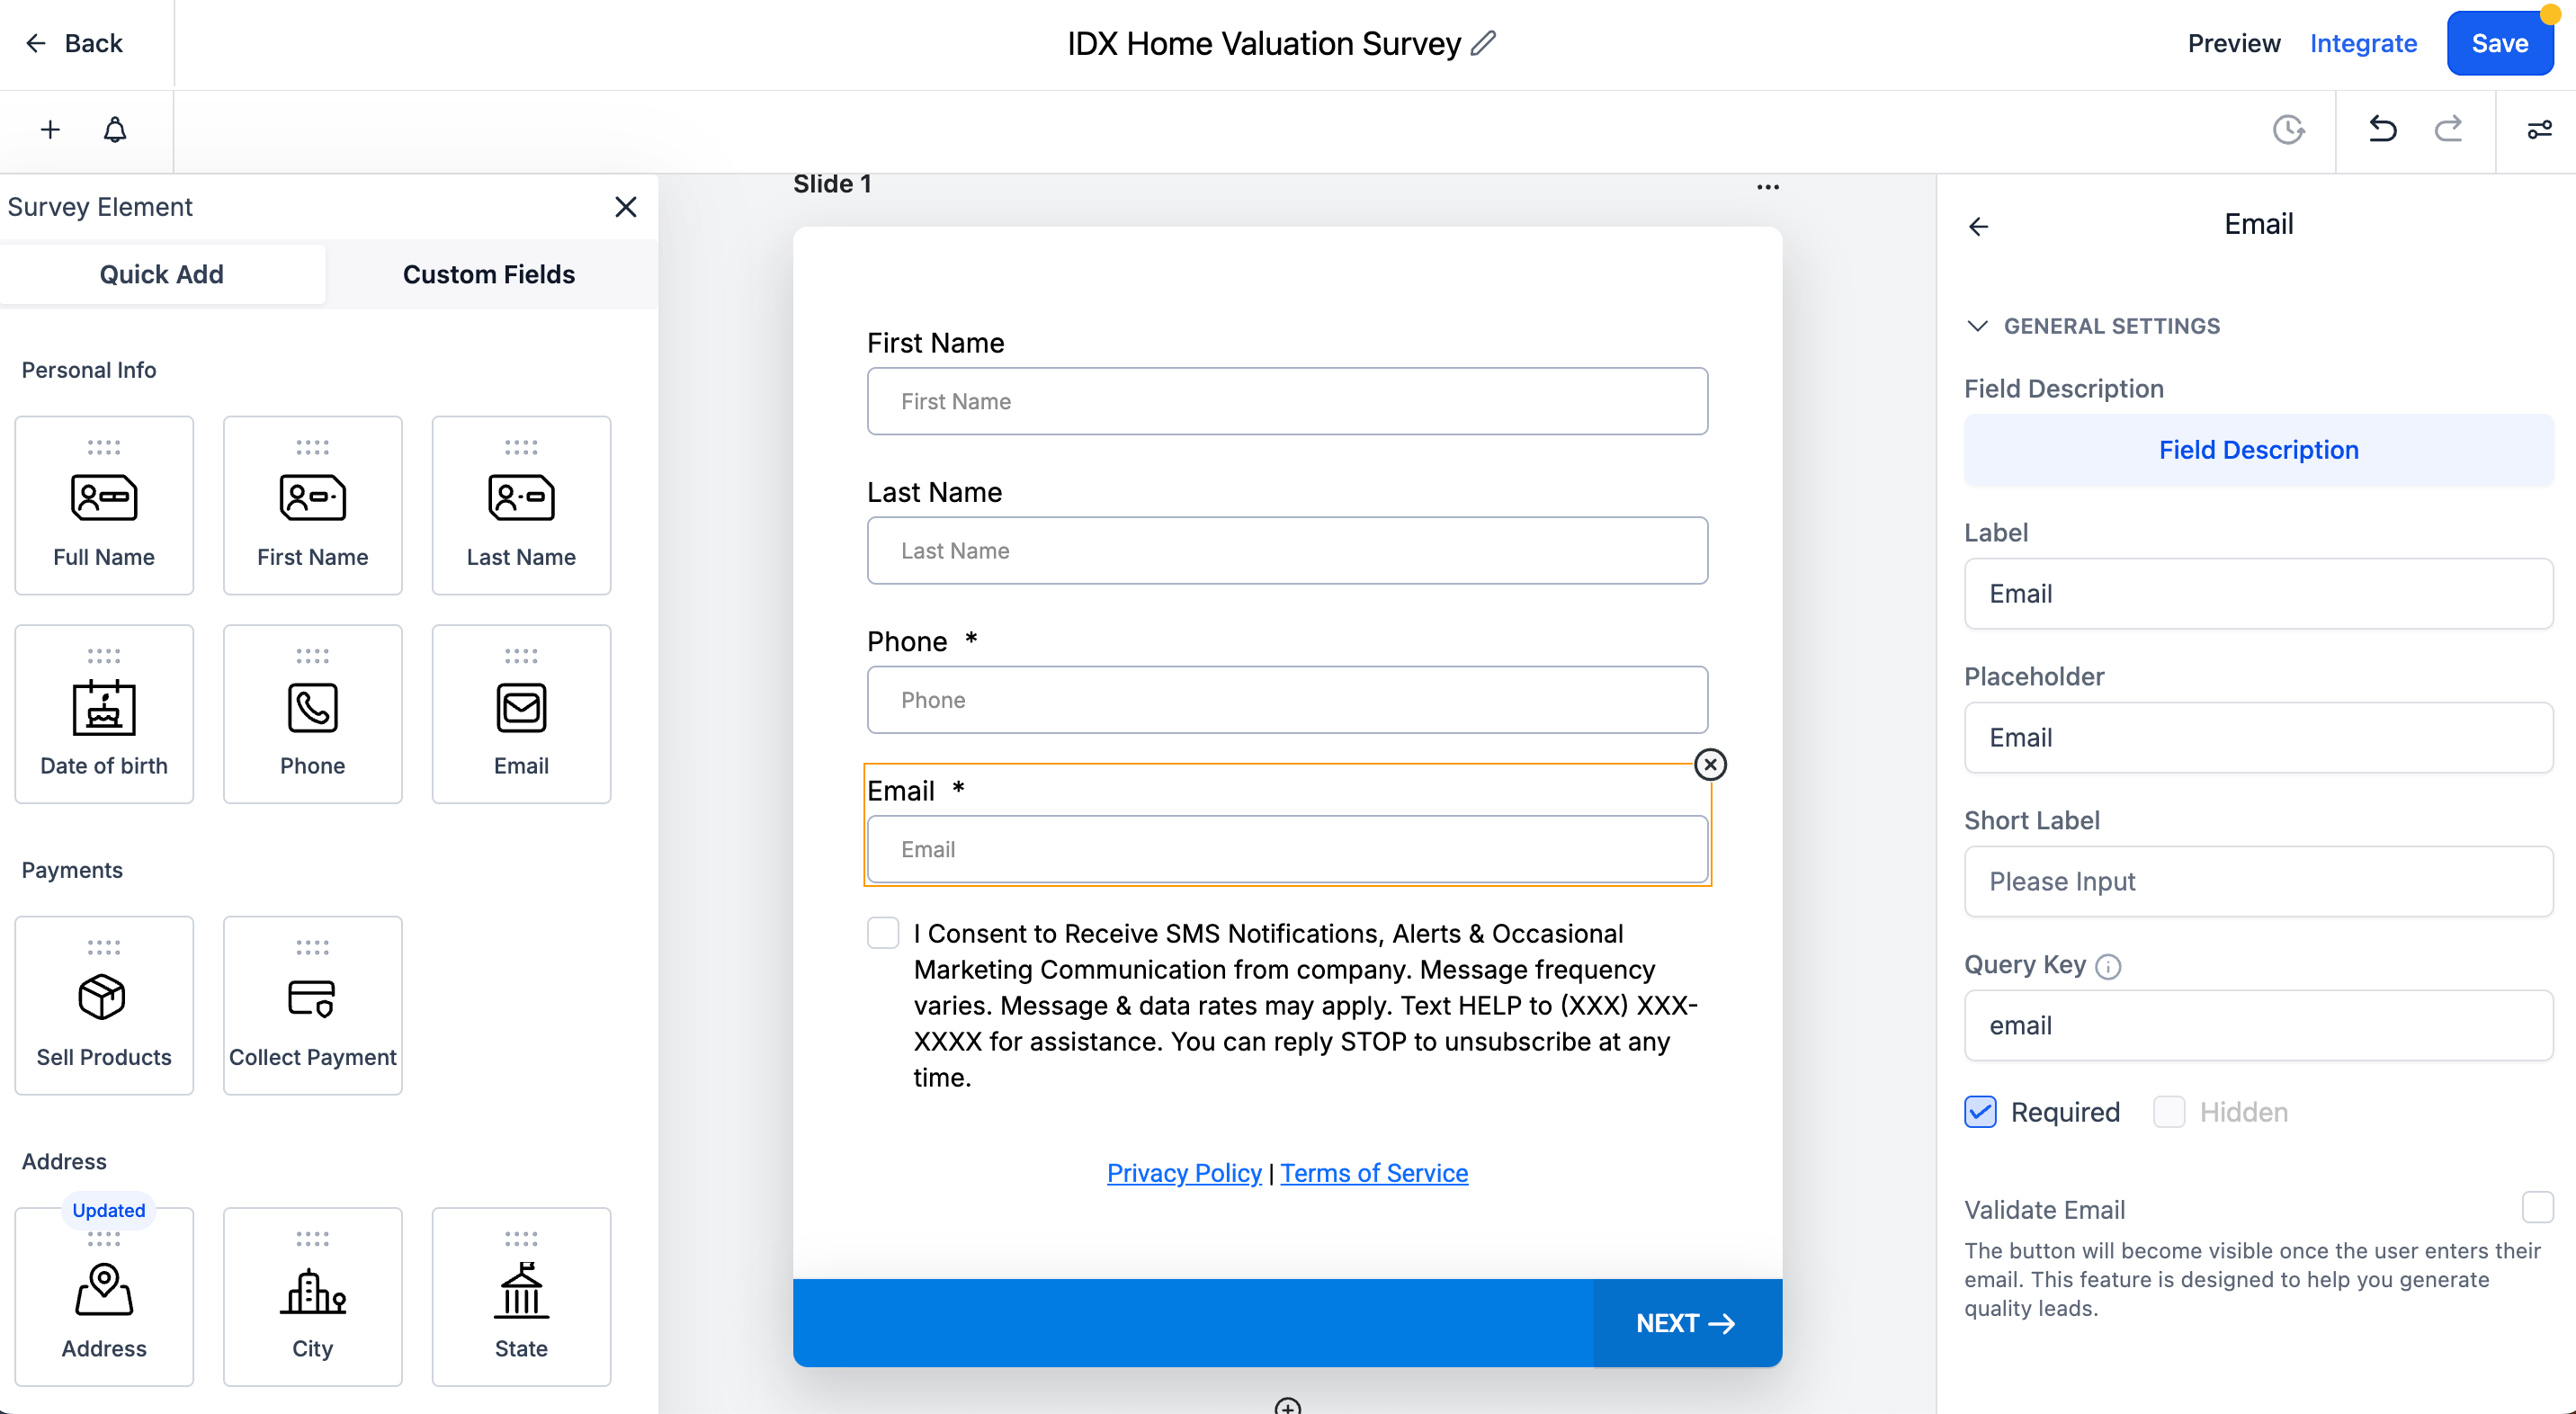
Add a name to your survey and add all the fields you want to collect from the user. For this example, we are going to add the following fields:
- First Name (required)
- Last Name (required)
- Email (required)
- Phone
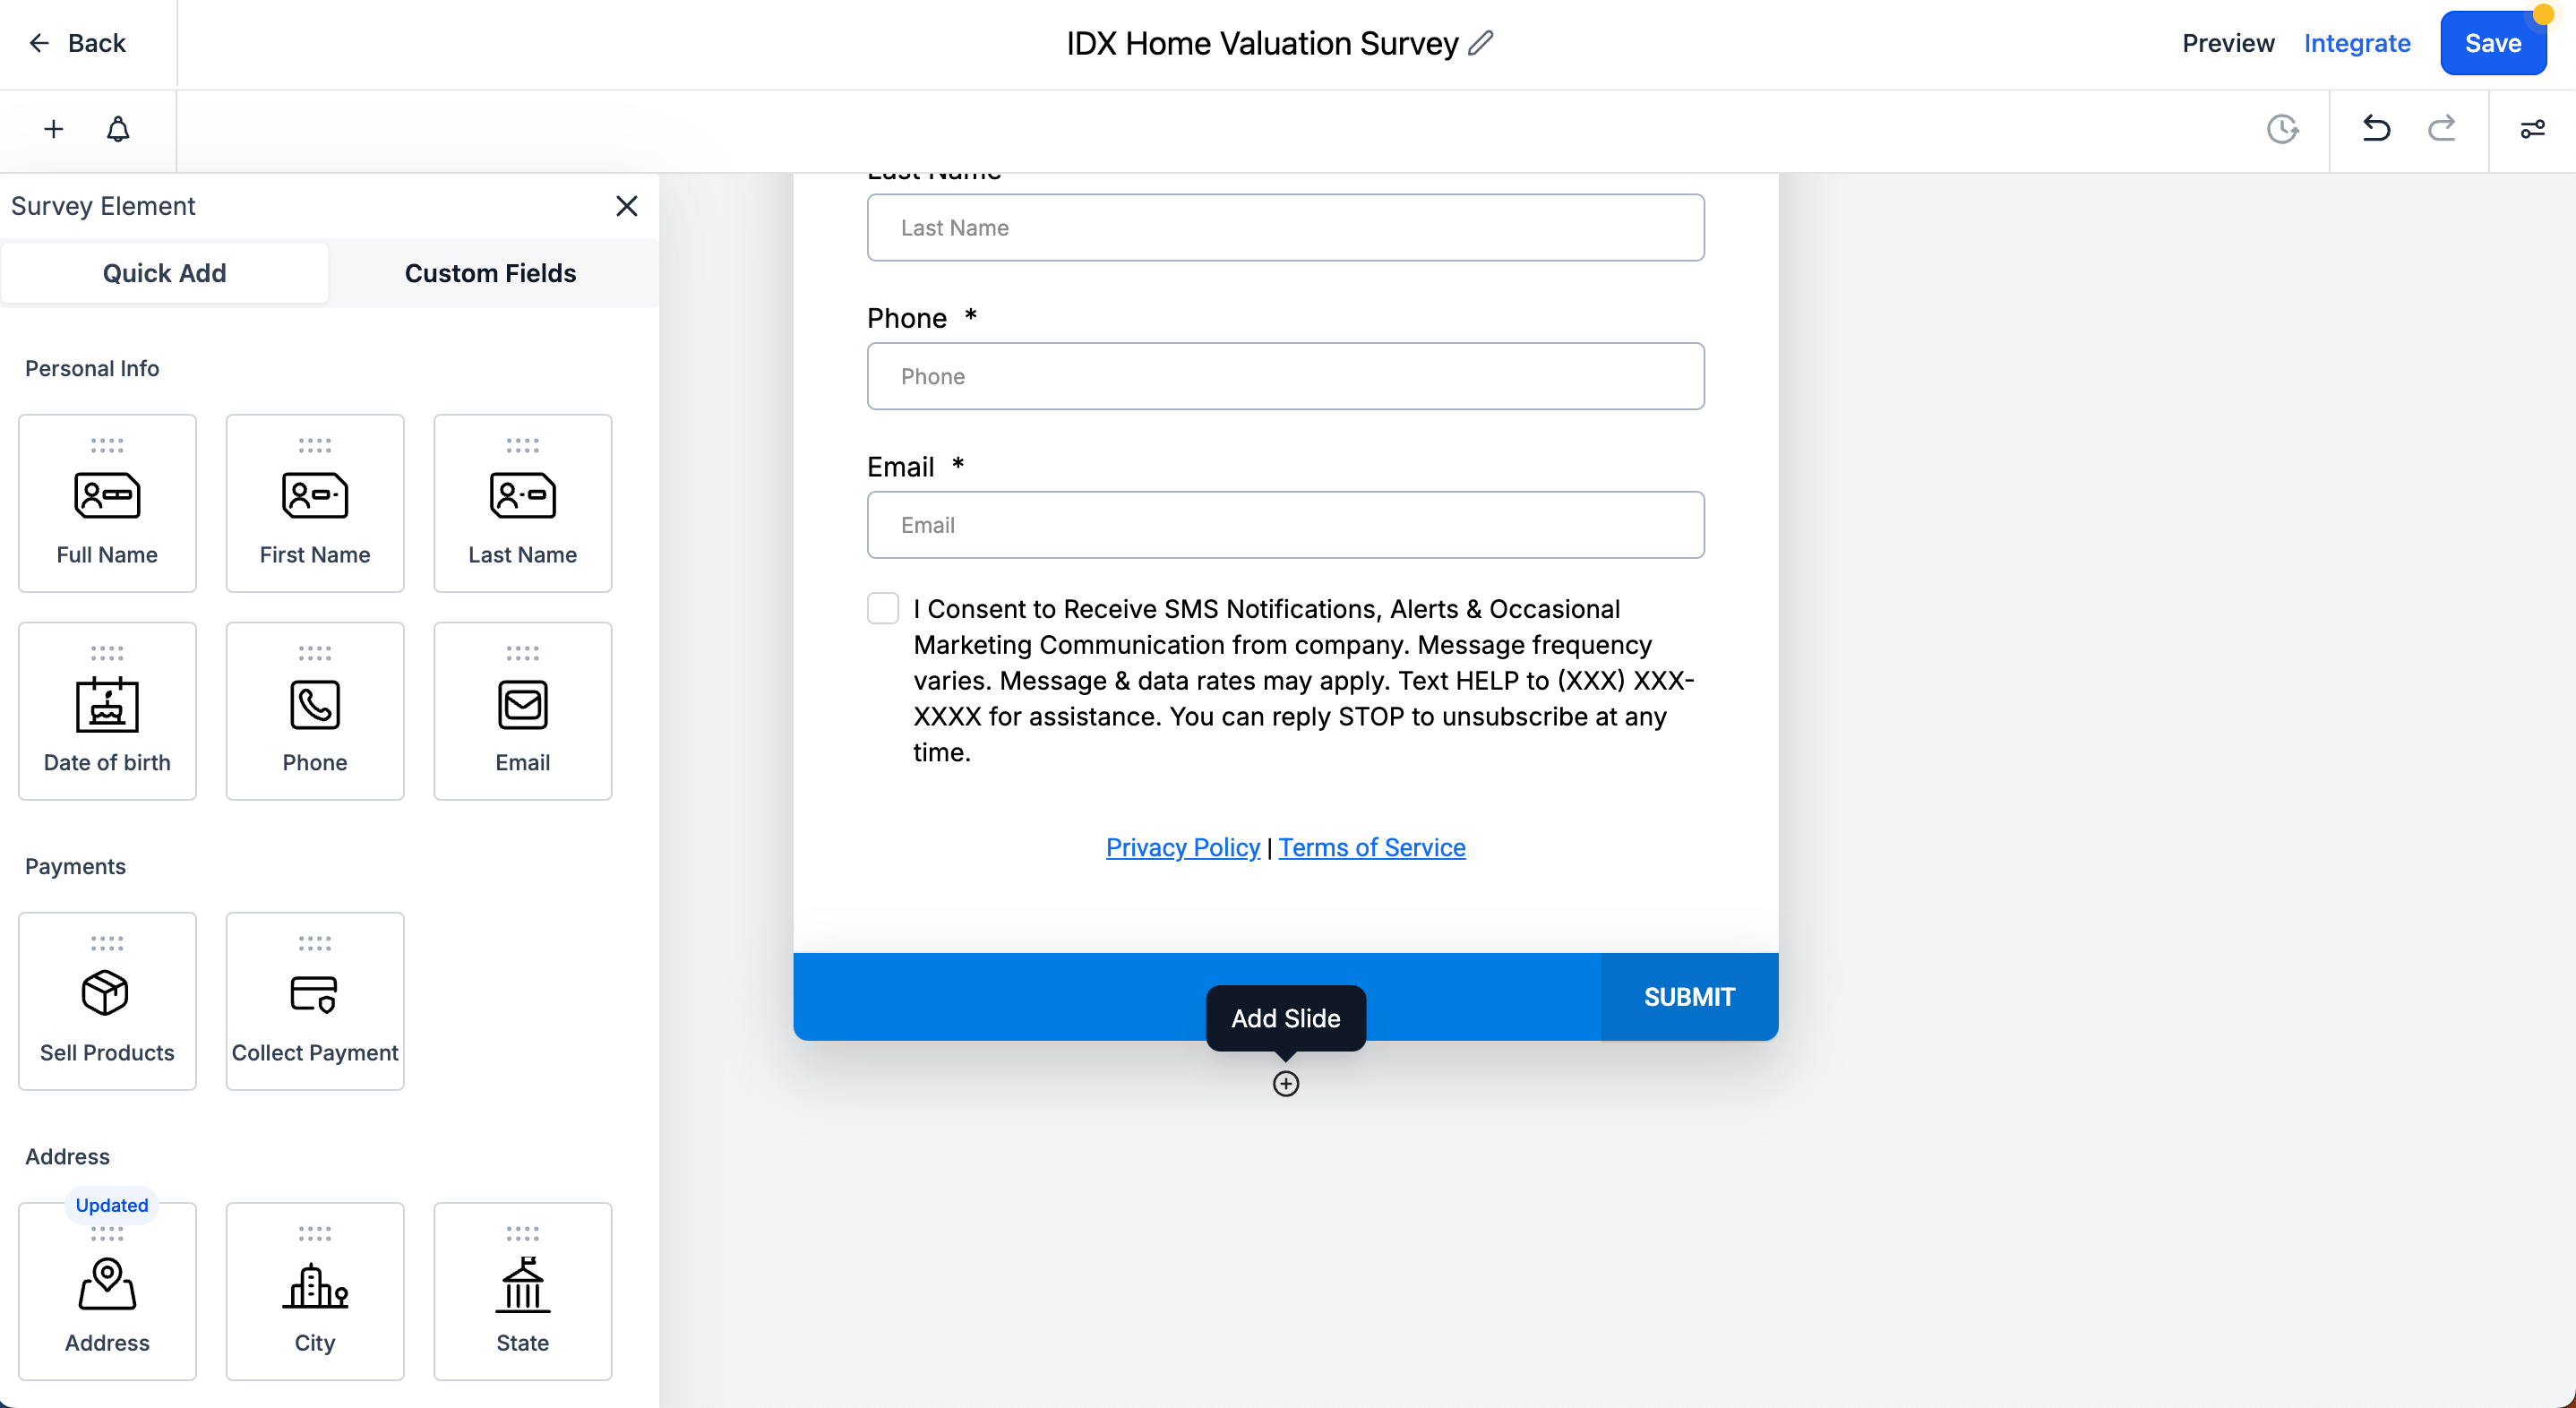
Add a new slide
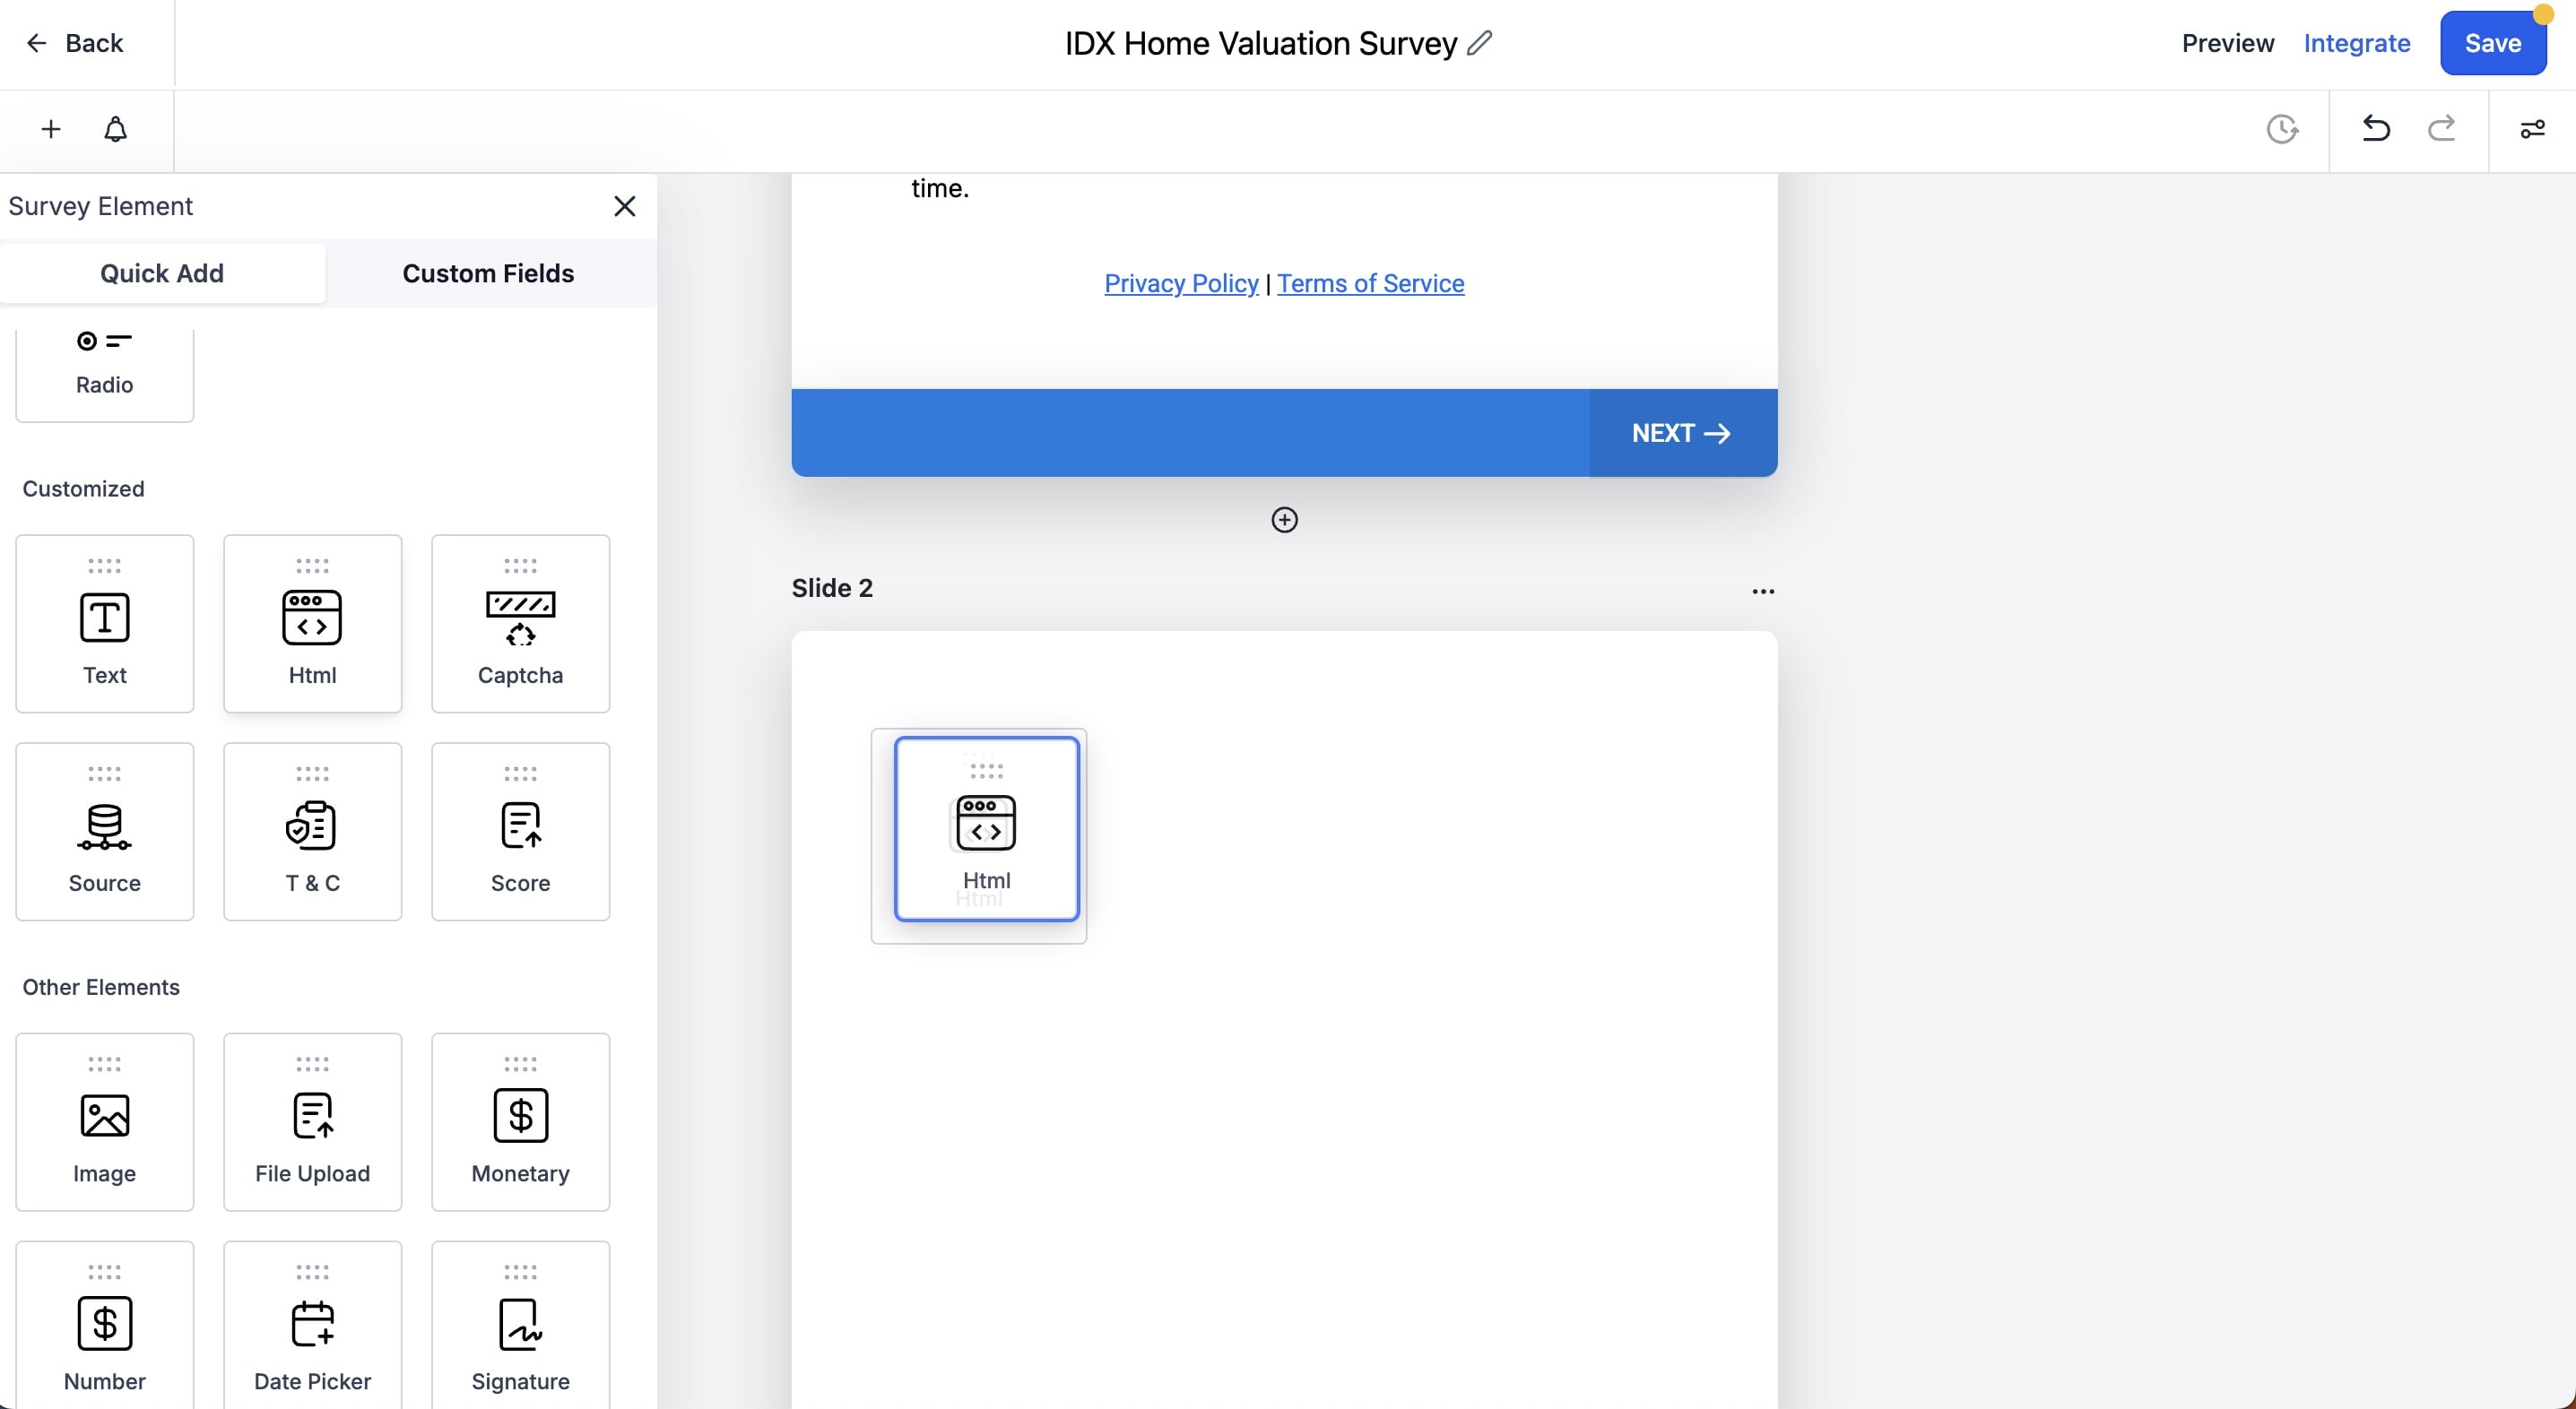
In the second slide, we are going to add a custom HTML element.
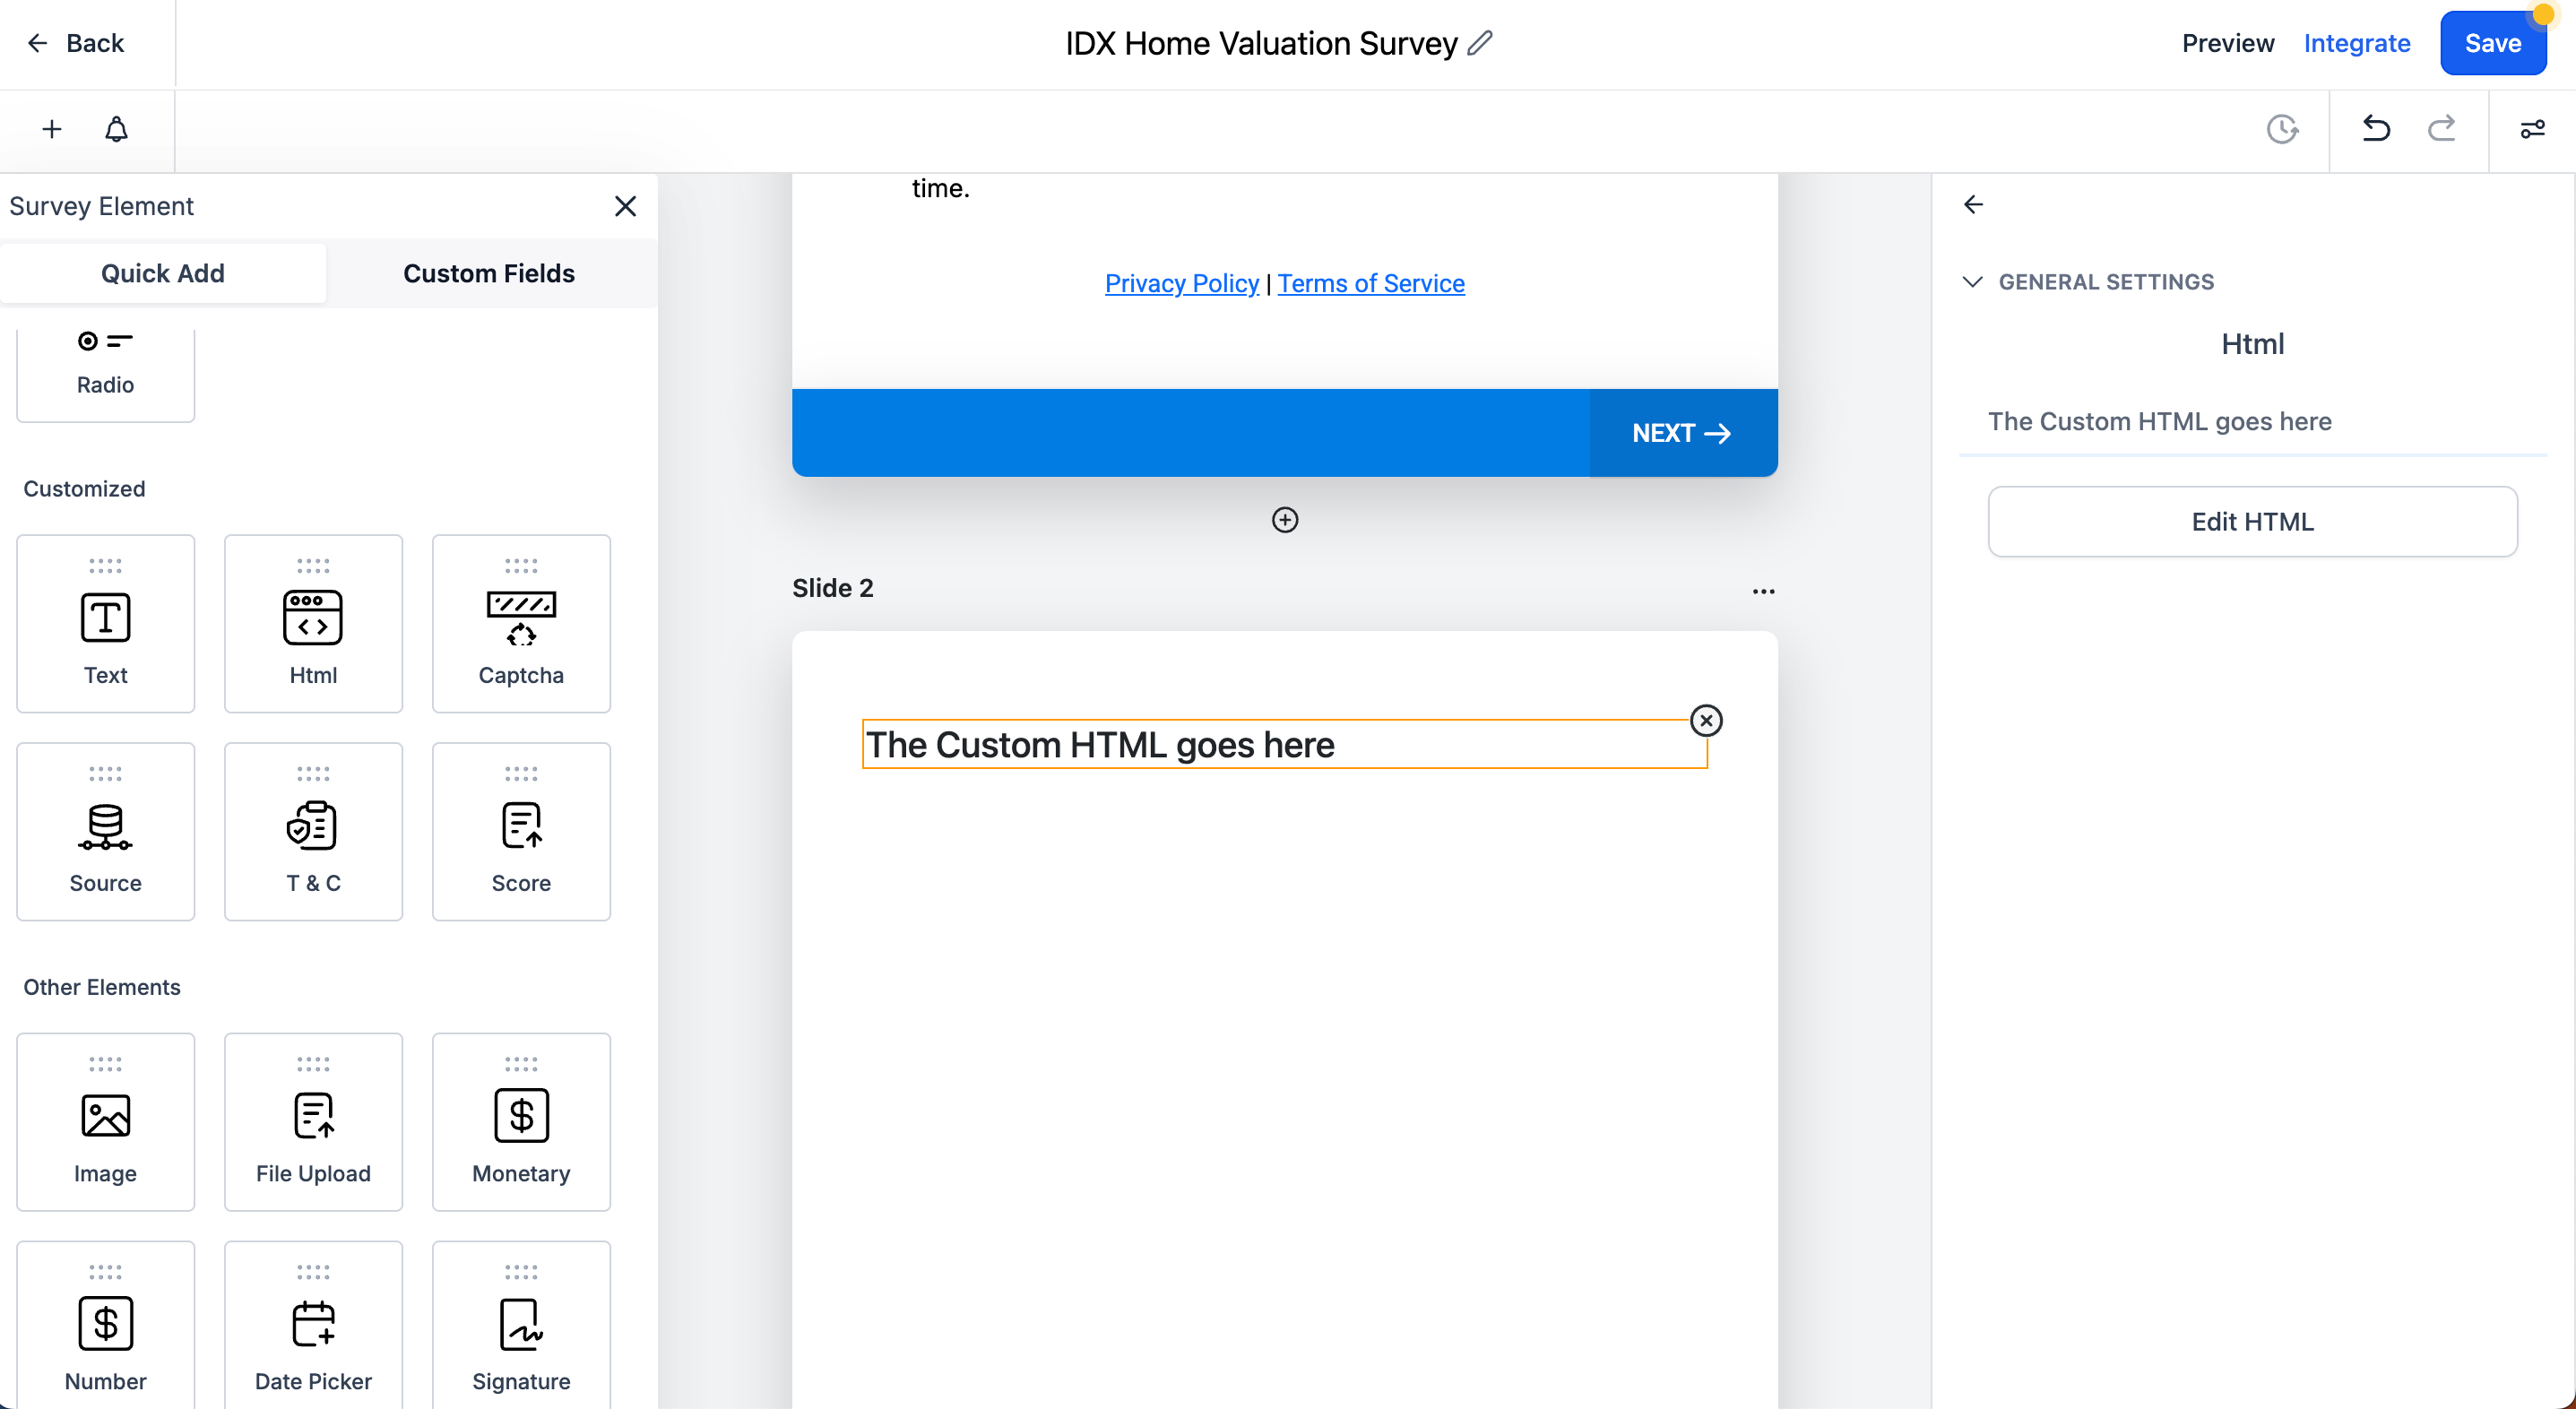
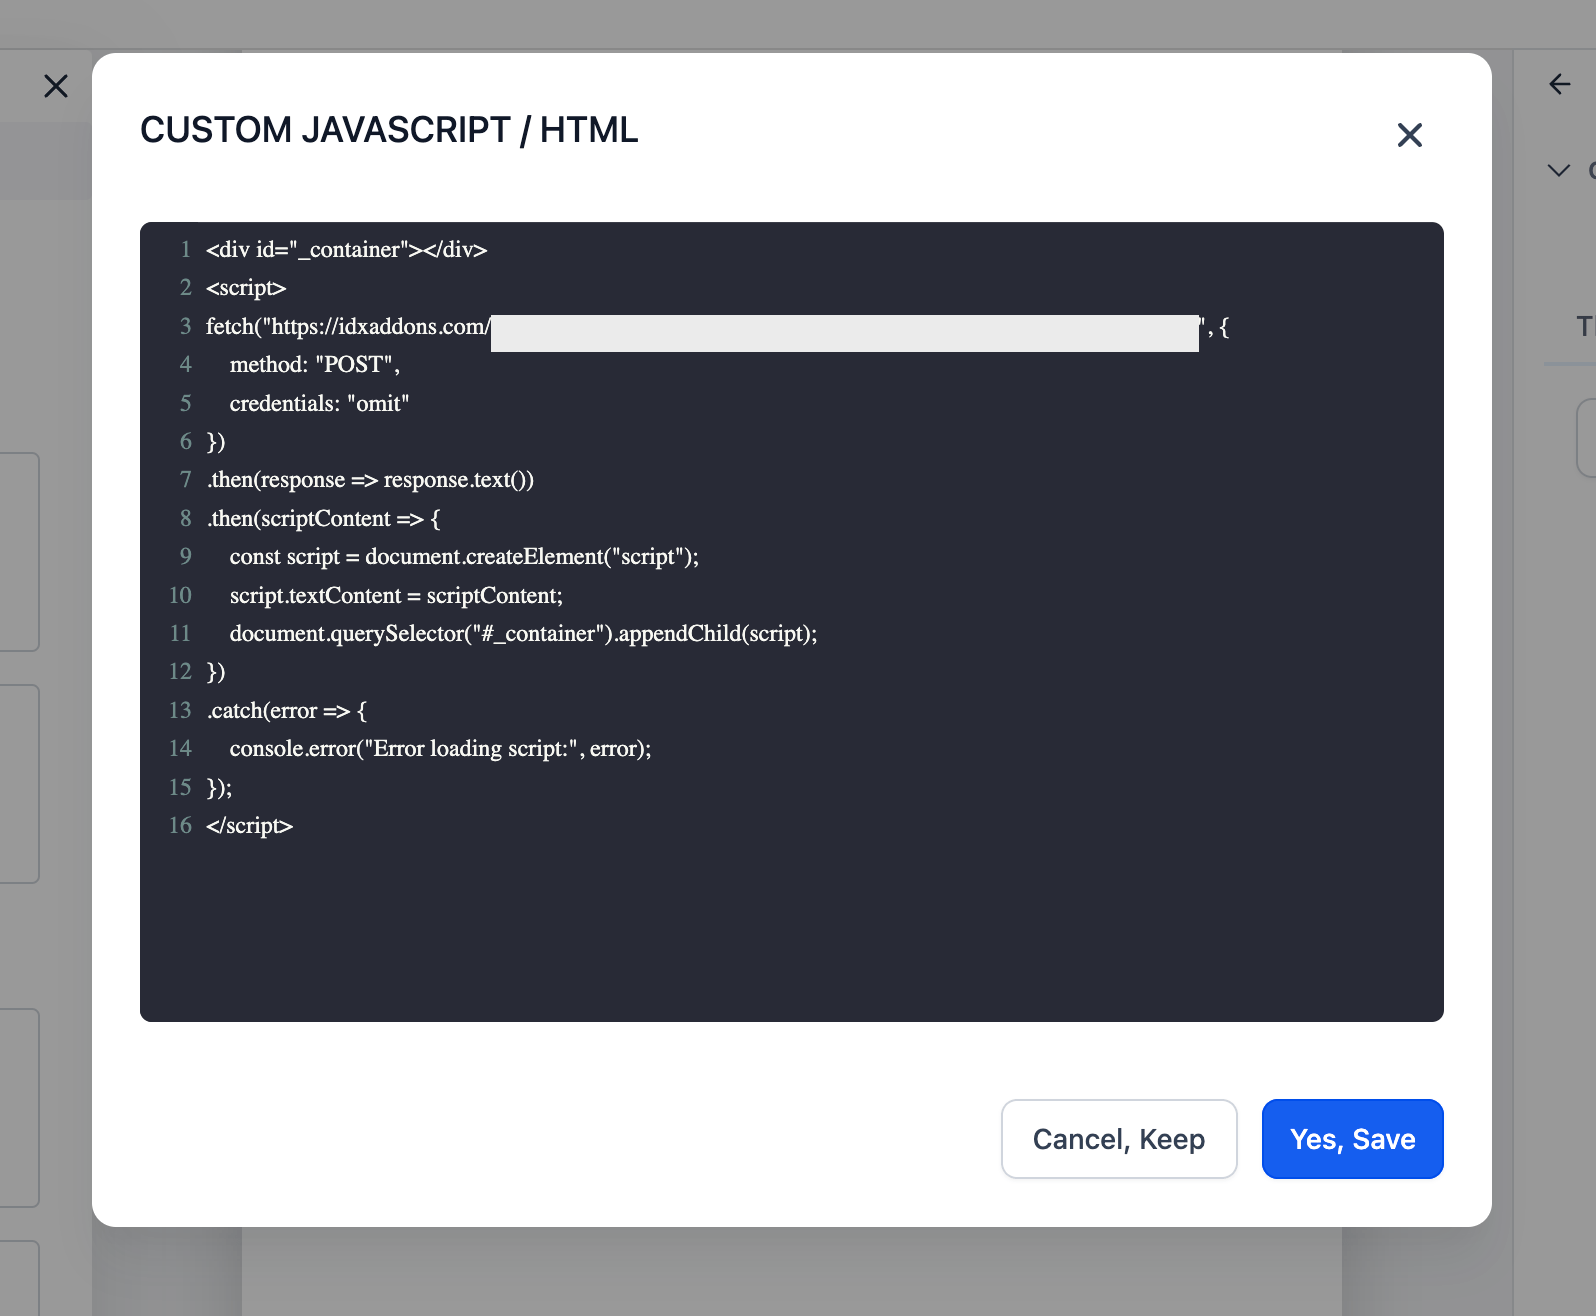
This is how the custom HTML element will look like. Click on "Edit HTML" to add the code snippet.
In IDXAddons, copy your code snippet, it will look like this:
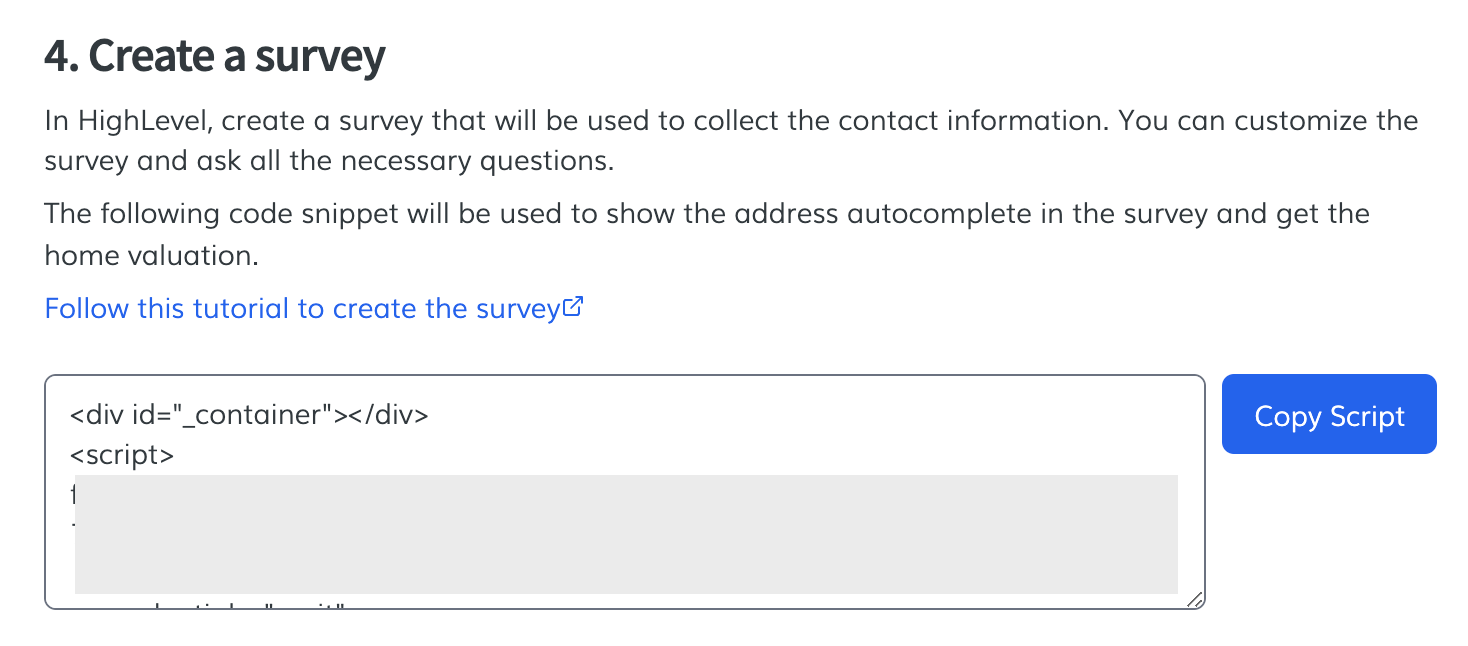
Paste the code snippet in the custom HTML element and click on Yes, Save
The custom HTML element will show the message "Script Added!".
Now, let's add 2 of the custom fields that were created in previous steps: IDX Current Plunk Home Valuation and IDX Plunk Home Valuation Address
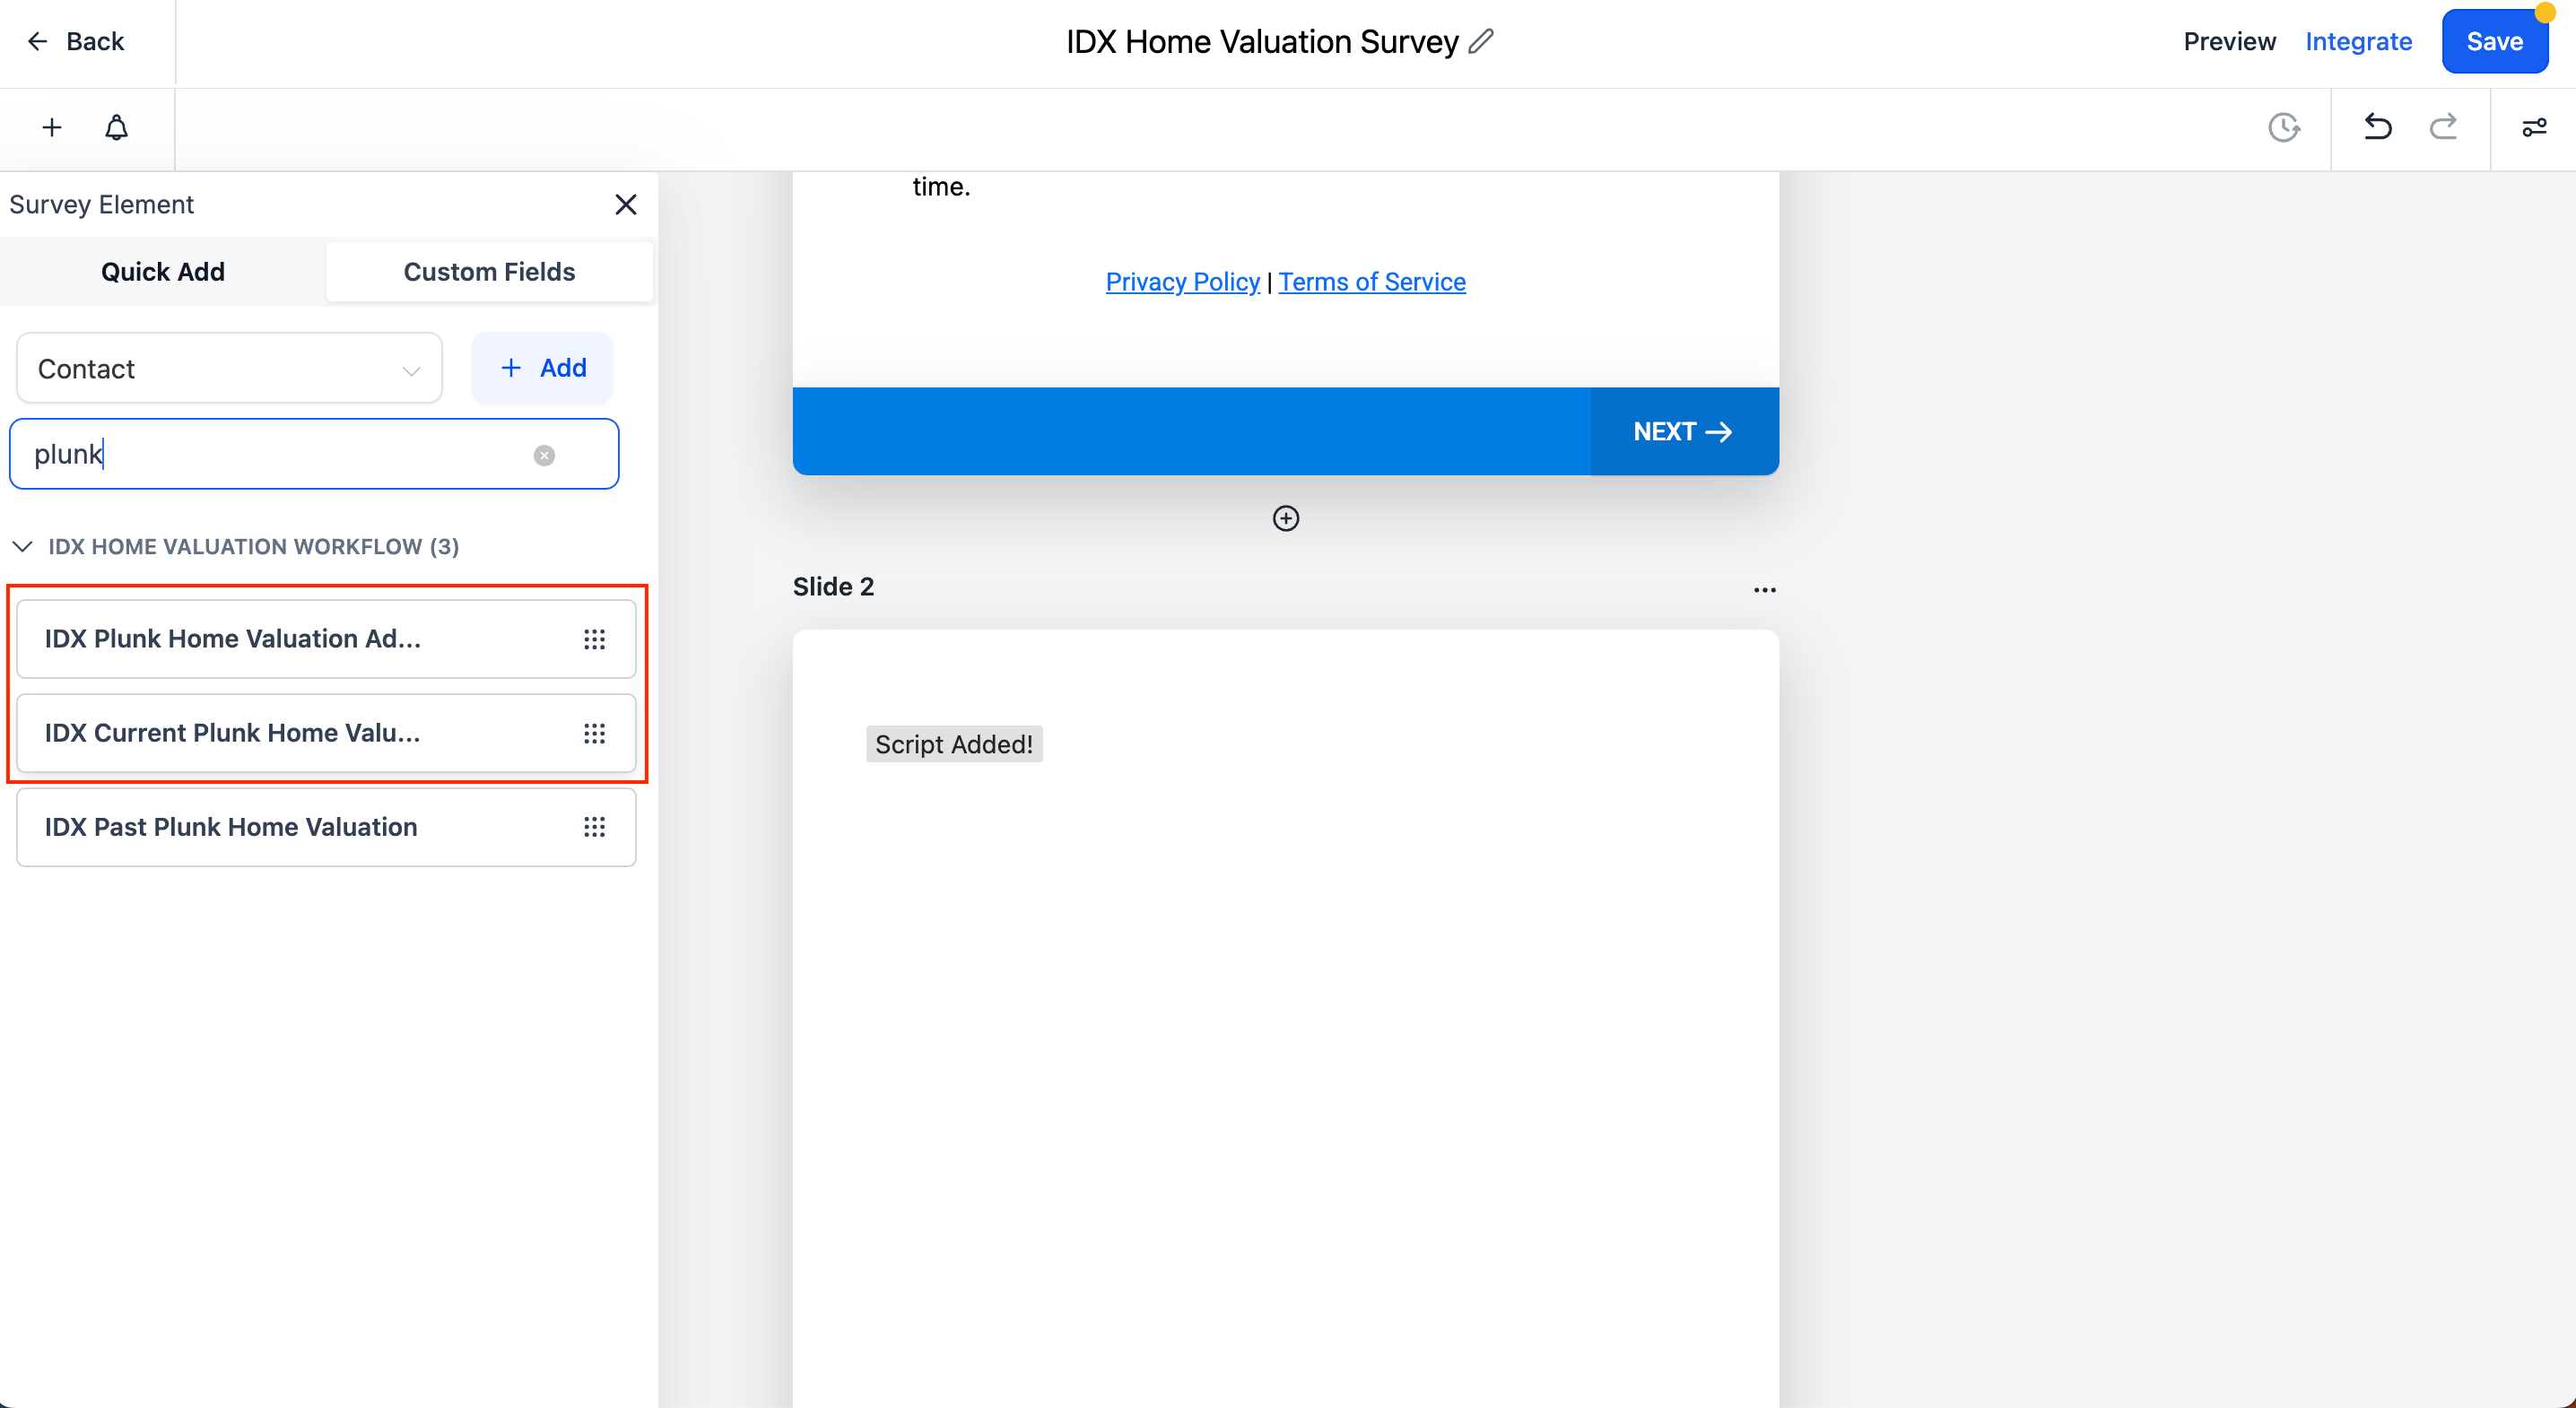
Look for the Custom Fields elements and drag them to the second slide.
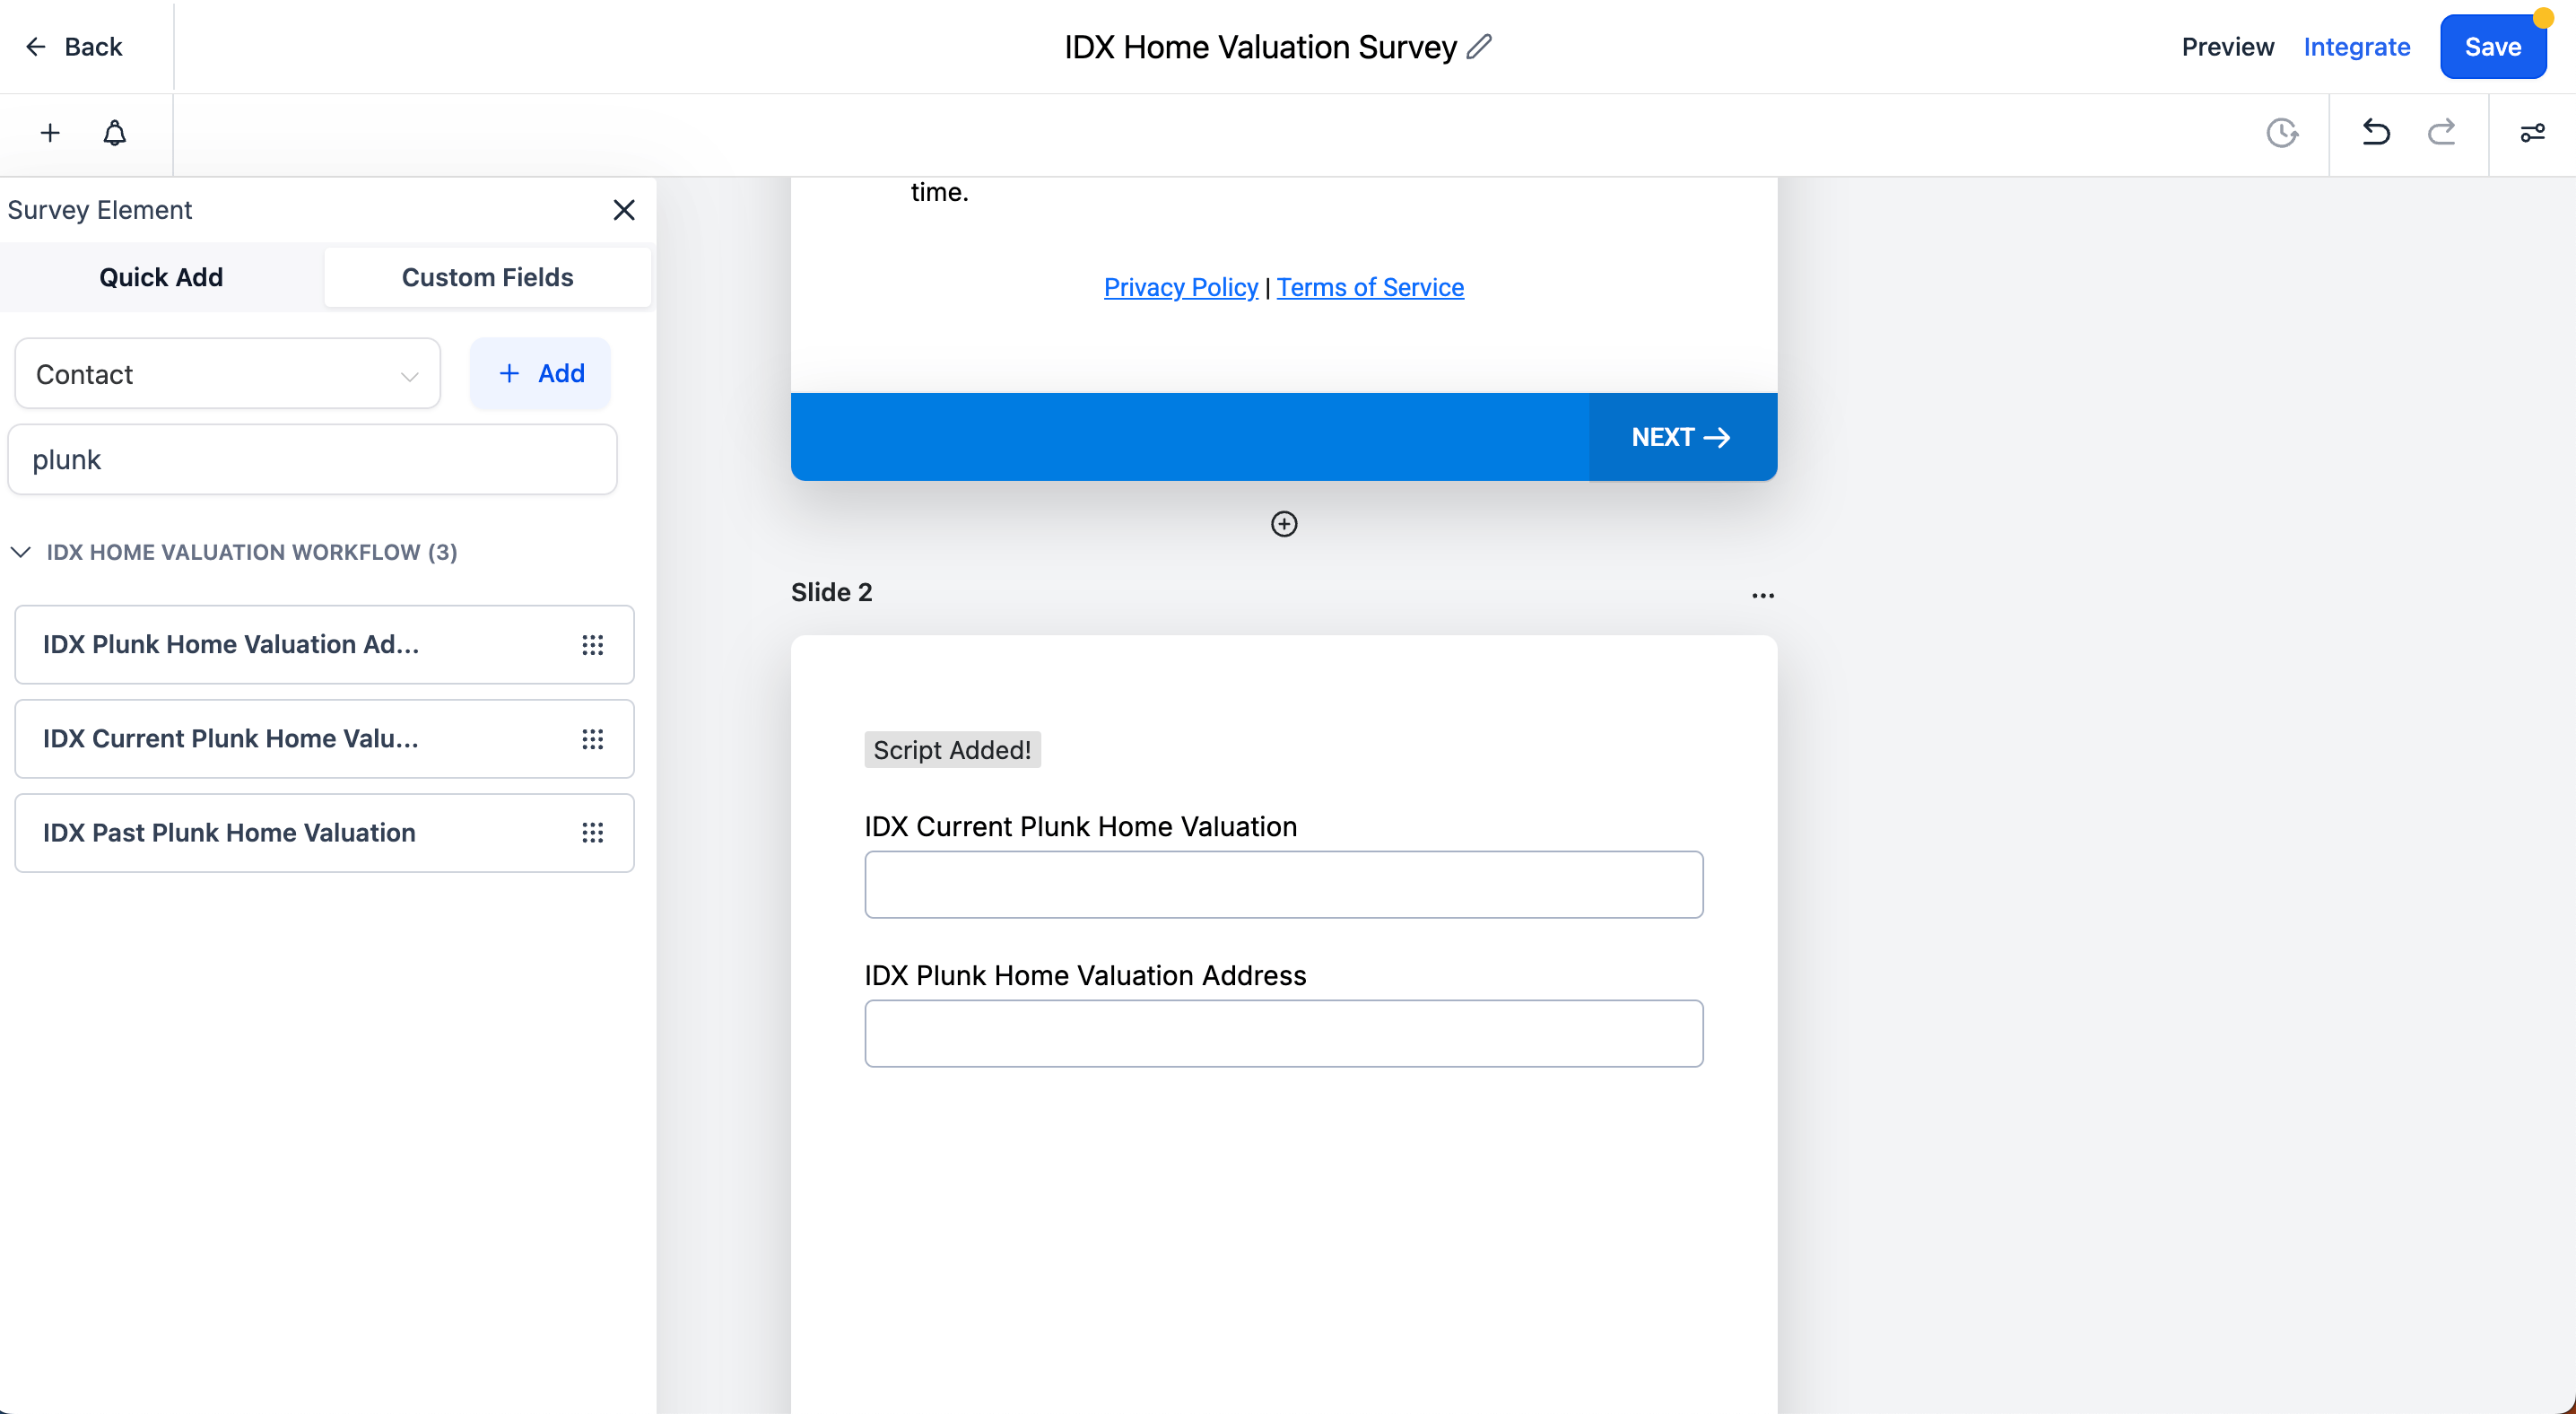
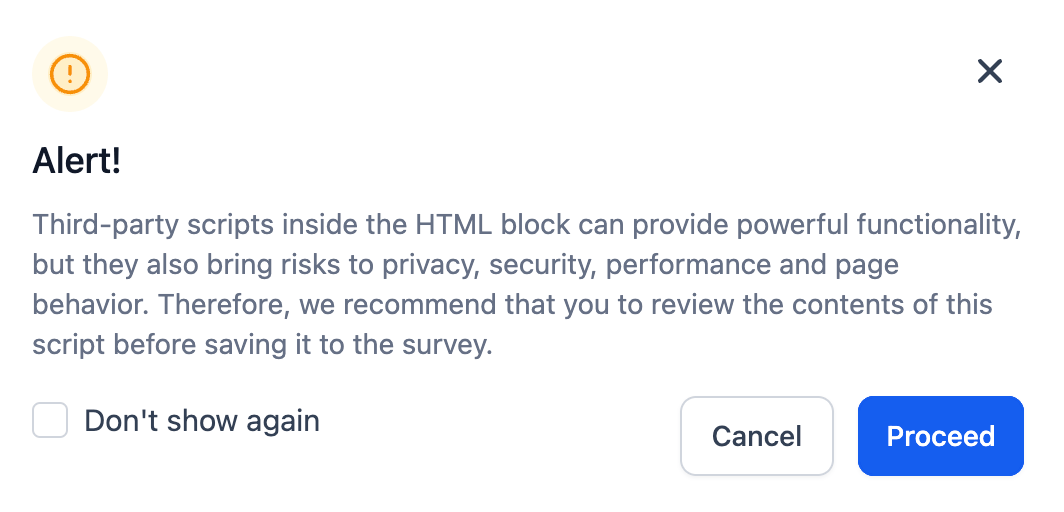
Finally, save the survey. An alert will show up, click on "Proceed" to save the changes.
-
Finish Funnel
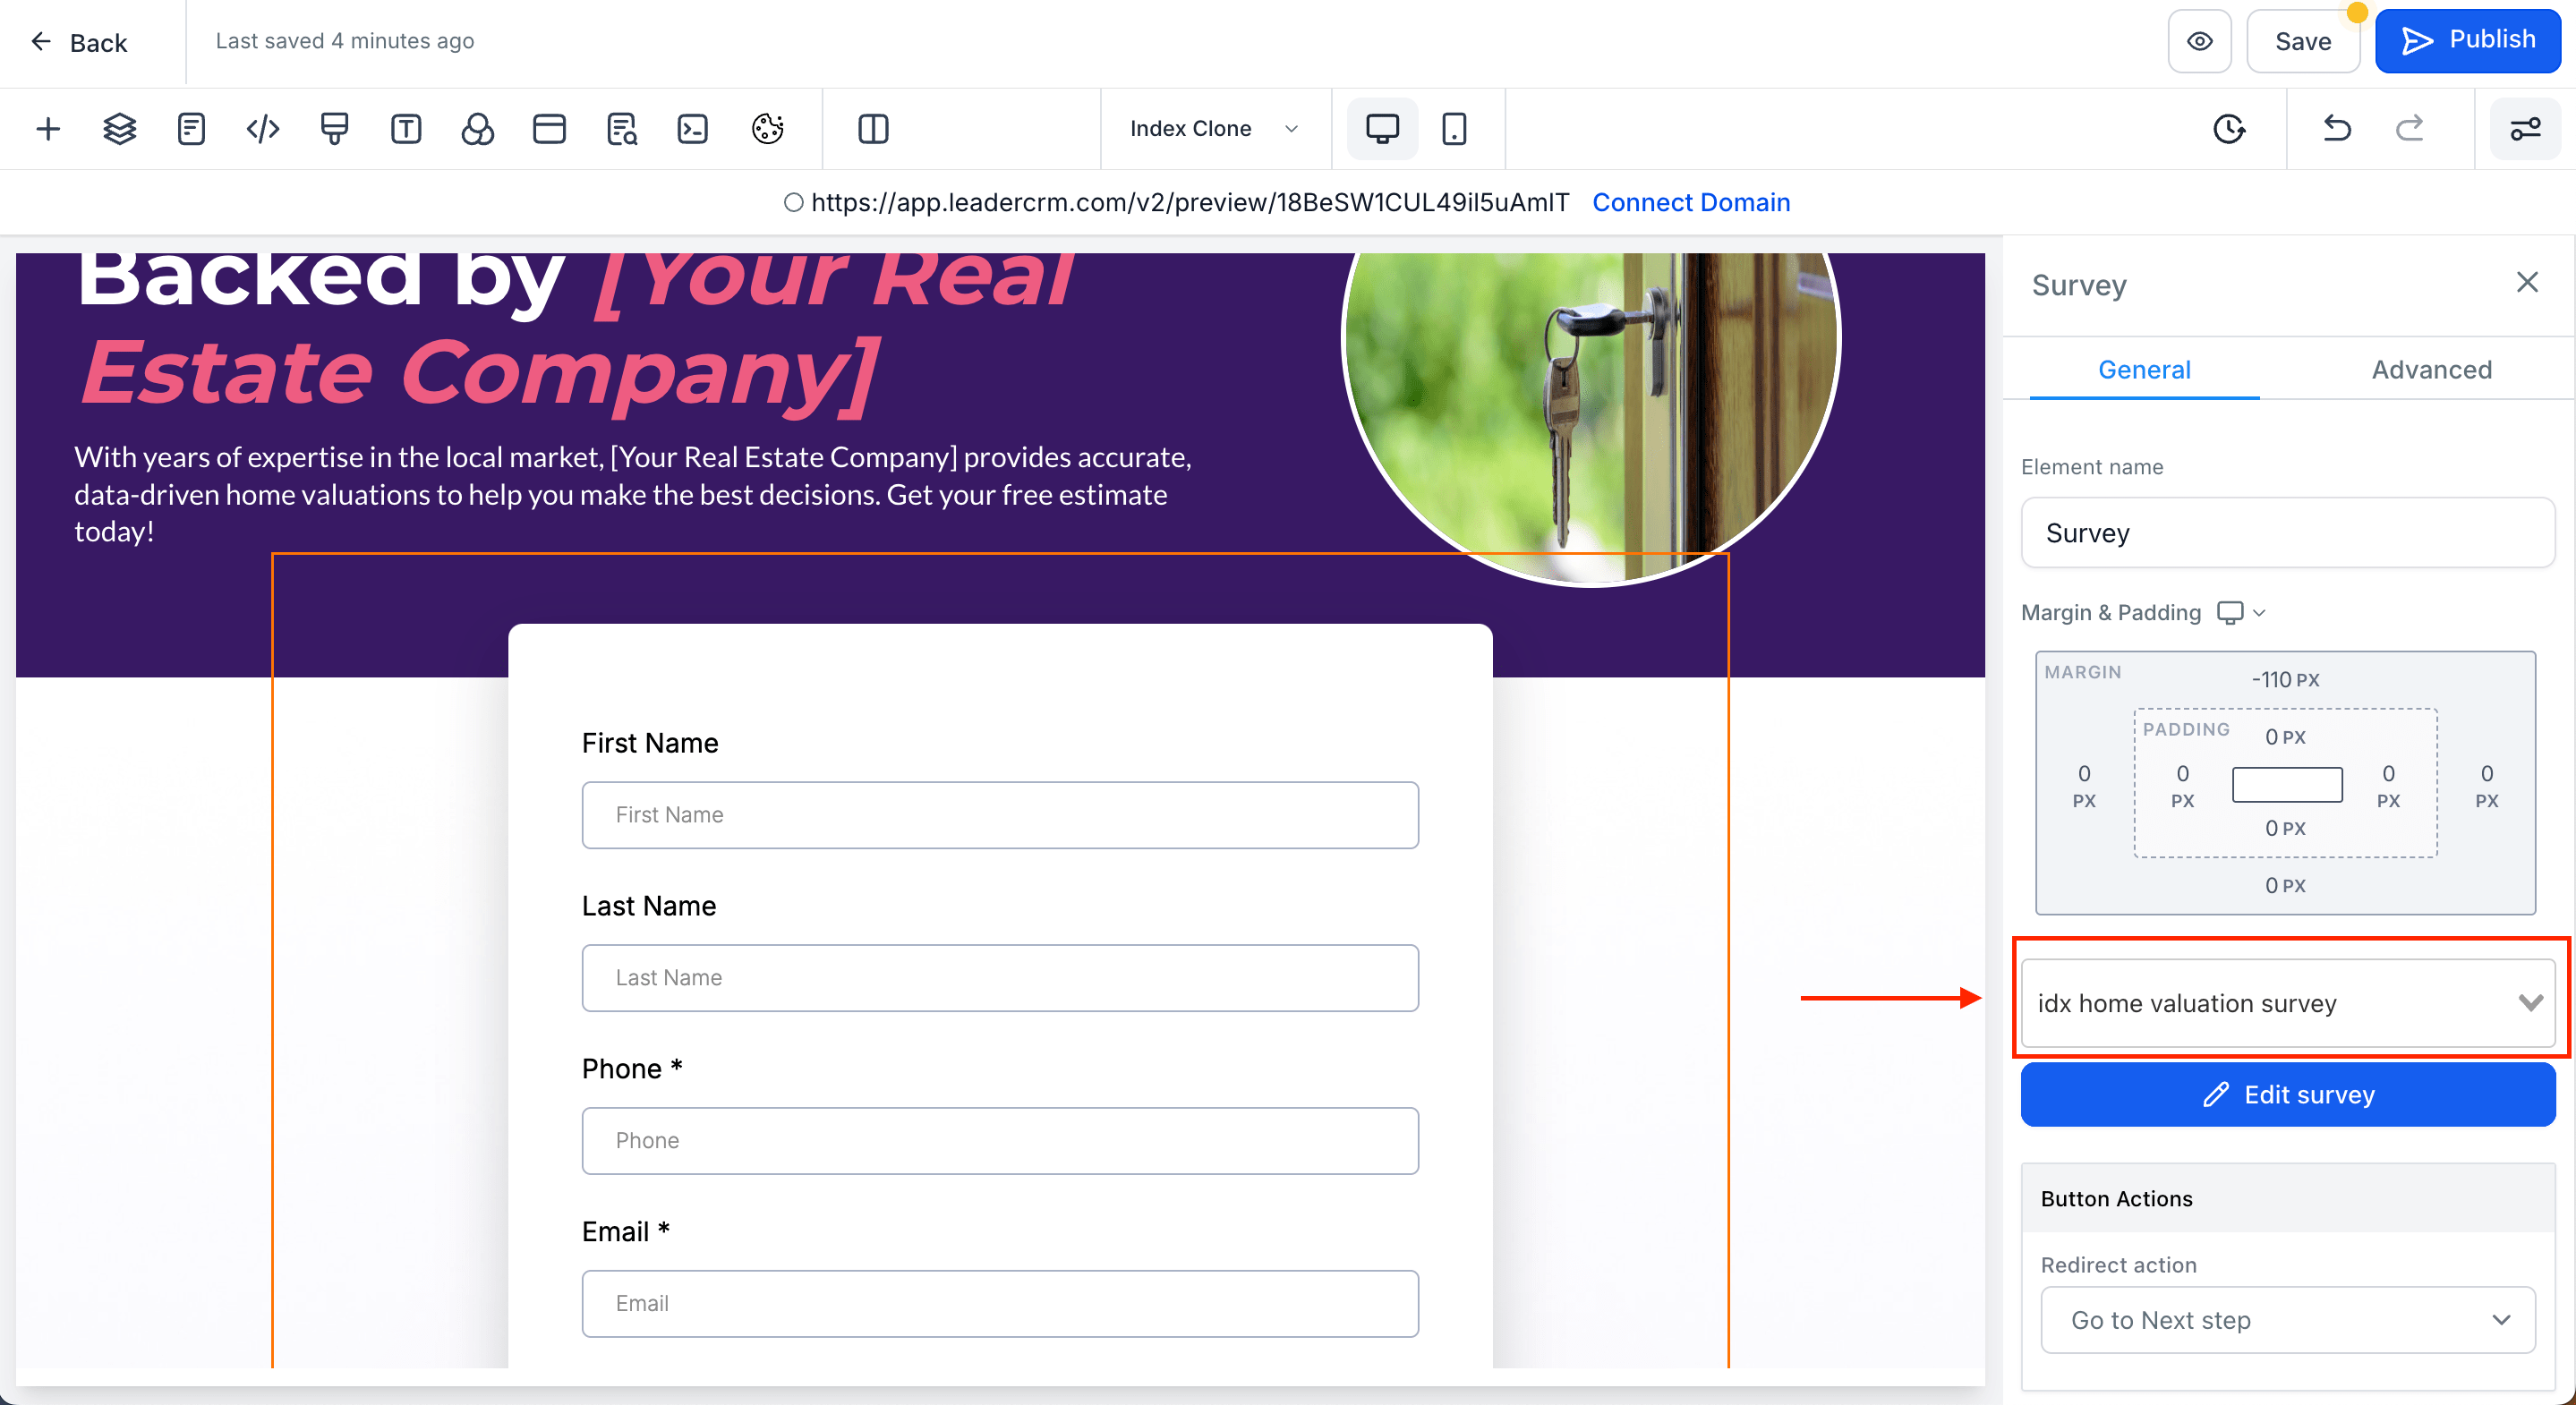
Go back to the funnel and edit the first step. Add the survey you just created.
-
Test funnel & workflow
Go to the funnel and click on "Preview Funnel"
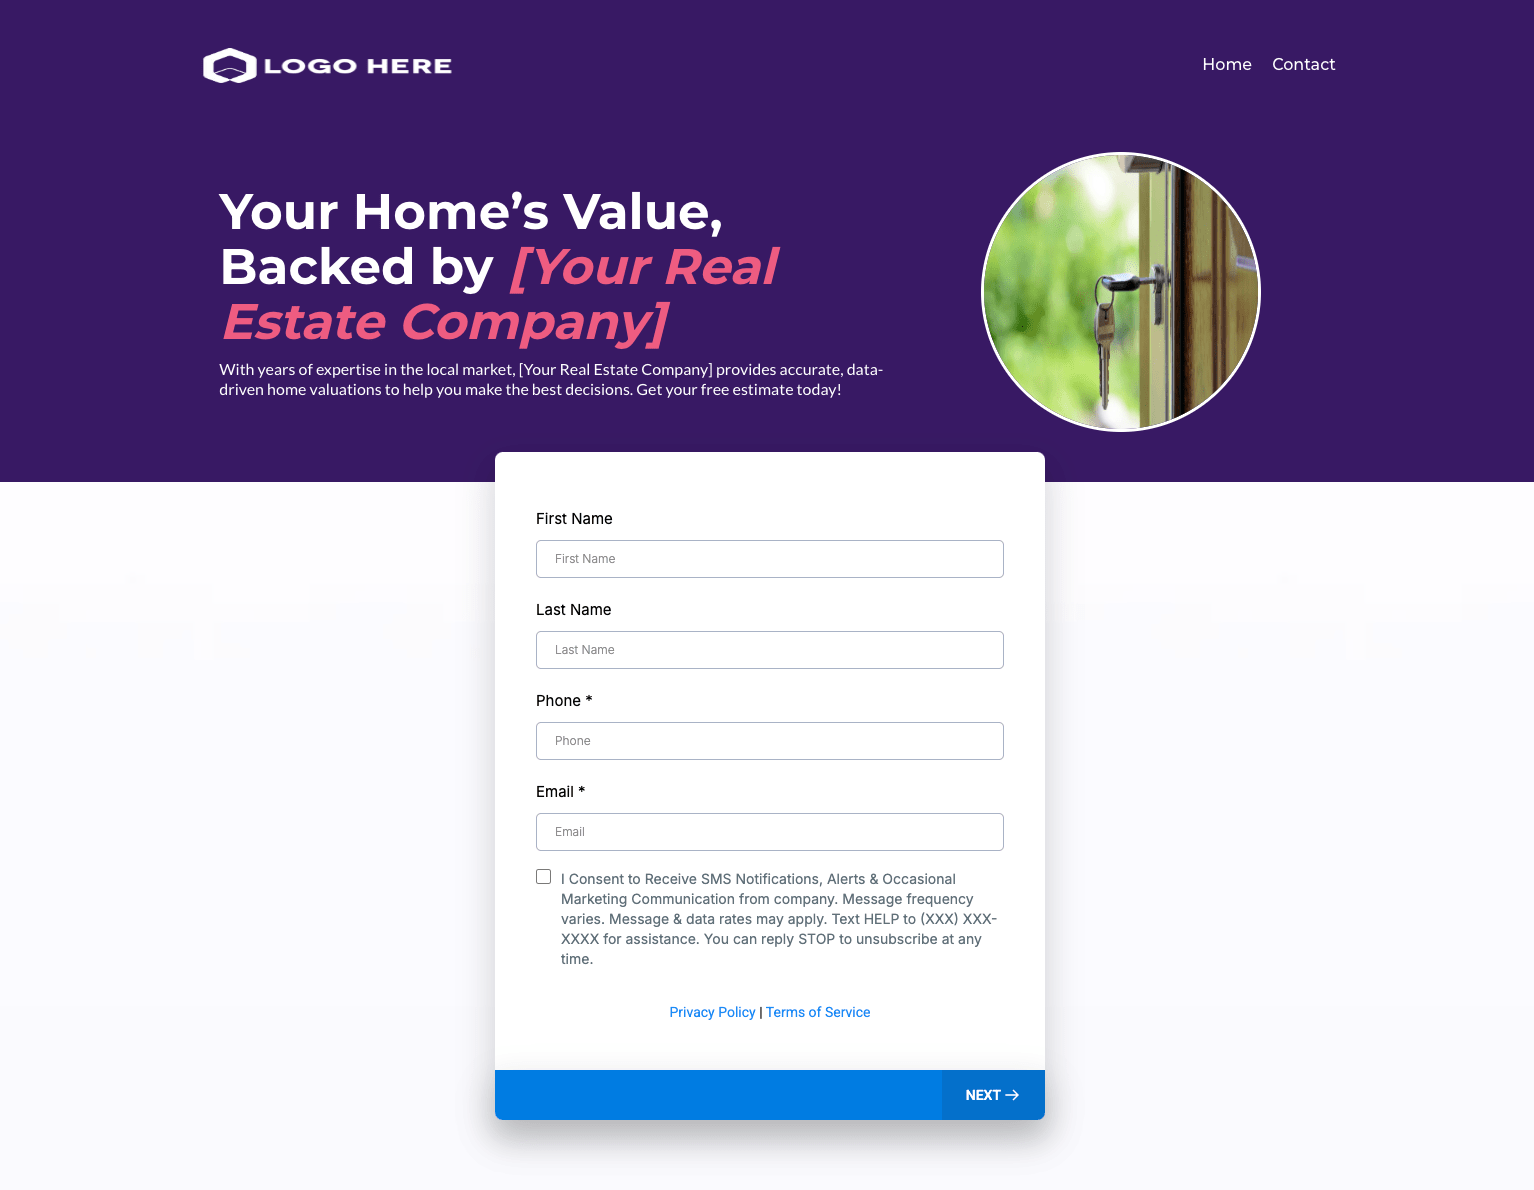
Fill out the survey and submit it.
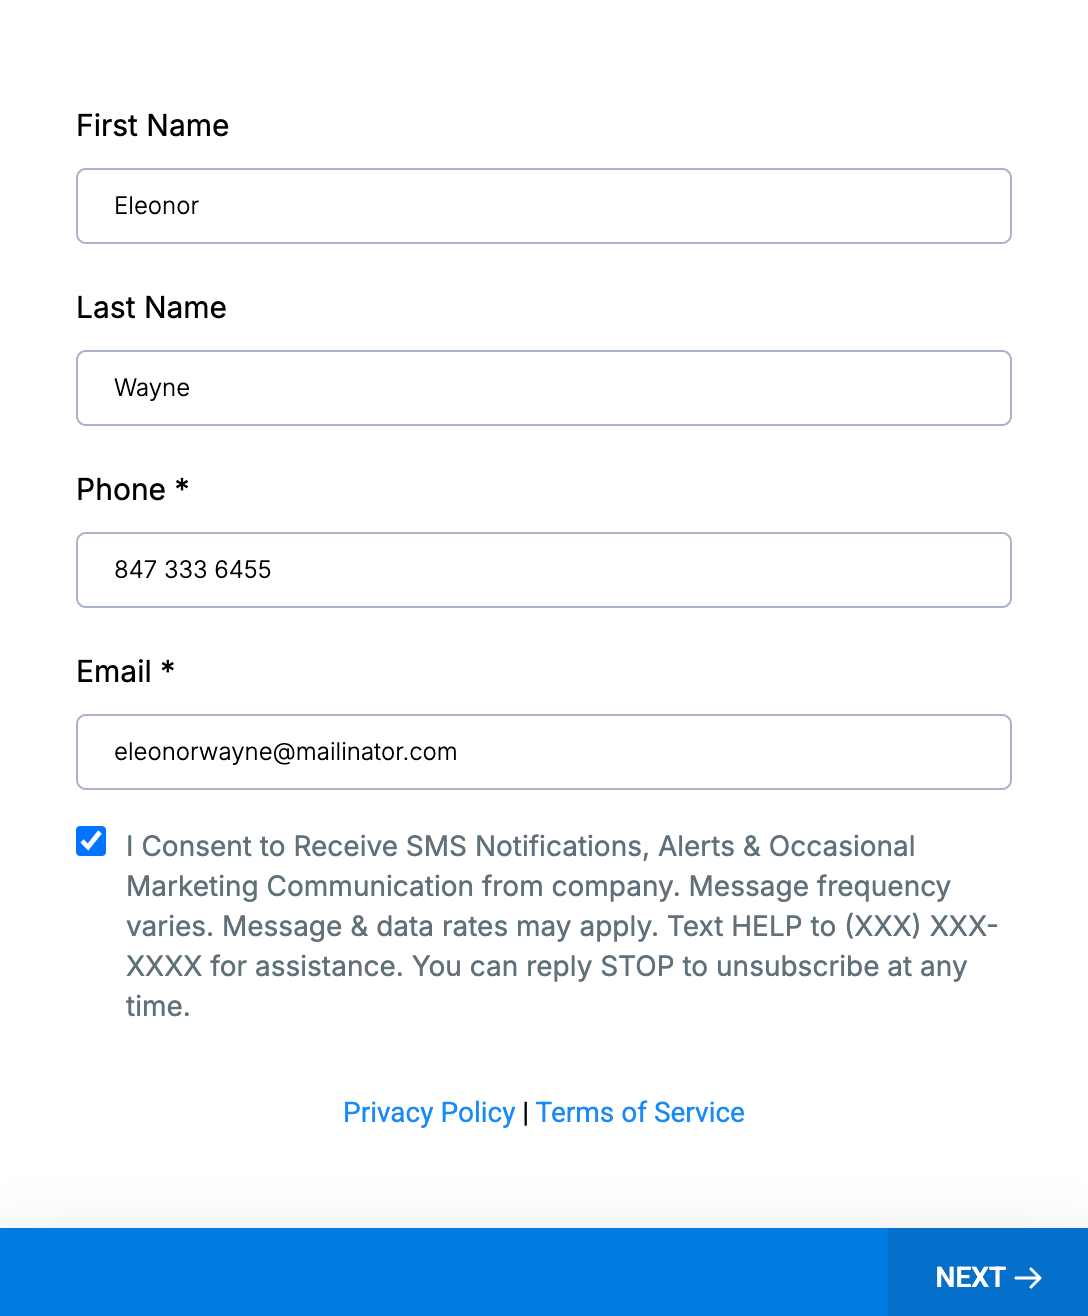
The second slide of the survey will show a field to enter the address of the property.
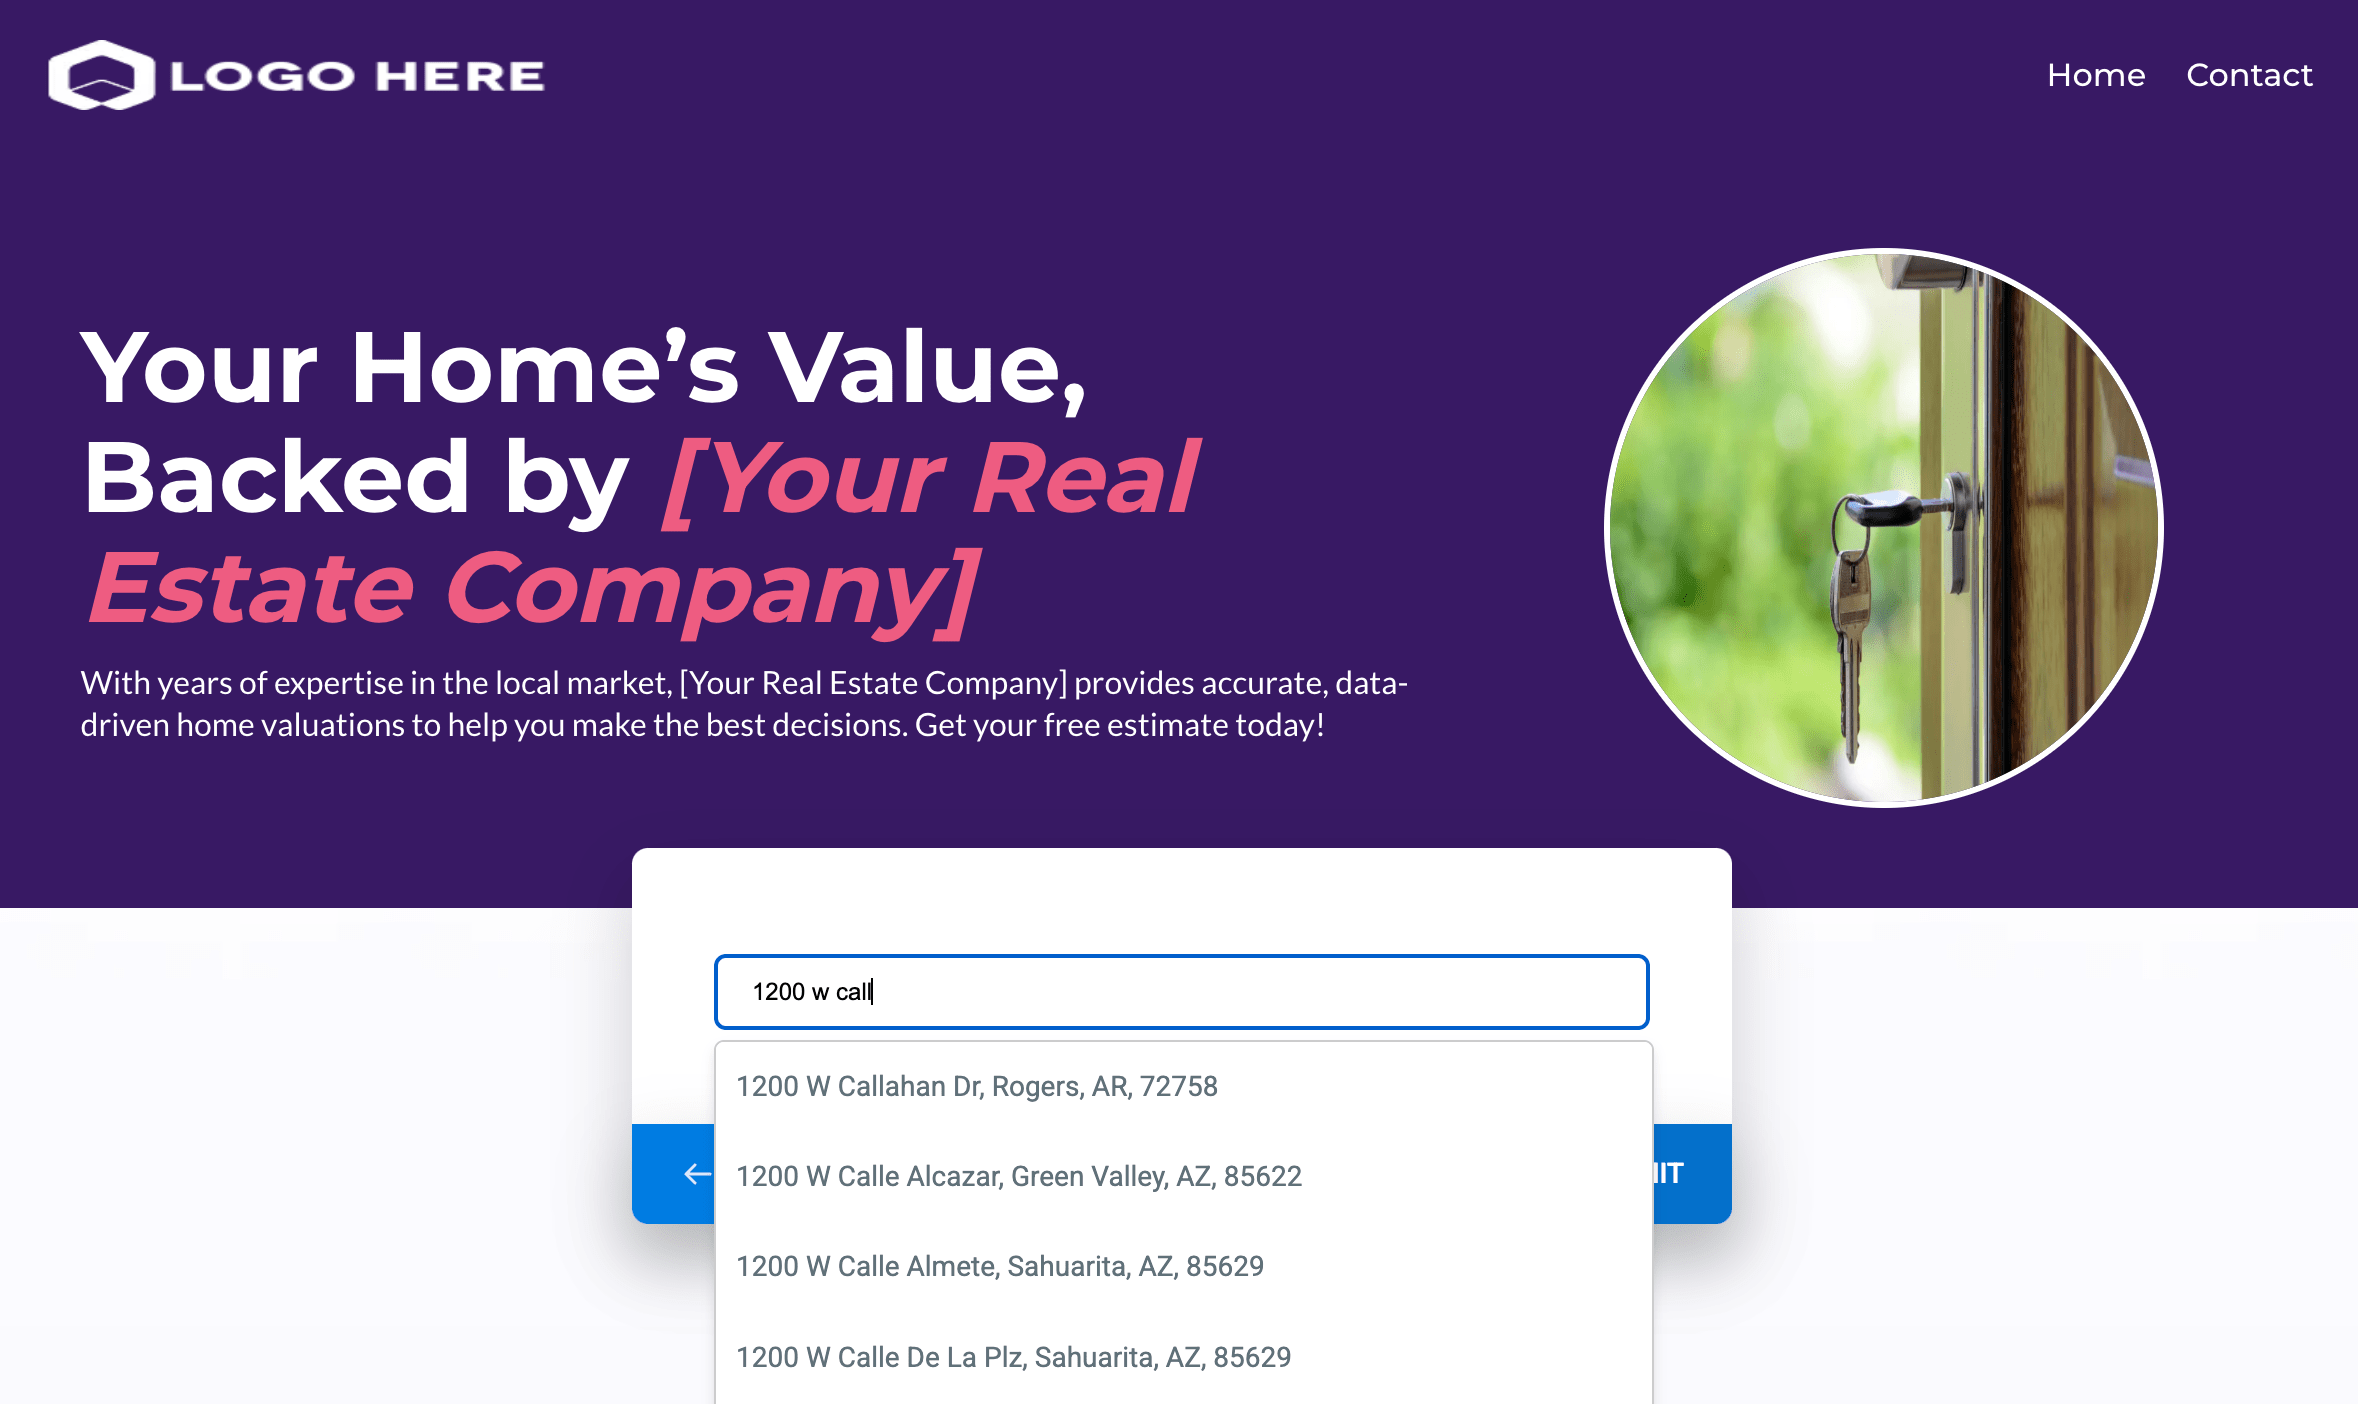
Start typing an address and select one of the suggestions.

Once submitted, you will see the success page with the home valuation.
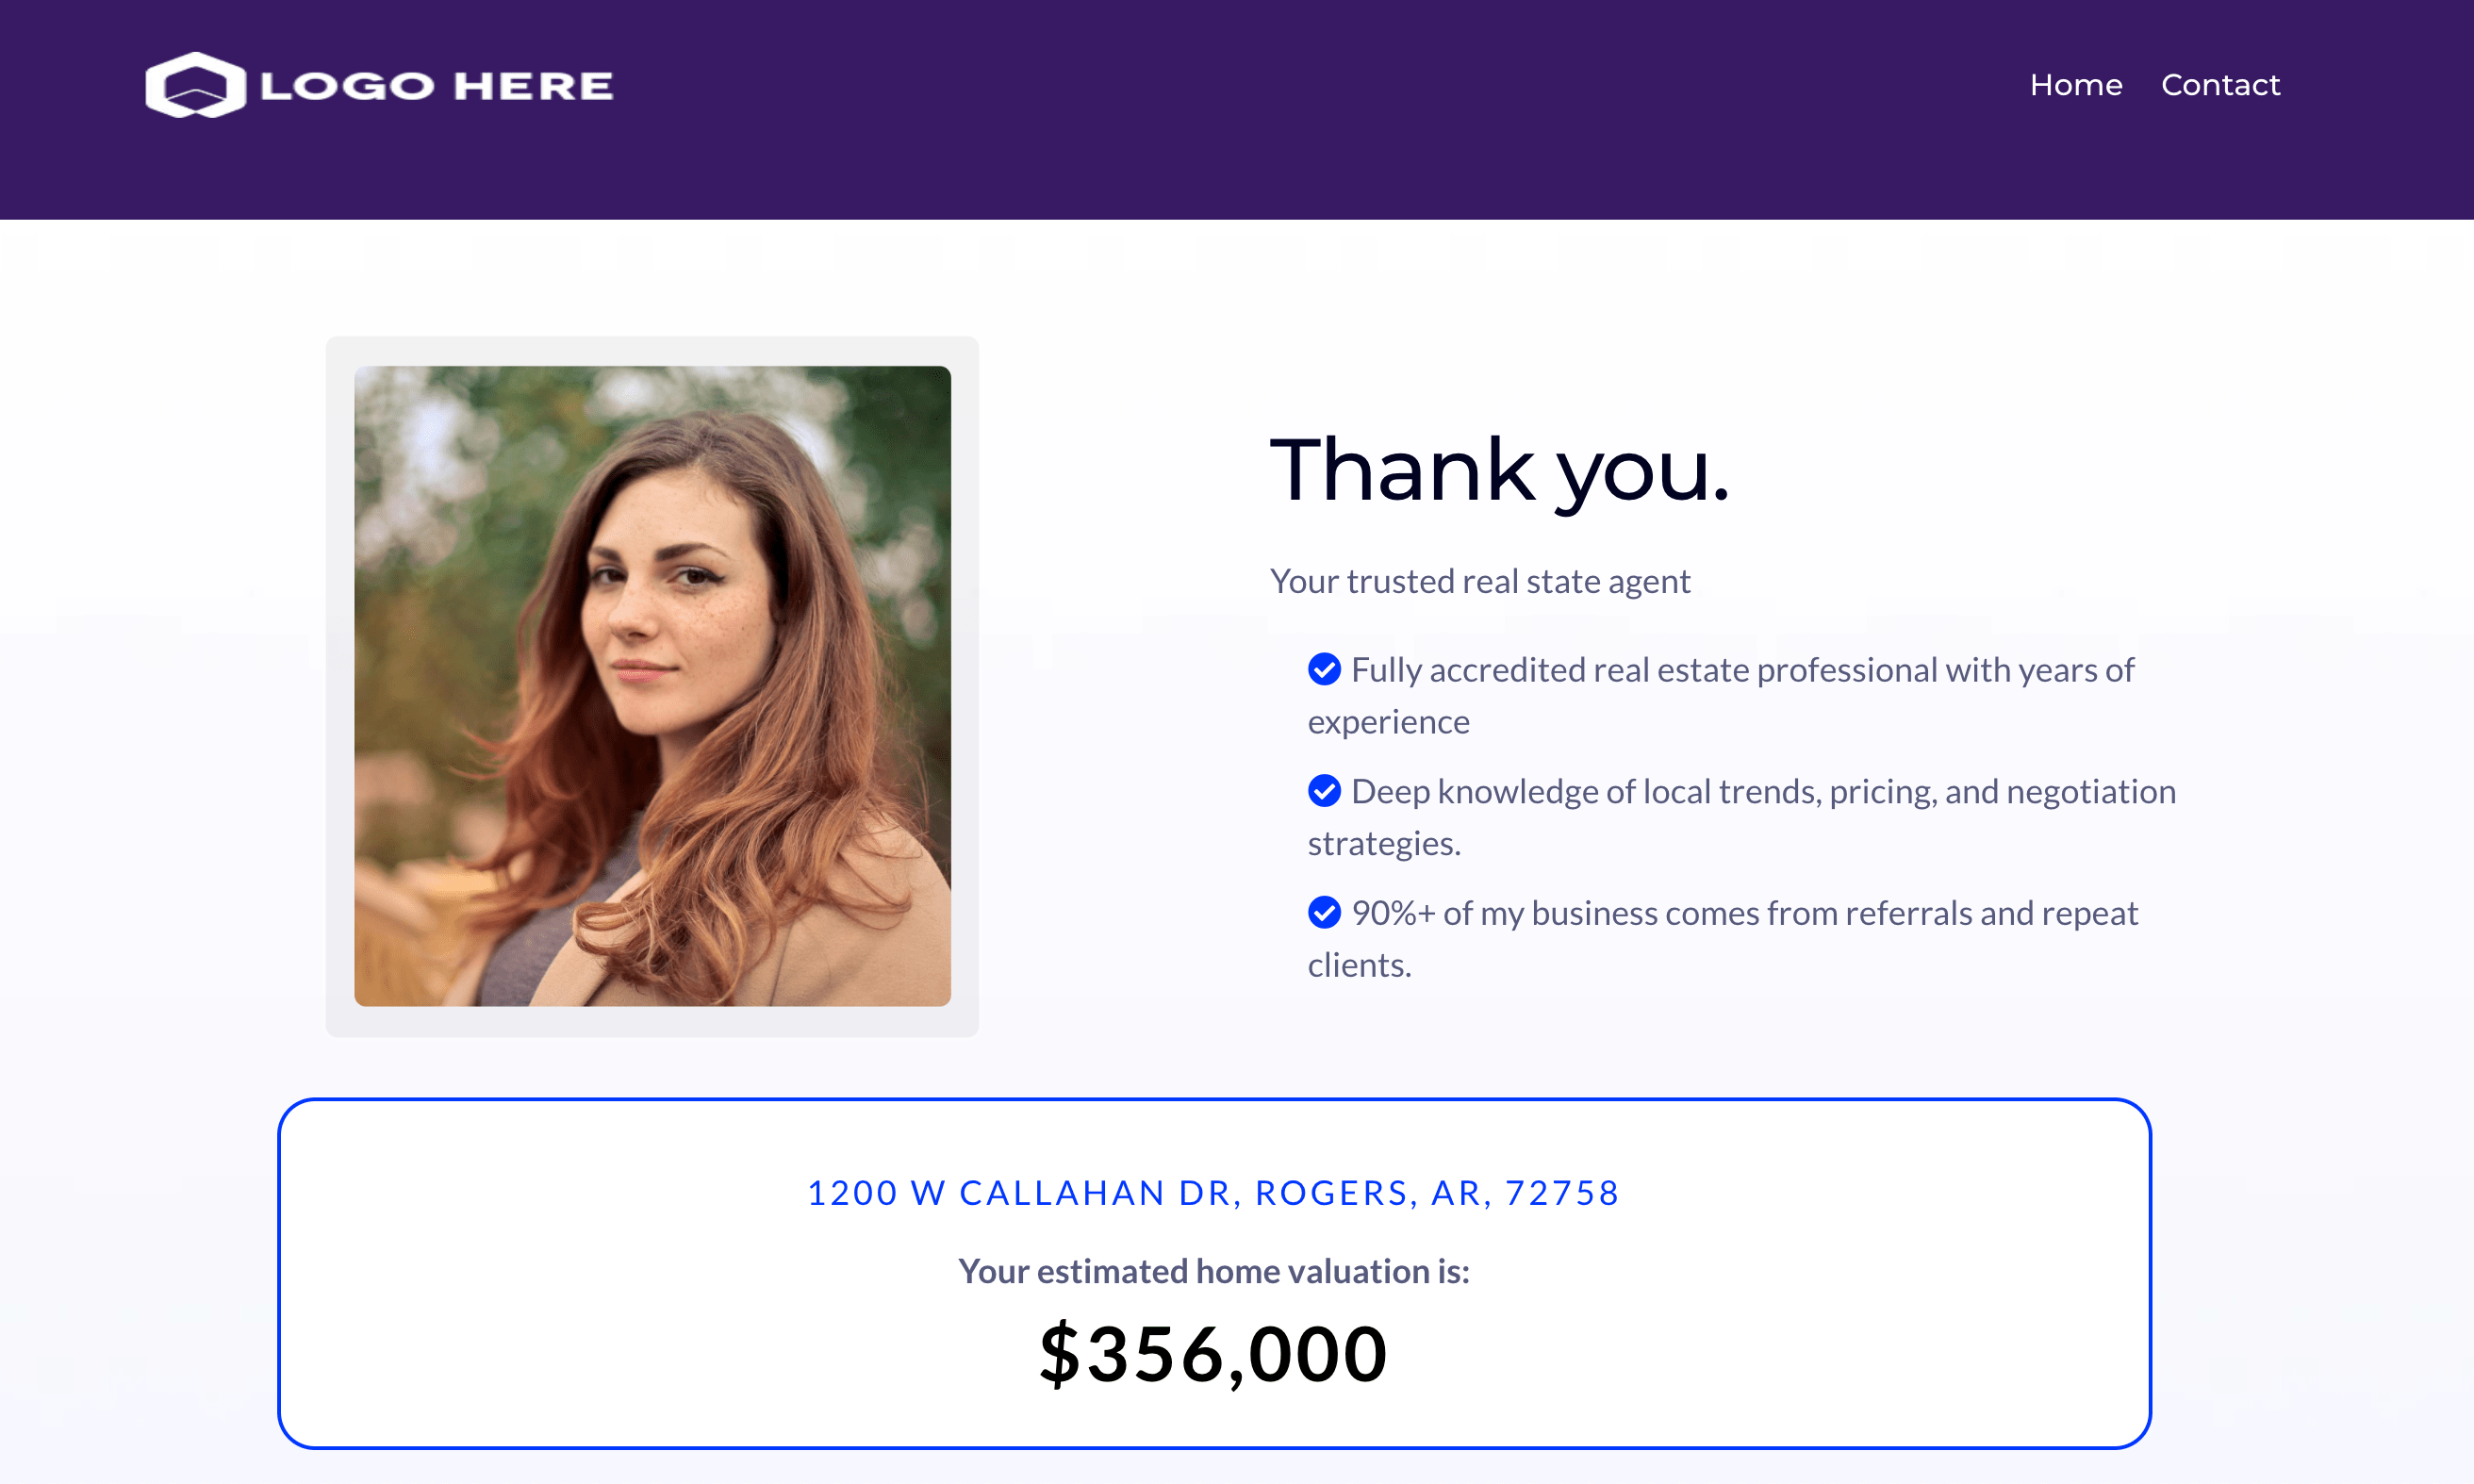
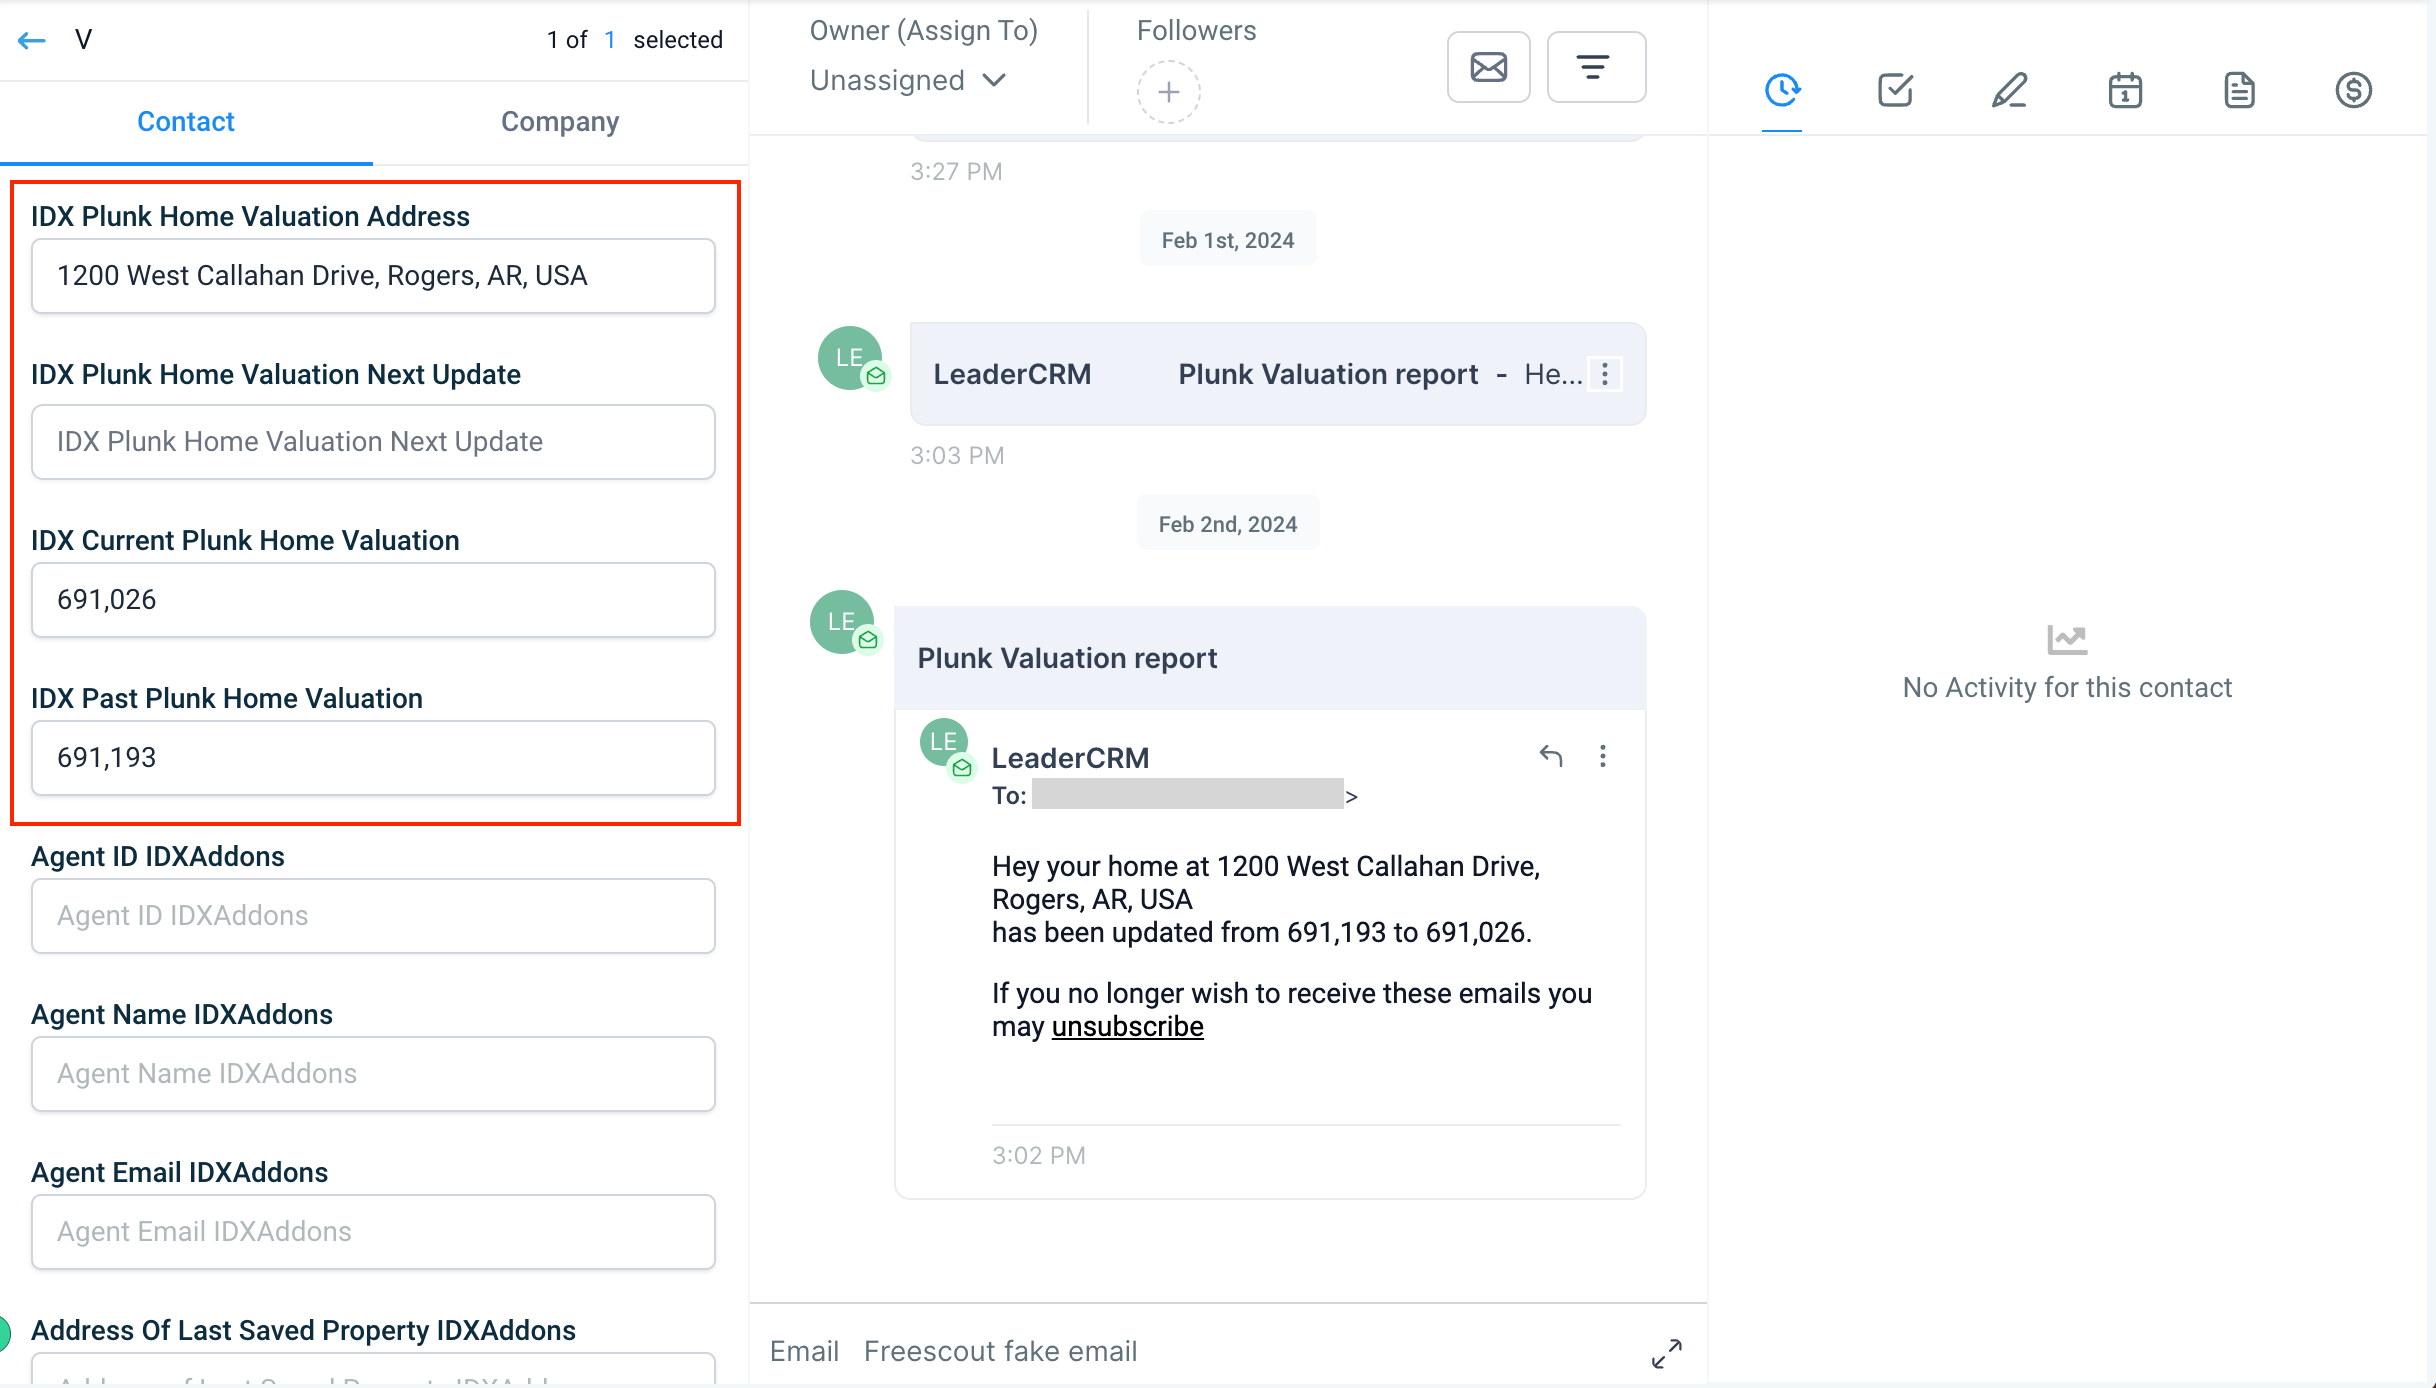
Your contacts will have the information stored in the custom fields IDX Current Plunk Home Valuation and IDX Plunk Home Valuation Address
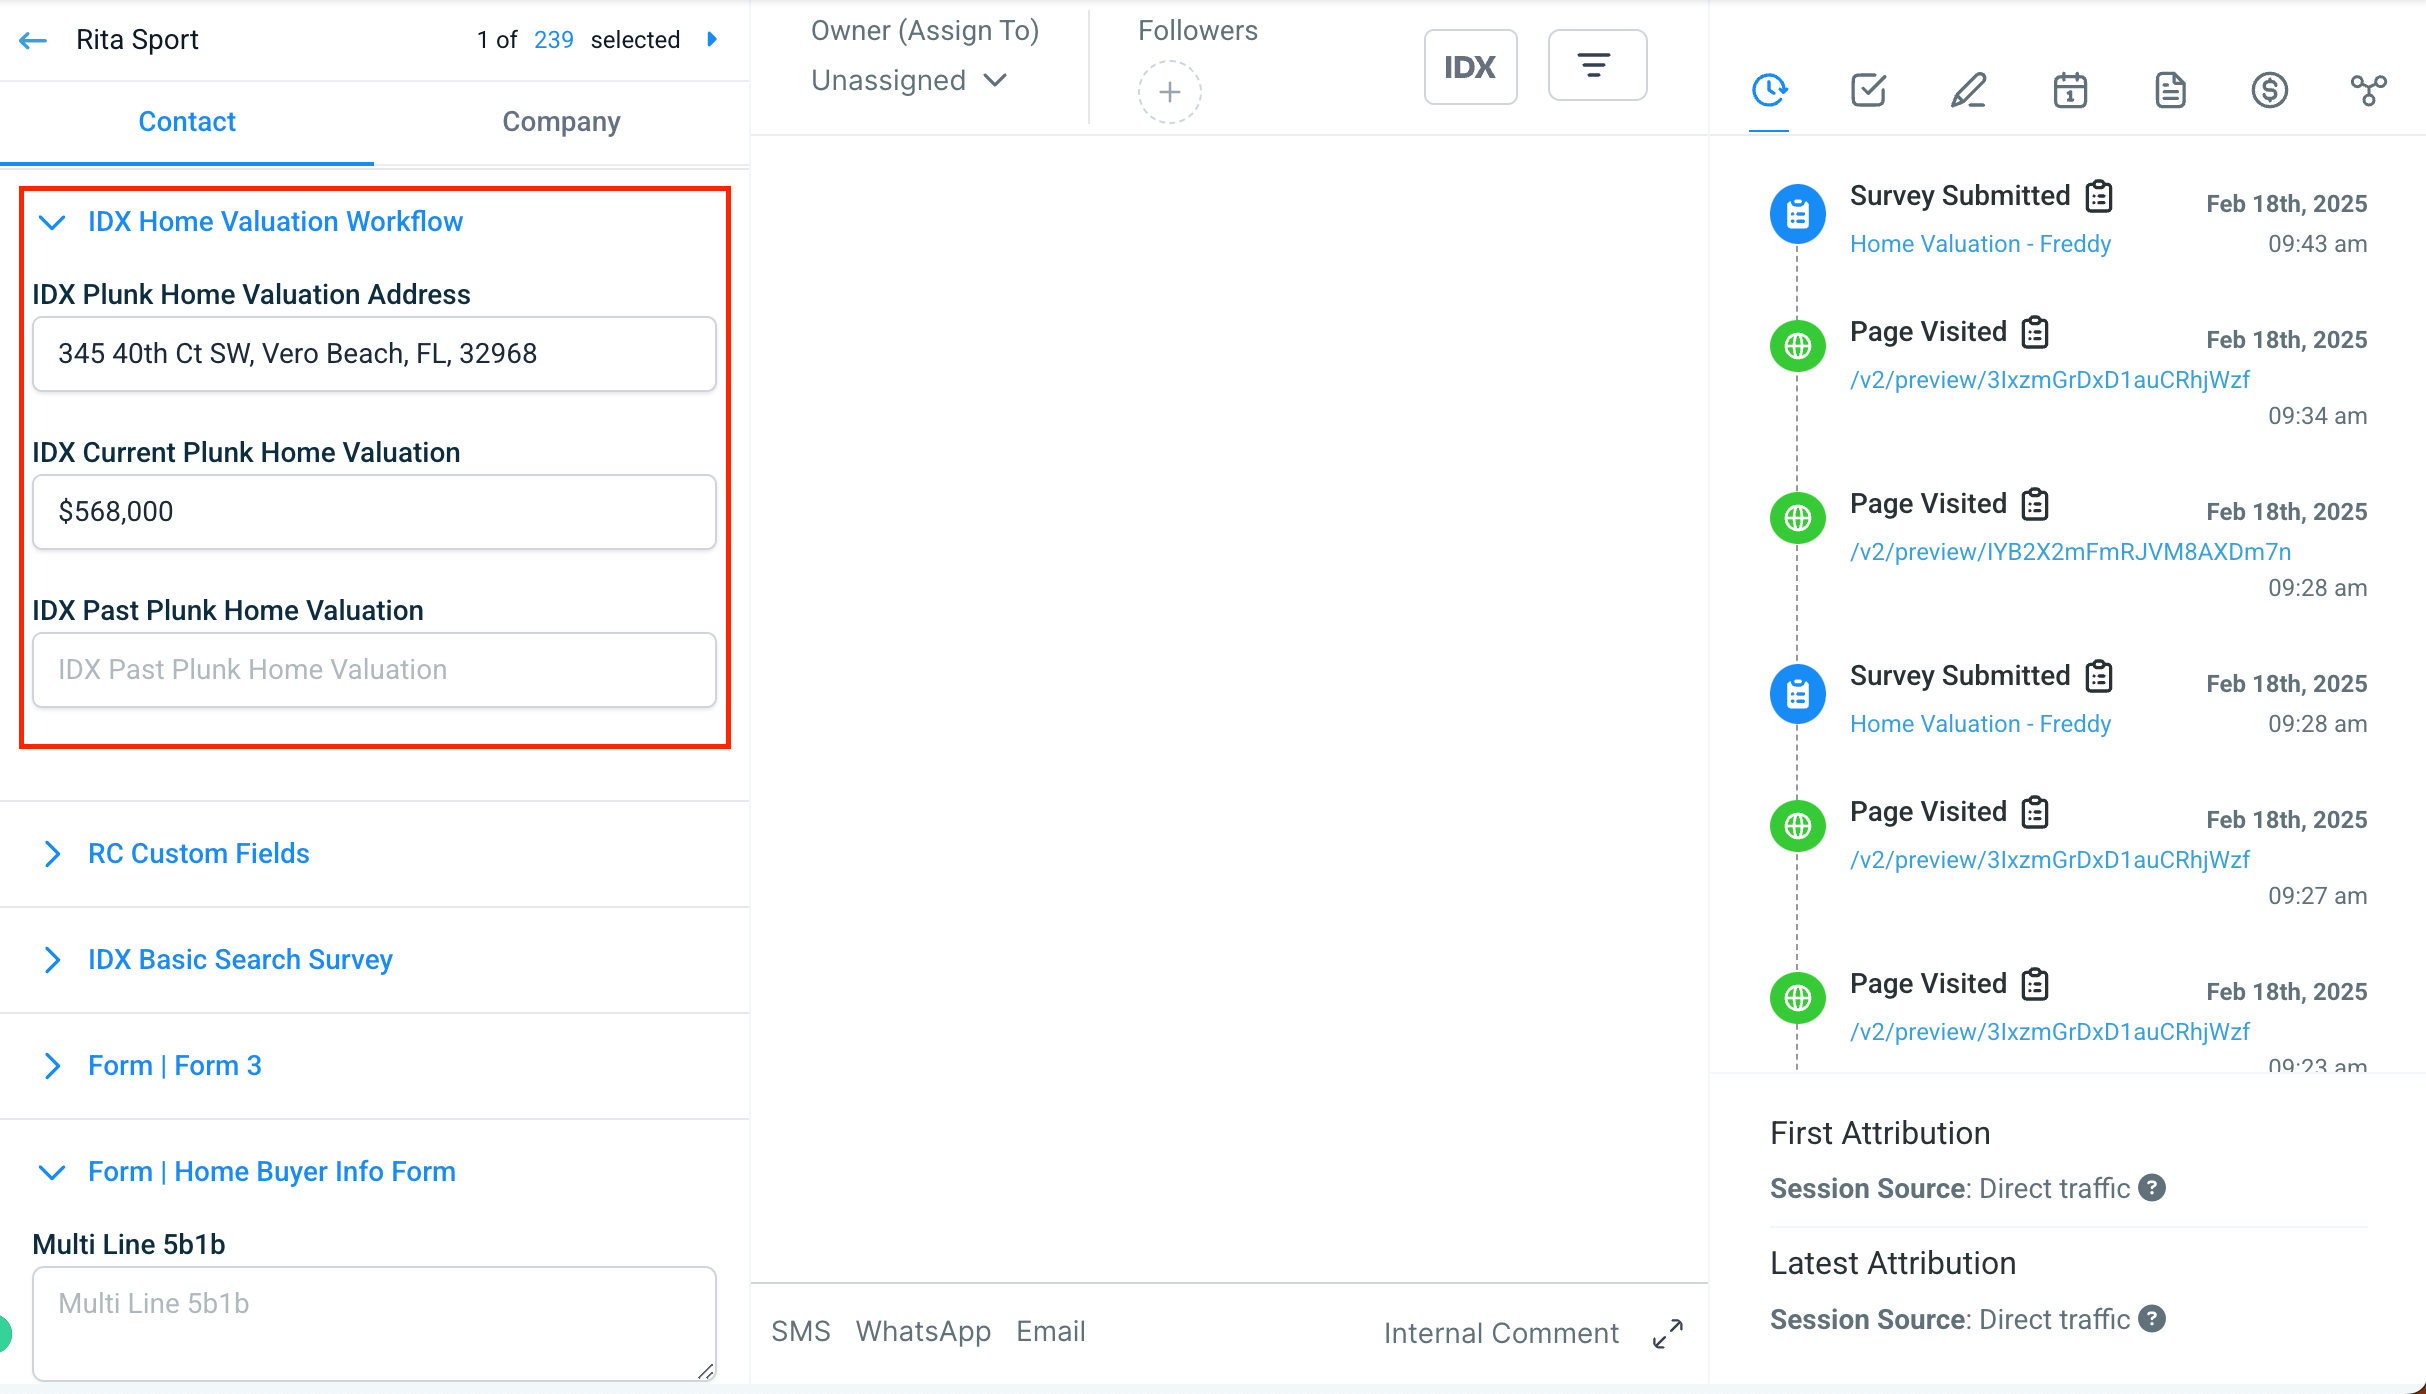
This will start triggering the workflow IDX Home Valuation and the contact will receive the home valuation updates directly from GHL.
To test this, in the workflow IDX Home Valuation, go to "Enrollment History" and click on "Force the contact to the next step in the workflow"

You will see the email sent to the contact with the valuation of the property.
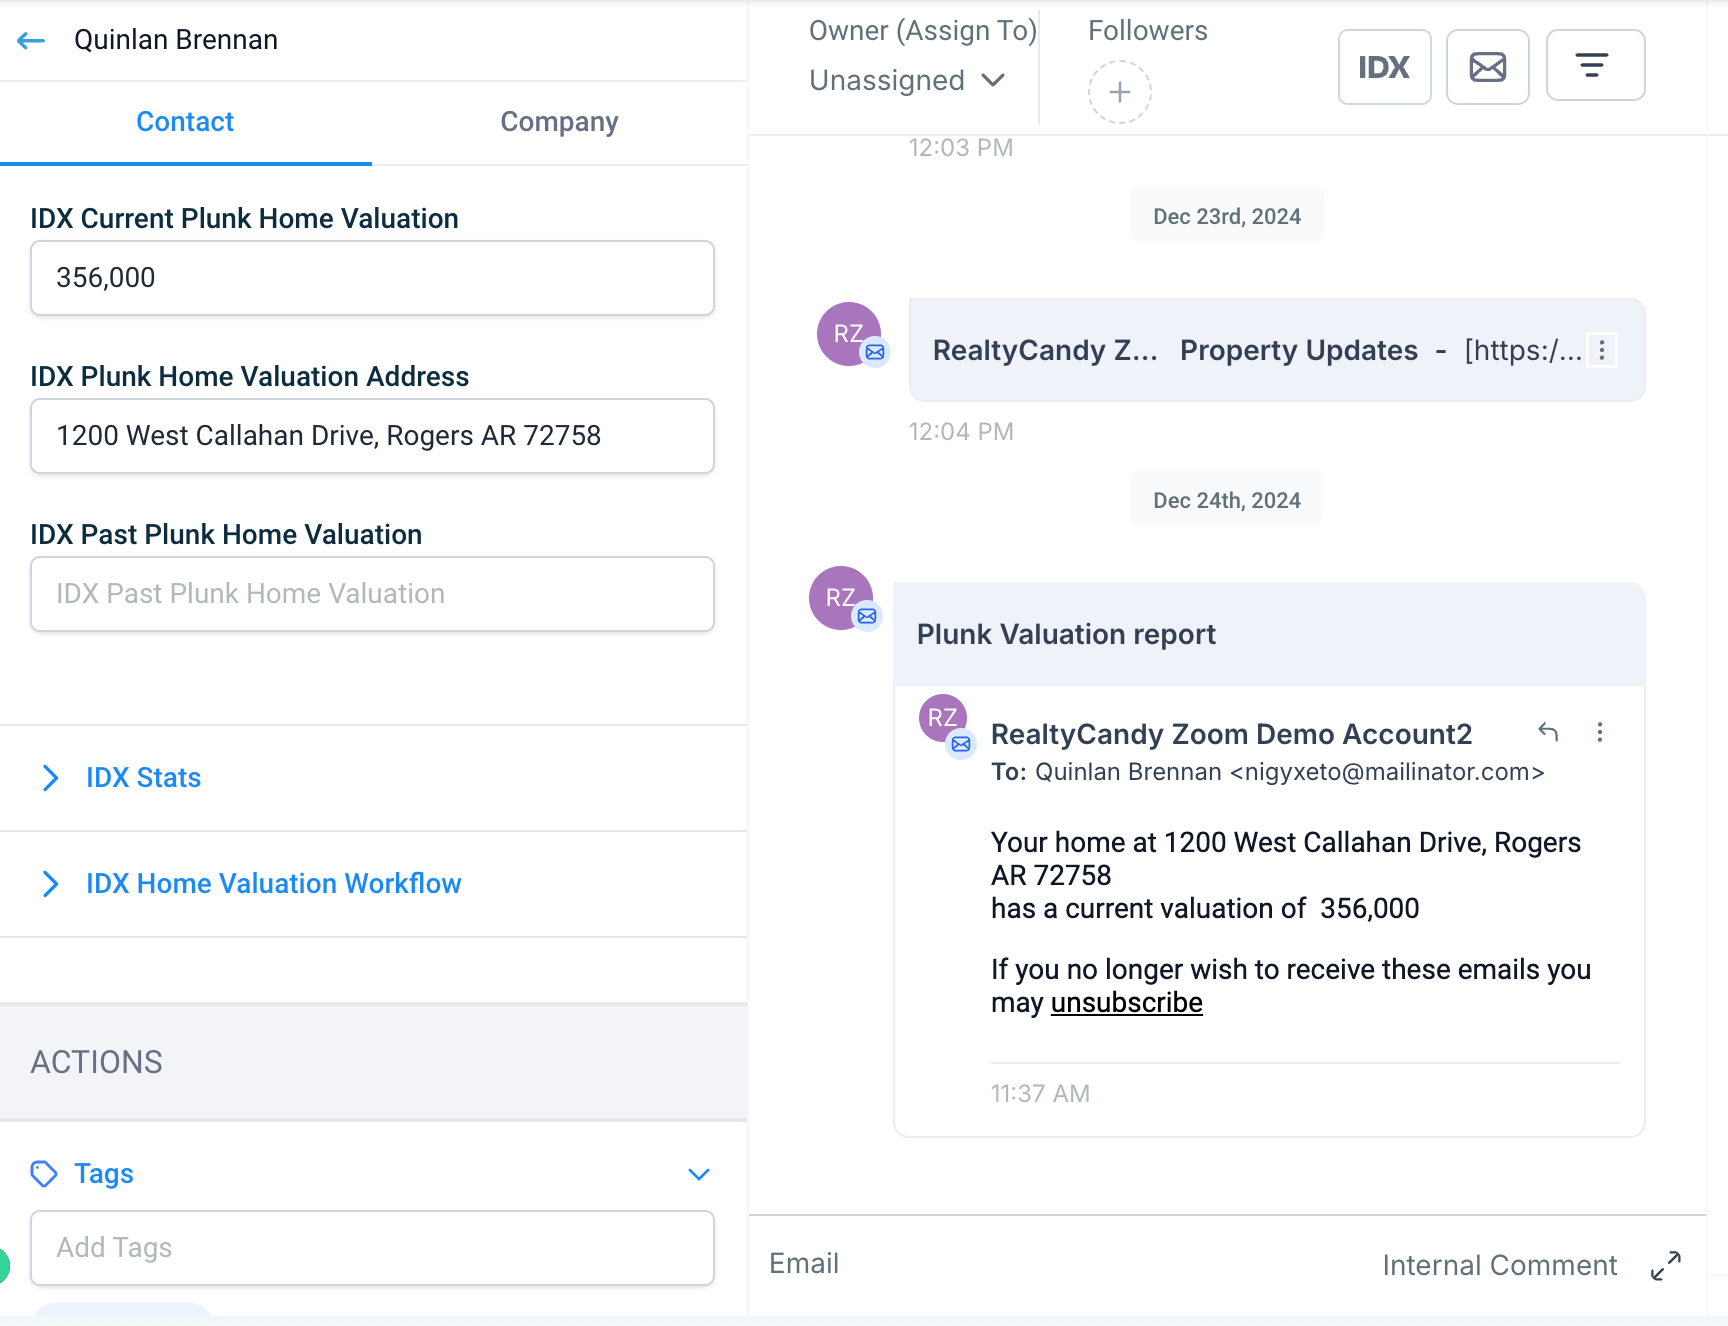
The next time a contact enters the workflow, the valuation will be sent to them with the address entered in the custom field, the current and the last home valuation.
