-
Create custom fields
The first step is to set up custom fields to store the details of your featured listings for each contact.
Go to the app HighLevel - Send Featured Listings to contacts
Click "Install" and wait for it to complete.

Here's the list of custom fields that will be created:
- Featured Listing Image URL: https://example.com/images/listing123.jpg
- Featured Listing Price Formatted: $350,000
- Featured Listing Full Address: 123 Main St, Springfield, IL 62704
- Featured Listing Beds: 3
- Featured Listing Baths: 2
- Featured Listing Sqft: 1,800
- Featured Listing Description: Beautiful 3-bedroom home with modern finishes and a spacious backyard.
- Featured Listing Address: 123 Main St
- Featured Listing City: Springfield
- Featured Listing State: IL
- Featured Listing Zipcode: 62704
- Featured Listing Property Type: Single Family Home
- Featured Listing Details URL: https://example.com/listings/123
- Featured Listing ID: listing123
-
Load featured listing data to your contacts
Find the featured listing you want to email in the table.
Click the "+" sign in the last column of that row.

A window will open on the right. Search for a contact in your HighLevel account.

Clicking on it will automatically send all the featured listing data as custom fields to the contact.

-
Create your template
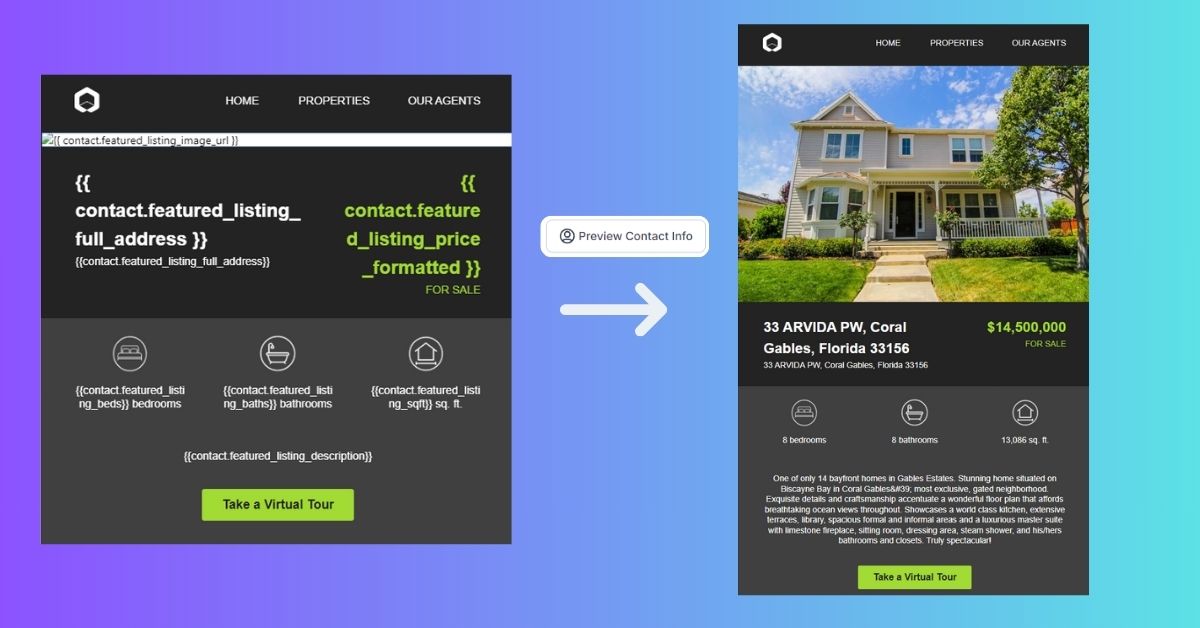
Now that you have the featured listing information in your contacts, the next step is to create a template using your custom fields.
In HighLevel, go to Marketing > Templates and click on "Create Template." You can either create a blank template or use an existing one.

Select a template from the Real Estate category.

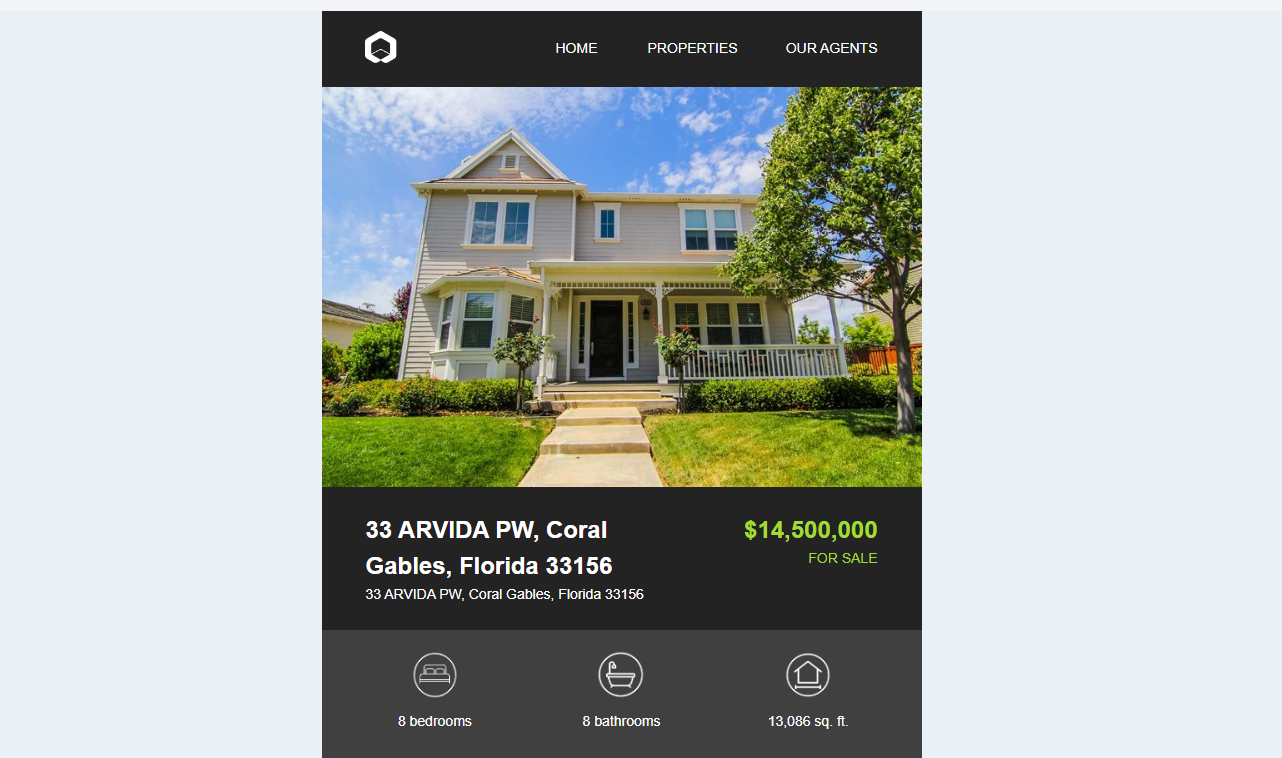
Once the template is created, you can use the custom fields to fill in the information. You can also use the new feature to preview the template and see how it will appear to a contact.
For the featured listing image, you can use the custom field {{ contact.featured_listing_image_url }}, which stores the URL of the image.
And that's it! You’re now ready to send your featured listings by email.
How to send featured listings to my contacts in HighLevel
- Last Updated Dec 07, 2024
In this guide, we'll explain how to send your featured listings to your contacts using custom fields.
