Tutorial
Tutorial - send GHL contacts to IDX Broker and assign a saved link
Last Updated: April 30, 2025
Set up a workflow in your LeadConnector account to automatically send your LeadConnector contacts to IDX Broker and assign them an IDX Broker saved link. This will allow to setup a default saved search for your contacts in case they fill out a form or have an specific tag in HighLevel.
Video Guide
Important:
- Make sure you have replaced the Saved Link ID with the one you want to assign.
- This workflow is only an example and you can customize it to your needs.
- The Drip action is very important because it allows the workflow to avoid making multiple requests to the webhook in a short period of time and reaching your IDX Broker API limit.
-
LeadConnector Workflows
In HighLevel, go to the Workflows page.

Select the option "Start from scratch".

This is how the new workflow page will look.

-
Workflow Trigger
Click on "Add New Trigger", select "Contact Created" and click on "Save Trigger".

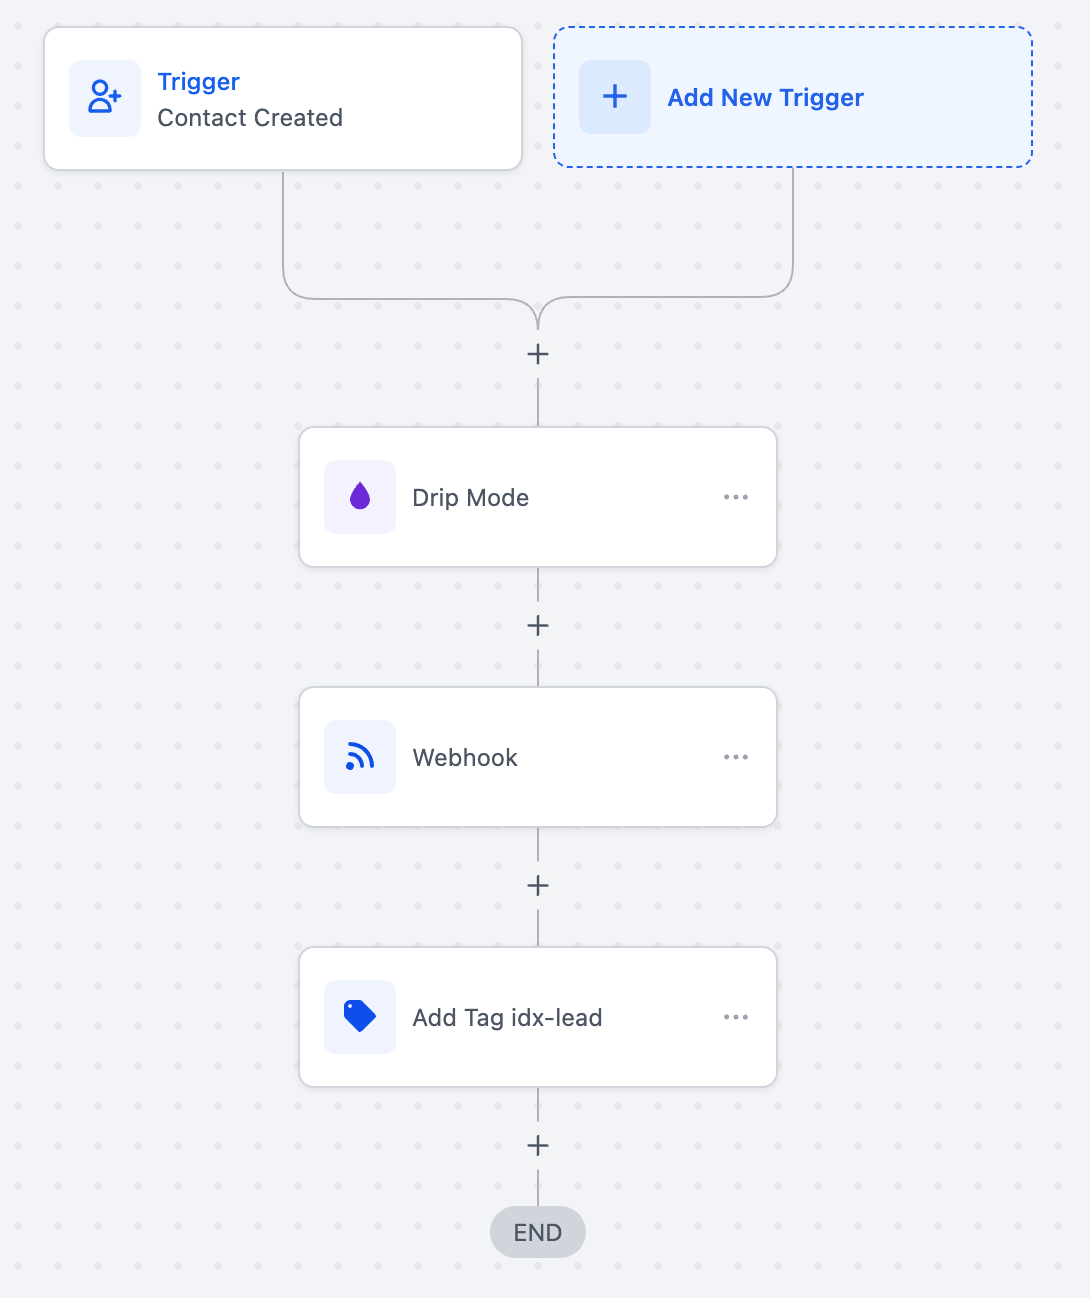
After saving the selected option, this is how the workflow will look.

-
Drip Action
Click on the "+" action circle to add a new action.

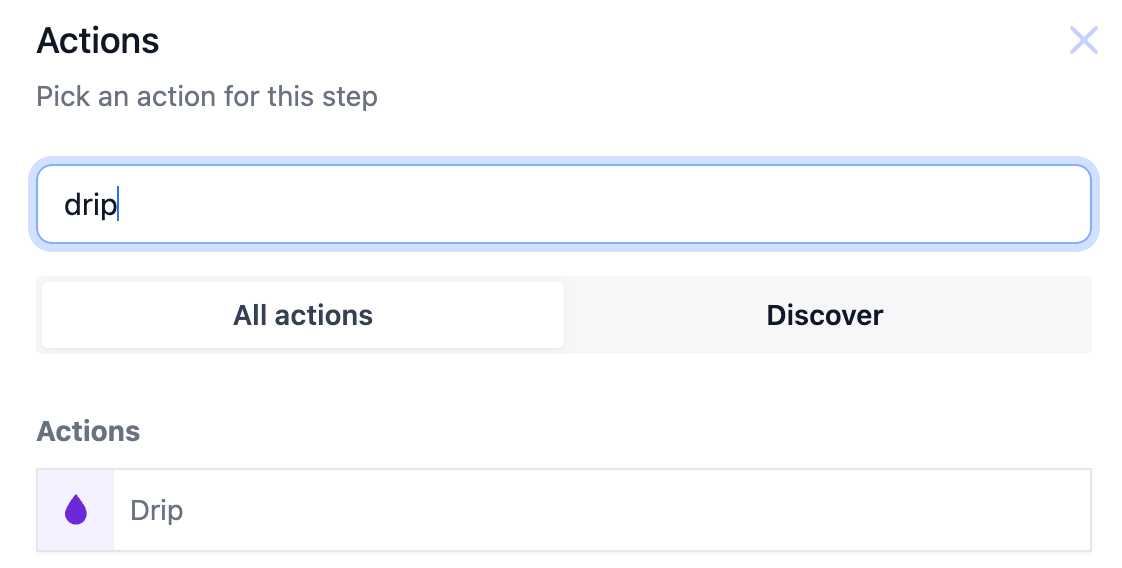
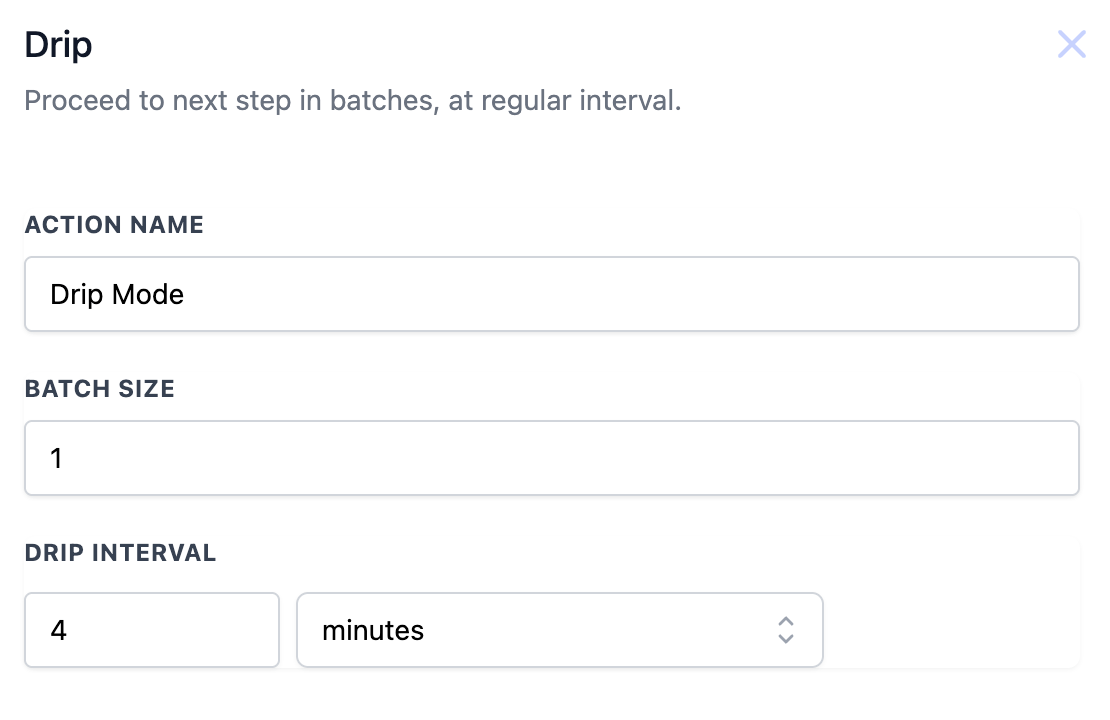
Add a Drip action to the workflow. This action will be used to send the contact to IDX Broker after a delay of 4 minutes.
This step is very important because it allows the workflow to avoid making multiple requests to the webhook in a short period of time and reaching your IDX Broker API limit.
We recommend setting the delay to 4 minutes, using a batch size of 1. This will ensure that the workflow sends each contact that enters the workflow to IDX Broker one at a time.
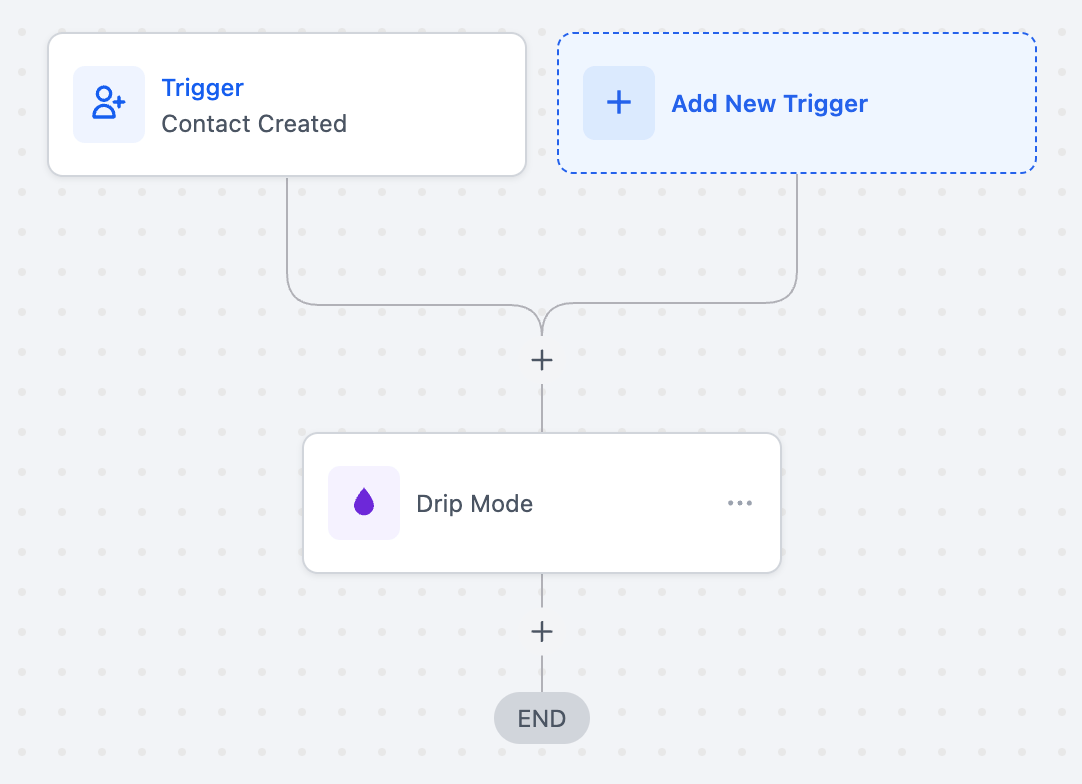
This is how the workflow will look after adding the Drip action.
-
Webhook
Click on the "+" action circle to add a new action.
Look for the "Webhook" action and click on it.

Fill in the required fields with the following information:
- Action Name: Webhook
- Method: POST
- URL: Get your URL

The URL will look something like this:
https://idxaddons.com/webhook/ghl-workflows.php?action=user_created&hash={{custom_values.idxaddons_hash}}&location={{location.id}}&assigned_search=REPLACE_SAVED_LINK_IDReplace the
REPLACE_SAVED_LINK_IDwith the saved link ID you want to assign to the contact.To get the saved link ID, go to your IDX Broker account under Design > Website > Saved Links and look for the saved link you want to assign to the contact. The ID will be in the first column.
In this example, we will use the "Palm-Beach" saved link with ID 65166.

So the URL will look like this:
https://idxaddons.com/webhook/ghl-workflows.php?action=user_created&hash={{custom_values.idxaddons_hash}}&location={{location.id}}&assigned_search=65166Make the necessary changes to update your Key and Saved Link ID.
Now let's add Custom Data to the webhook. Click on "Add item" and a new Key and Value field will appear.

Enter the following information:
- Key: contact_id
- Value: click on the label icon and a list of available fields will appear. Select Contact > First Name from the list.

Do the same with the following fields:
- first_name - Contact's First Name
- last_name - Contact's Last Name
- email - Contact's Email
- phone - Contact's Phone
- contact_id - Contact's ID
Click on "Save Action".

After saving the webhook, this is how the workflow will look.
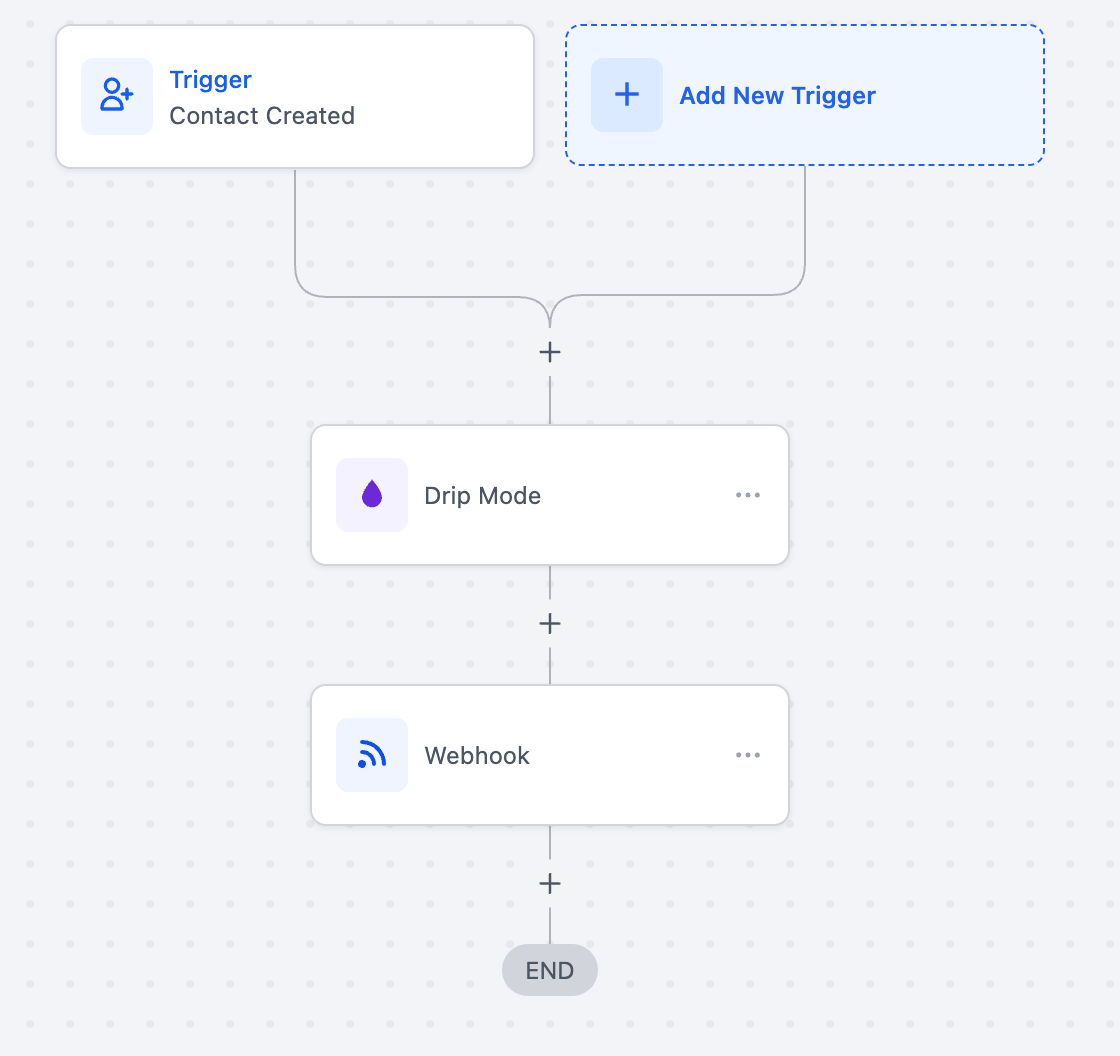
Now we need to add a new action to add the tag "idx-lead" to the contact. Click on the "+" action circle to add a new action and look for the "Add Tag" action. Click on it and fill in the required fields.

This is how the workflow will look after adding the tag.
-
Publish the workflow
Change the name of the workflow and publish it by turning on the toggle button. Don't forget to save the changes by clicking on the "Save" button at the top right section of the screen.
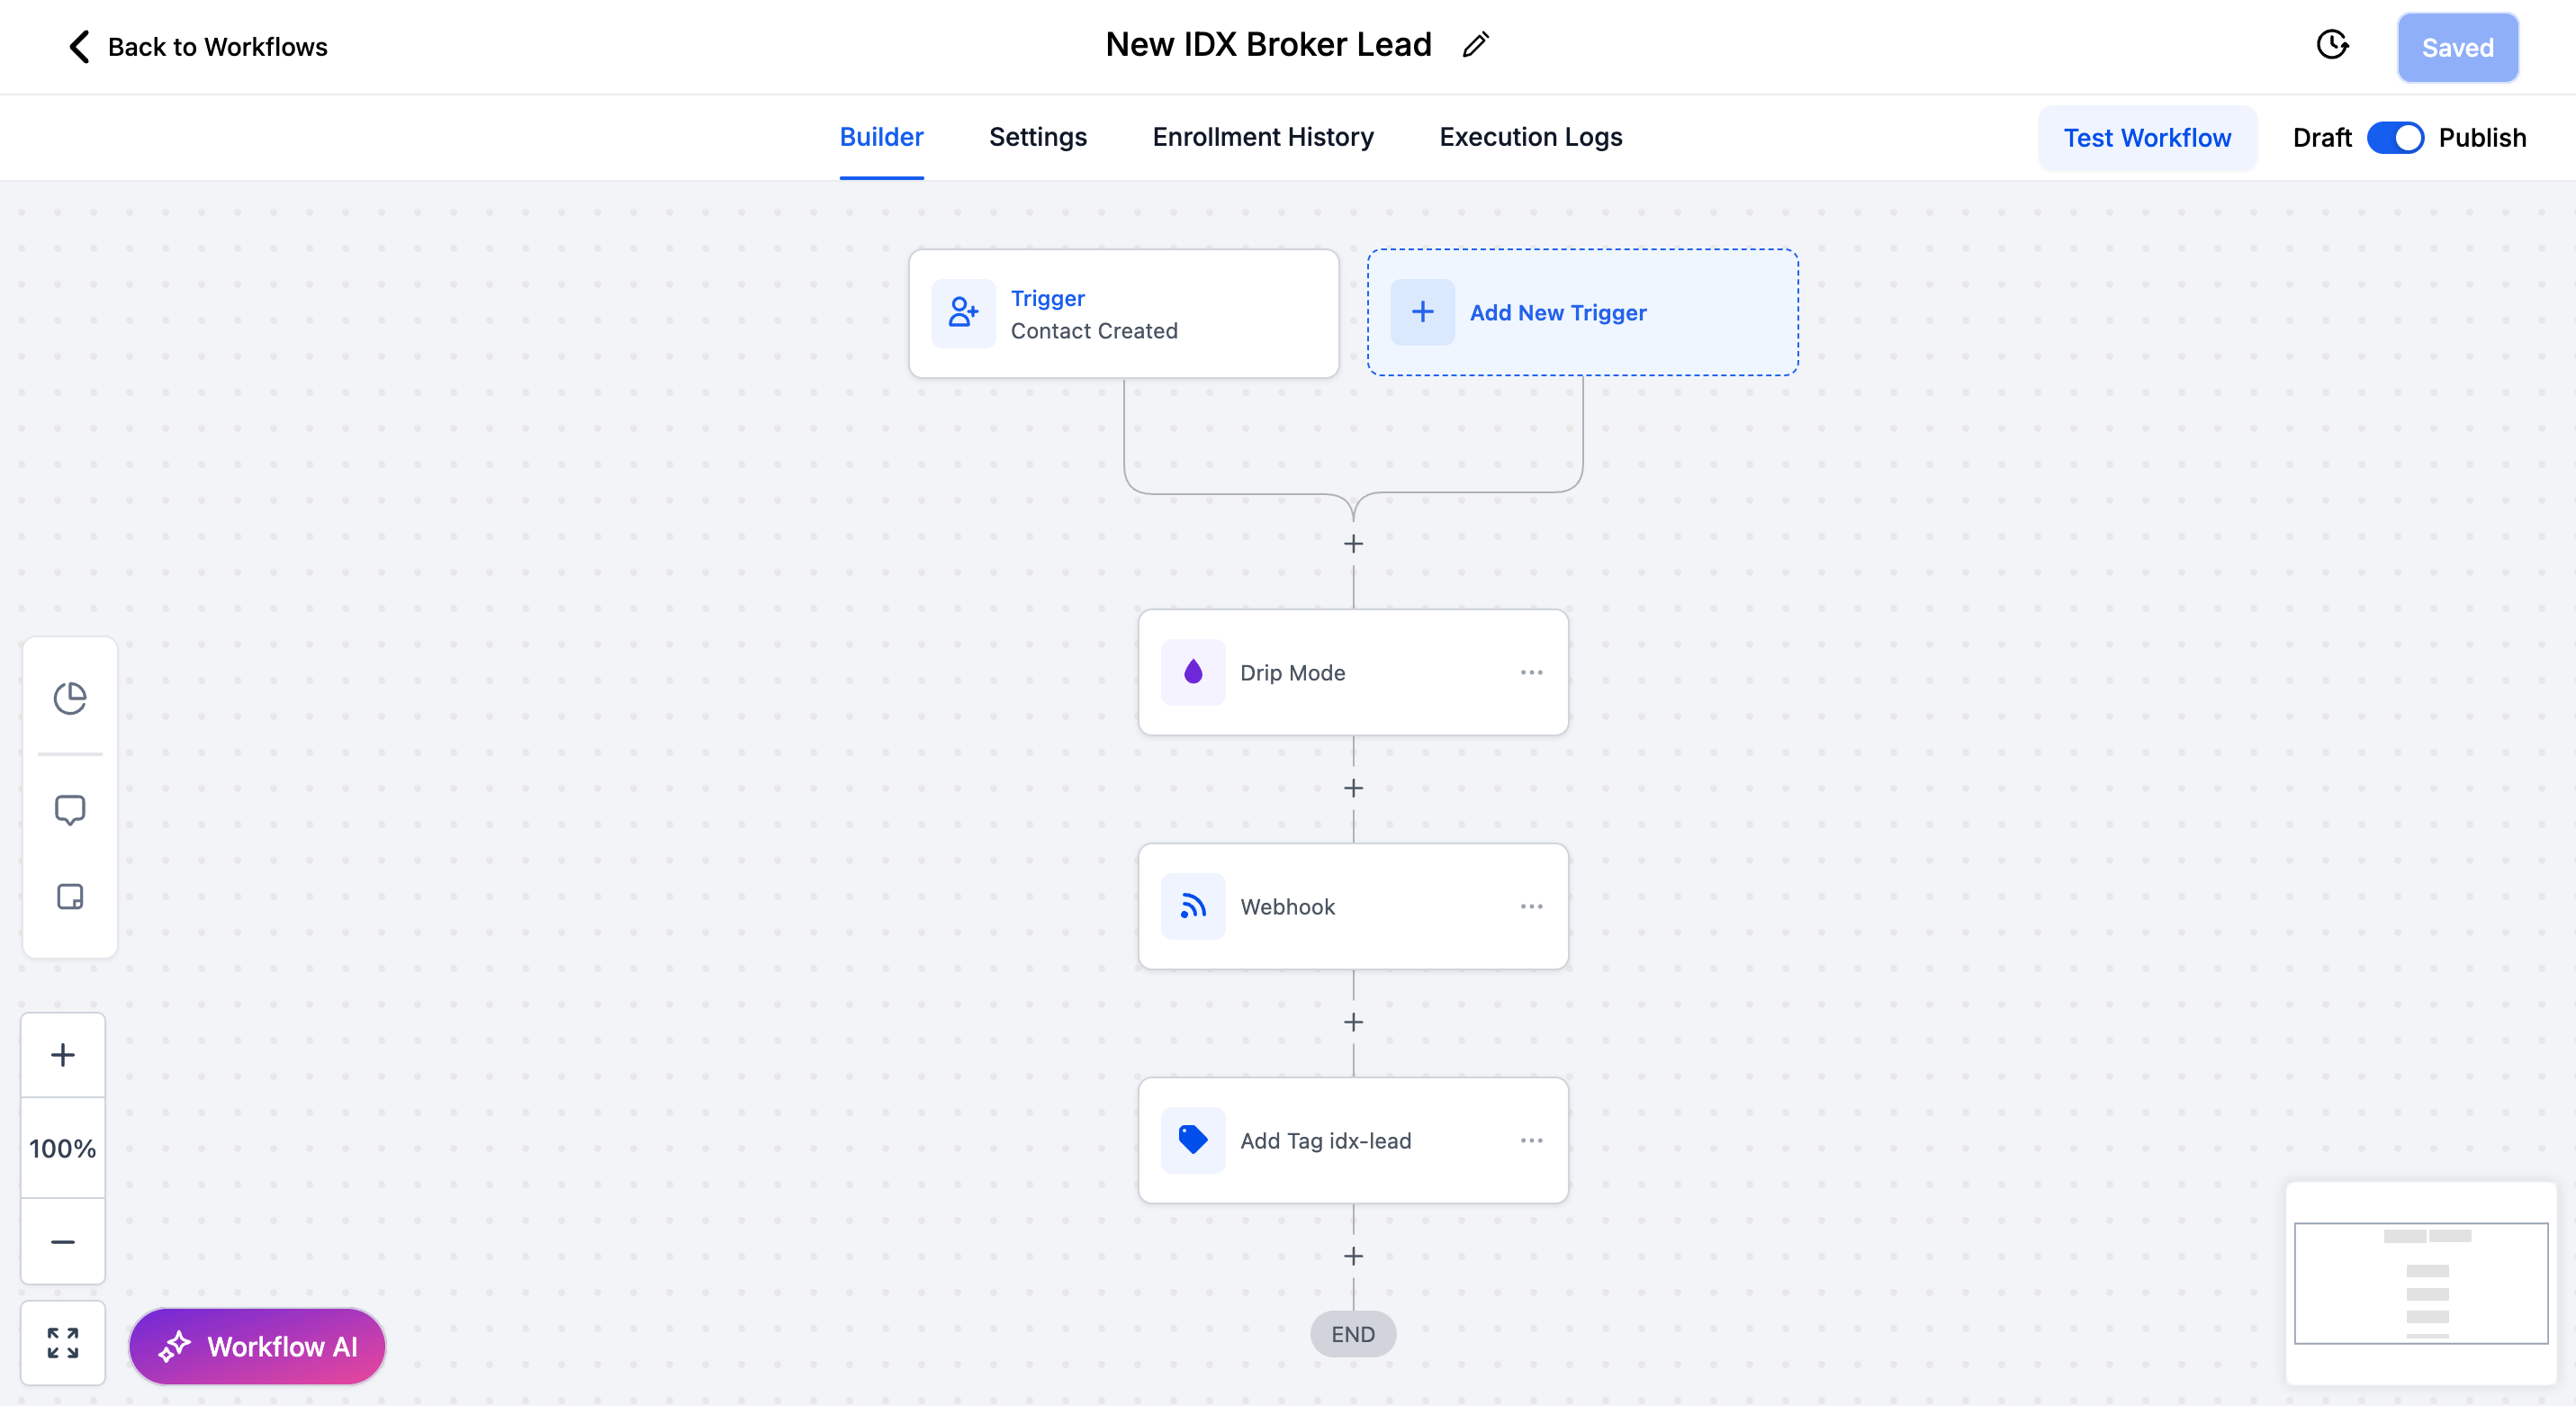
The created workflow will appear on your Workflow's page.

-
Test the workflow
You can create a GHL form or survey to test the workflow. Or you can send the contacts directly to IDX Broker after adding an specific tag to the contact. Feel free to customize the workflow to fit your needs.

Check that the lead is inserted in IDX Broker automatically and that it has a saved search with the same search criteria as the saved link you assigned to the contact.
If you're using the LeadConnector dashboard, check if the lead is inserted in the dashboard as well.
