Social Media Image Creator Tutorial
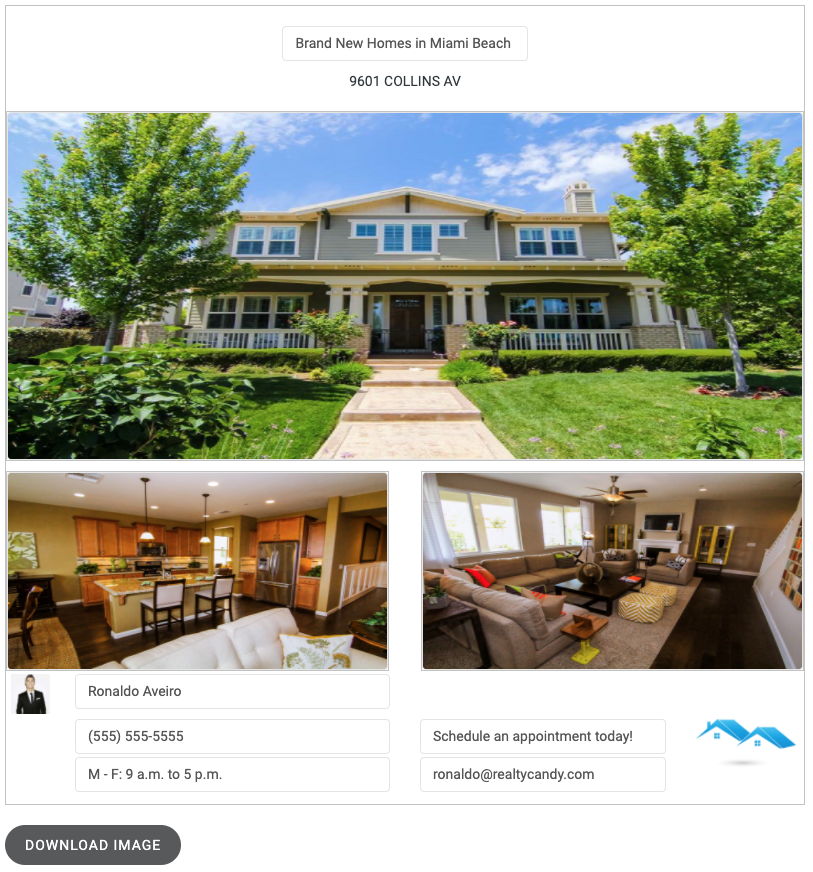
With the Social Media Image Creator app, you can create social media images for your posts like the following:

How to create an image:
In the Setup page, you'll see a form with the number of Featured Listings you have available, and the options to select a featured listing and a social media post size.
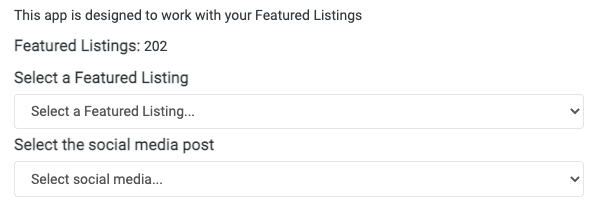
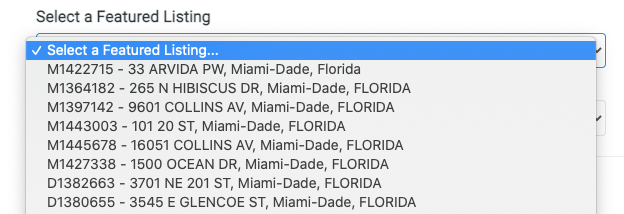
1. Select the Featured Listing
As this app is designed to work with your featured listings, select the one where you'd like to retrieve the information and images.
2. Select the social media post size
You can select one of the following available sizes:
- Instagram (1080px x 1080px)
- Facebook (1200px x 628px)

3. Customize your post
After you have selected the social media post size, the "Preview" of the post will be displayed.

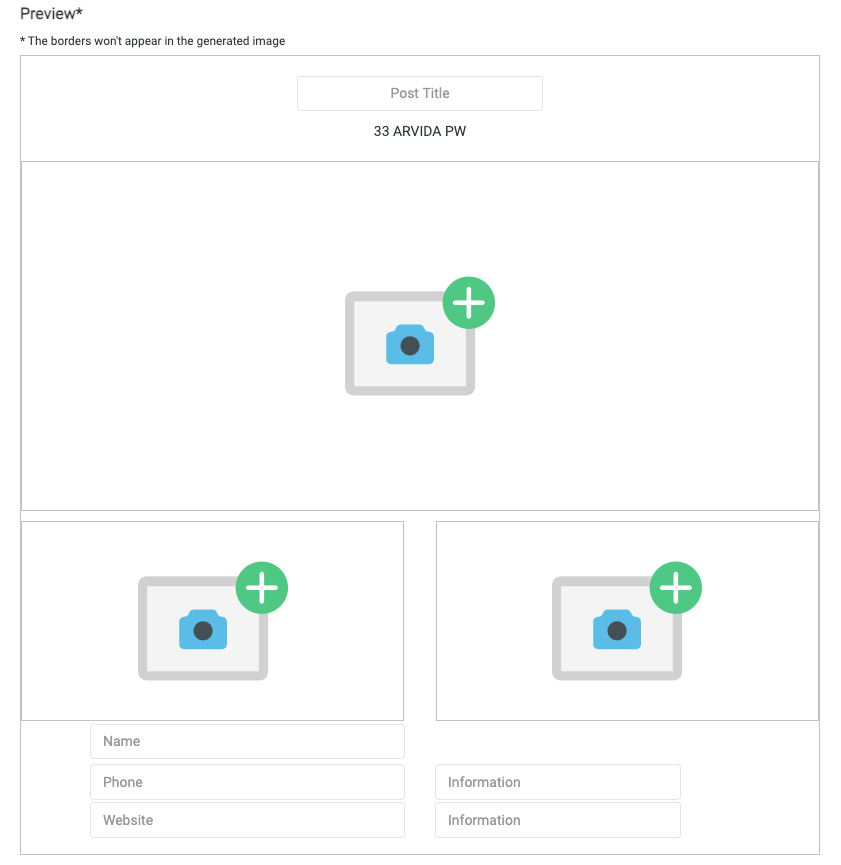
You can customize all of the following options:
-
Images
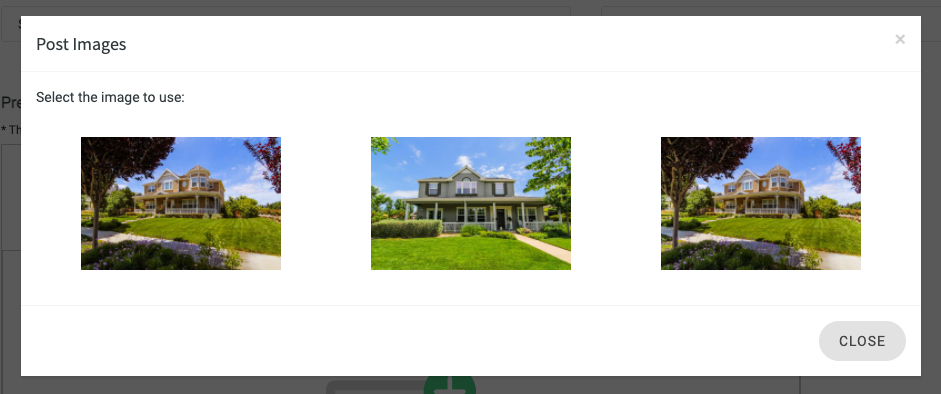
Just click/tap on the image picture inside the post preview and all the available images for the featured listing that you've previously selected will appear.
![Images for the featured listing]()
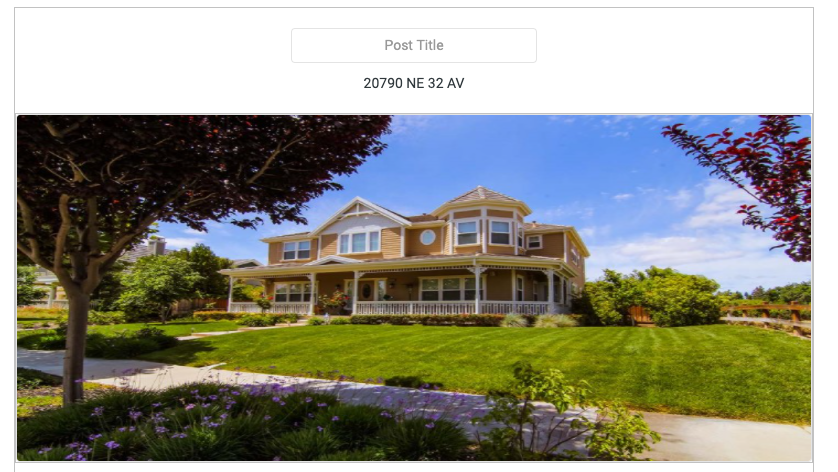
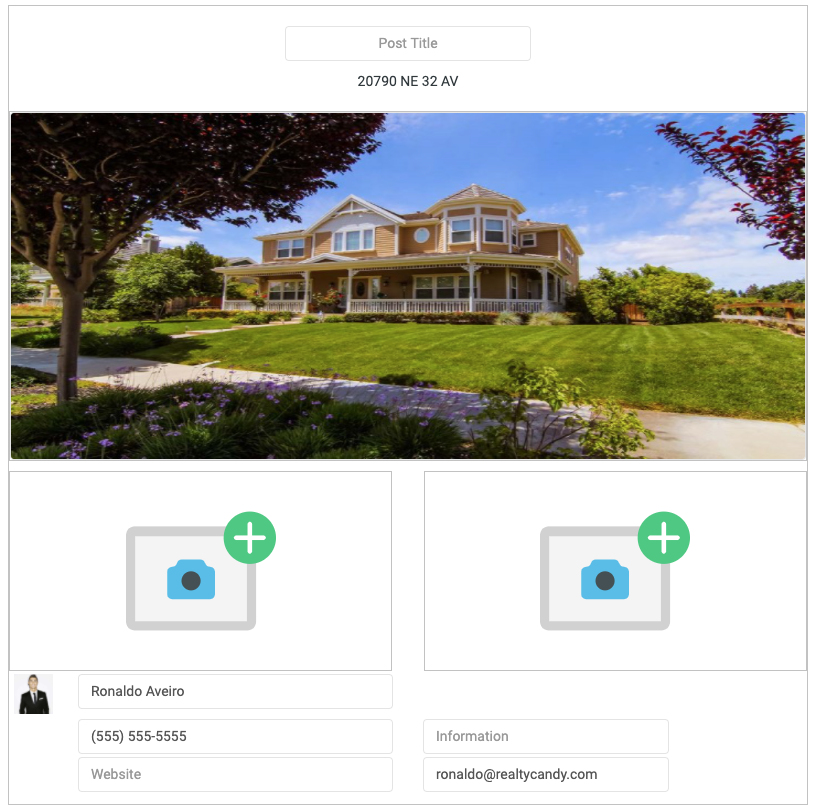
Then select the image that you'll like to add to the clicked/tapped section in the post preview.
![Selected image in the post preview]()
-
Font
You can change the font type by selecting one of the available options.
![Select font]()
-
Agent Contact Information
By selecting one of the agents, their information (name, phone number, email and profile picture) will be automatically retrieved from IDX Broker.
![Select agent]()
This information will be displayed at the bottom of the post and can be manually modified.
![Agent information]()
You can add or change the agent's picture by entering the link to the image in the "Agent Image URL" field.
-
Logo URL
You can add the link to your logo and it will appear in the bottom-right section of the post. We recommend using a 2:1 aspect ratio image (rectangle, like 300x150).
![Logo URL]()
![Logo displayed in the post]()
4. Download the image
Once you've finished customizing your post, click on the "Download Image" button to get your image and share it in your social networks!
