Community Page Creator Tutorial
How does it look?
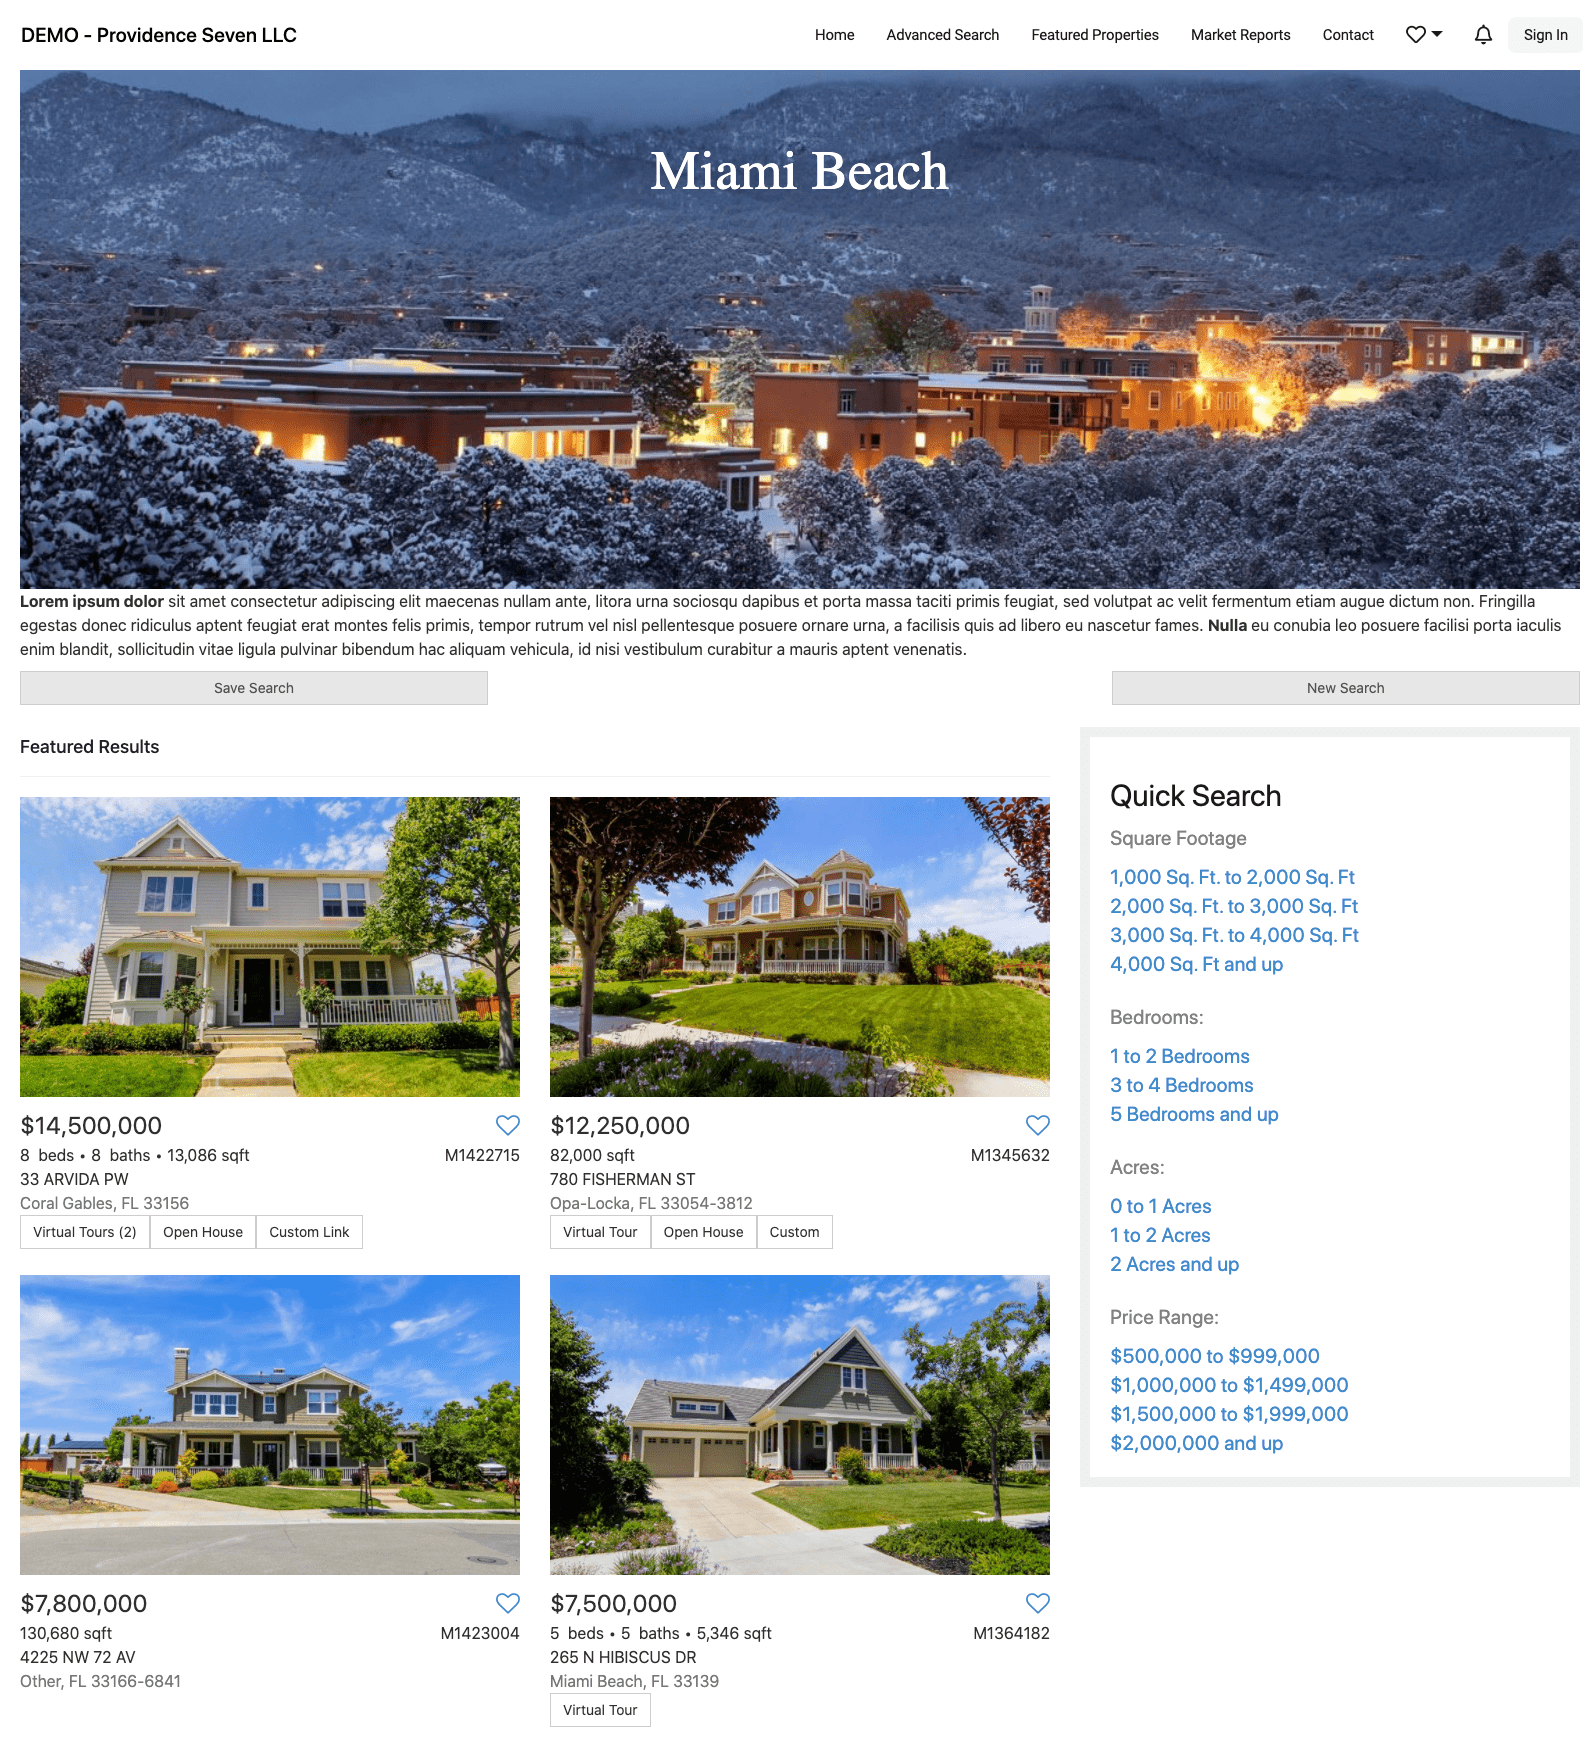
You can display a community page like this:
How to set it up:
1. Fill the Content Fields
Fill all the fields related to the content in the Community Page Creator app:
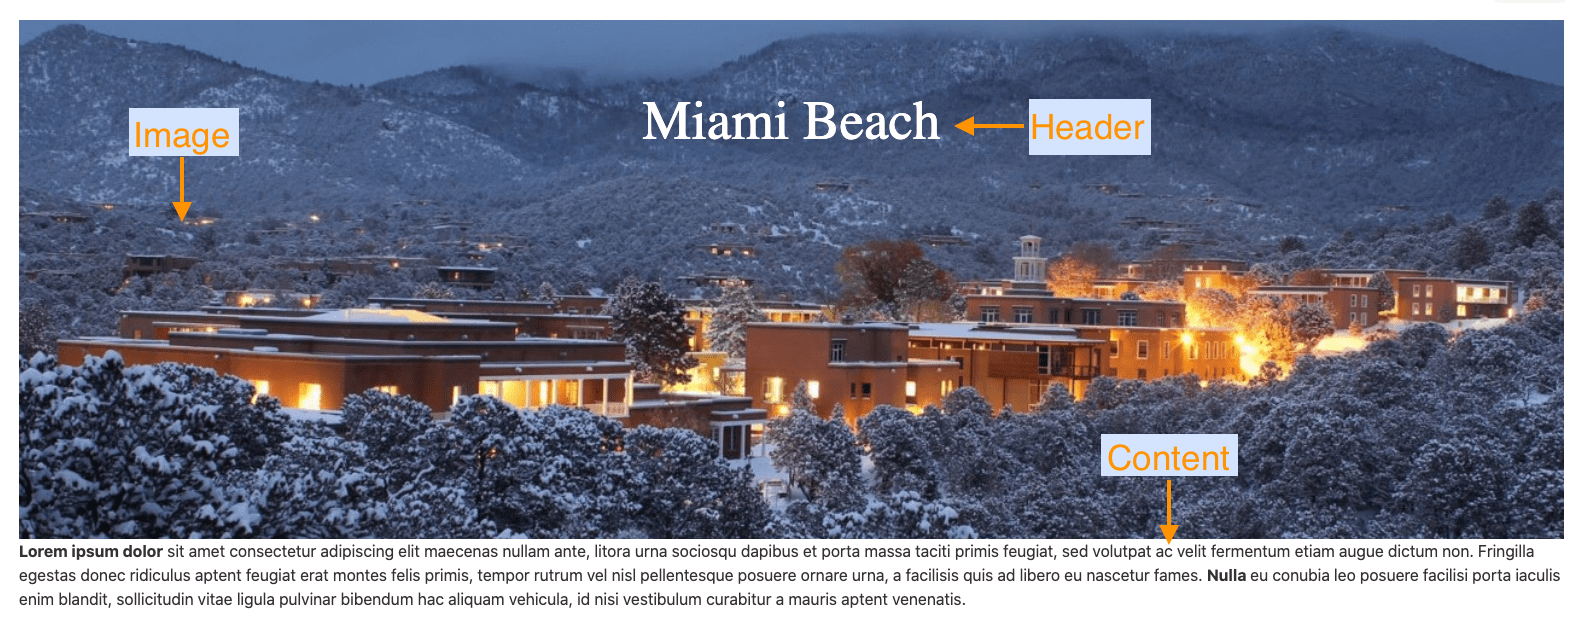
- Header: a title for the community page. It can be the name of a City, State or ZIP code.
- Image URL: this image will appear as a Hero Image. You can use imgur or Cloudinary to store your images.
- Content: write a description for your community. You can use the editor to style the content.

Use the following picture for reference:
2. Add the Quick Search sidebar
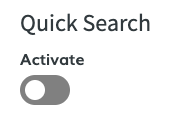
Activate this option if you want to add the following sidebar in the community page to allow leads to filter the results.
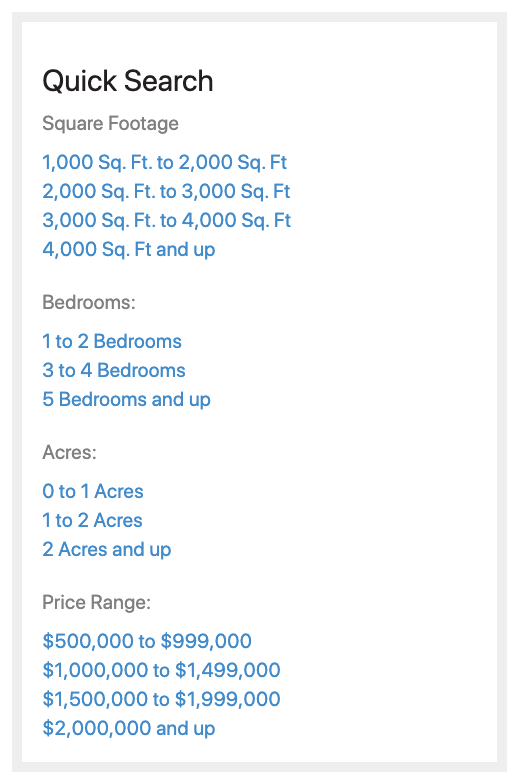
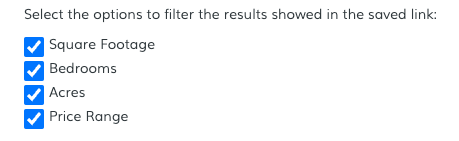
If you activate the Quick Search, you can select the options that will be displayed.
3. Generate the Code
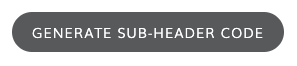
Once you're happy with the selection and finished editing the content, click on "Generate Sub-Header Code".
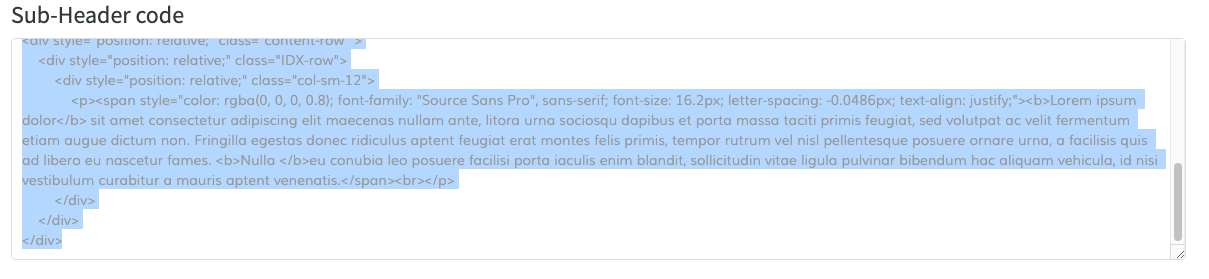
The code will be copied in you clipboard.
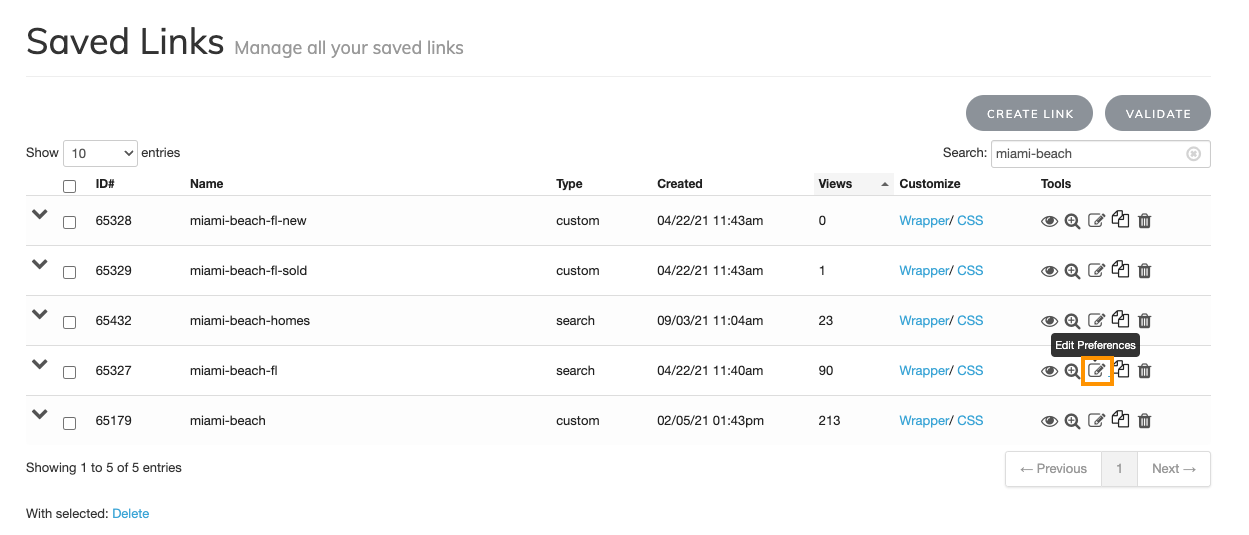
4. Select the Saved Link to turn into a Community Page
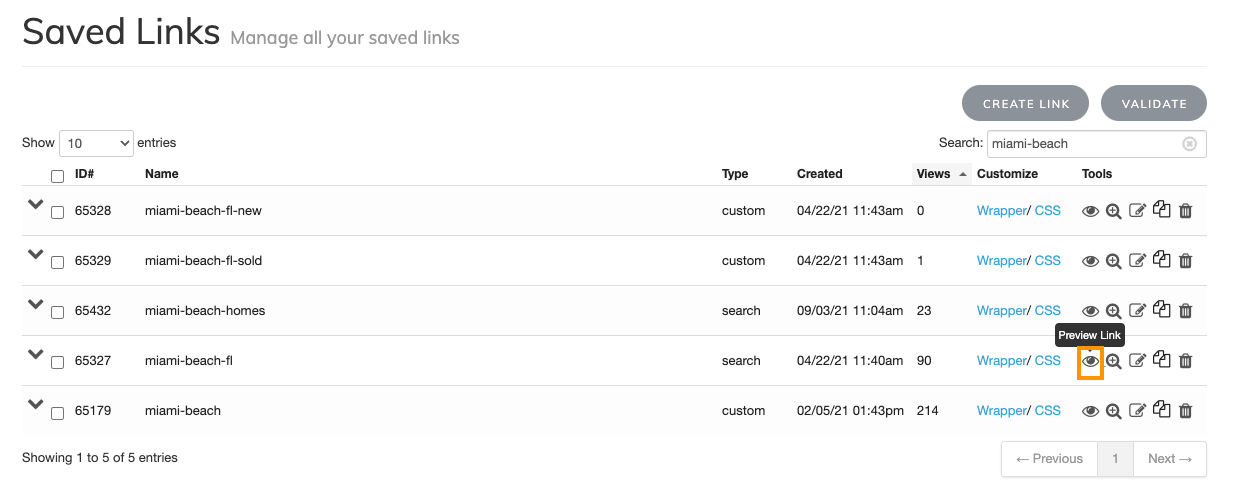
Go to IDX Broker Saved Links and select the saved link that will be turned into a community page. For this example, we will use the Saved Link miami-beach-fl.
Once you have decided what saved link will be used, click on "Edit Preferences".
Note: If you don't know how to create a Saved Link, watch the following video and see how easy it is!
In Edit Saved Link > Preferences, go to the "Sub-header" section, at the bottom of the page.
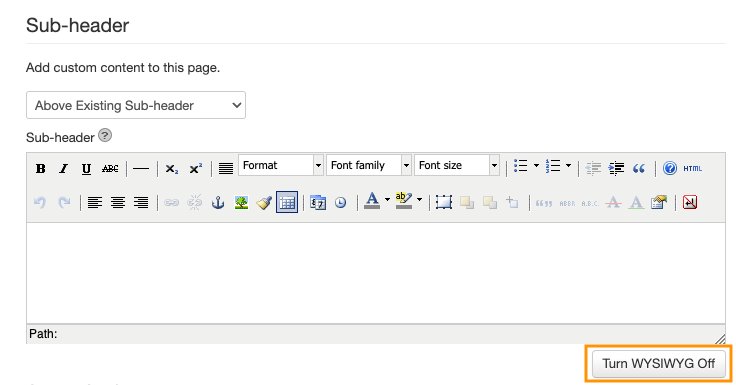
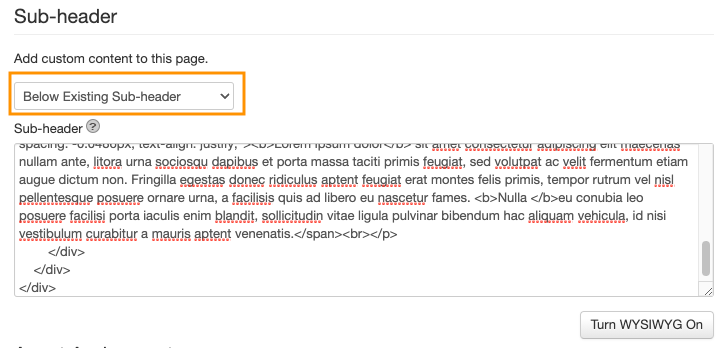
Click on "Turn WYSIWYG Off", paste the widget code below "Sub-header" and select the option to add custom content to the page "Below Existing Sub-header".
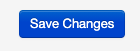
Finally, click on "Save Changes".
5. Check your new Community page!
In IDX Broker Saved Links, click on "Preview Link" to see the changes.