Geolocation Map Tutorial
How does it look?
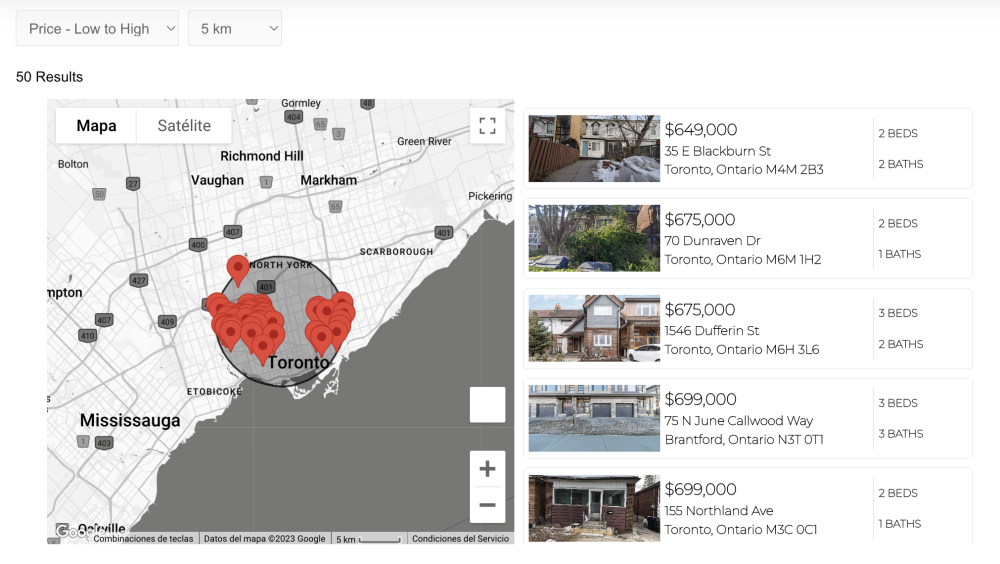
When you add the Geolocation Map widget, your clients can search listings in a map like this one:
How to set it up:
1. Get the map center coordinates
If the lead doesn't share their location, we will use these coordinates to display listings on a default location. This is the first box that shows up in the Geolocation Map Widget:

After clicking/tapping on the input field, a modal will appear to enter the latitude and longitude.

Where can I get the Map Center Coordinates?
We will show you 2 different options to get the map coordinates:
Go to https://www.latlong.net/, type the name of the place to find the lat long coordinates and click on "Find".

The latitude and longitude will appear below.

You'll need to go to Google Maps and select the location that you'd like to display in the map.
Next, on the map, right click on the place you want to get the coordinates from. A pop-up menu like this one will show up:

Click on the first row of the menu that contains the map coordinates. It will be automatically copied to your clipboard.

Now paste the coordinates in the corresponding input field.

Click on the Save button.
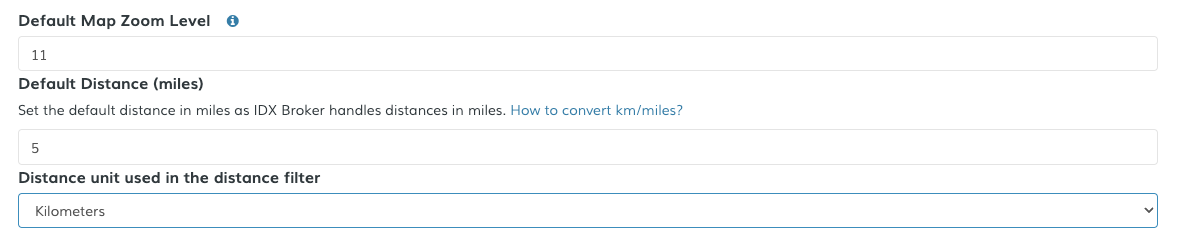
2. Set the default settings
Select the default settings for the map: map zoom level, distance and the unit of distance that will be used in the distance filter. If the fields are left blank, we will use the following default settings: 11 for Zoom, 5 for distance and miles for the unit of distance.
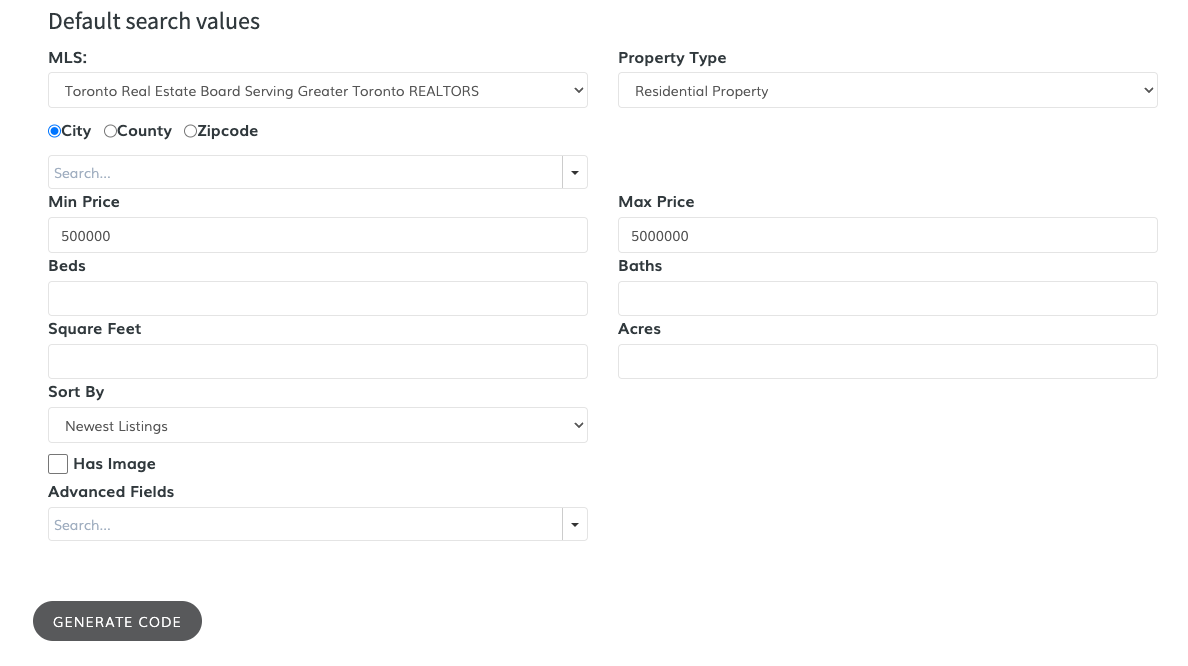
Select the setting that will be applied to the properties. In the following example, we are setting the minimum and maximum price.
3. Select a style for your map
Snazzy Maps is a repository of different color schemes for Google Maps. Click here to get your API Key and create your own styles.
Click on "Explore other styles for your Map" to retrieve the styles created by other users in Snazzy Maps. You just need to select the one you liked.

And click on "Continue" to establish this style for your map.

4. Listings style
Select the style you'd like the listings to have. The listings can appear in rows or in cards.

5. Custom CSS
Customize the CSS of your map and click on the "Save" button.

6. Copy and paste the code
Once you're happy with your selection, click on the "Generate Code" button. Whenever you make changes to the Widget settings, you will need to click on this button as the code changes dynamically.

The code snippet will appear below. Click on the "Copy Code" button. The code will be automatically copied to your clipboard. You can now paste it in the section of your page where you want the Geolocation Map Widget to appear.
