HighLevel / LeadConnector One-Click Tutorial
- Last Updated Jan 16, 2025
Build an IDX Broker website with HighLevel templates, in minutes.
Order an IDXConnect, our service that easily integrates IDX Broker with your existing website
Learn morePrerequisites: Before starting the process, ensure that you have the following:
- IDX Broker Account: Make sure you have an active IDX Broker account.
- HighLevel Sub-Account: Set up a sub-account in HighLevel.
- CNAME Configuration: Set up a custom subdomain for your IDX Broker account. This will replace
yourdomain.idxbroker.comwithhomes.yourdomain.com.
-
Sign Up for a One-Click Website
To purchase a template, start by logging into your IDXAddons account using your client IDX Broker API credentials. Once logged in, navigate to this link. On the page, click the "Buy Template" button to proceed to the payment page.

Important: Ensure HTTPS is enabled on your IDX Broker account to avoid security issues and ensure IDXAddons apps function correctly.
To enable HTTPS:
- Log in to your client IDX Broker account.
- Go to Account info and enable HTTPS.
- Save your changes.
If you have an IDX Broker Core account, it will display a message saying that you need to upgrade to Engage to get all the features (like the AI-communities). Click on the Upgrade to Engage button to go to the IDX Broker upgrade page.
You can continue with the setup process, but you will not be able to use the AI-communities feature, we will only generate IDX Broker Saved Links.

After clicking on the "Buy Template" button, you will be redirected to the payment page.
-
Complete the multi-step form
After completing your payment, you'll be redirected to a success page with some instructions.

Click on "Go to website setup" to begin the setup process.
Connect HighLevel Sub-AccountConnect your HighLevel account to enable the creation of custom values in your sub-account. Click on "Connect HighLevel" to proceed, then select the appropriate sub-account from the list.

Click on "Start Now" to begin the setup process.
Then you will see the selected template that was purchased. Click on "Next" to continue.

HighLevel Integration: This is the sub-account where your One Click website will be integrated.

IDX Broker password: Provide your IDX Broker username and password. We need access to your IDX Broker account to apply IDX Templates, set the style and customize your website.

HighLevel Admin: Please create an ADMIN user for us in your HighLevel account. We need this to manage your One Click website integration. Without access, the integration cannot be completed.

Design: Select your primary and secondary colors. These colors will define the look and feel of your website.

Logo (required): Upload your logo (best resolution possible)

Contact Information: Enter your contact email, phone number and address. This information will be displayed on your website to help visitors get in touch with you.

Social Media Links (optional): Enter the links to your social media profiles. These will be displayed on your website to help visitors connect with you.

About You (optional): Add your headshot and about me section to personalize your website.

Hero Section: Customize your homepage hero section. Add a hero image that represents your brand and appeals to your target audience, and a compelling headline to capture visitors' attention.

Buyers & Sellers Pages: Customize your Buyers and Sellers pages content.

Property Type: Select the property type for your communities.

Communities (required): Select 5 MLS communities you want to feature on your website, ordered by relevance. These can be cities, counties, ZIP codes, or subdivisions.

Testimonials (optional): Add 3 testimonials to enhance your website's credibility.

Last Step: After completing all the previous steps, accept the terms and conditions to finalize your website setup.

Once you click "Submit Information", the system will start creating the community pages, and widgets. This process may take a few minutes, so please be patient.

After it finishes loading, go ahead and complete the steps by cloning the template.
-
Clone the template
At the end of the multi-step form, you'll receive a link to clone the website. To begin, log in at https://app.gohighlevel.com/ using your HighLevel credentials.
Note: Logging in through a white-label domain might cause issues with the cloning link. For best results, make sure to use app.gohighlevel.com to clone the website.
After opening the link, you'll be directed to the website clone page. Simply click "Add Website" to complete the process.

A popup will appear with the Website Name prefilled. You can change the name if desired.
Select the location or sub-account where the website will be cloned and click on "Clone Website".

After clicking "Clone Website," you’ll be redirected to the Websites page. You’ll see a spinning icon next to your new website, showing it's being created.
Note: In recent updates, HighLevel doesn't redirect you to the Websites page after cloning a website. Instead, you'll see a blank page. Go to your sub-account and click on Websites to see the new website.
If the icon keeps spinning for over 3 minutes, refresh the page. The icon will disappear once the website is ready.

Important:
- If your MLS approval is not complete, some widgets will not display properly, e.g. Google Map Widget, IDX Broker New Widgets.
- The IDX Integration usually takes 2 business days to be completed.
-
Domain Setup
Follow this tutorial to set up a root domain for your website, or watch this 3-minute video tutorial.
-
Create Admin user
Go to Settings -> My Staff, then click on the Add Employee button.

Create the user with the email address we provided you. This will allow us to access your HighLevel account to continue the setup process.
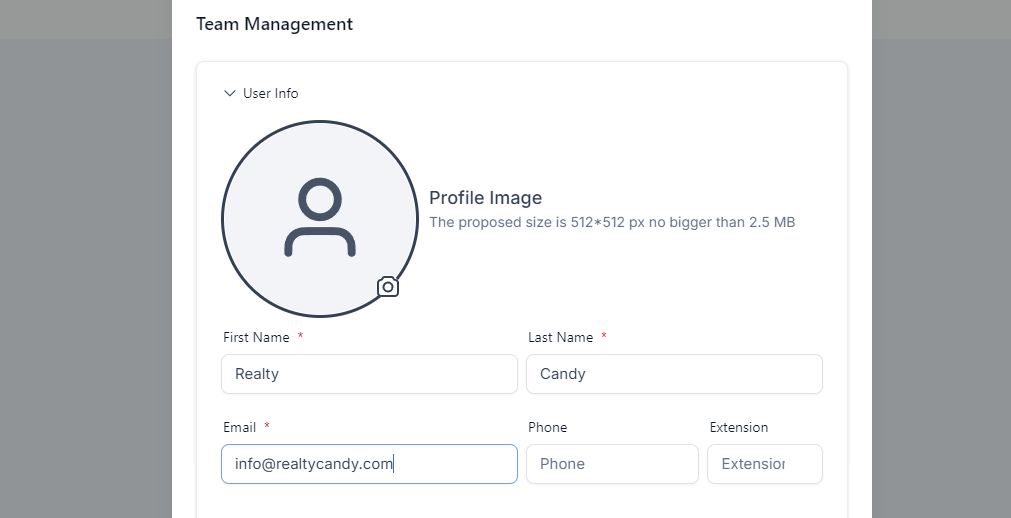
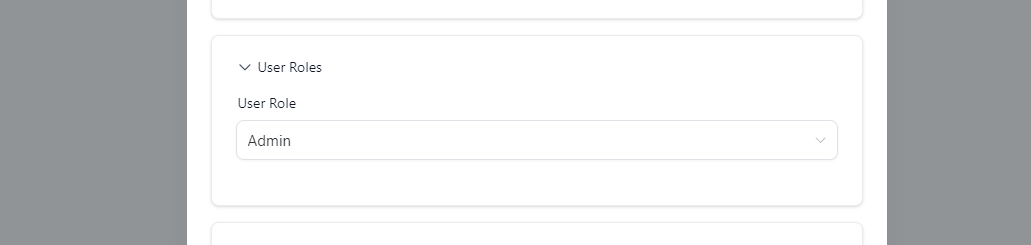
Make sure to select the user role as Admin.
-
Review Timeline
The website will be ready for review in 1-2 business days.
-
One-Click Website completed
Congratulations! You now have a HighLevel website connected to IDXBroker. The next step is to install the HighLevel Dashboard, which will allow you to monitor your website traffic directly within your HighLevel account.
Customizing Your Real Estate Website
In this step-by-step tutorial, we show real estate agents how to customize a HighLevel OneClick website after launch. This video covers the most common website updates clients request after their site is delivered, including logo changes, text edits, IDX widget creation, community pages, navigation menus, and page cloning.


