-
Access the Platform
Log in to your IDXAddons account
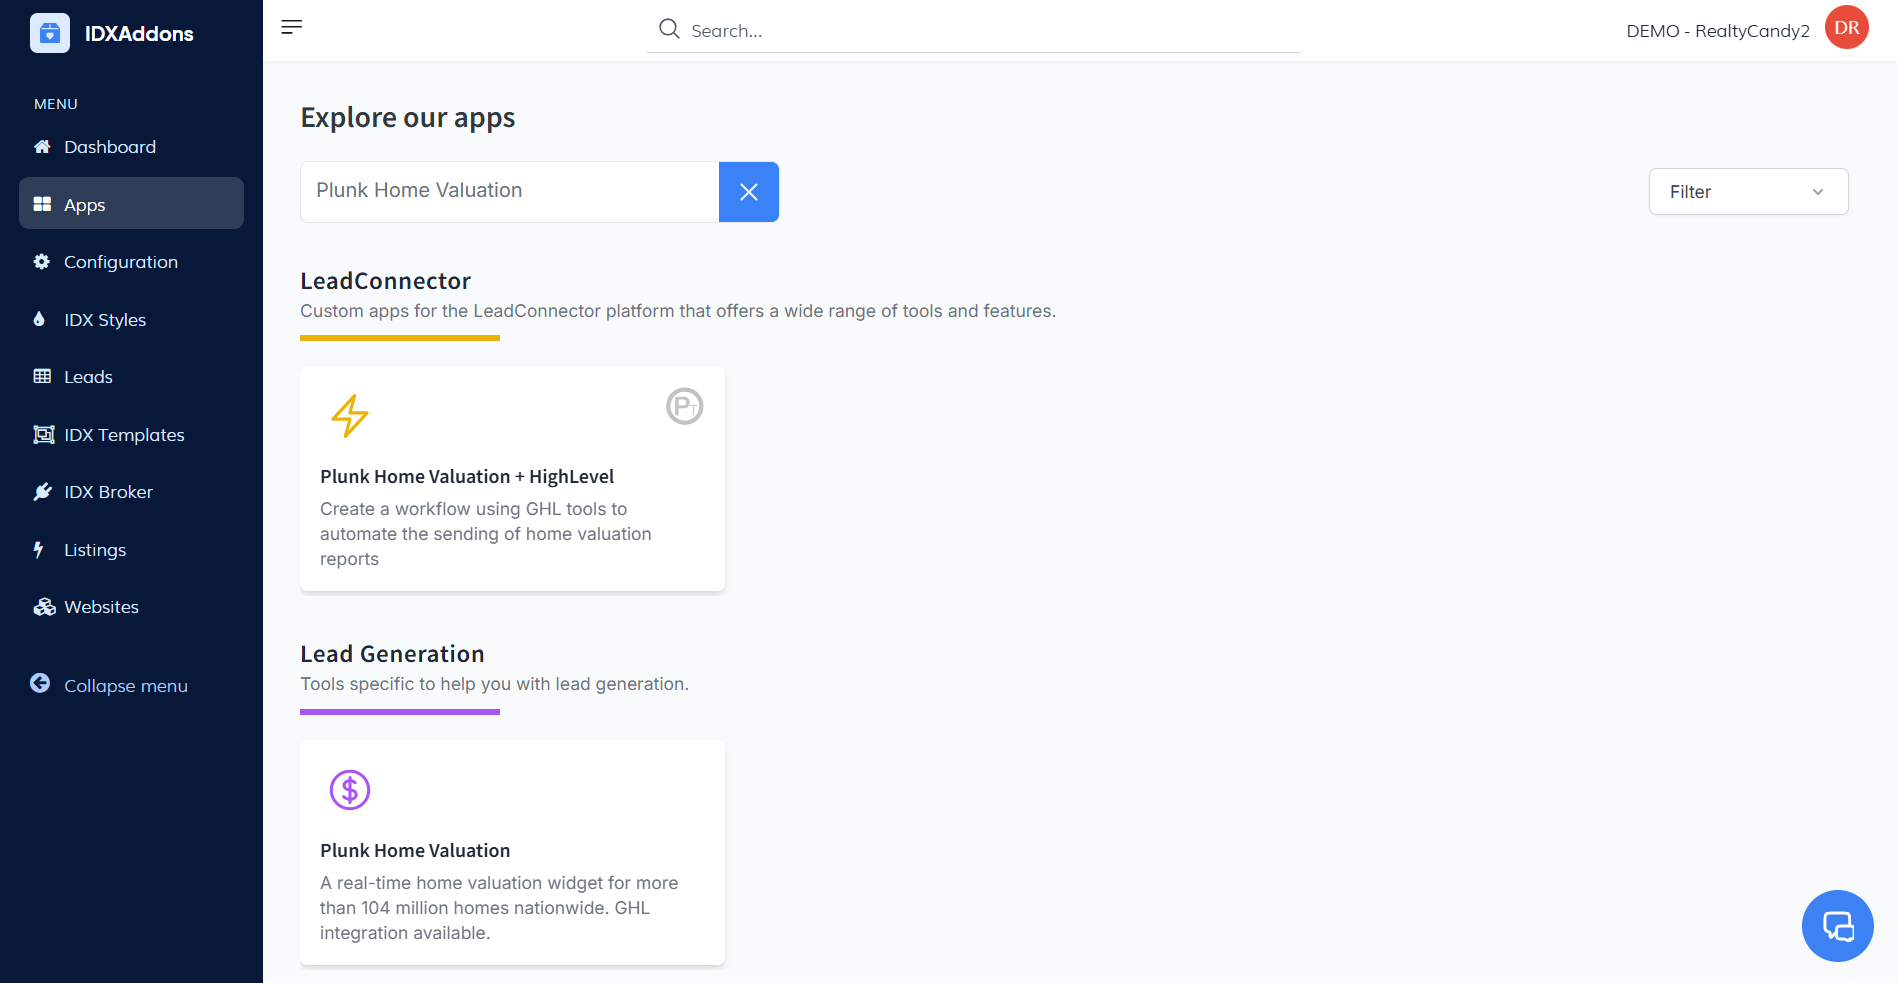
In the dashboard, select the Home Valuation Widget app.
-
Purpose
The Home Valuation Widget is a tool to help clients discover the estimated value of their properties, assisting them in making informed decisions. This guide explains the steps to set up, customize, and track the widget.
-
Settings Tab
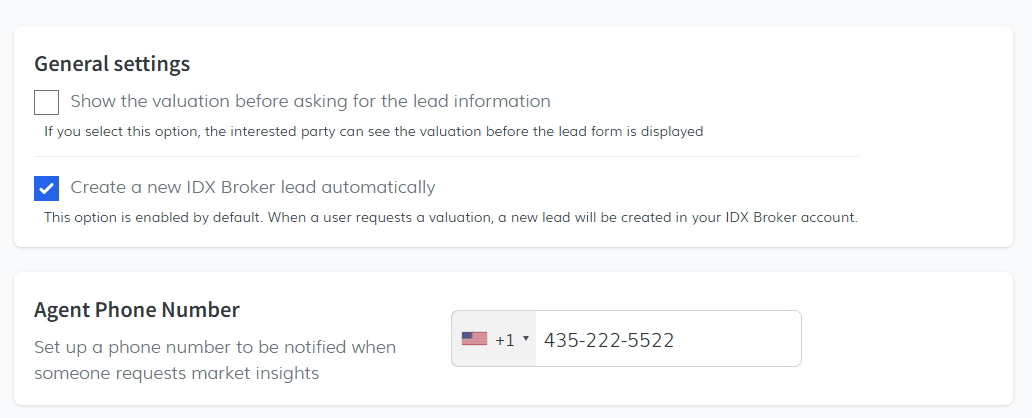
In the Settings tab, you’ll see General Settings as the first section.
- Show valuation before asking for lead information: Enabling this option allows clients to view their property valuation immediately, without needing to complete a lead form first. This upfront access to information can help increase engagement.
- Automatically create a new IDX Broker lead: This option is enabled by default, meaning every time a user requests a valuation, a lead is automatically created in your IDX Broker account, helping you manage new inquiries efficiently.
- Agent’s Phone Number: Enter a valid phone number here to receive SMS notifications whenever someone requests market insights. This notification allows you to follow up quickly with interested clients.
For the SMS Message, you can customize the text clients receive when requesting market insights. Include {address} in your message to automatically insert the property address, creating a personalized experience for each client.

After filling in all settings, click Save to apply your changes. Then, copy the provided code snippet to embed the widget with the saved configurations.
Advanced SettingsThe Advanced Settings section allows additional customization options for brand consistency:
- Logo URL: Enter a URL to display your logo on the market insights page.

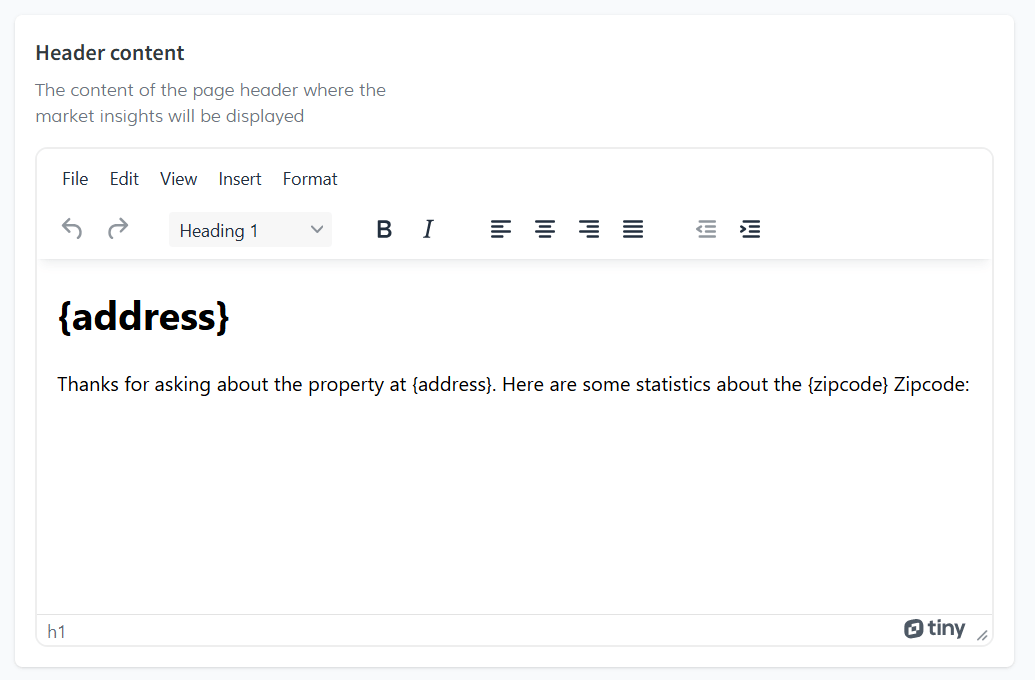
- Header Content: Customize the text for the header of the market insights page.
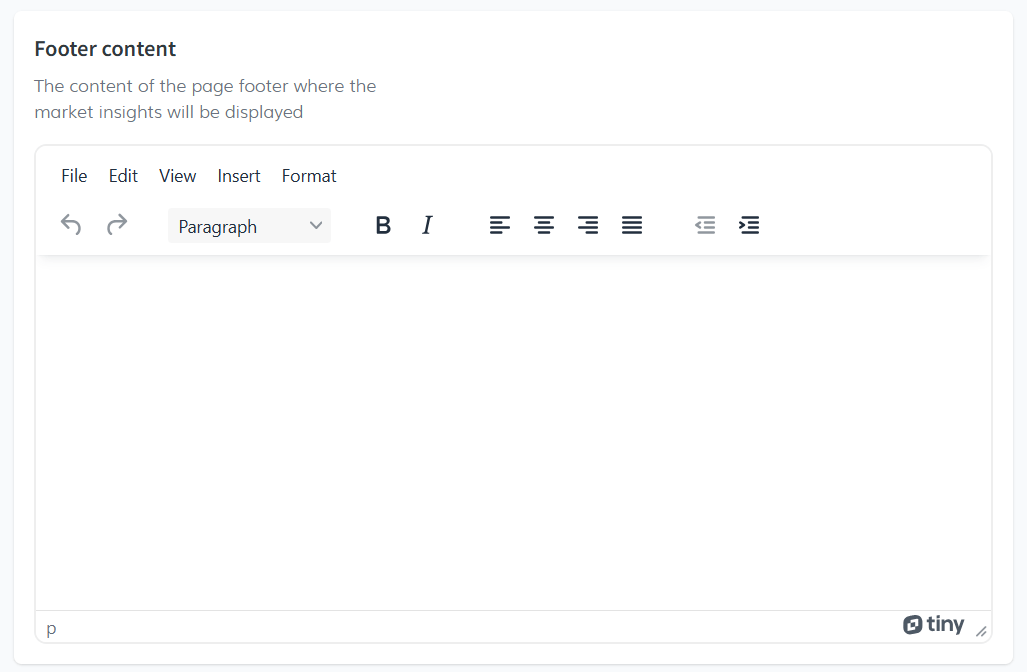
- Footer Content: Add footer content to provide more details or links as needed.
- Additional CSS: You can add custom CSS here to make more specific styling changes to the widget, giving you complete control over its design.
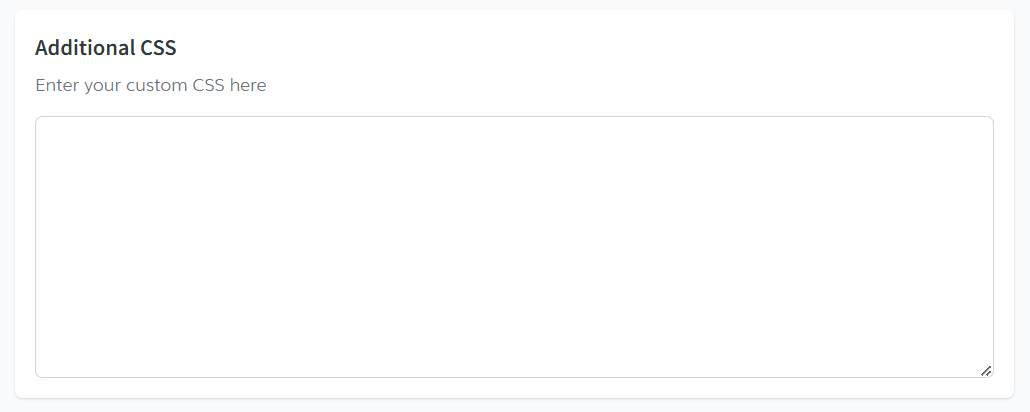
Once you’ve made all your adjustments, click Save to apply the changes. After saving, the code snippet will appear, ready to be copied and embedded into your website.
-
Usage Tab
In the Usage tab, you can track the widget’s activity:
- Current Usage: Displays the percentage of your monthly usage.
- Valuations Created: Shows the number of valuations generated.

The widget includes a free limit of 20 valuations per month. If you require more, you can choose between two subscription plans:
- Plan 1: 50 valuations per month for $29/month.
- Plan 2: 150 valuations per month for $79/month.
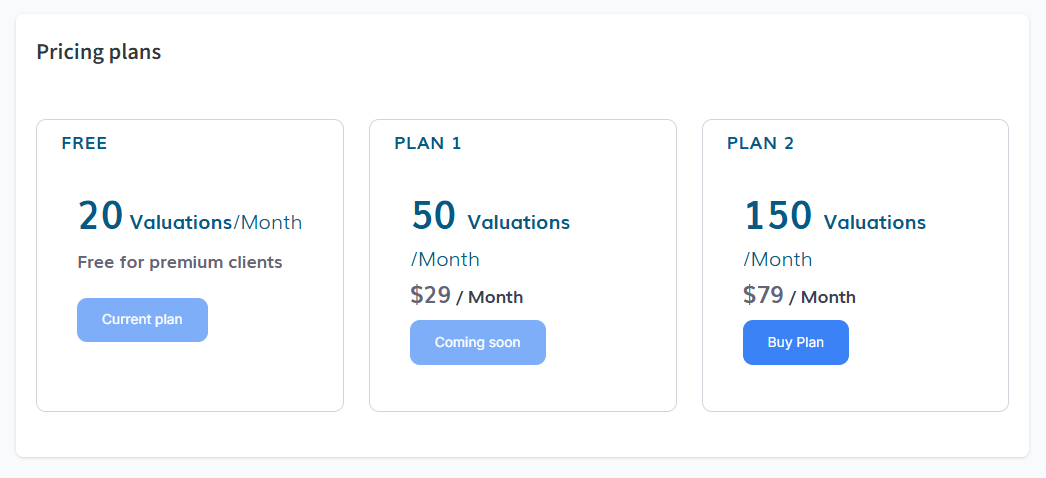
These options let you adjust based on your needs.
-
Requests Tab
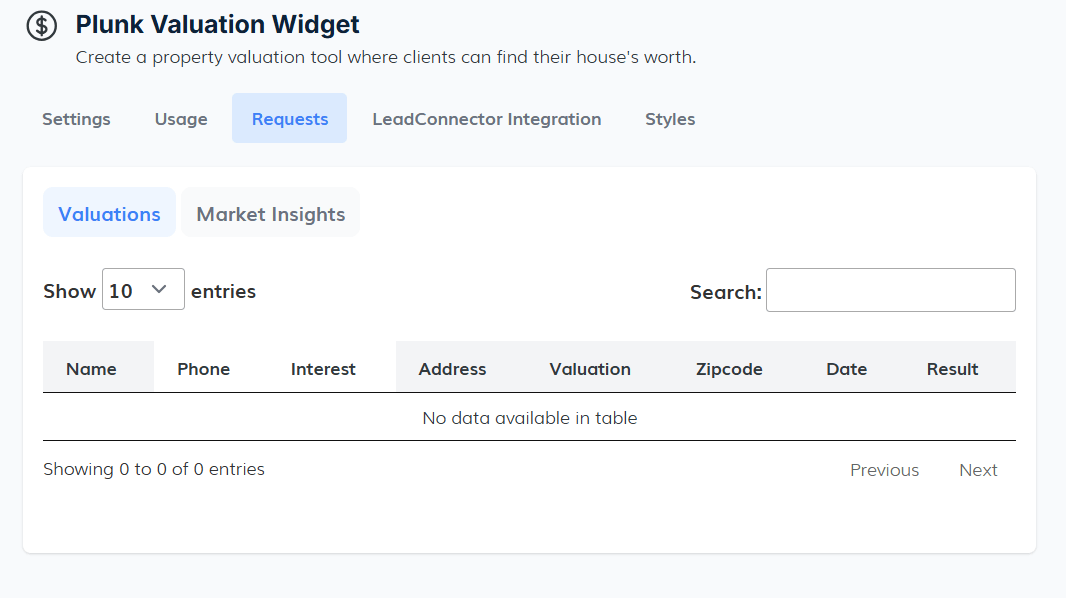
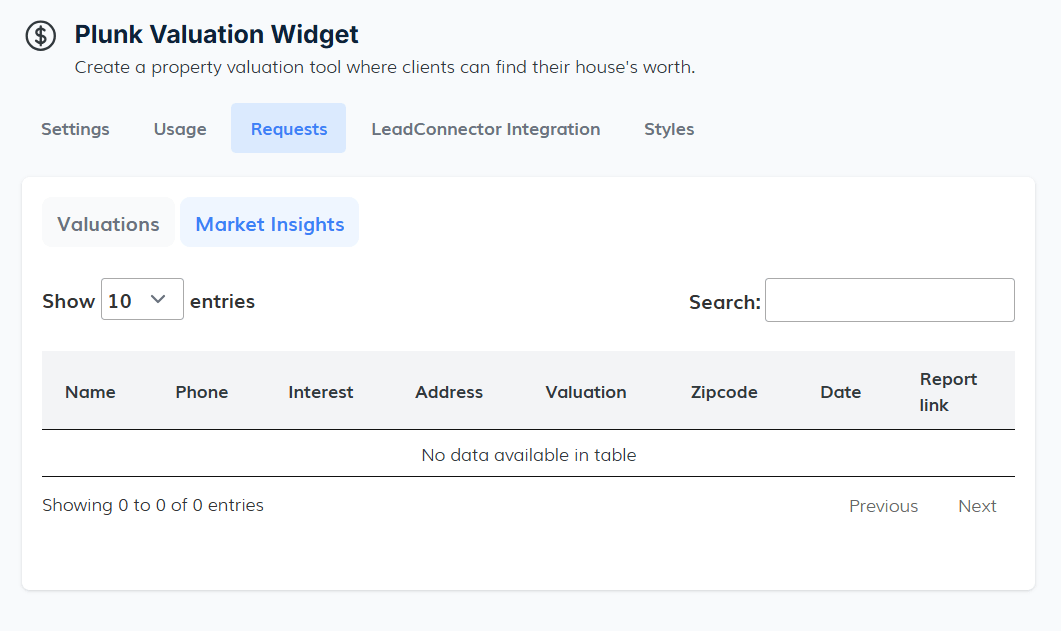
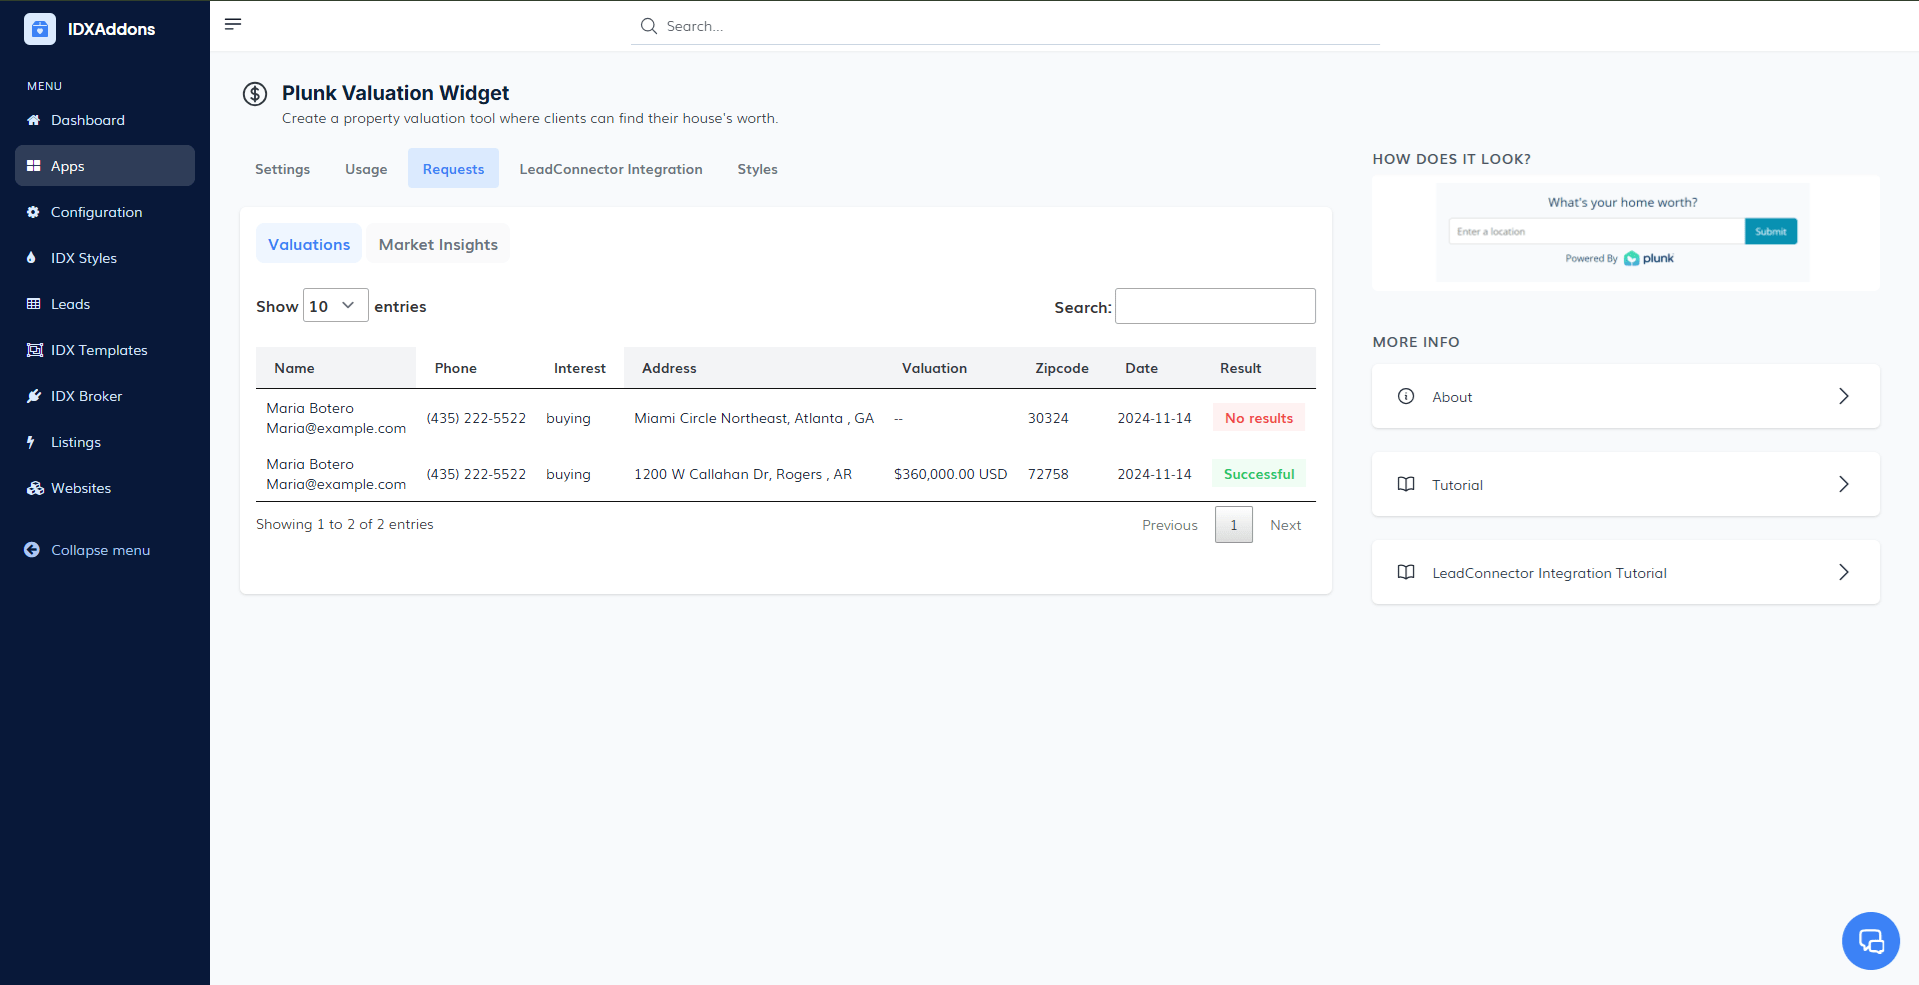
The Requests tab contains a table showing both Valuations and Market Insights.
- Valuations: Displays all records of property valuations, including Name, Phone, Interest, Address, Valuation, Zip Code, Date, and Result.
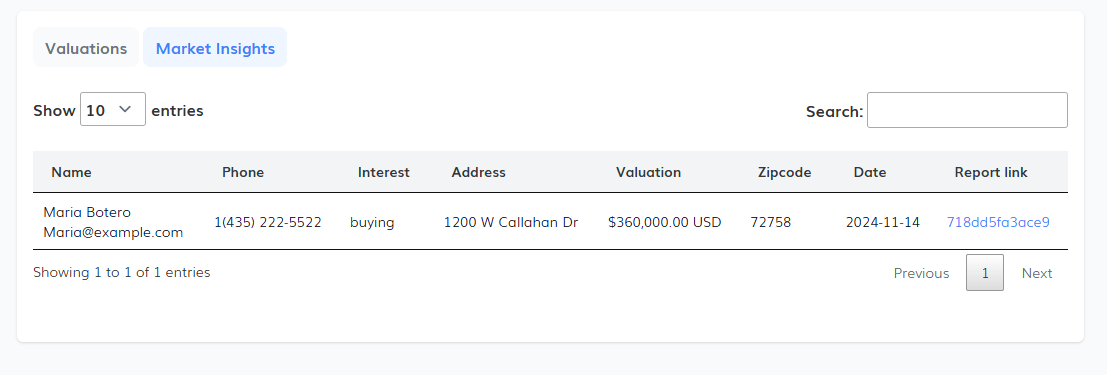
- Market Insights: When users request additional information, this table shows the details along with a link to the market insights report.
- Valuations: Displays all records of property valuations, including Name, Phone, Interest, Address, Valuation, Zip Code, Date, and Result.
-
Example Usage
To try out the widget, follow these steps:
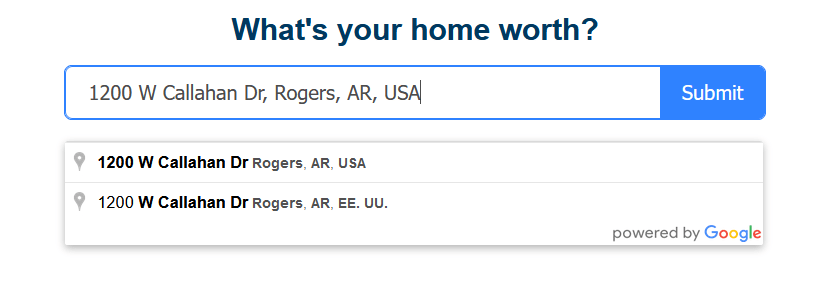
- Enter an address, e.g., 1200 W Callahan Dr, Rogers, AR, USA, and click Submit.
-
Fill Out the Form. A form will appear asking for the following details:
- First Name
- Last Name
- Phone Number
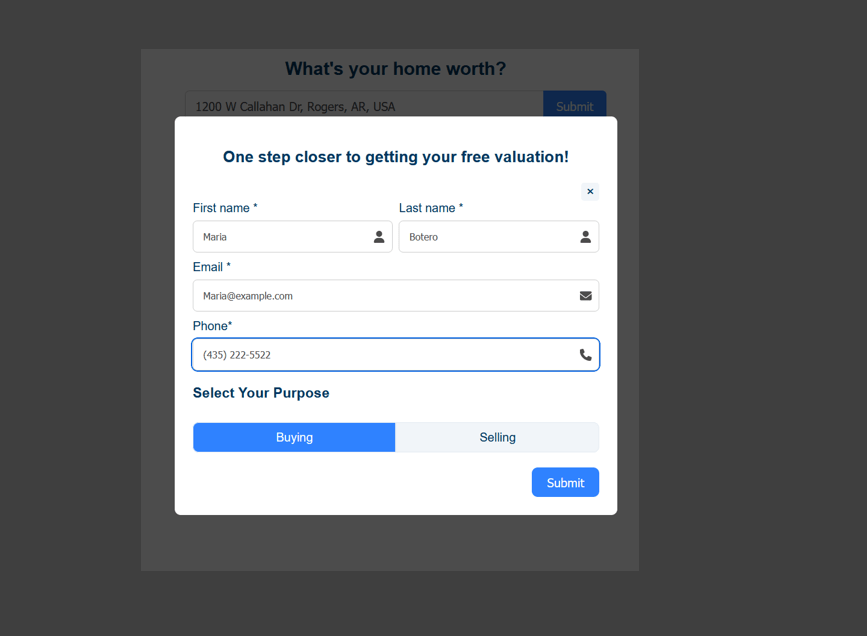
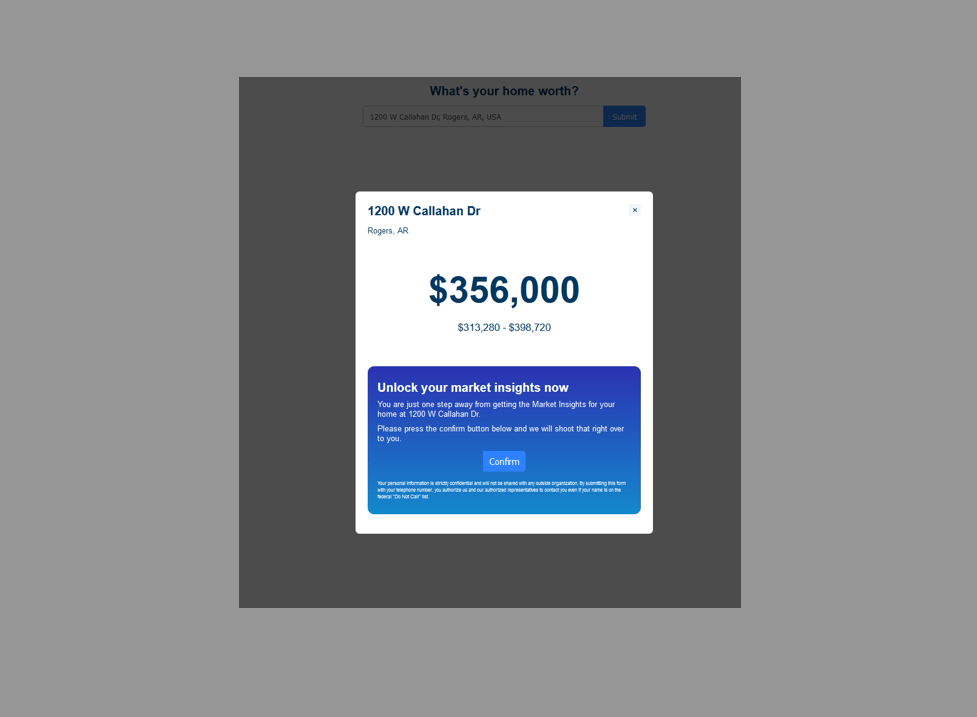
- View the Valuation Results. Once submitted, the widget will load the valuation data. A new window will open displaying the valuation results.
-
Go back to the app, where you can now view your valuation details under the Requests tab. Two possible scenarios will appear:
- Successful Valuation: If the valuation was successful, you’ll see a green badge with the status "Successful" and the valuation returned for the address.
- No Results: If the valuation couldn’t find information for the address, you’ll see a red badge with the status "No Results" and an empty valuation field.
If you’d like to get more detailed information through Market Insights after completing the valuation:
- Confirm Request for Market Insights: In the valuation results window, click the Confirm button to request more information on the market insights. You will receive an SMS notification with the requested address and the lead’s phone number. The lead will also receive a text message with the requested address and a link to the market insights report.
- Locate the Information: To access these insights, go back to the app and open the Market Insights tab. Here, you will find detailed data on the requested property.
- Access the Report Link: Within the Market Insights tab, locate the Report Link. Click on this link to view the full market report, which includes comprehensive statistics and insights about the property and surrounding market conditions.
- Enter an address, e.g., 1200 W Callahan Dr, Rogers, AR, USA, and click Submit.
-
GHL Integration
You can also set up the widget to send the leads that requested a home valuation to your GHL account. To do this you need to set up the GHL integration in the widget settings.
LeadConnector IntegrationGo to the tab LeadConnector Integration. If you haven't set up your GHL account yet, you can do it by clicking on the "Connect LeadConnector" button.
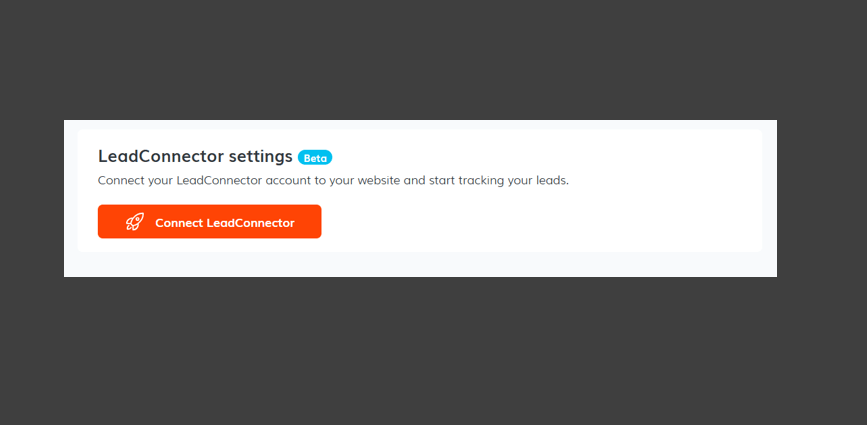
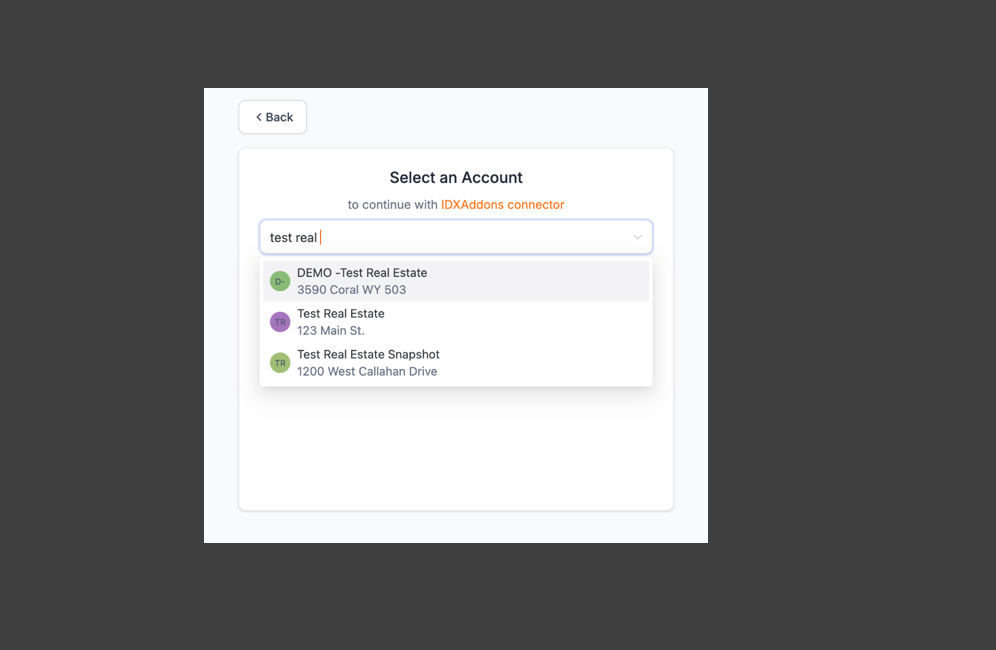
You will be redirected to the LeadConnector page, where you can set up your GHL account. Once you have set up your account, you will be redirected back to the widget settings.
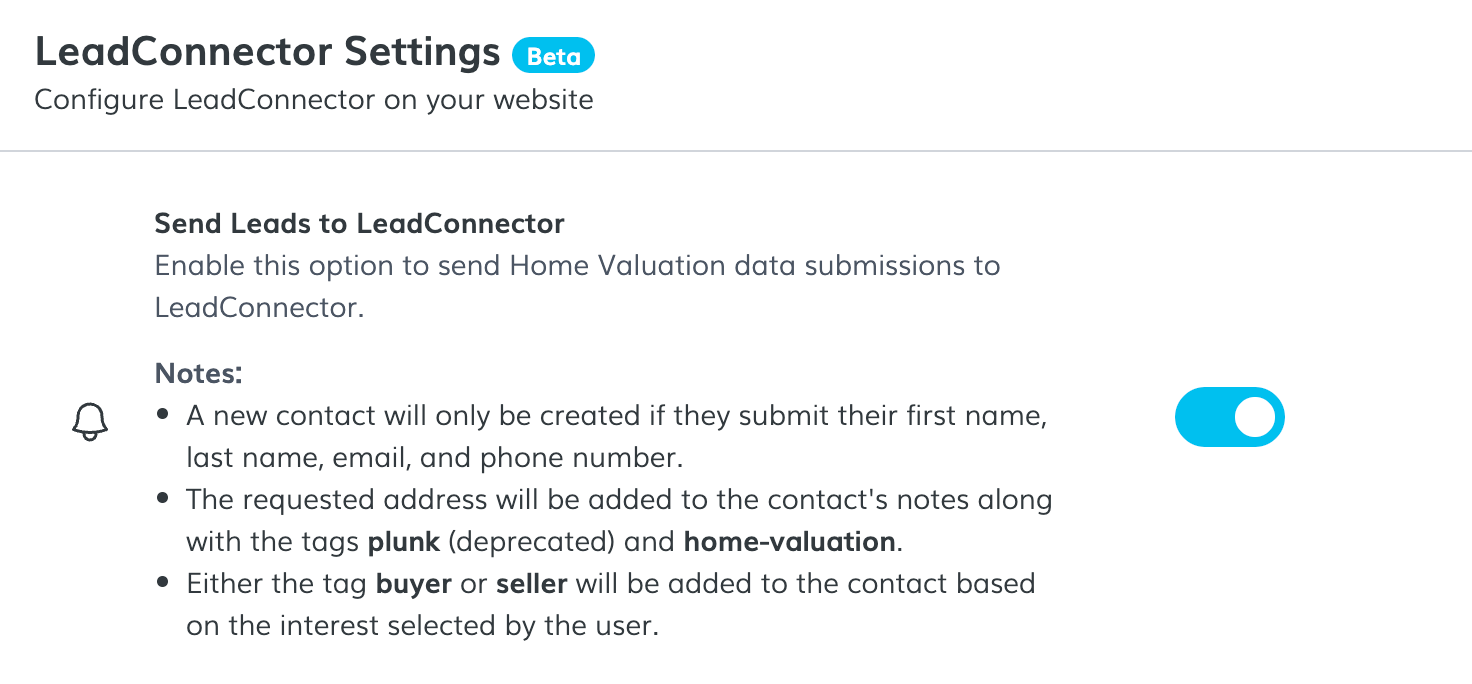
Once you are redirected back to the widget settings, enable the "Send leads to LeadConnector" option.
A popup will appear. Confirm the action by clicking on the "Yes" button.

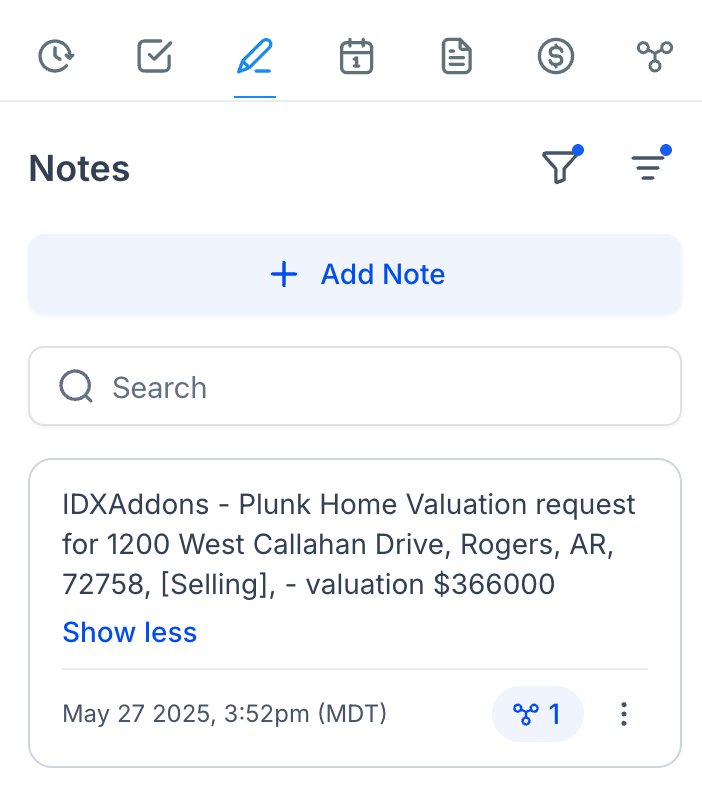
Now your widget is set up to send the leads that request market insights to your GHL account. A new GHL contact will be created with the requested address and the lead's phone number.
The new contacts will have the tag home-valuation and plunk. They will also have the tag buyer if the user selected the "Buying" option in the form, or seller if the user selected the "Selling" option.
Important: In upcoming updates, we will remove the tag plunk.

And the requested address will be added as a note.
-
FUB Integration
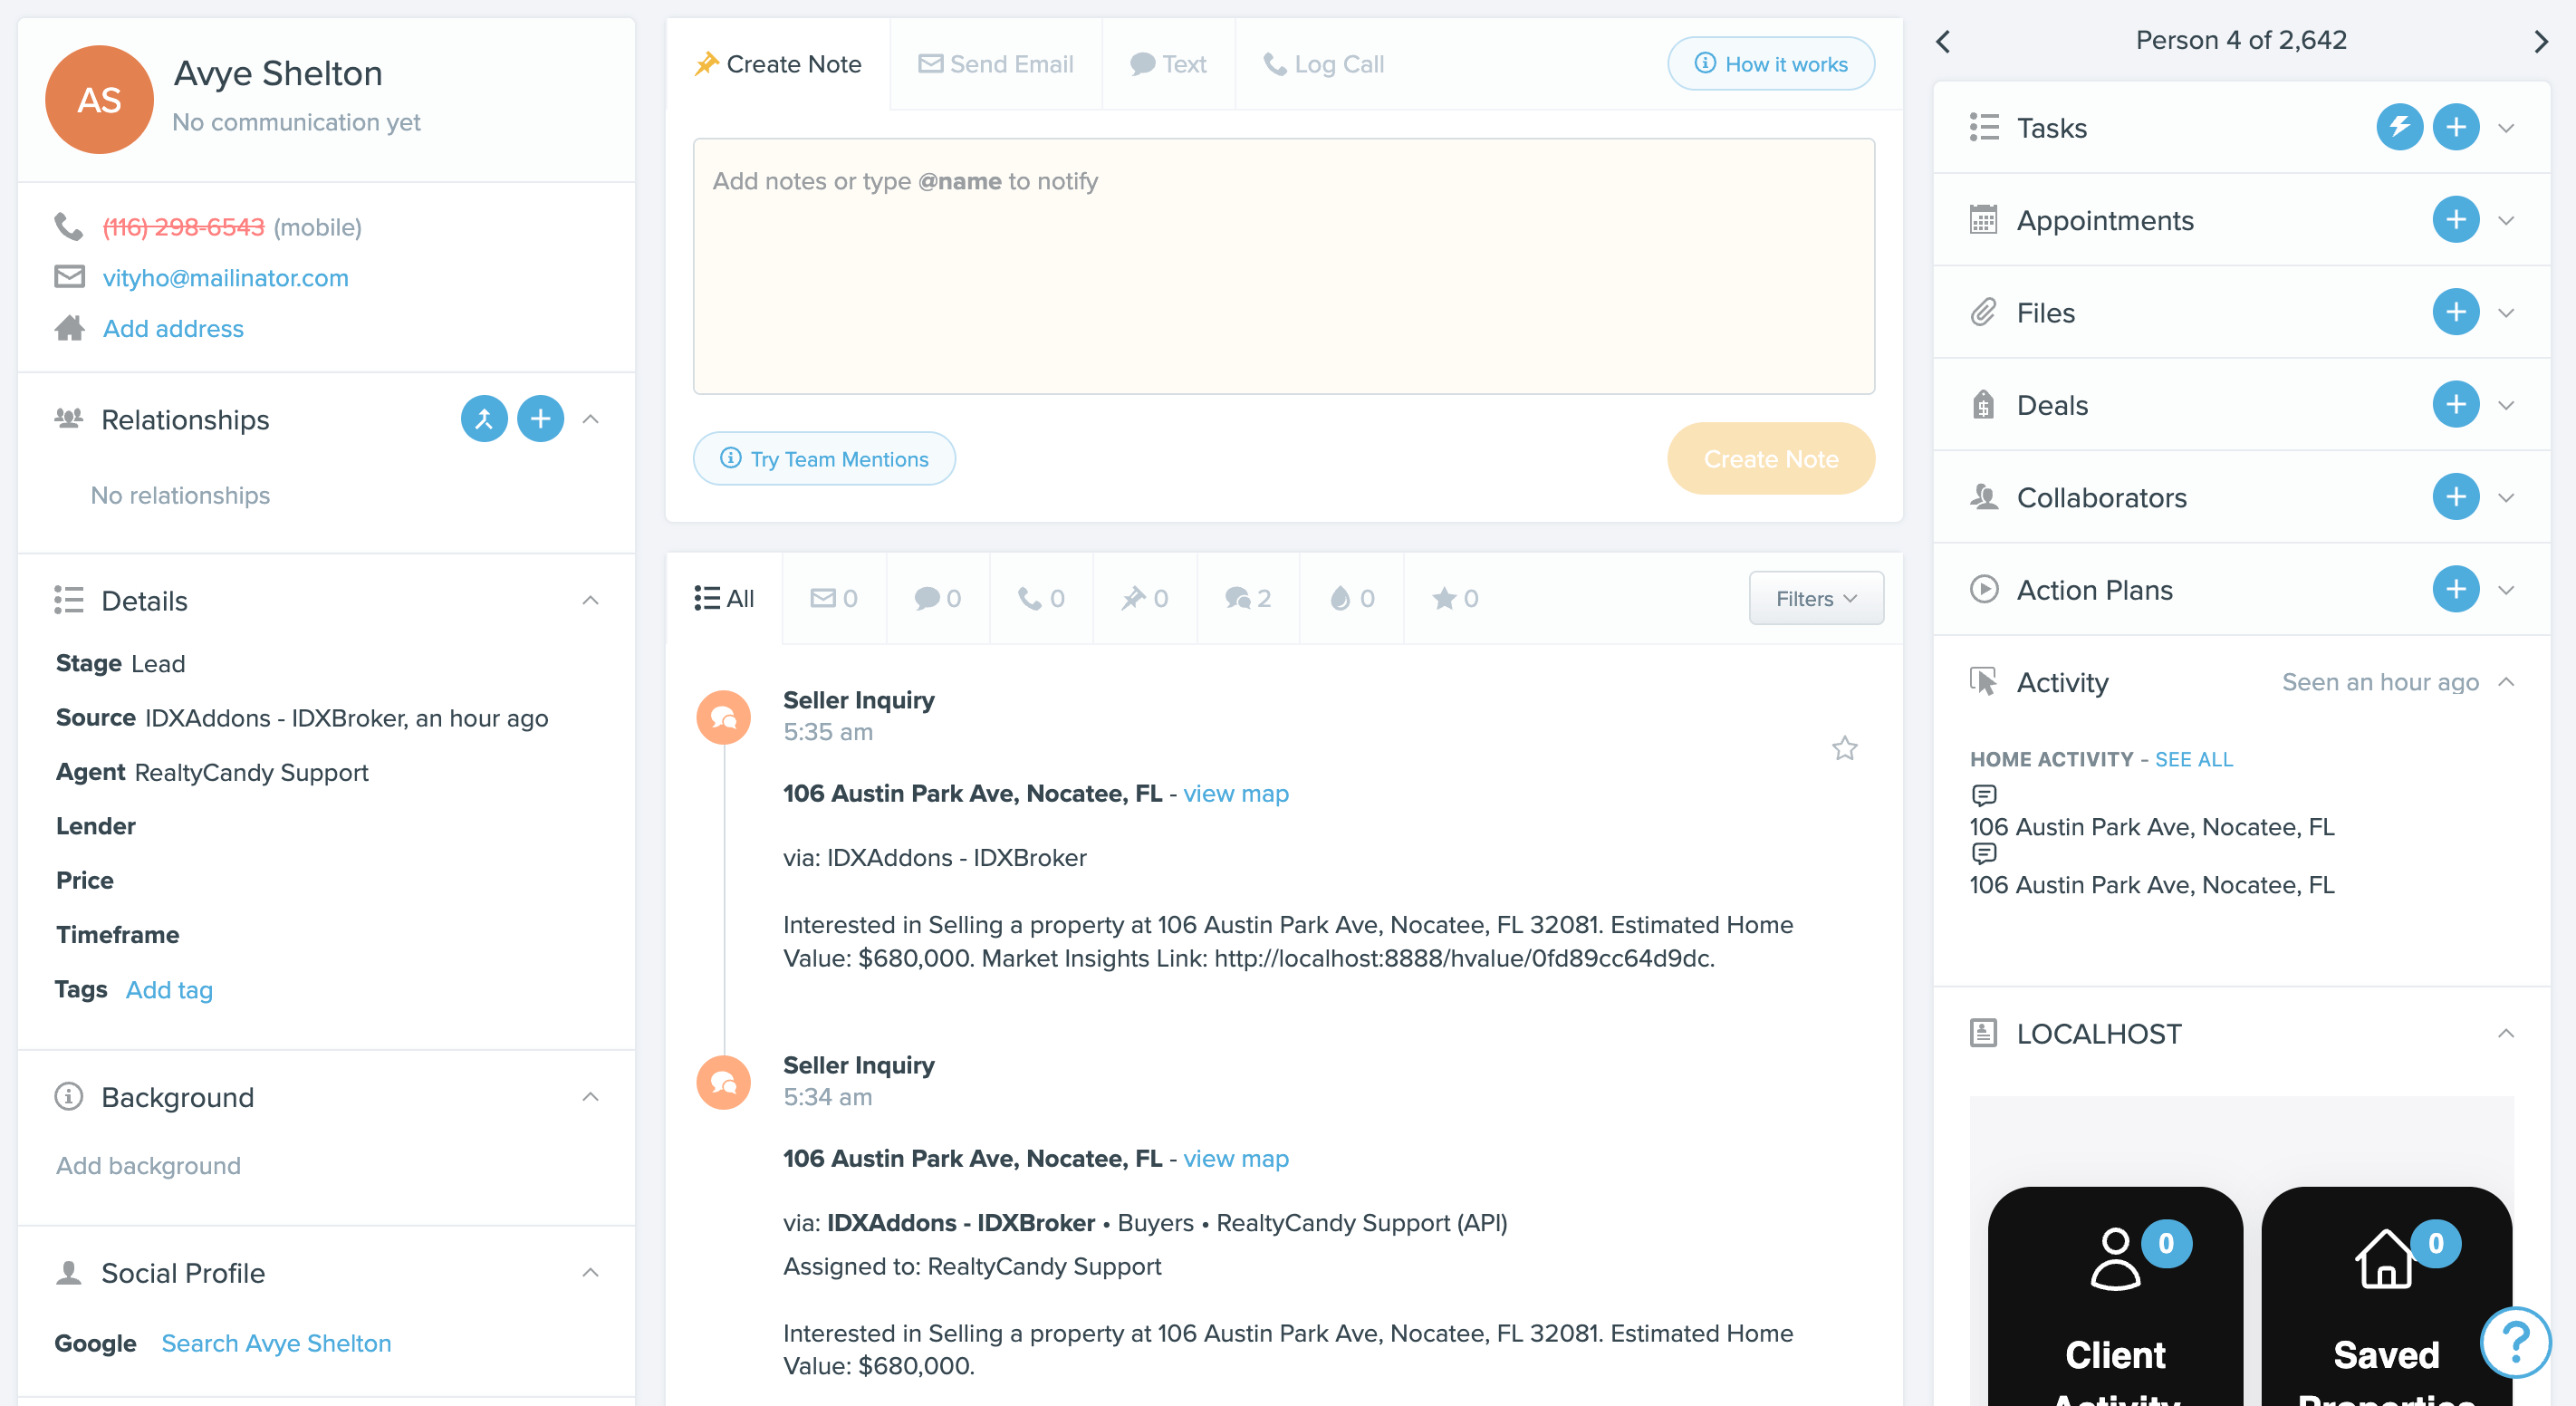
If you have Follow Up Boss (FUB) integration set up in your IDXAddons account, leads who use this widget will be sent to FUB using either the Seller Inquiry or Property Inquiry event, depending on the option selected in the form.
-
Customizing the Style
In the Style tab, you have the option to customize your widget to match your branding or design preferences. You can modify the colors, fonts, and other visual aspects of the widget.
- Customize the Widget Colors: Select the colors you’d like for various elements of the widget, such as the background, buttons, text, etc. This allows you to personalize the widget and ensure it blends well with the rest of your site’s design.
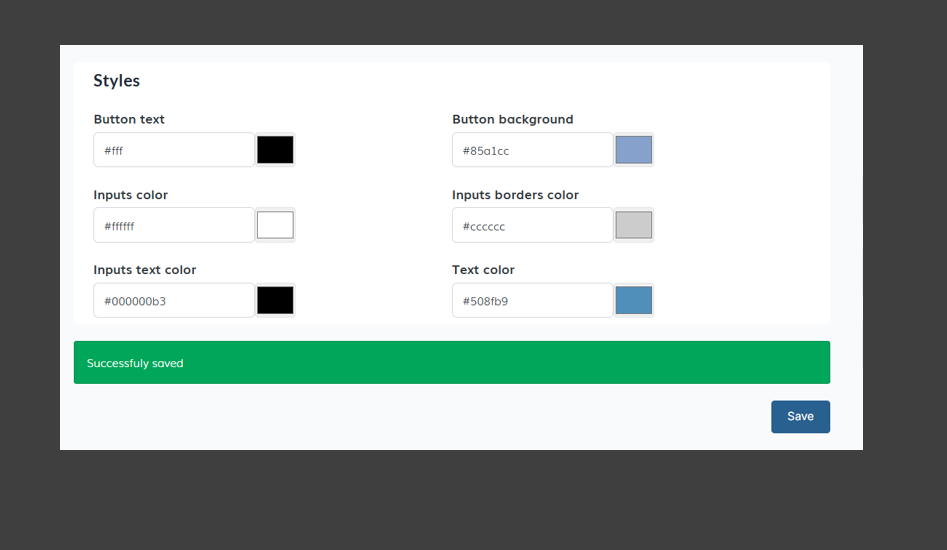
- Save Changes: After customizing the style, don’t forget to click the Save button. This will apply the changes, and the new styles will be reflected in the widget on your site.
- Customize the Widget Colors: Select the colors you’d like for various elements of the widget, such as the background, buttons, text, etc. This allows you to personalize the widget and ensure it blends well with the rest of your site’s design.