-
Introduction
The Office Account app allows you to configure and customize the office widget displayed on IDX details pages. Follow the step-by-step guide to set up your widget correctly.
-
Access the Platform
Log in to your IDXAddons platform account
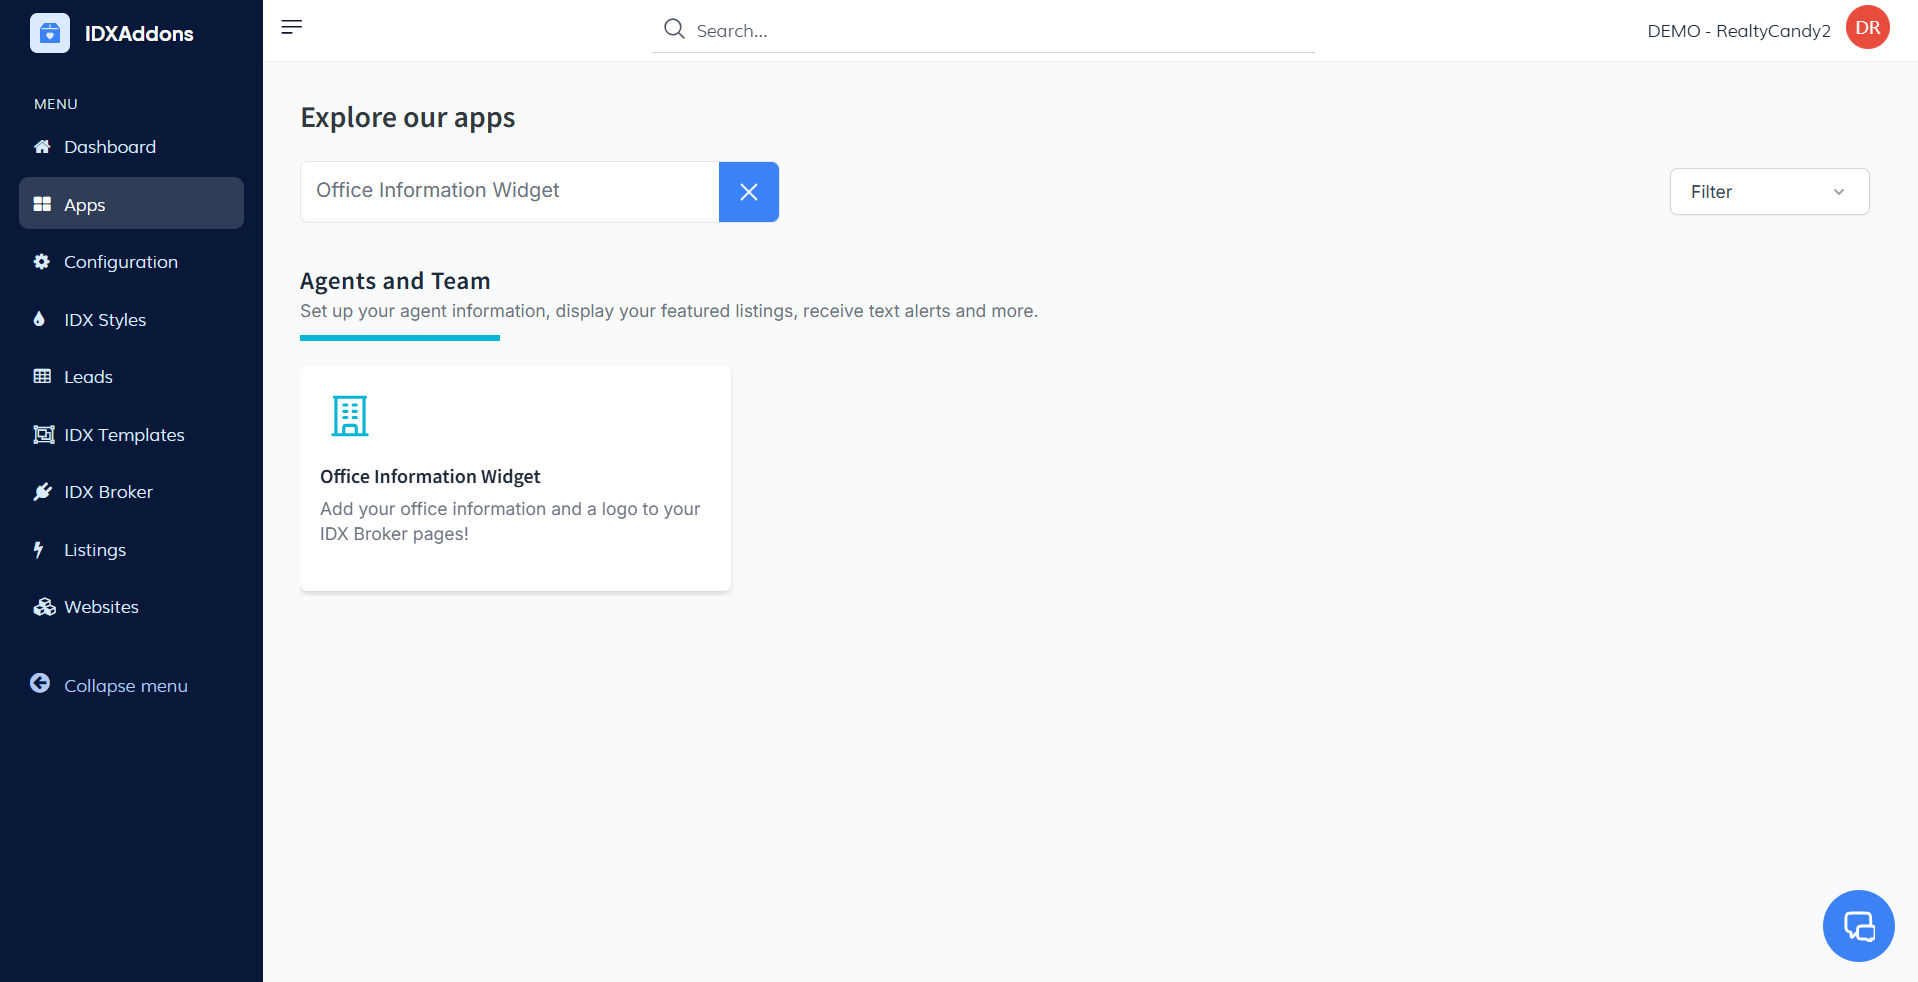
In the main menu, select the Office Information Widget option.
-
Setup Tab Configuration
Upon logging in, you will see the Setup tab. This is where you can configure the widget for your account.
Activating the Widget- Turn Widget On/Off
The first option in the setup section is the "Turn Widget On/Off" button.
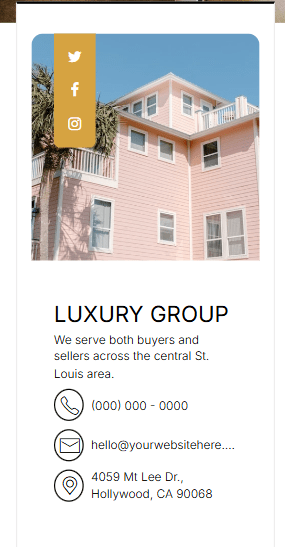
- Activate the widget: When you turn on this button, the widget will appear on all IDX details pages (such as property details pages).
- Deactivate the widget: If you prefer to turn off the widget, simply disable it, and it will not appear on the pages.

When activating the widget this is how it will look like
 Show Assigned Agent Info
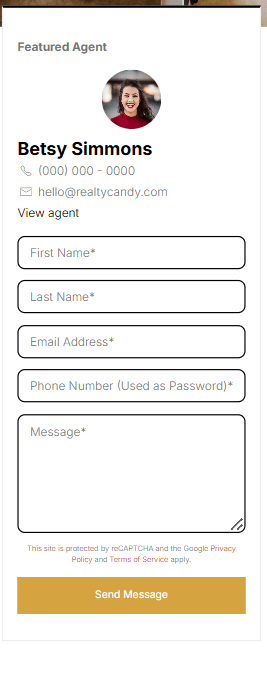
Display Assigned Agent Info: If you enable this option, the assigned agent's information will appear on all IDX details pages instead of the office information.

When activating the button, this is how the information will be shown
 Select the Widget Theme
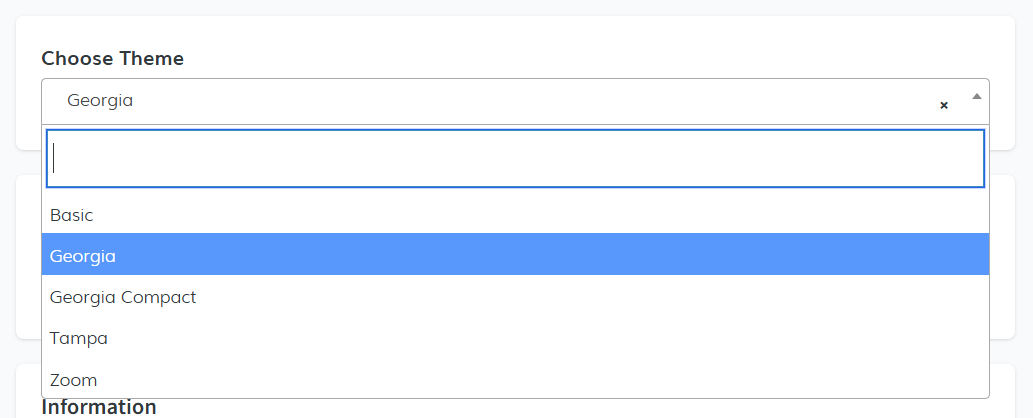
In this section, you can select the theme for your widget. There are five options available:
- Basic
- Georgia
- Georgia Compact
- Tampa
- Zoom
 Add a Logo
If you have a logo, you can add the image URL in this section. The logo will appear on the widget.
 Widget Information Configuration
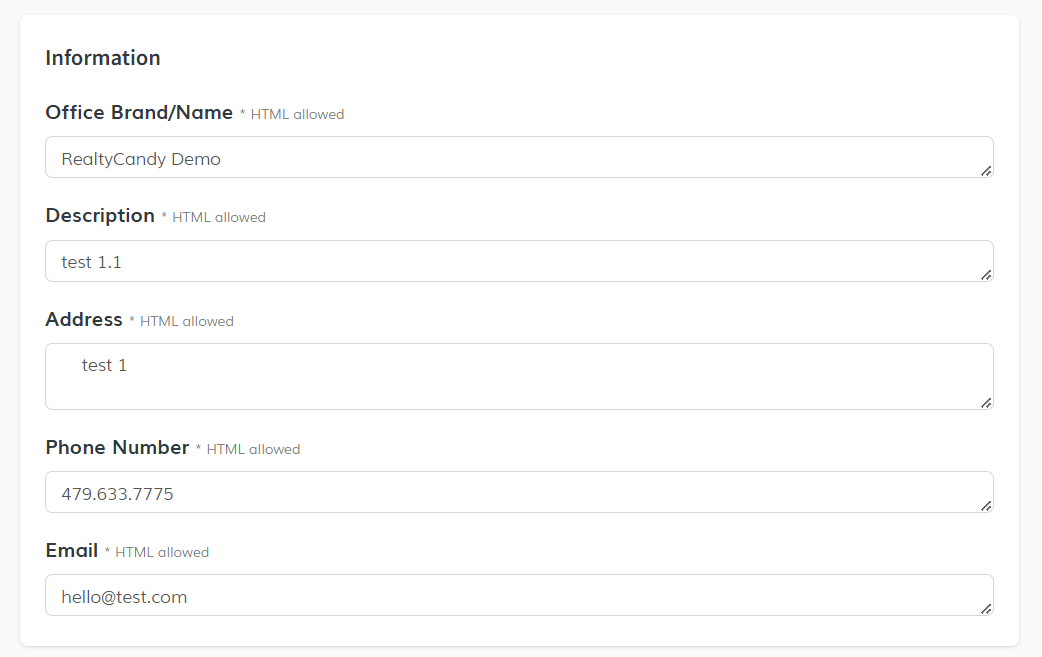
In this section, you will enter the information that will appear in your widget:
- Office Brand/Name: Enter the office name, brokerage, or brand.
- Description: Provide a brief description of the office.
- Address: Enter the office address.
- Phone Number: Enter the office contact number.
- Email: Provide the office email address.
 Add Social Media Links
You can add the URLs for your office's social media profiles. Make sure to provide the correct links
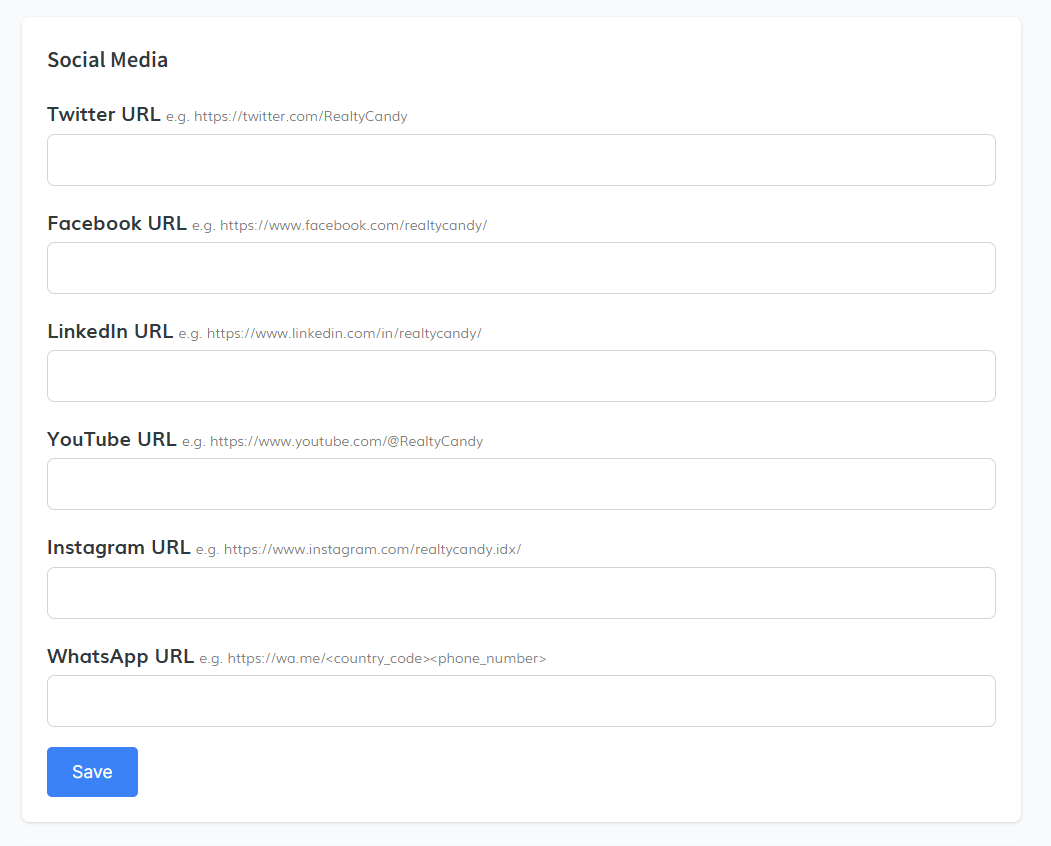
Remember to click the "Save" button so that any changes you make are properly saved and reflected on the widget. If you don't save the changes, they will not be applied.
- Turn Widget On/Off
-
Advanced Settings
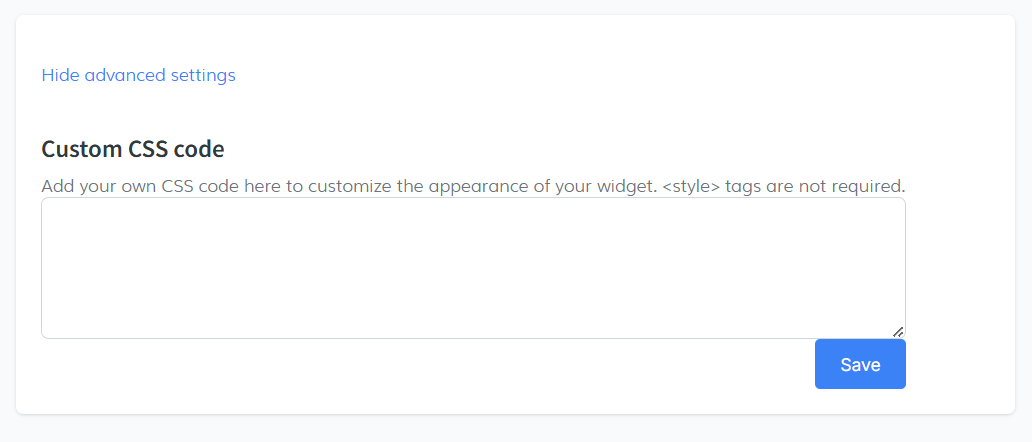
If you wish to further customize the widget, you can access the Advanced Settings section:
- Custom CSS Code: Here, you can add your own CSS code to customize the appearance of the widget as needed.
- After adding the CSS code, make sure to click "Save" to apply the changes.
-
Get Code Snippet (optional)
As a feature of our Premium IDX Templates, the widget is automatically integrated into the design. However, if you are using a custom template or need to embed the widget manually, you can obtain the code snippet from the platform.
Simply click the "Copy Code" button. The code will automatically be copied to your clipboard, and you can paste it on any page where you want the widget to appear.