-
Access the Platform
Log in to your IDXAddons platform account
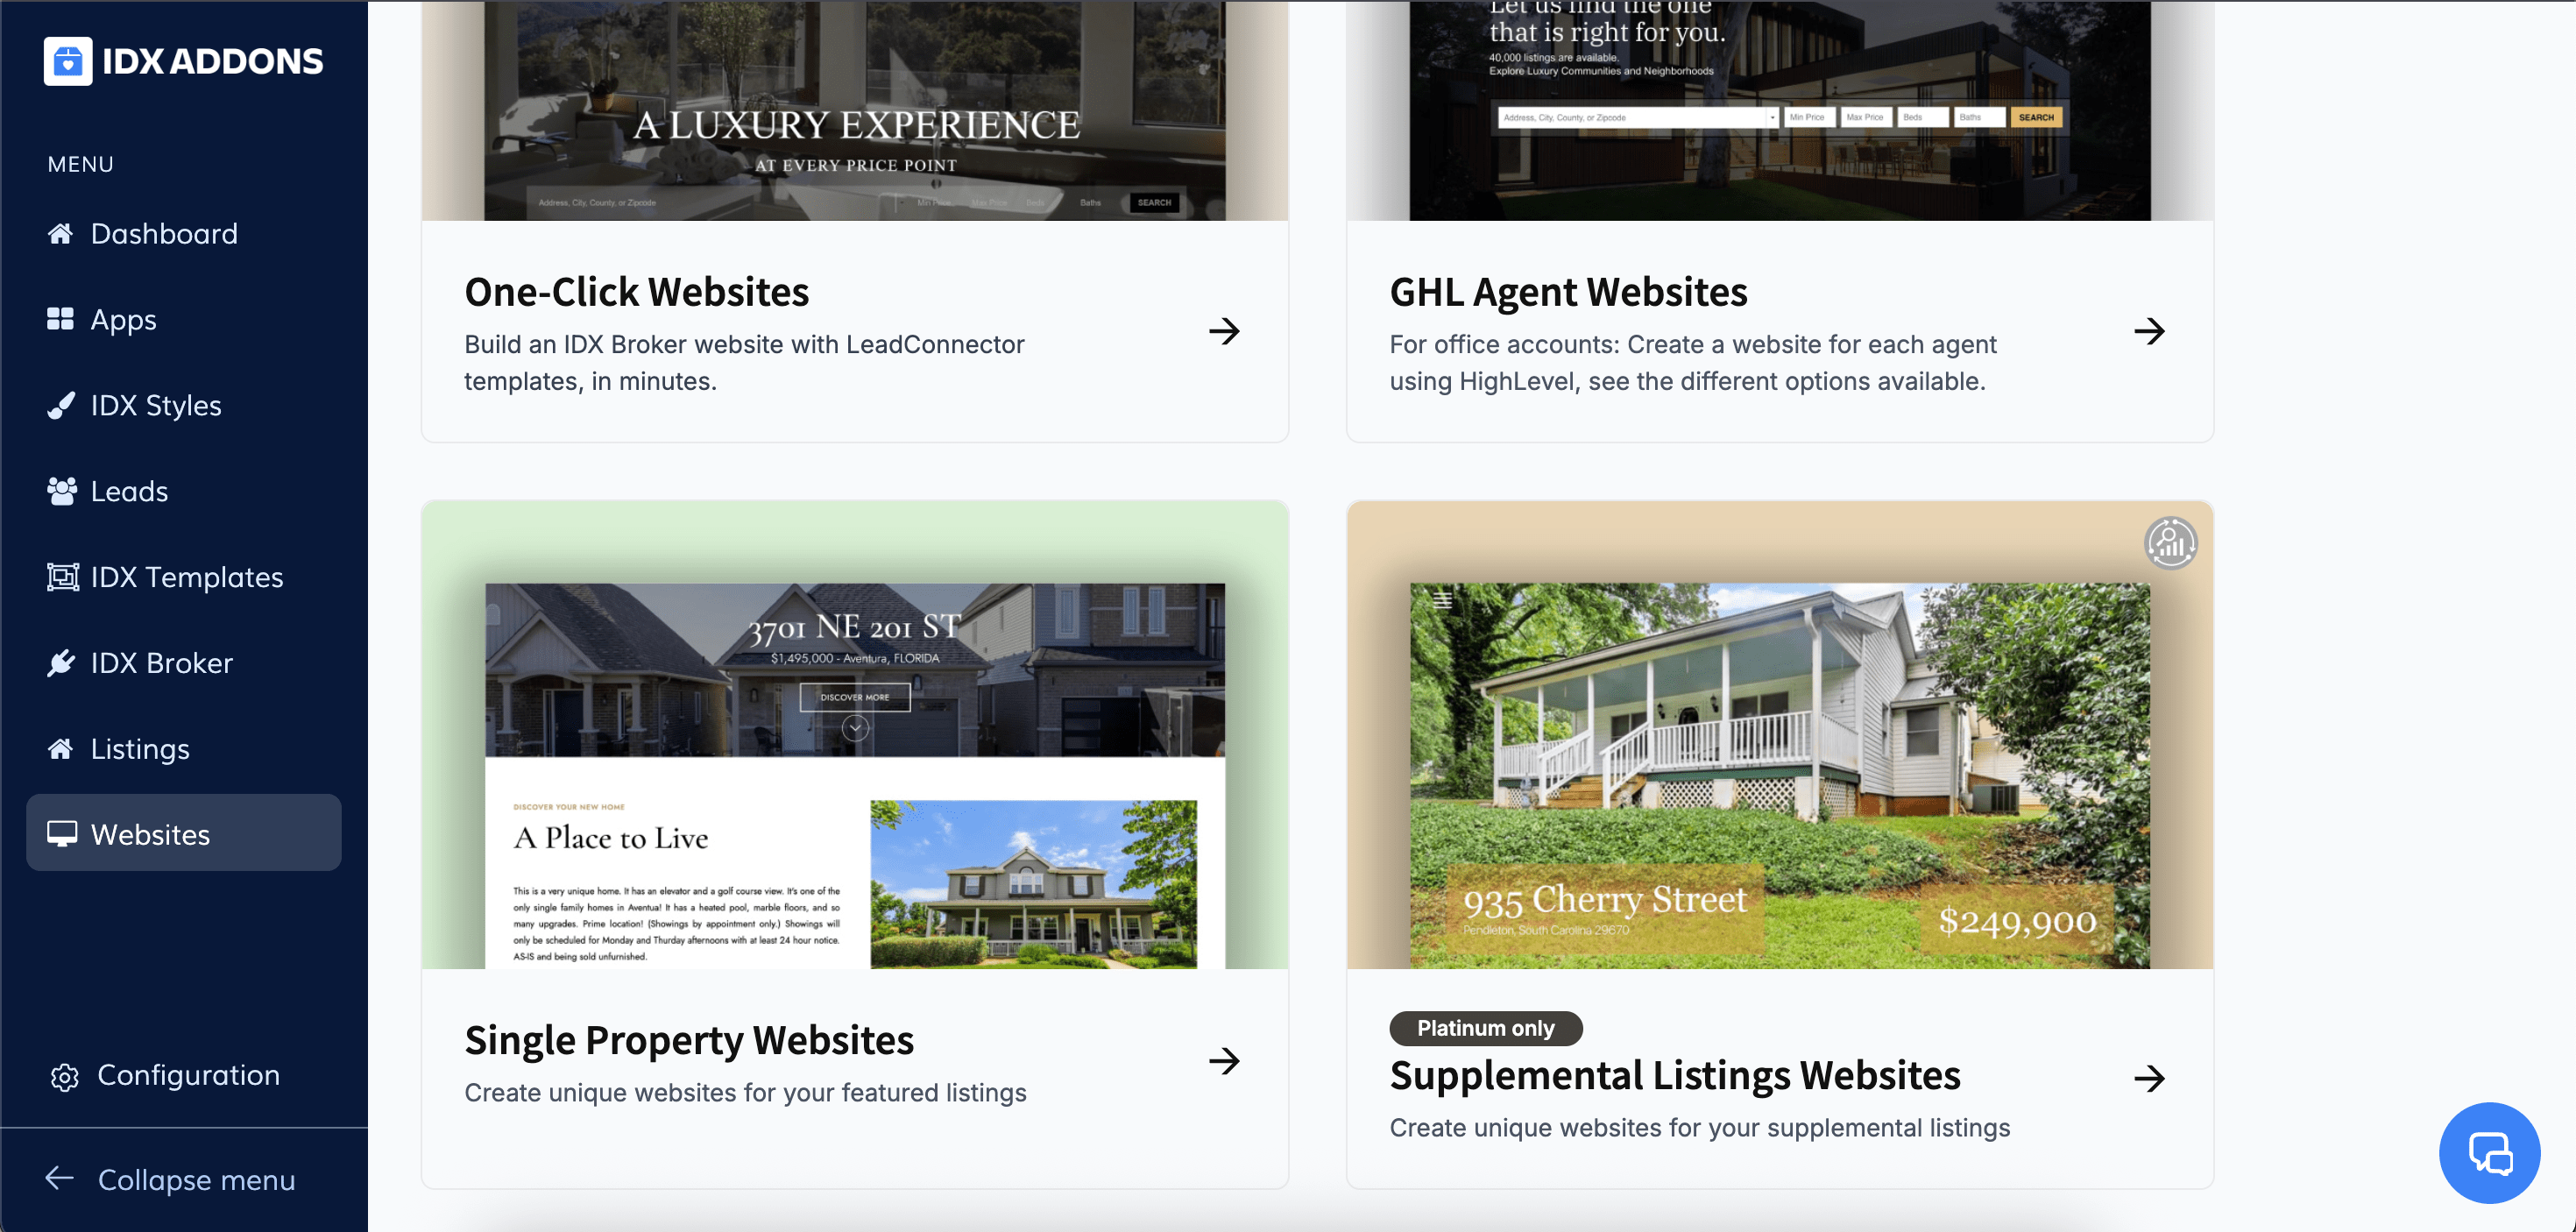
In the main menu, first select Websites and then Single Property Websites
-
Set Up Your Single Property Website
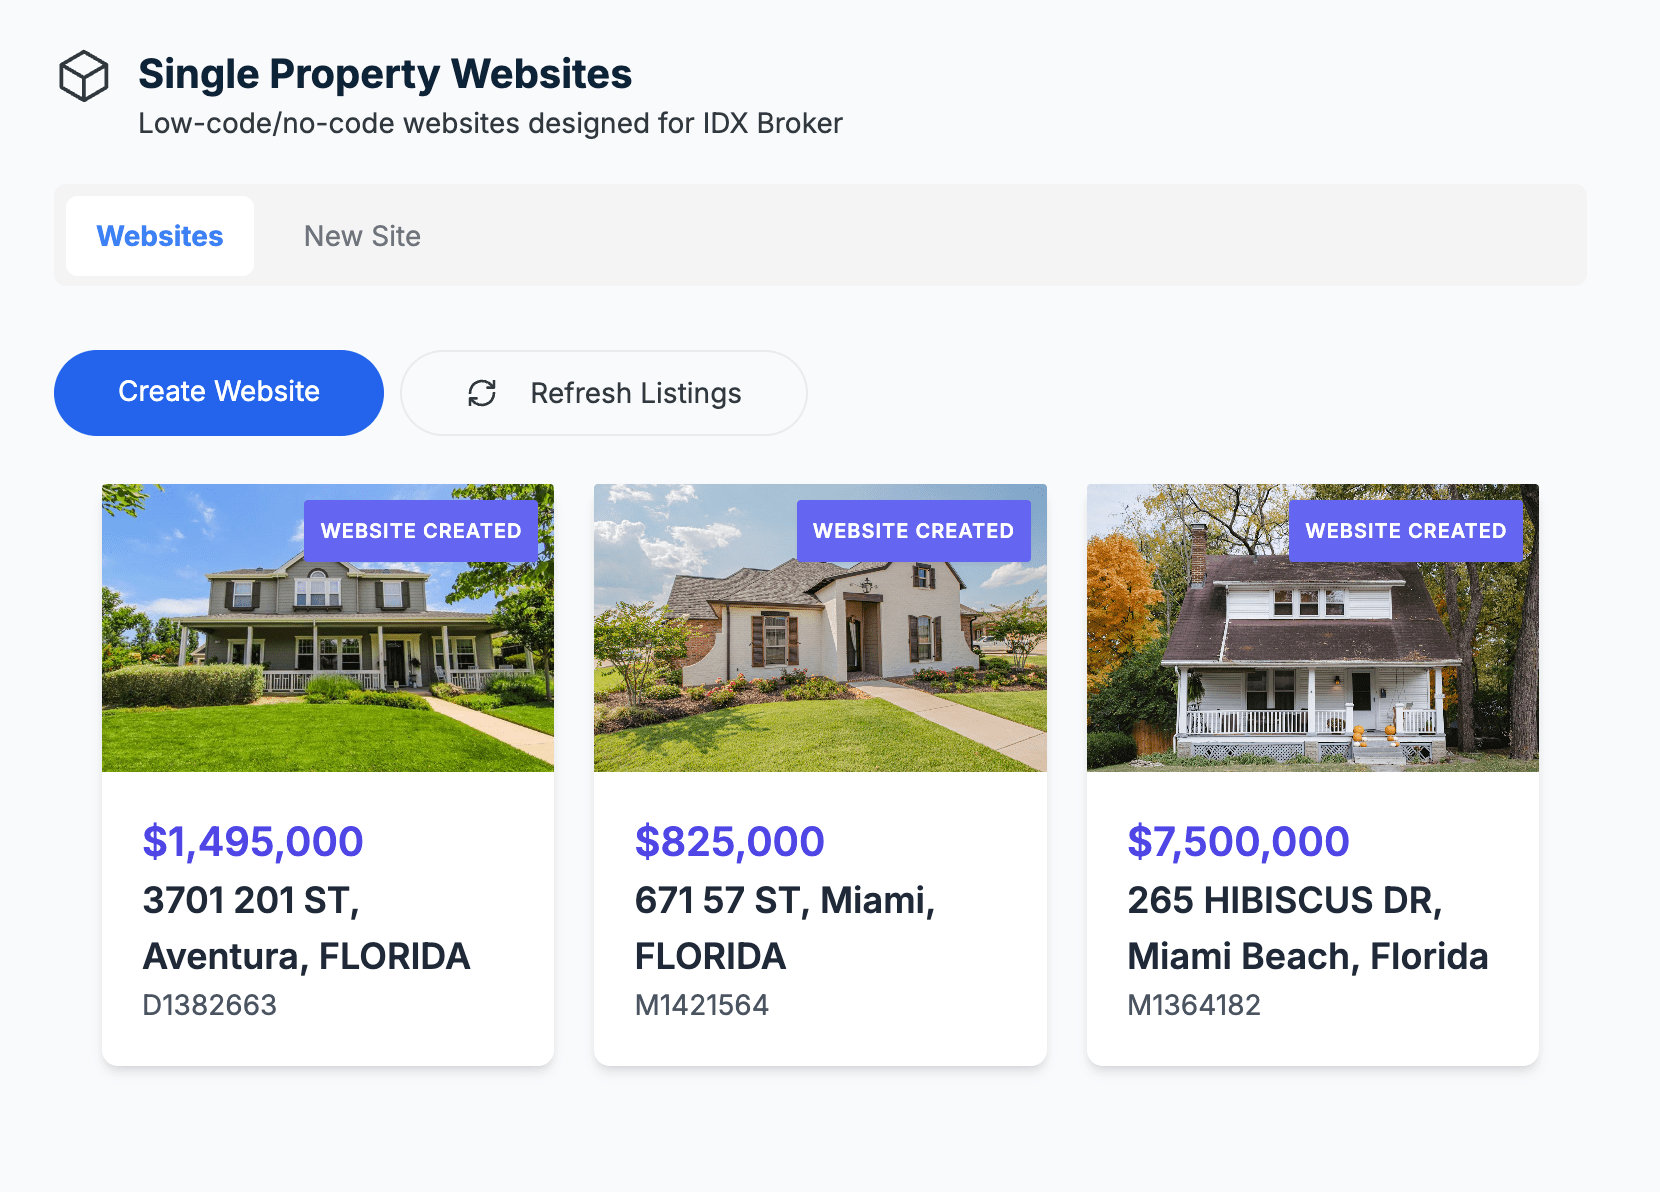
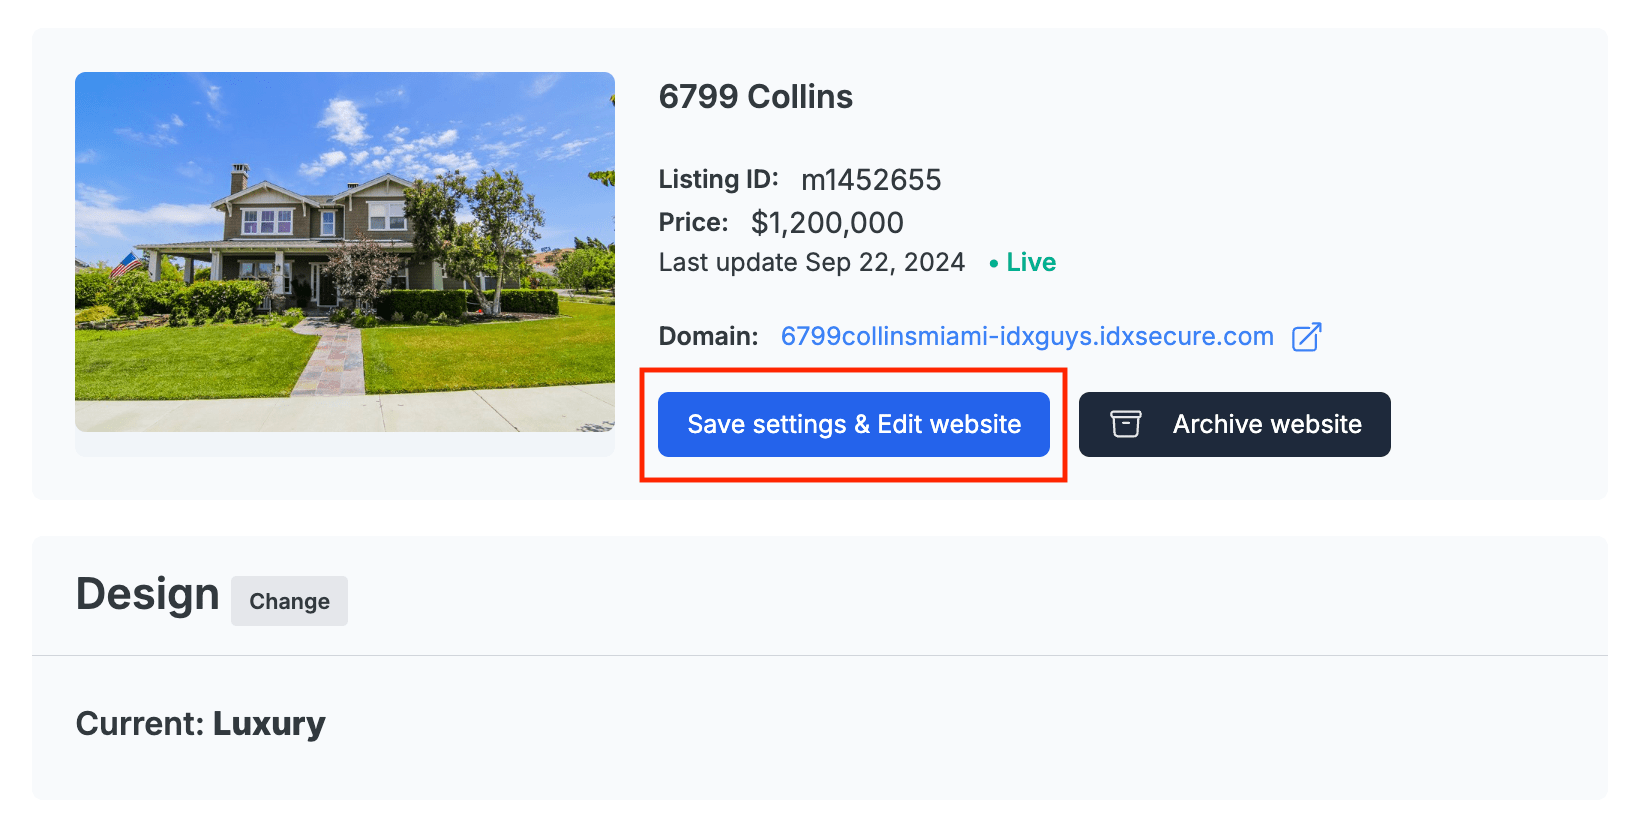
To access the advanced settings, head to the Websites tab and click on the property you want to customize. This will open a detailed view where you can configure every part of your site using different tabs.
Some features are only available for the PRO version of the app. You can learn more about the Single Property Websites PRO version and its features here.
-
Design
The first section you'll see is Design, where you can choose between two layout templates:
- Default
- Luxury Theme PRO
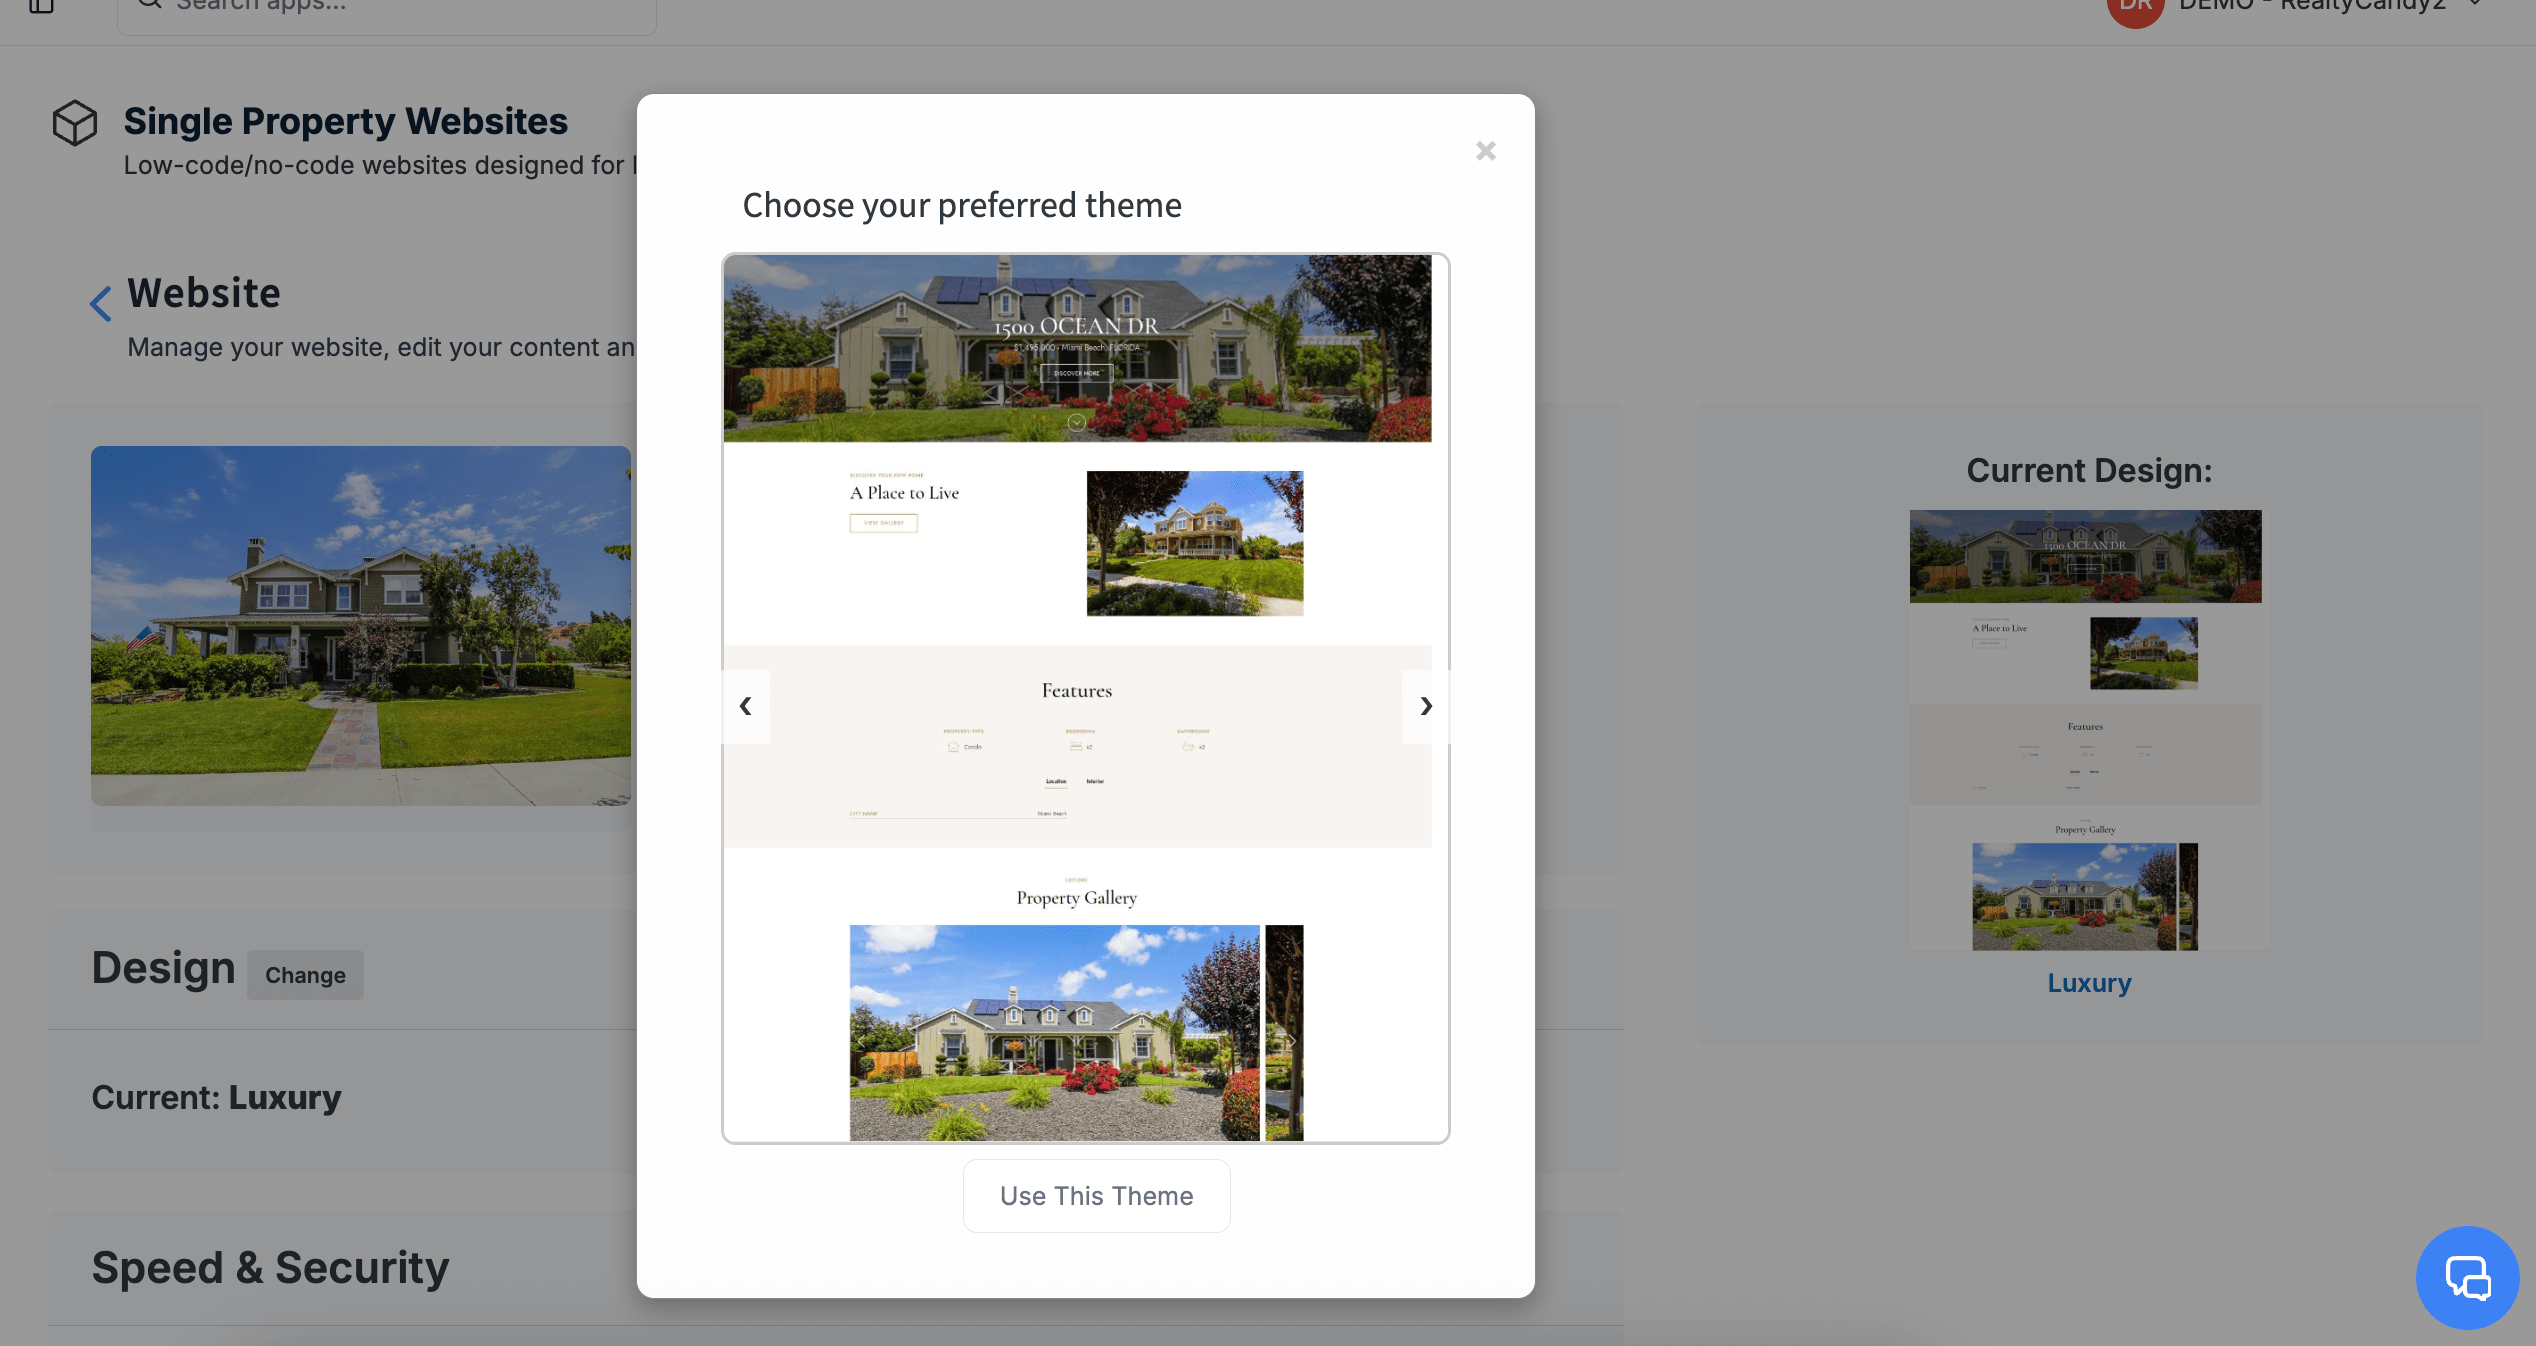
After selecting the design that best fits your needs, click Save Settings & Edit Website to apply the changes and continue customizing.
-
Logo
In the Logo section, you can upload the logo that will appear on your property website. To do this, you have two options:
- Click Upload Image to select a file from your computer.
- Or paste the direct URL of your logo into the field provided.

-
Notifications Tab
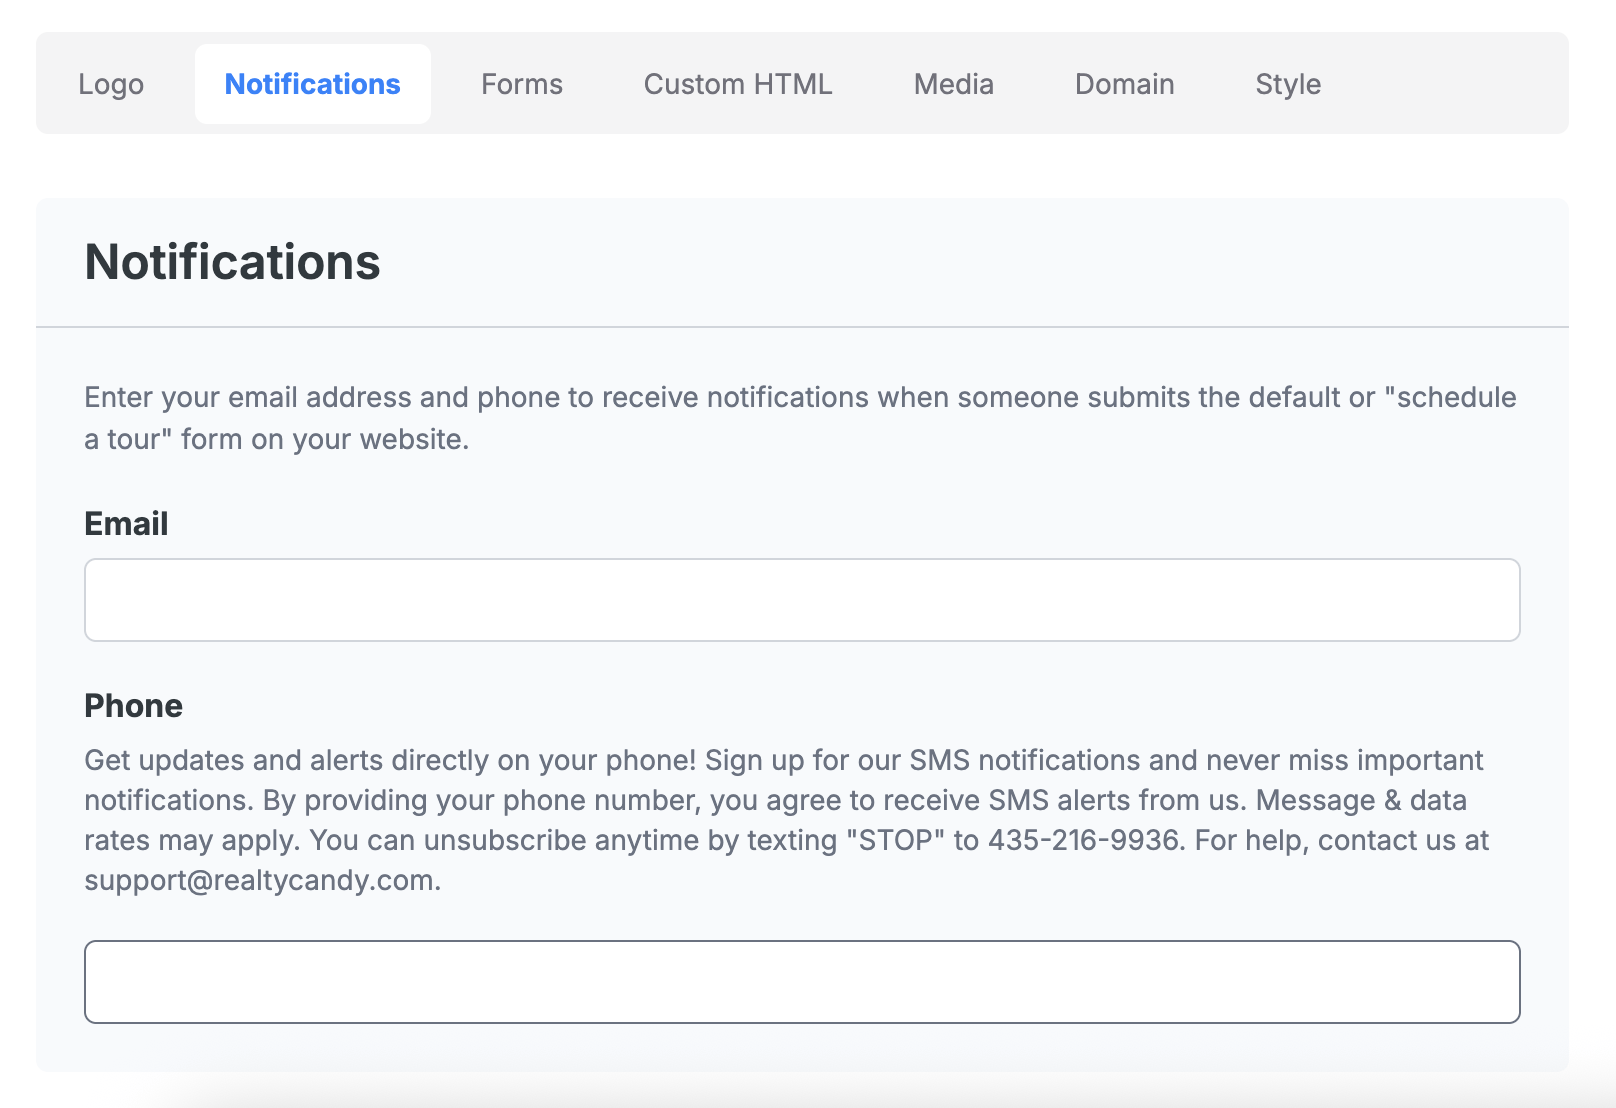
The Notifications tab allows you to set up alerts so you never miss an inquiry. Enter your email address to receive notifications when someone submits a contact or schedule form. You can also provide your phone number to receive SMS alerts directly to your device.
Also the email and phone number you enter here will be displayed on the website.
-
Forms Tab
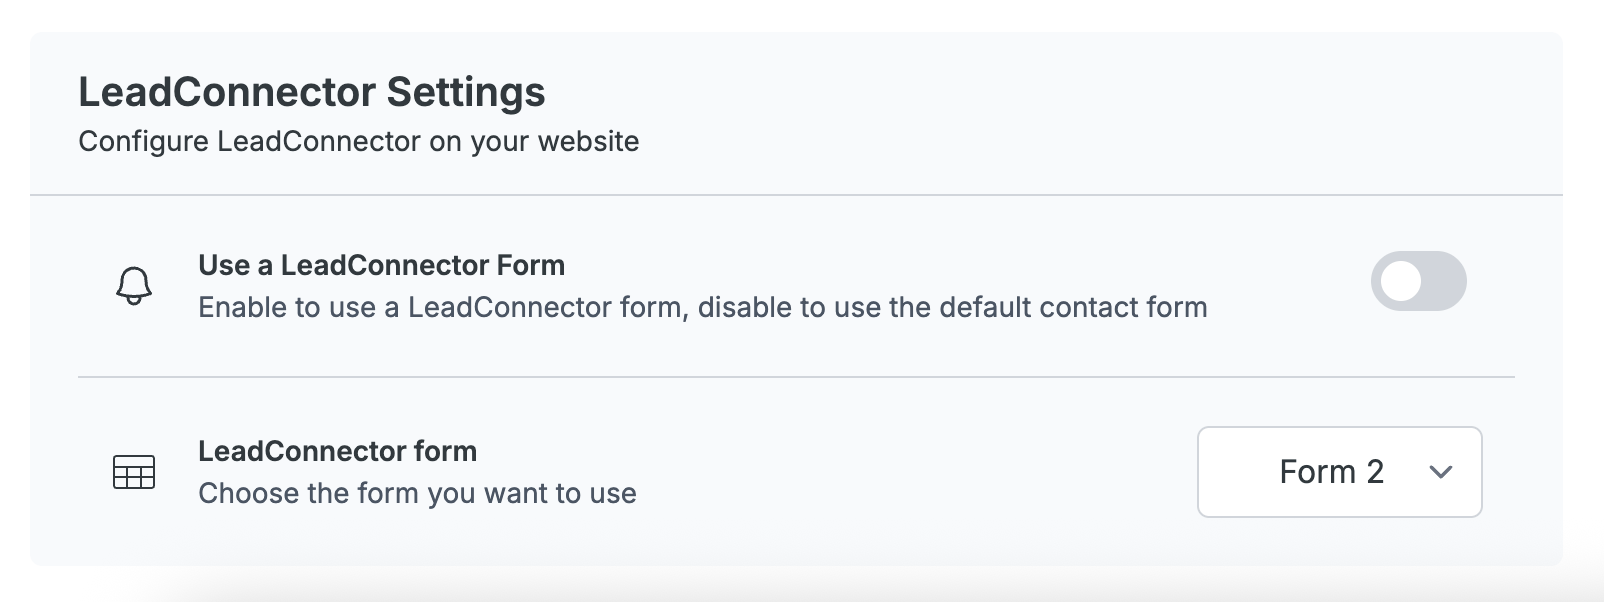
In this section you can select a HighLevel/LeadConnector form to be displayed on your property website. The selected form will replace the default contact form, providing a more customized experience for your visitors.
When using GHL, you can use a different forms per property website. This allows you to create a unique experience for each property, trigger different automations, and collect specific information from leads.
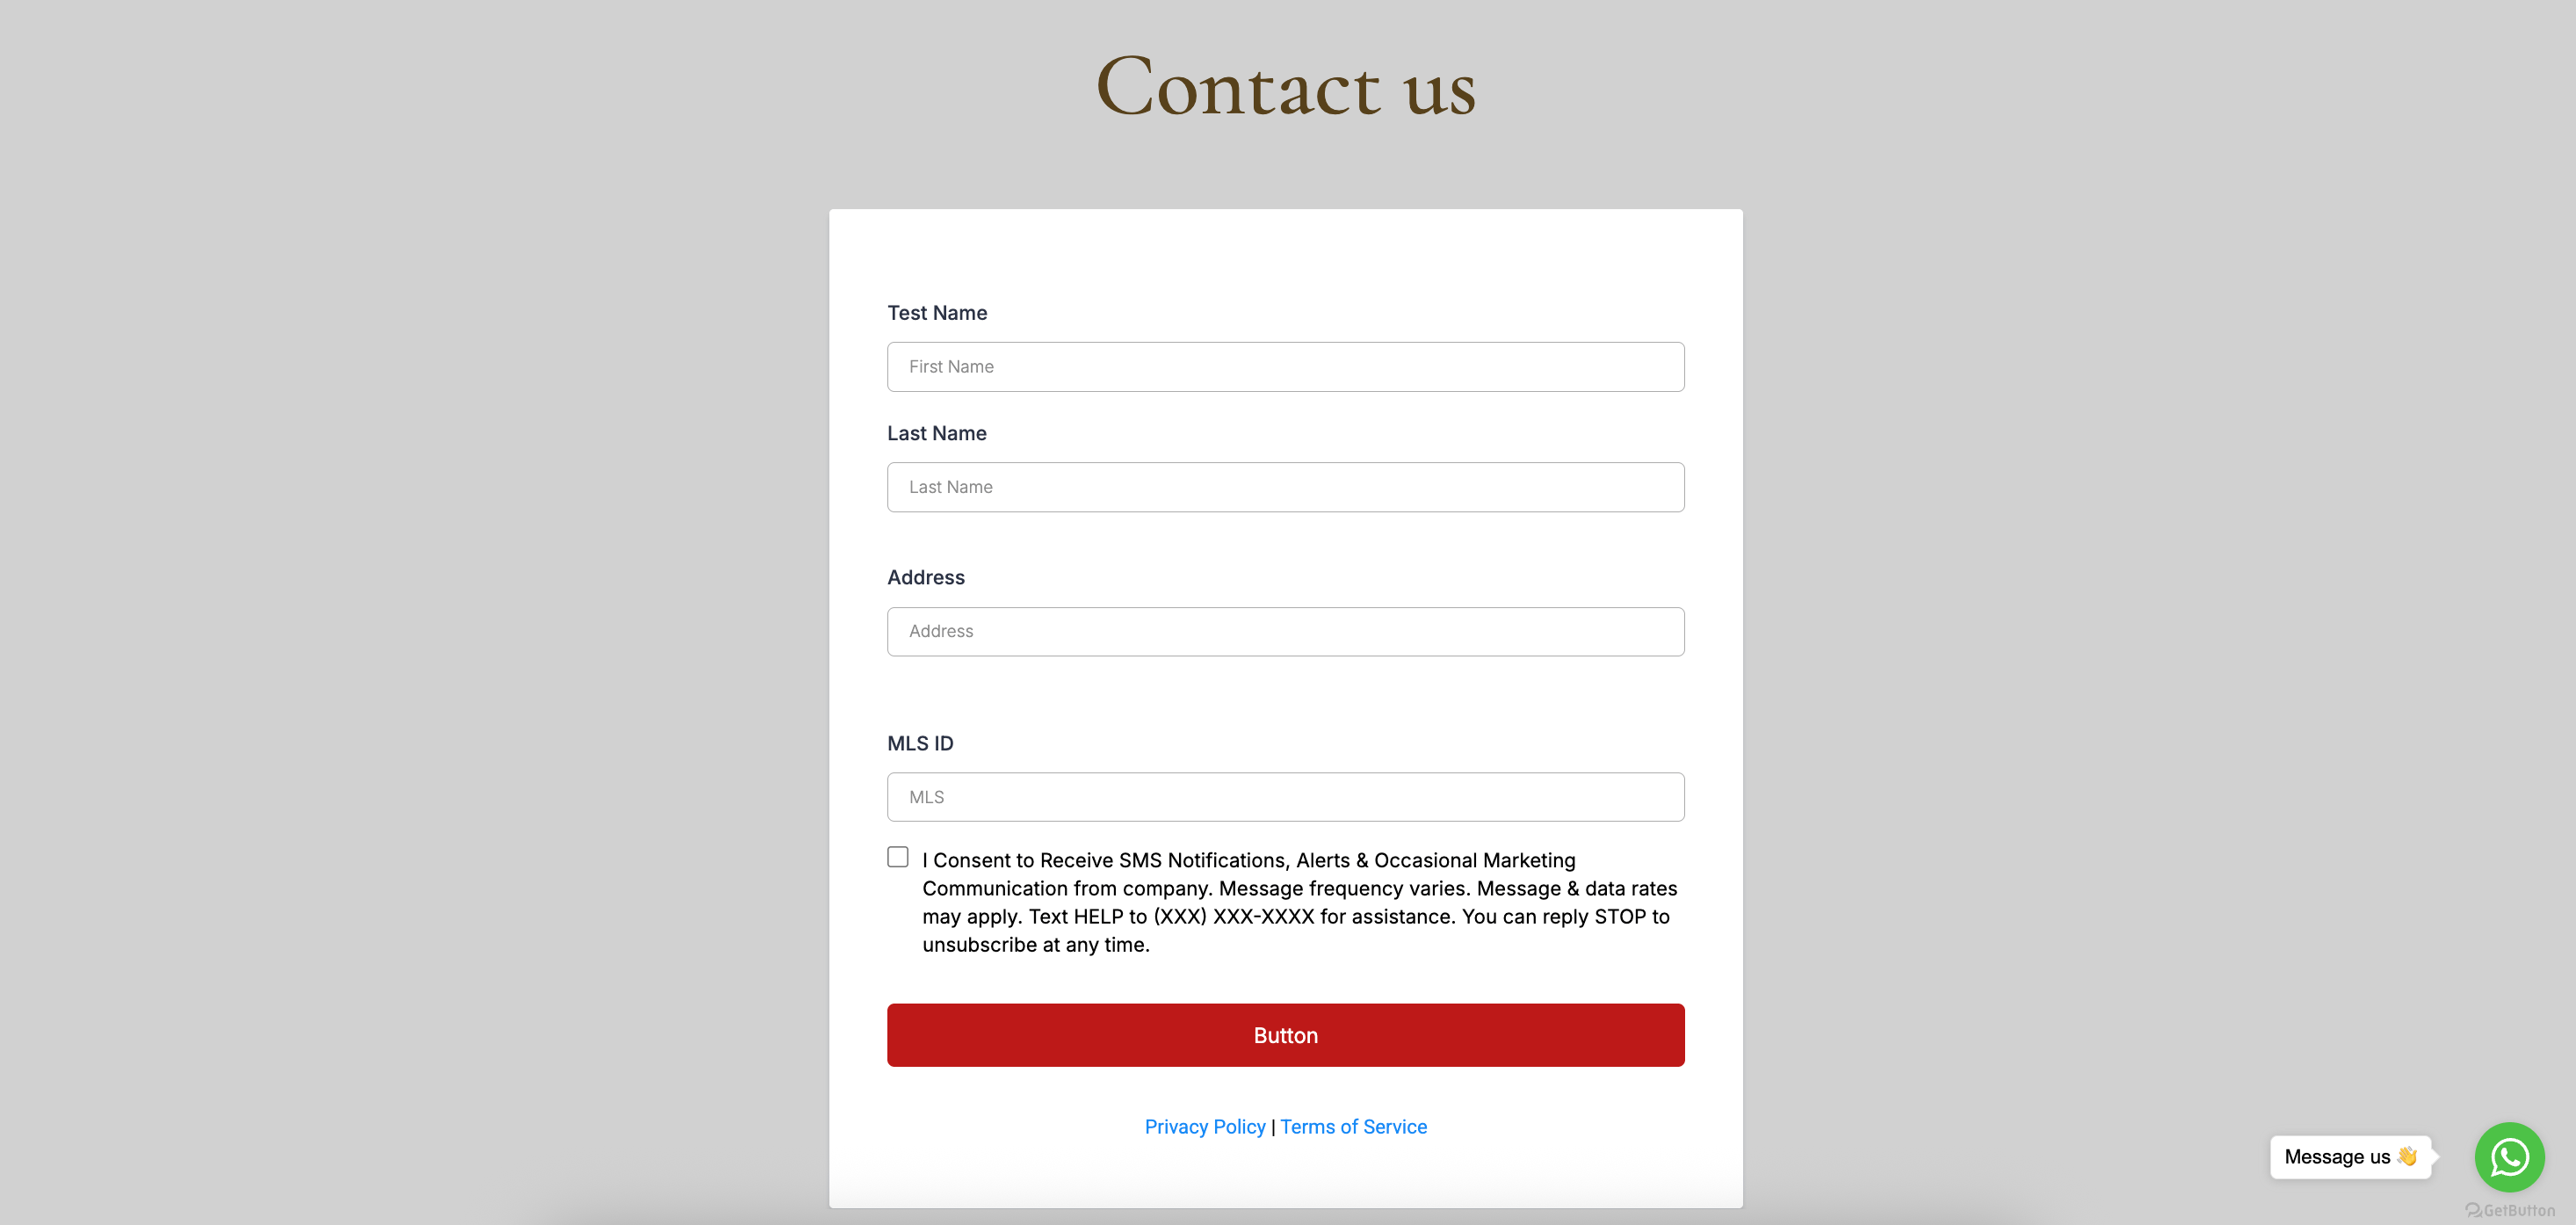
This is how the form “Details Form” looks like on the page.
-
Custom HTML
The Custom HTML section lets you insert additional code to extend your website's functionality. You’ll find two fields here:
- Head: For meta tags, external stylesheets, or tracking scripts that need to go in the <head> section.
- Footer: For widgets, chat tools, or any scripts that should be loaded just before the closing <body> tag.
- To add Google Analytics, place the script in the Head field.
- To add a WhatsApp chat widget, place the script in the Footer field.
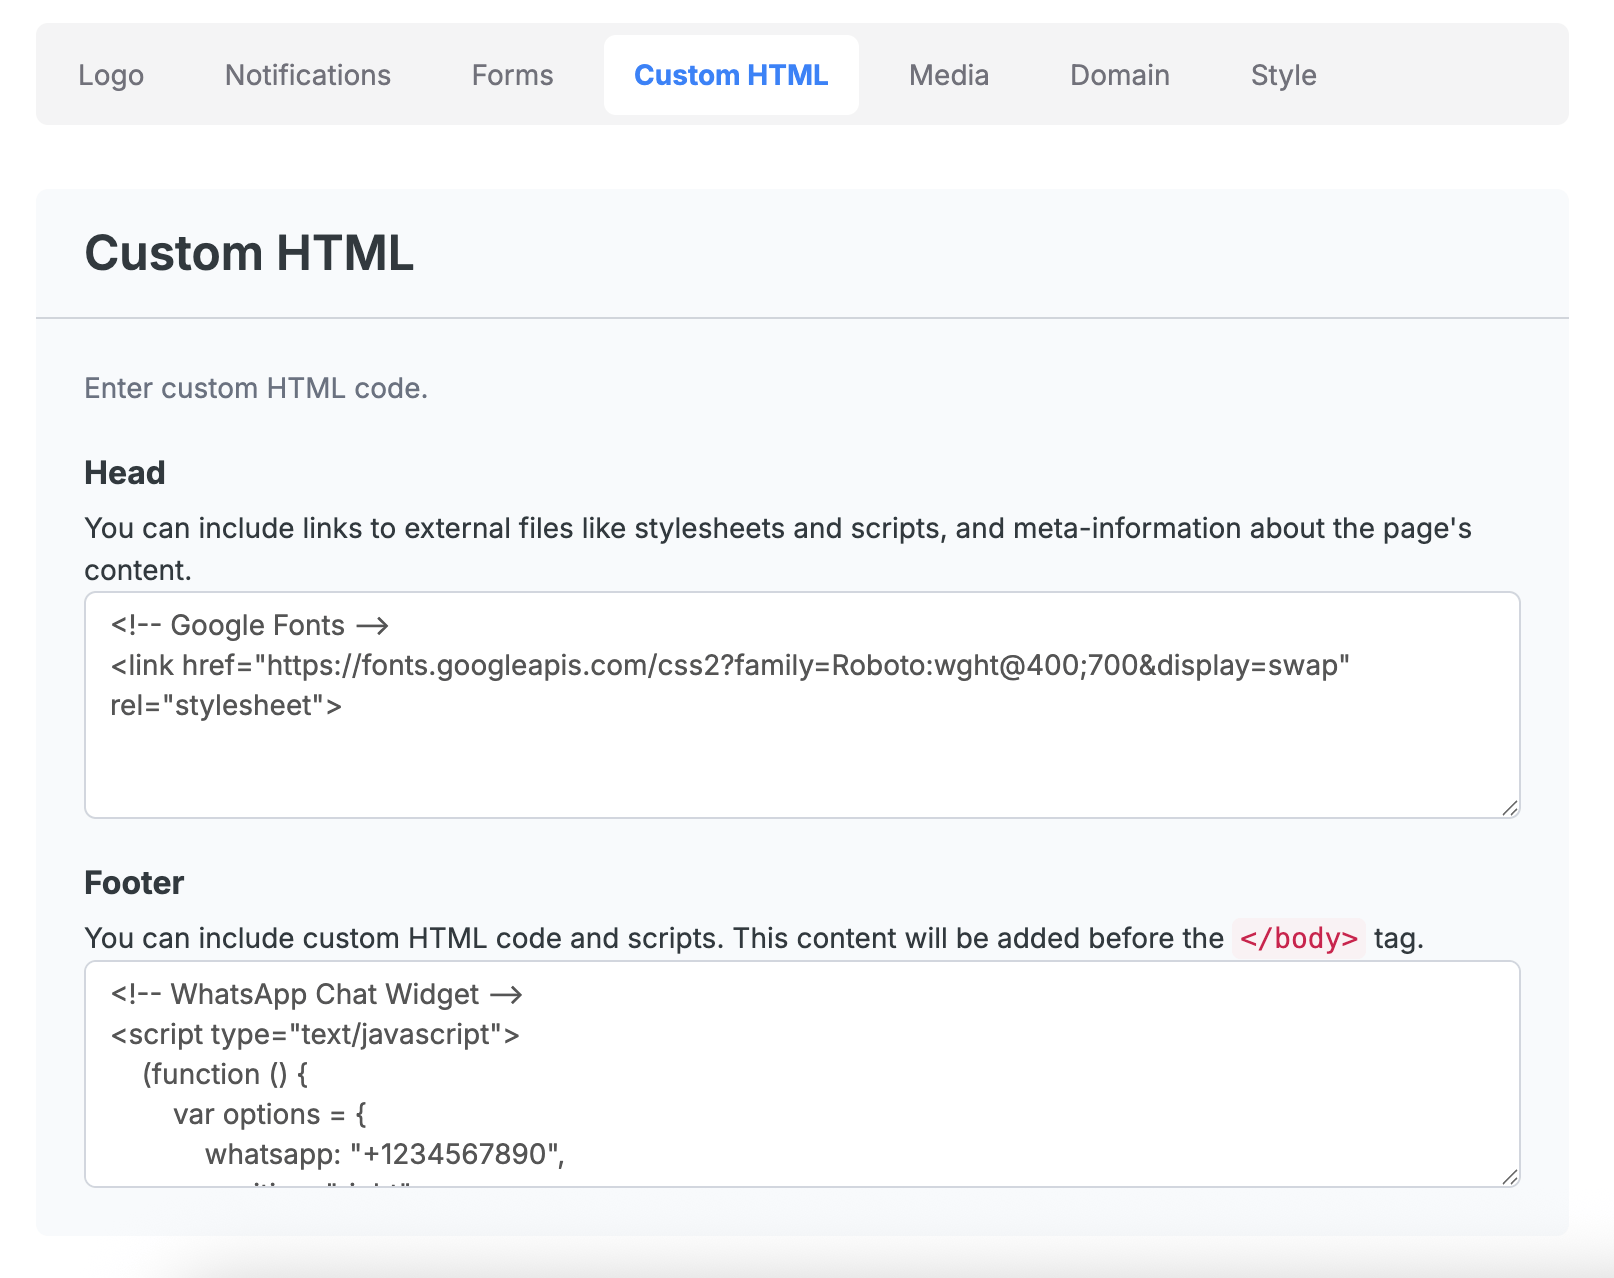
This is how the "Whatsapp" chat widget looks like on the page.

-
Media Tab PRO
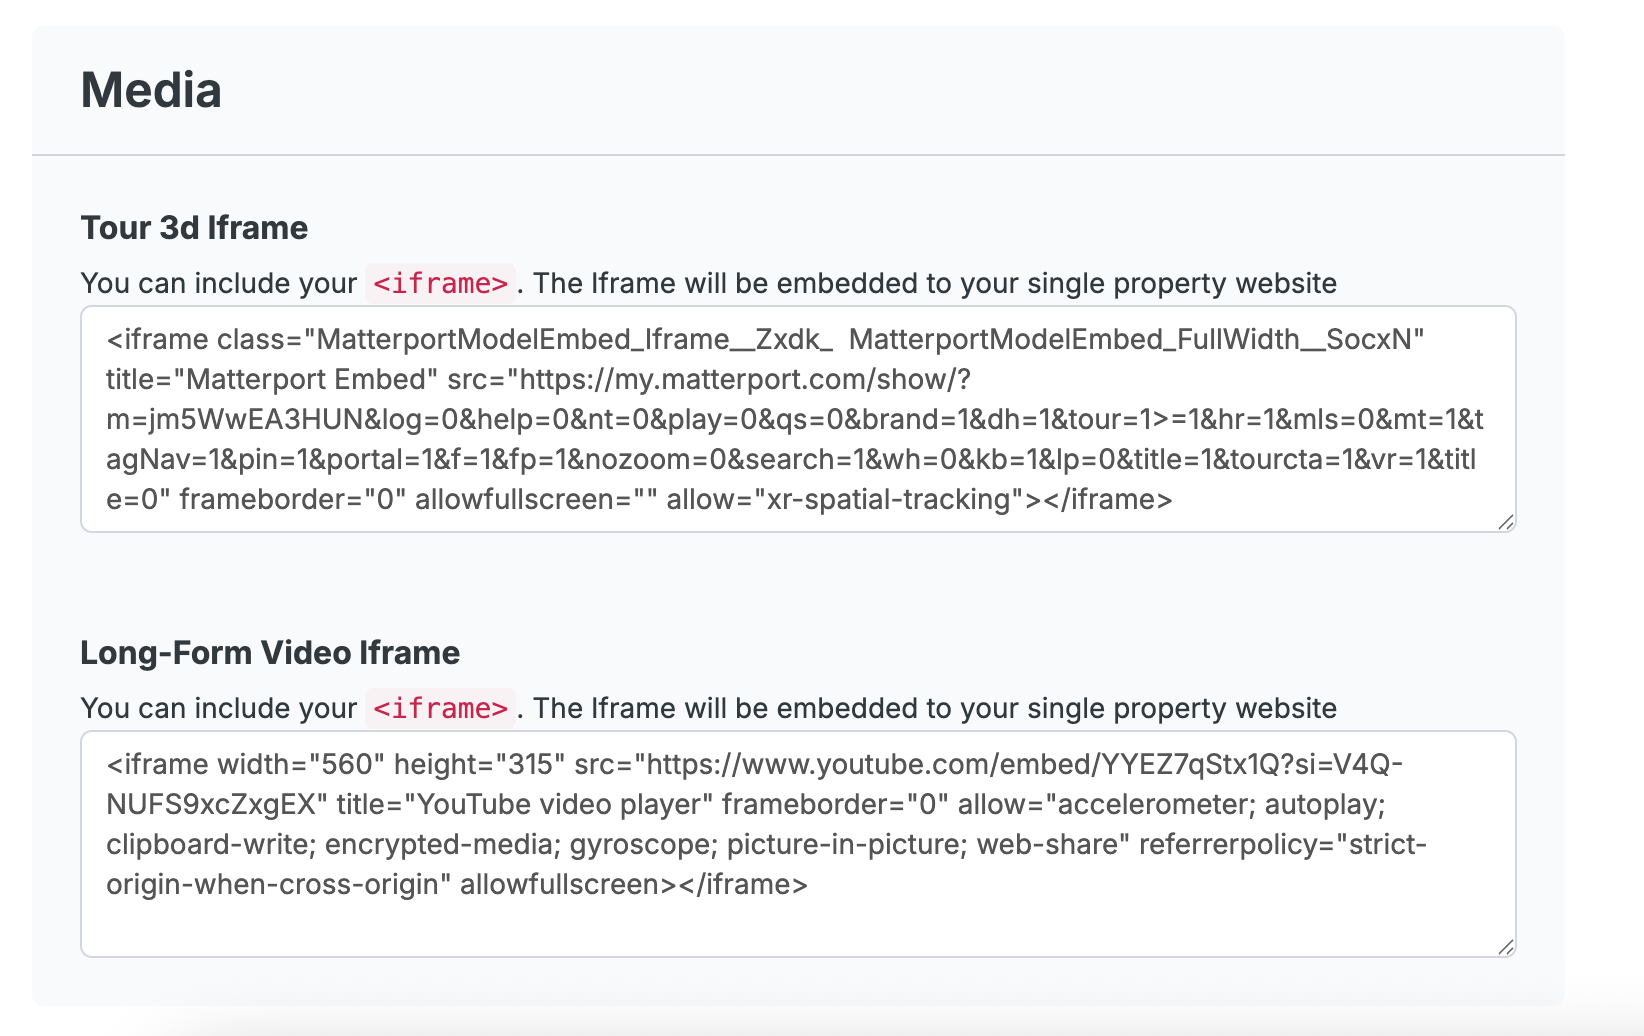
The Media tab helps you enrich your website with multimedia content. You can embed:
- A Tour 3D iframe (e.g., Matterport) to provide immersive virtual tours.
- A Long-Form Video iframe (e.g., YouTube) to showcase property walkthroughs.
Paste your iframe code in the relevant section, and it will display seamlessly on your property page.
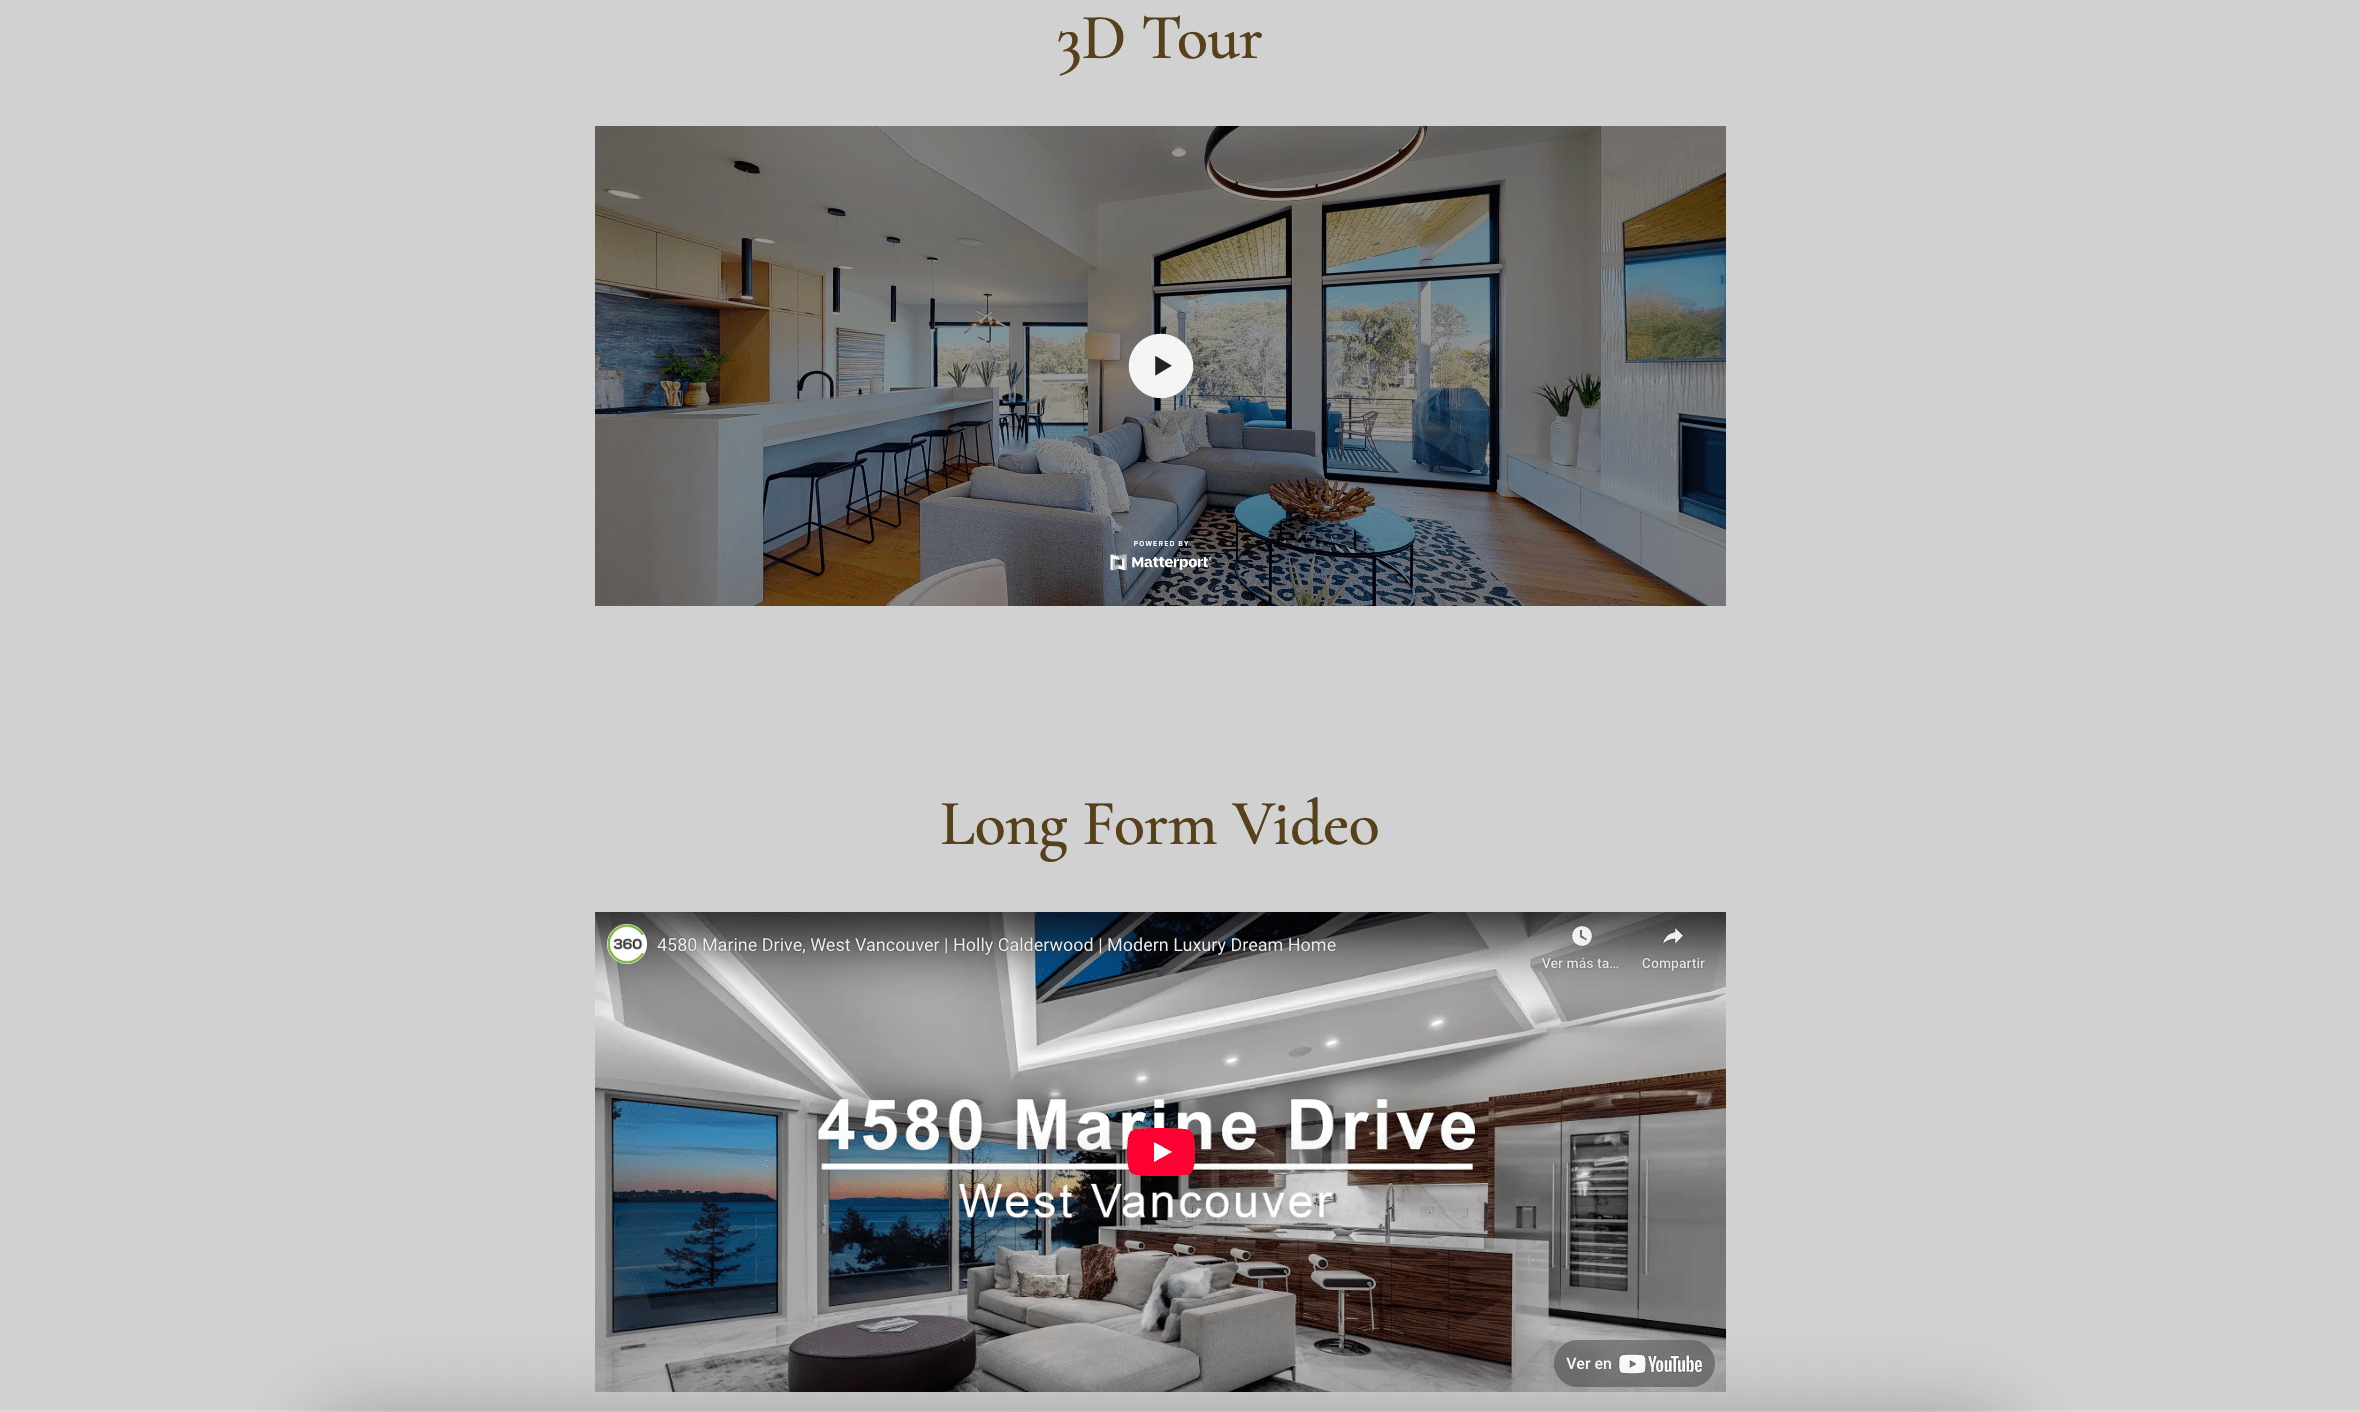
This is how the "3D Tour" and "Long-Form Video" look like on the page.
-
Domain Tab PRO
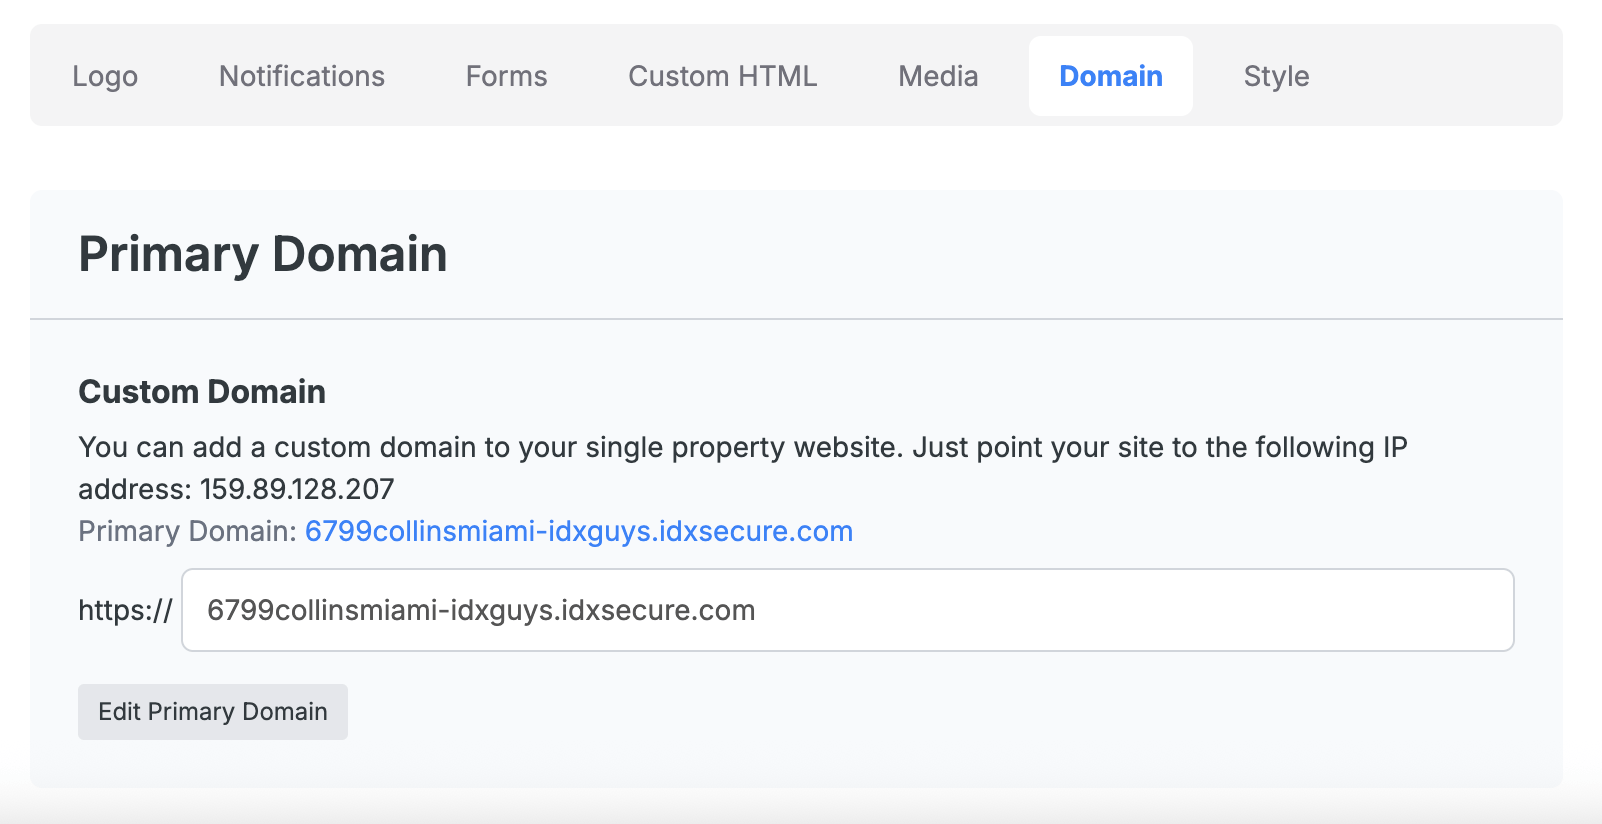
If you want to use a custom domain for your property website, go to the Domain tab. You'll need to point your domain to the given IP address. Once that’s set up, enter your domain in the field and click Add Primary Domain to complete the setup.
-
Style PRO
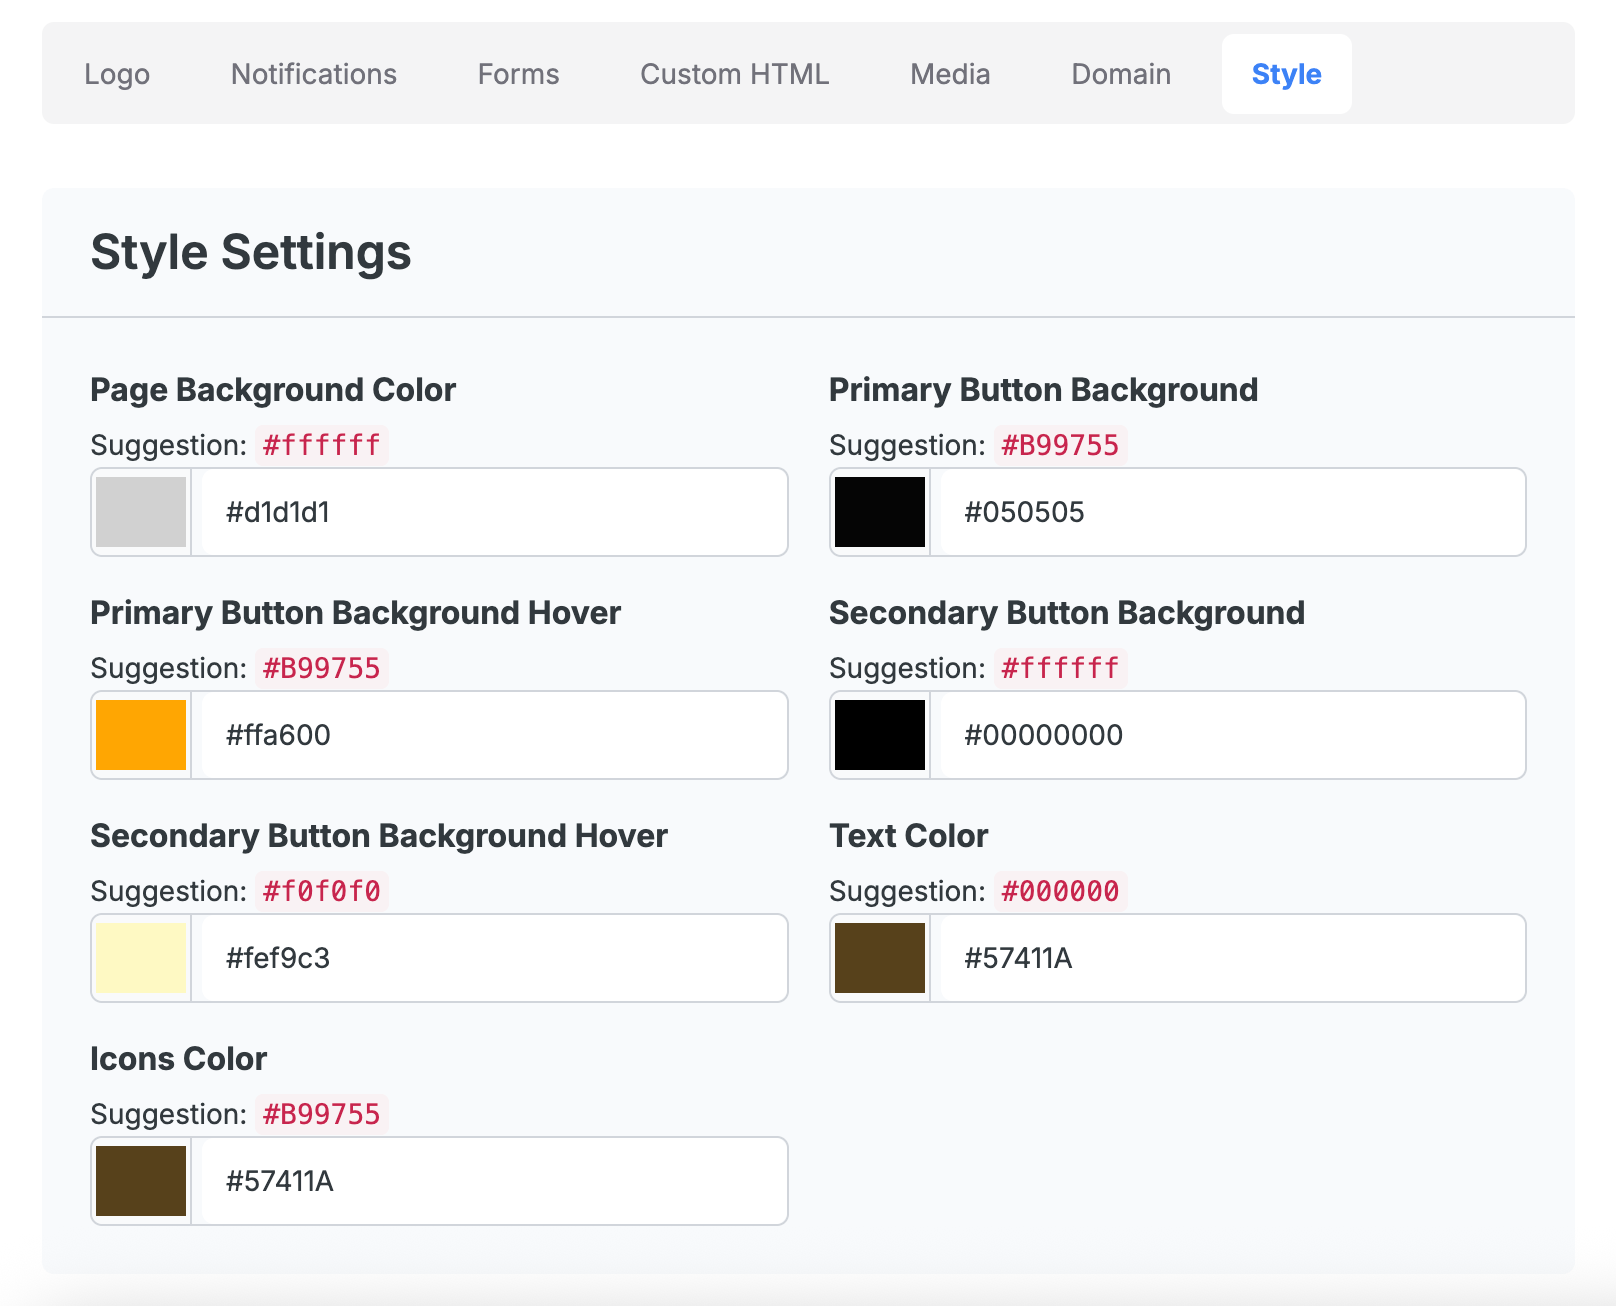
In the Style section, you can personalize the appearance of your site to match your branding. The options include:
- Page background color
- Primary & secondary button colors (with hover effects)
- Text color
- Icons color
Update the color codes as needed to fully customize the look and feel of your site.
