-
IDXAddons - Template Page
In IDXAddons, the first time you go to the HighLevel for Agents page, it will show a "Buy Template" button. Click on it to go to the payment page.

IMPORTANT: check that you have HTTPS enabled on your IDX Broker account. If you don't have it, you will see a warning message saying that you need to enable it.
This can lead to potential issues with certain IDXAddons apps and display your IDX pages as not secure. Enabling HTTPS is crucial for optimal performance and security.
Go to your IDX account to enable HTTPS.
If you have an IDX Broker Lite account, it will display a message saying that you need to upgrade to Platinum to get all the features (like the AI-communities). Click on the Upgrade to Platinum button to go to the IDX Broker upgrade page.
You can continue with the setup process, but you will not be able to use the AI-communities feature, we will only generate IDX Broker Saved Links.

After clicking on the "Buy Template" button, you will be redirected to the payment page.

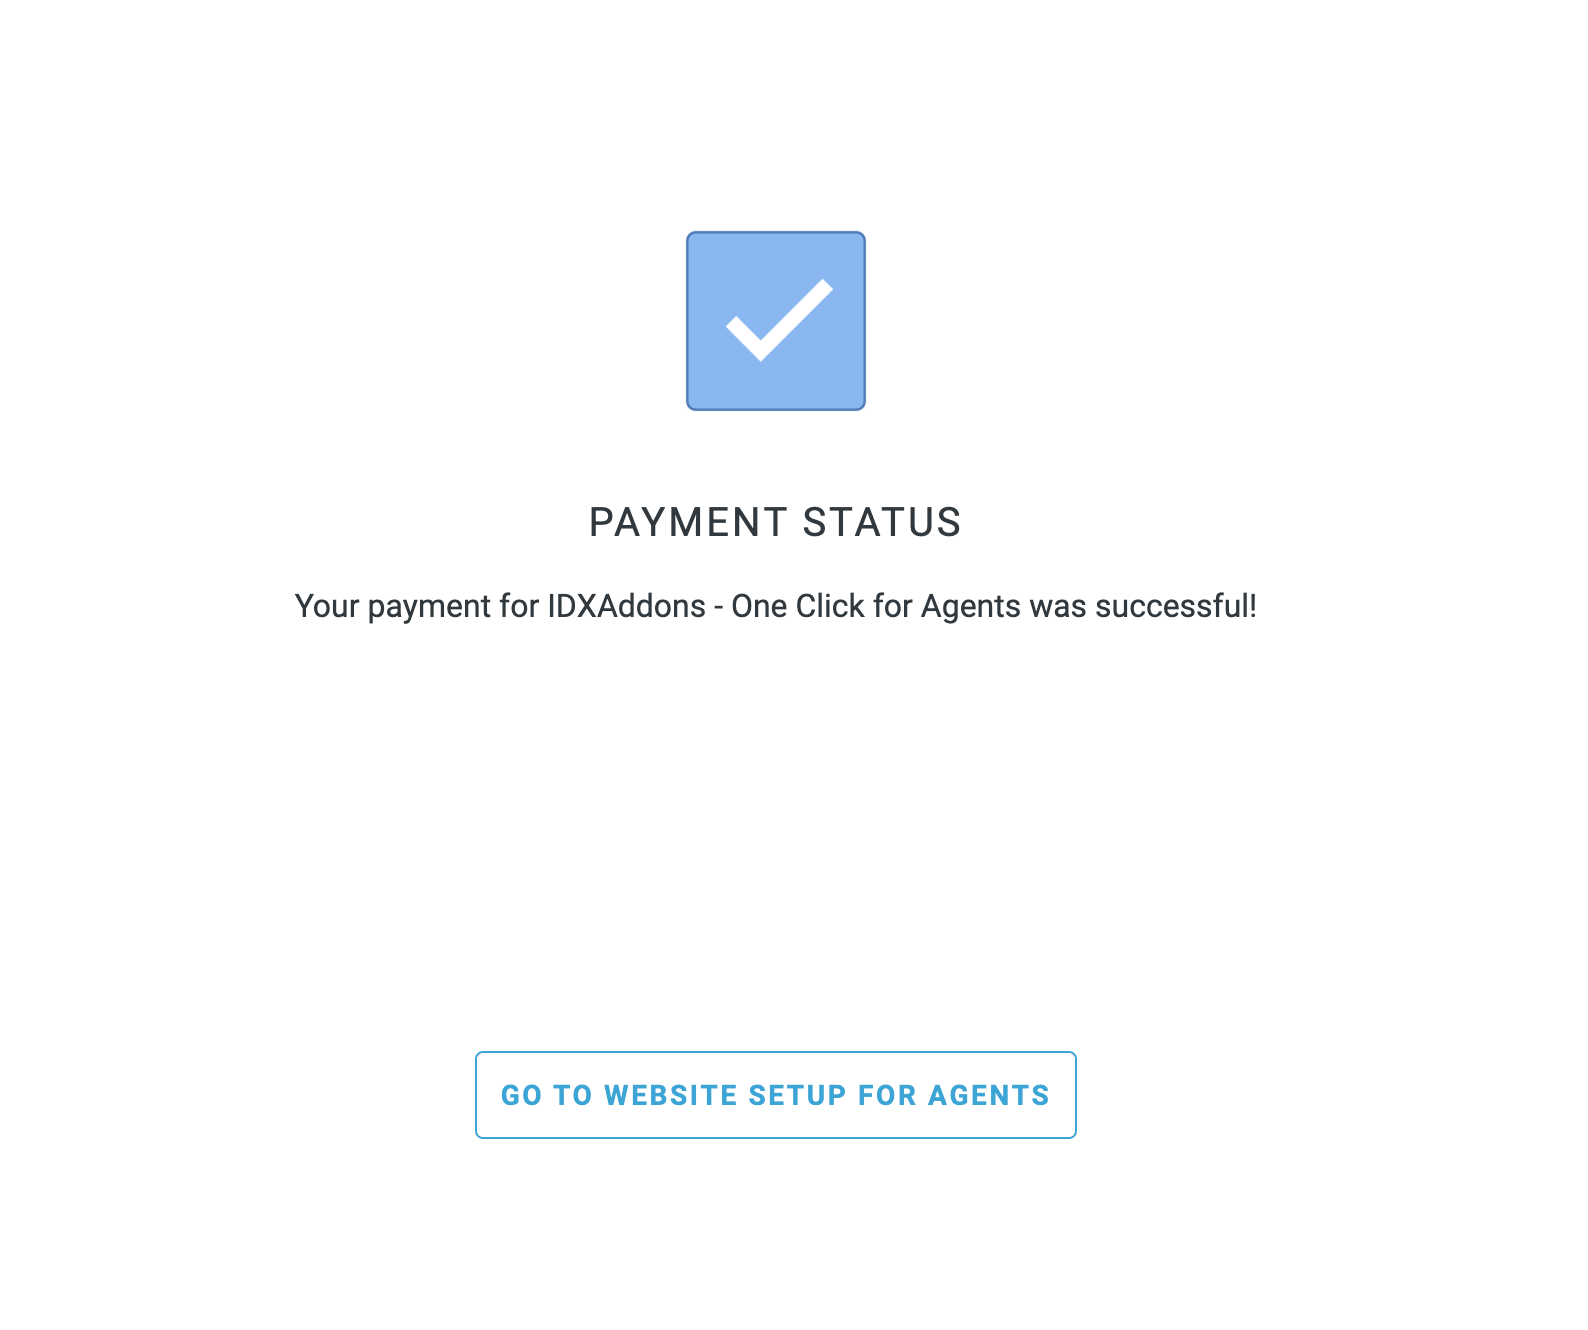
Once you complete the payment, it will display a success message and you will be redirected to the HighLevel for Agents One-Click page to start the setup process.
-
Setup - IDXAddons
In the Setup page, you will see the link to clone the template and the list of your IDX Broker Agents.
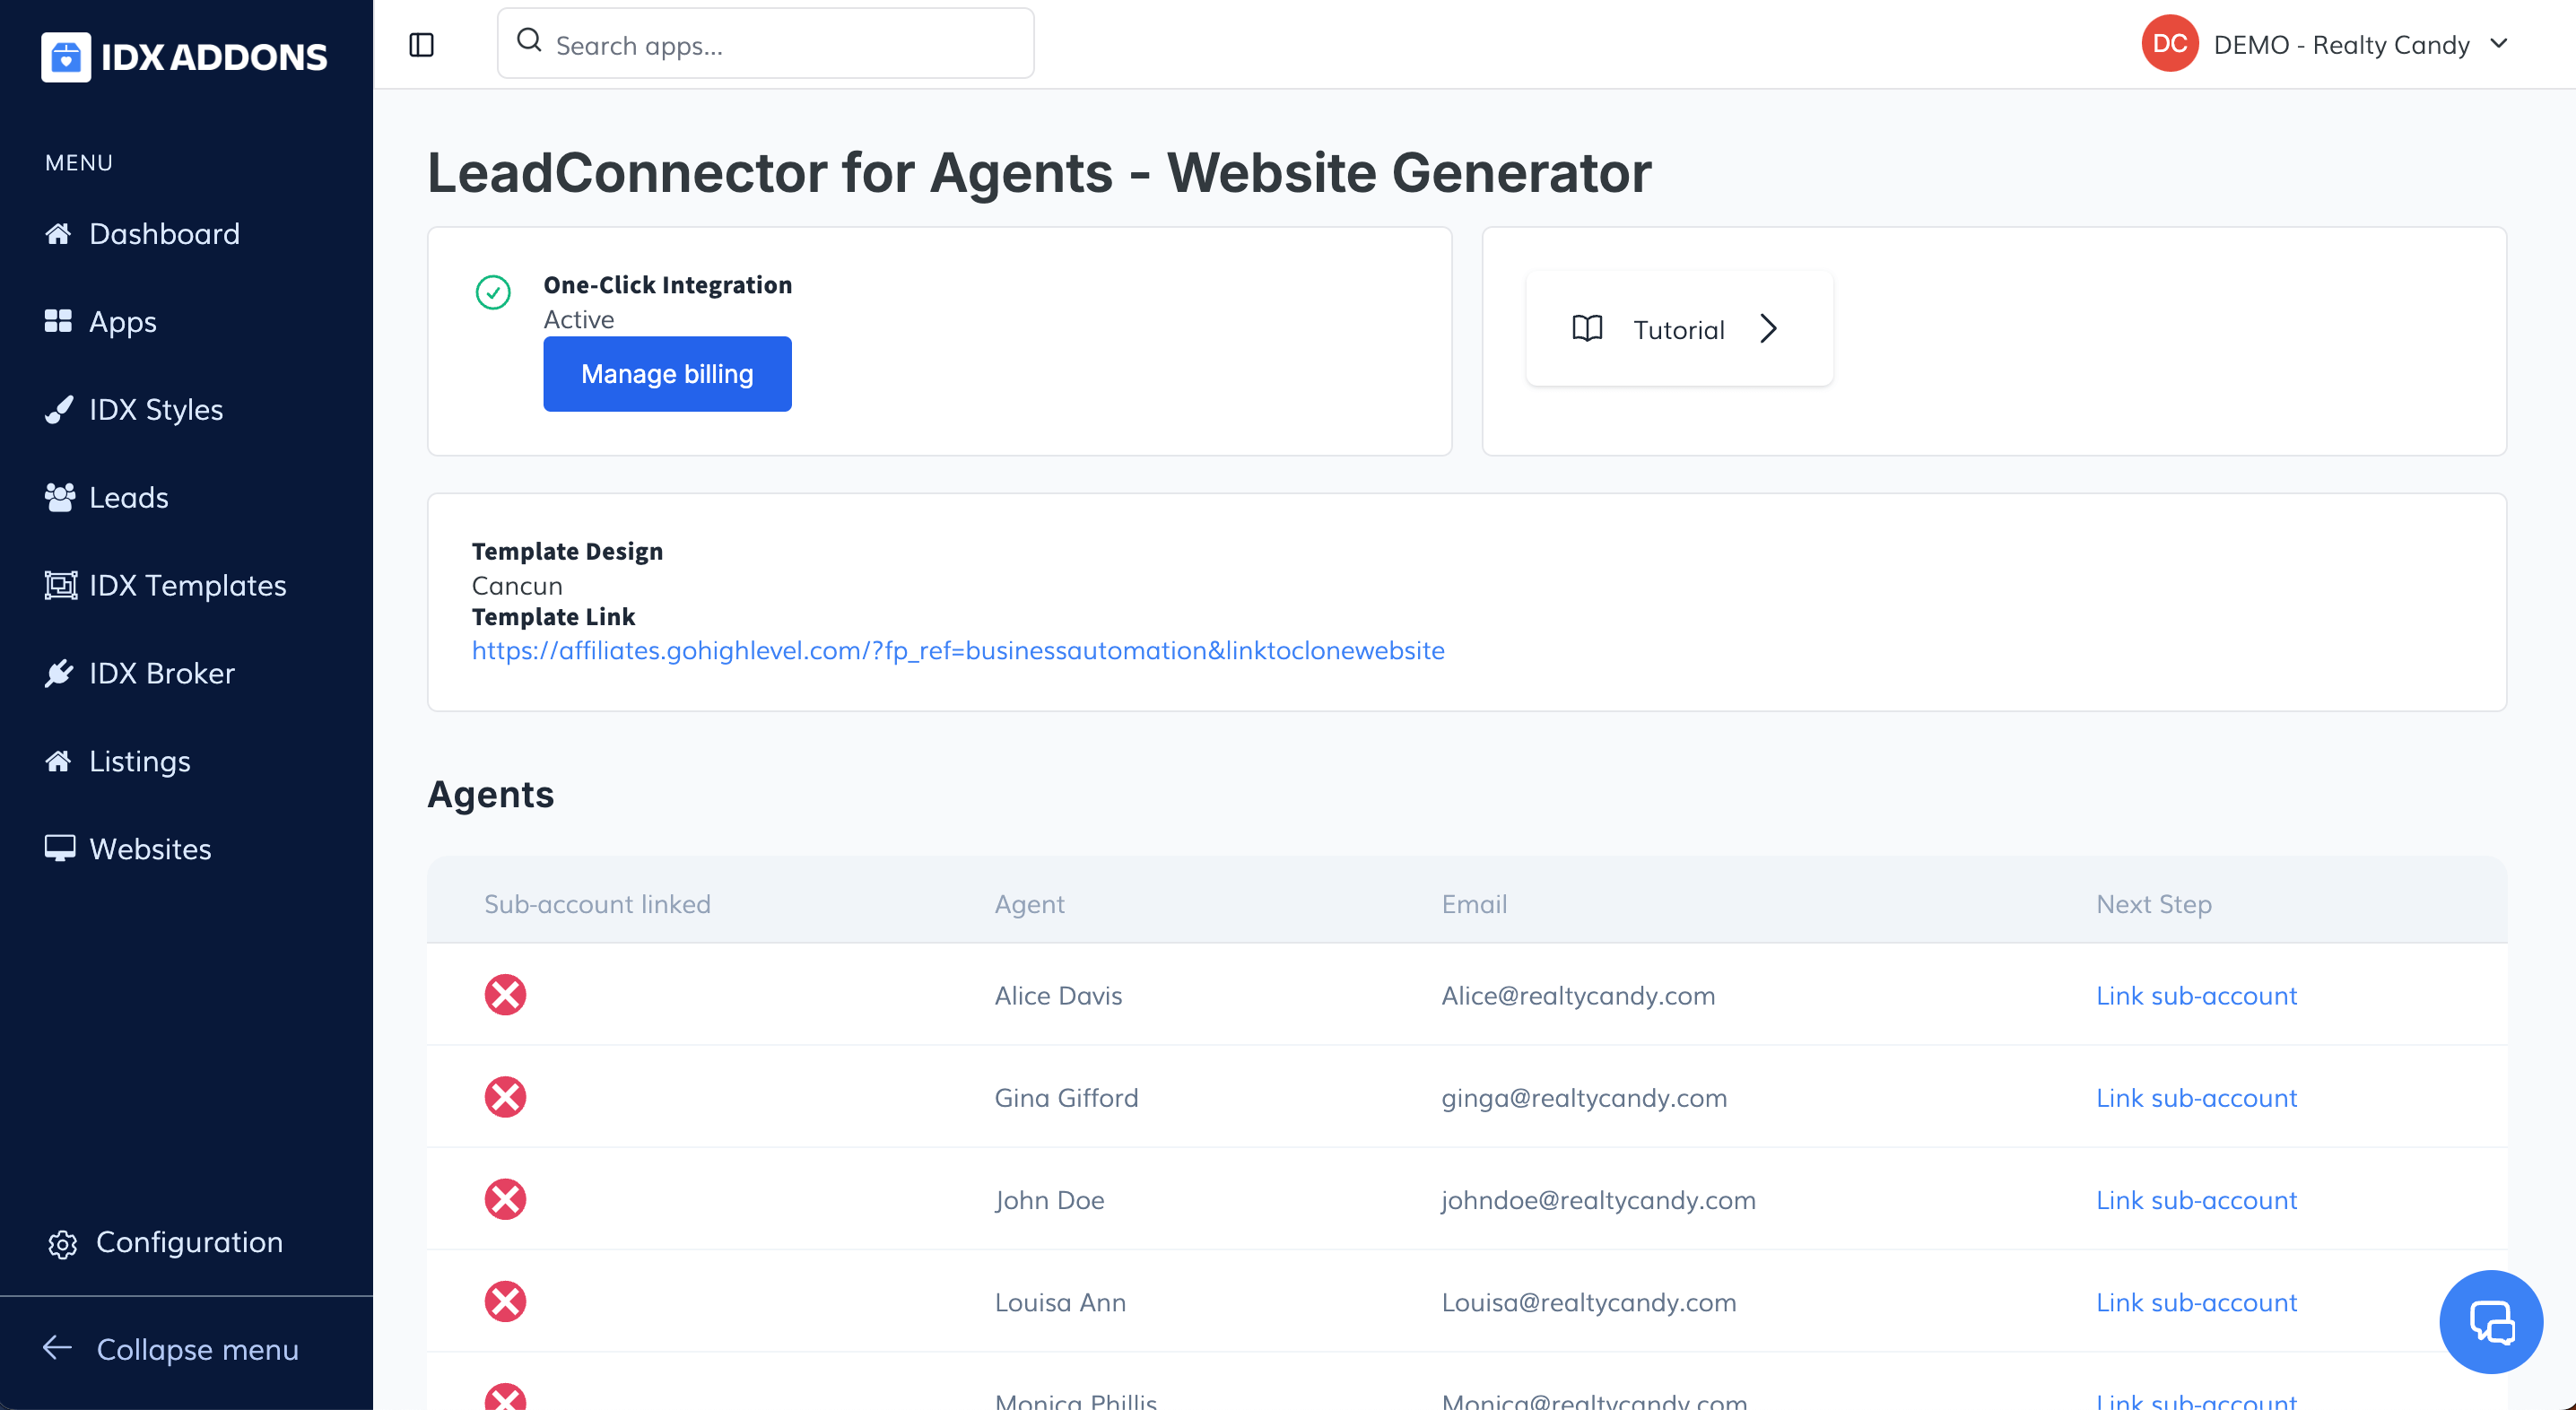
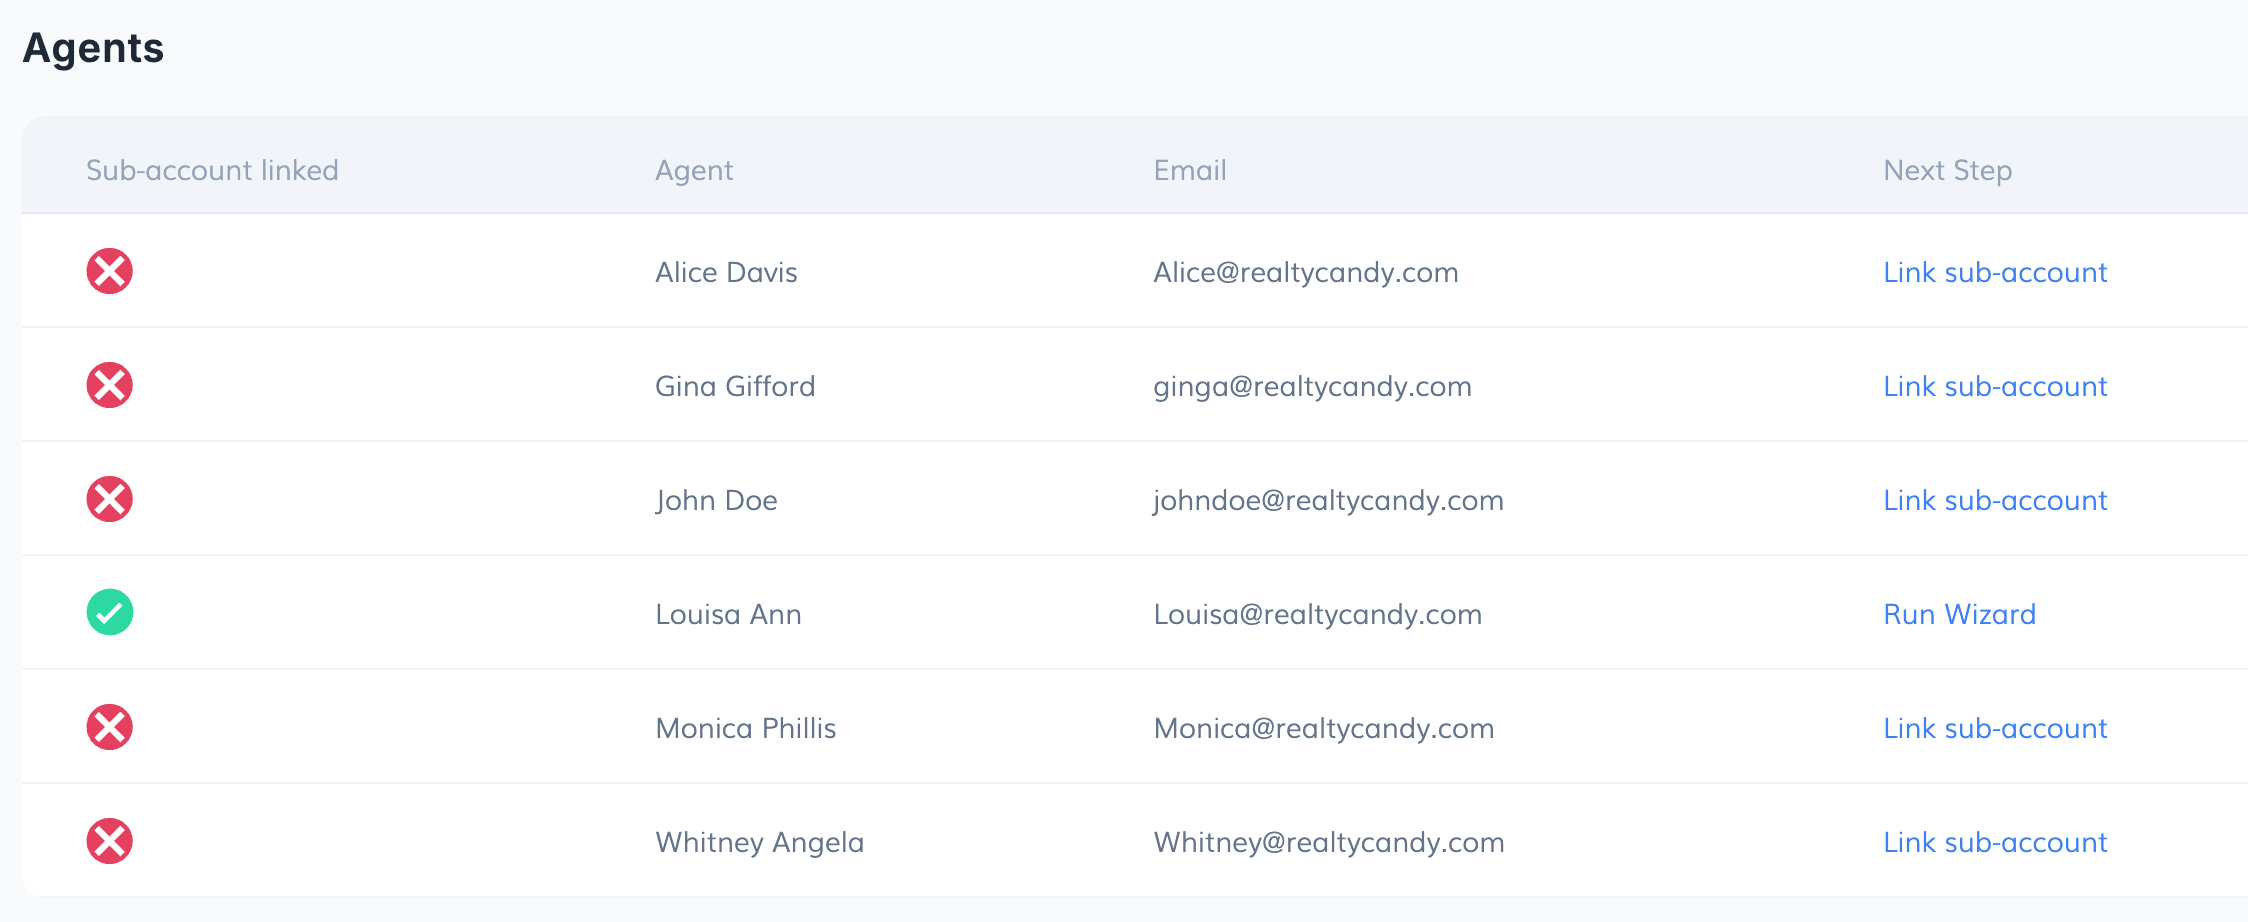
In the settings page, all your Agents will be listed. You can select the ones you want to create a website for. First you need to link their HighLevel sub-account to be able to create the Custom Values for their website.
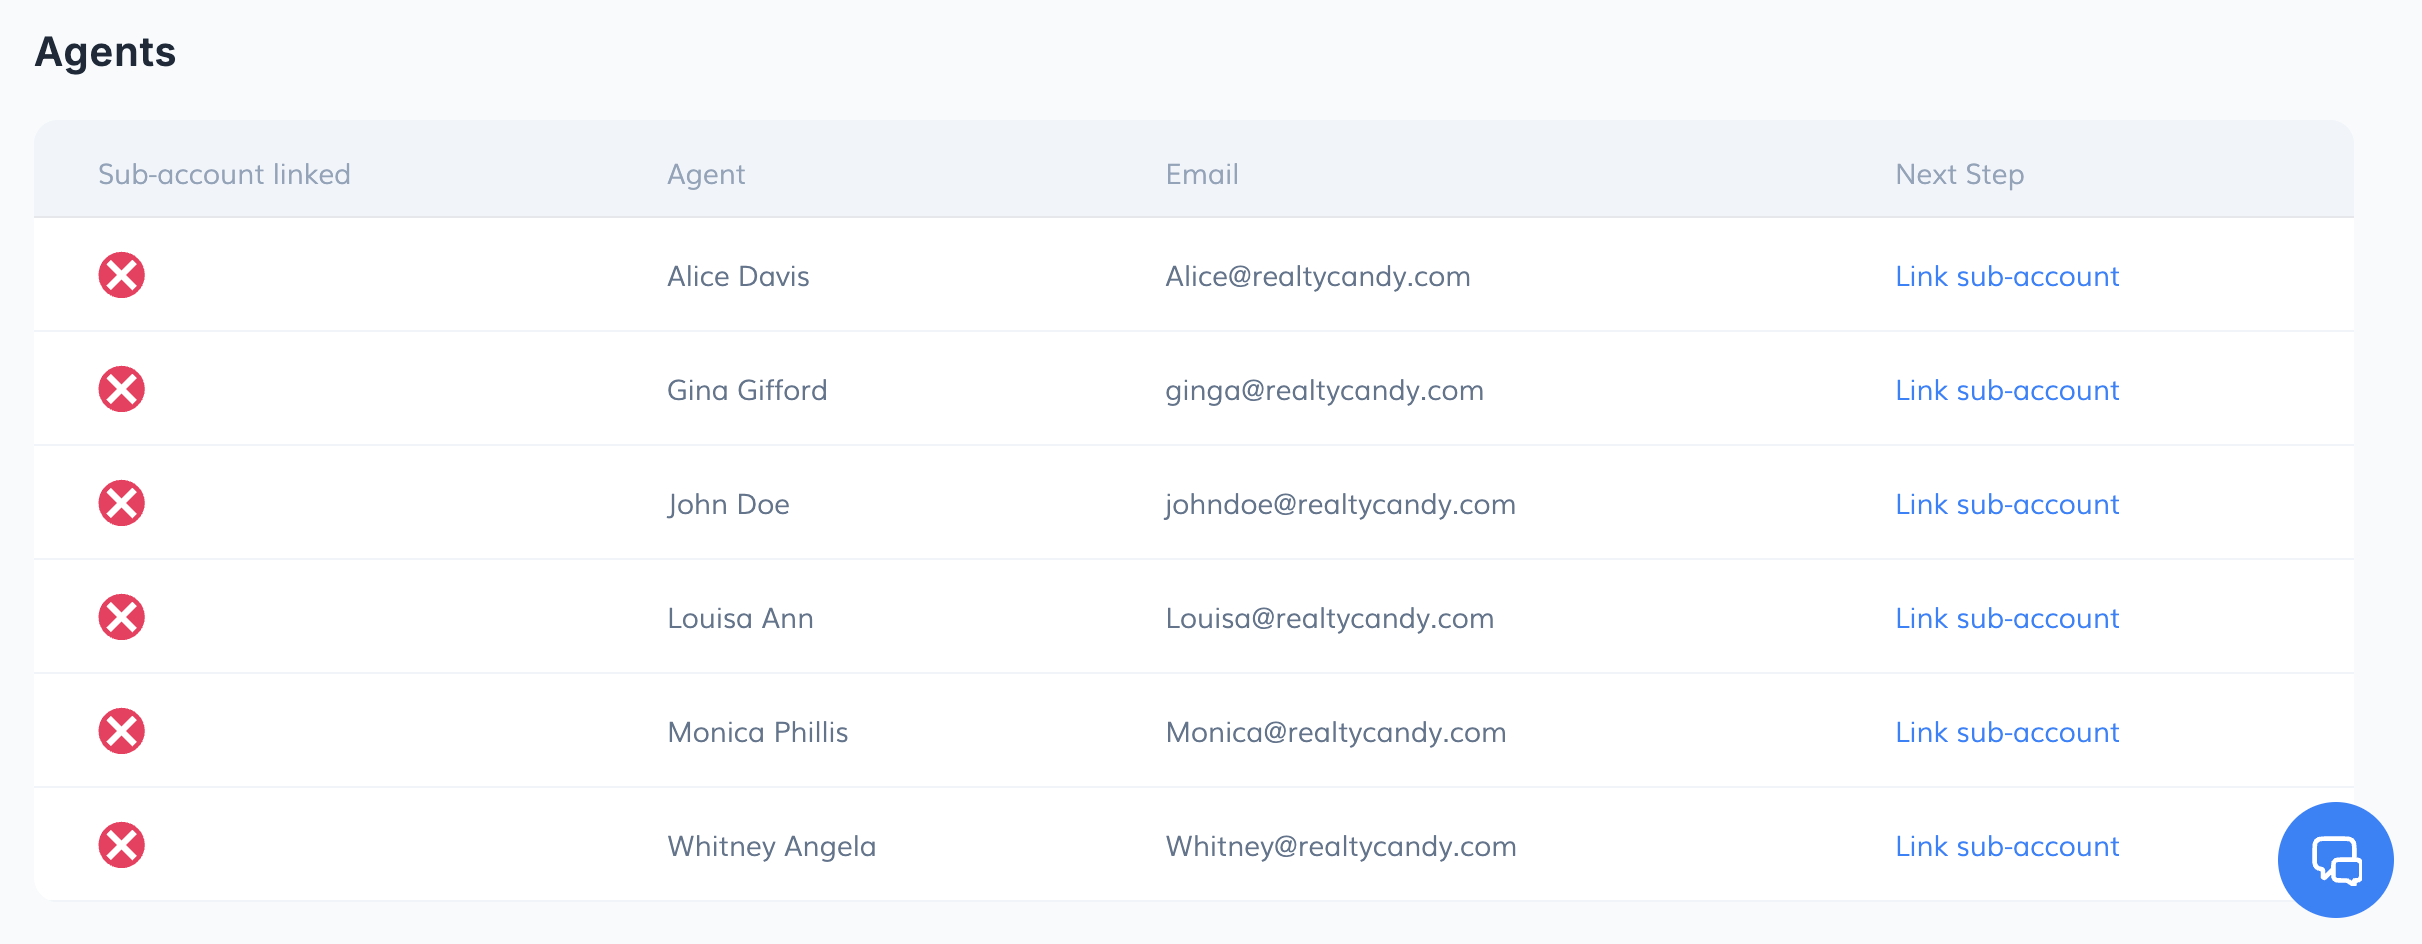
Click on Link sub-account. You will be redirected to the IDXAddons page where you will be able to manage all the Agents HighLevel connections.
Click on Connect HighLevel to link the sub-account to the Agent.
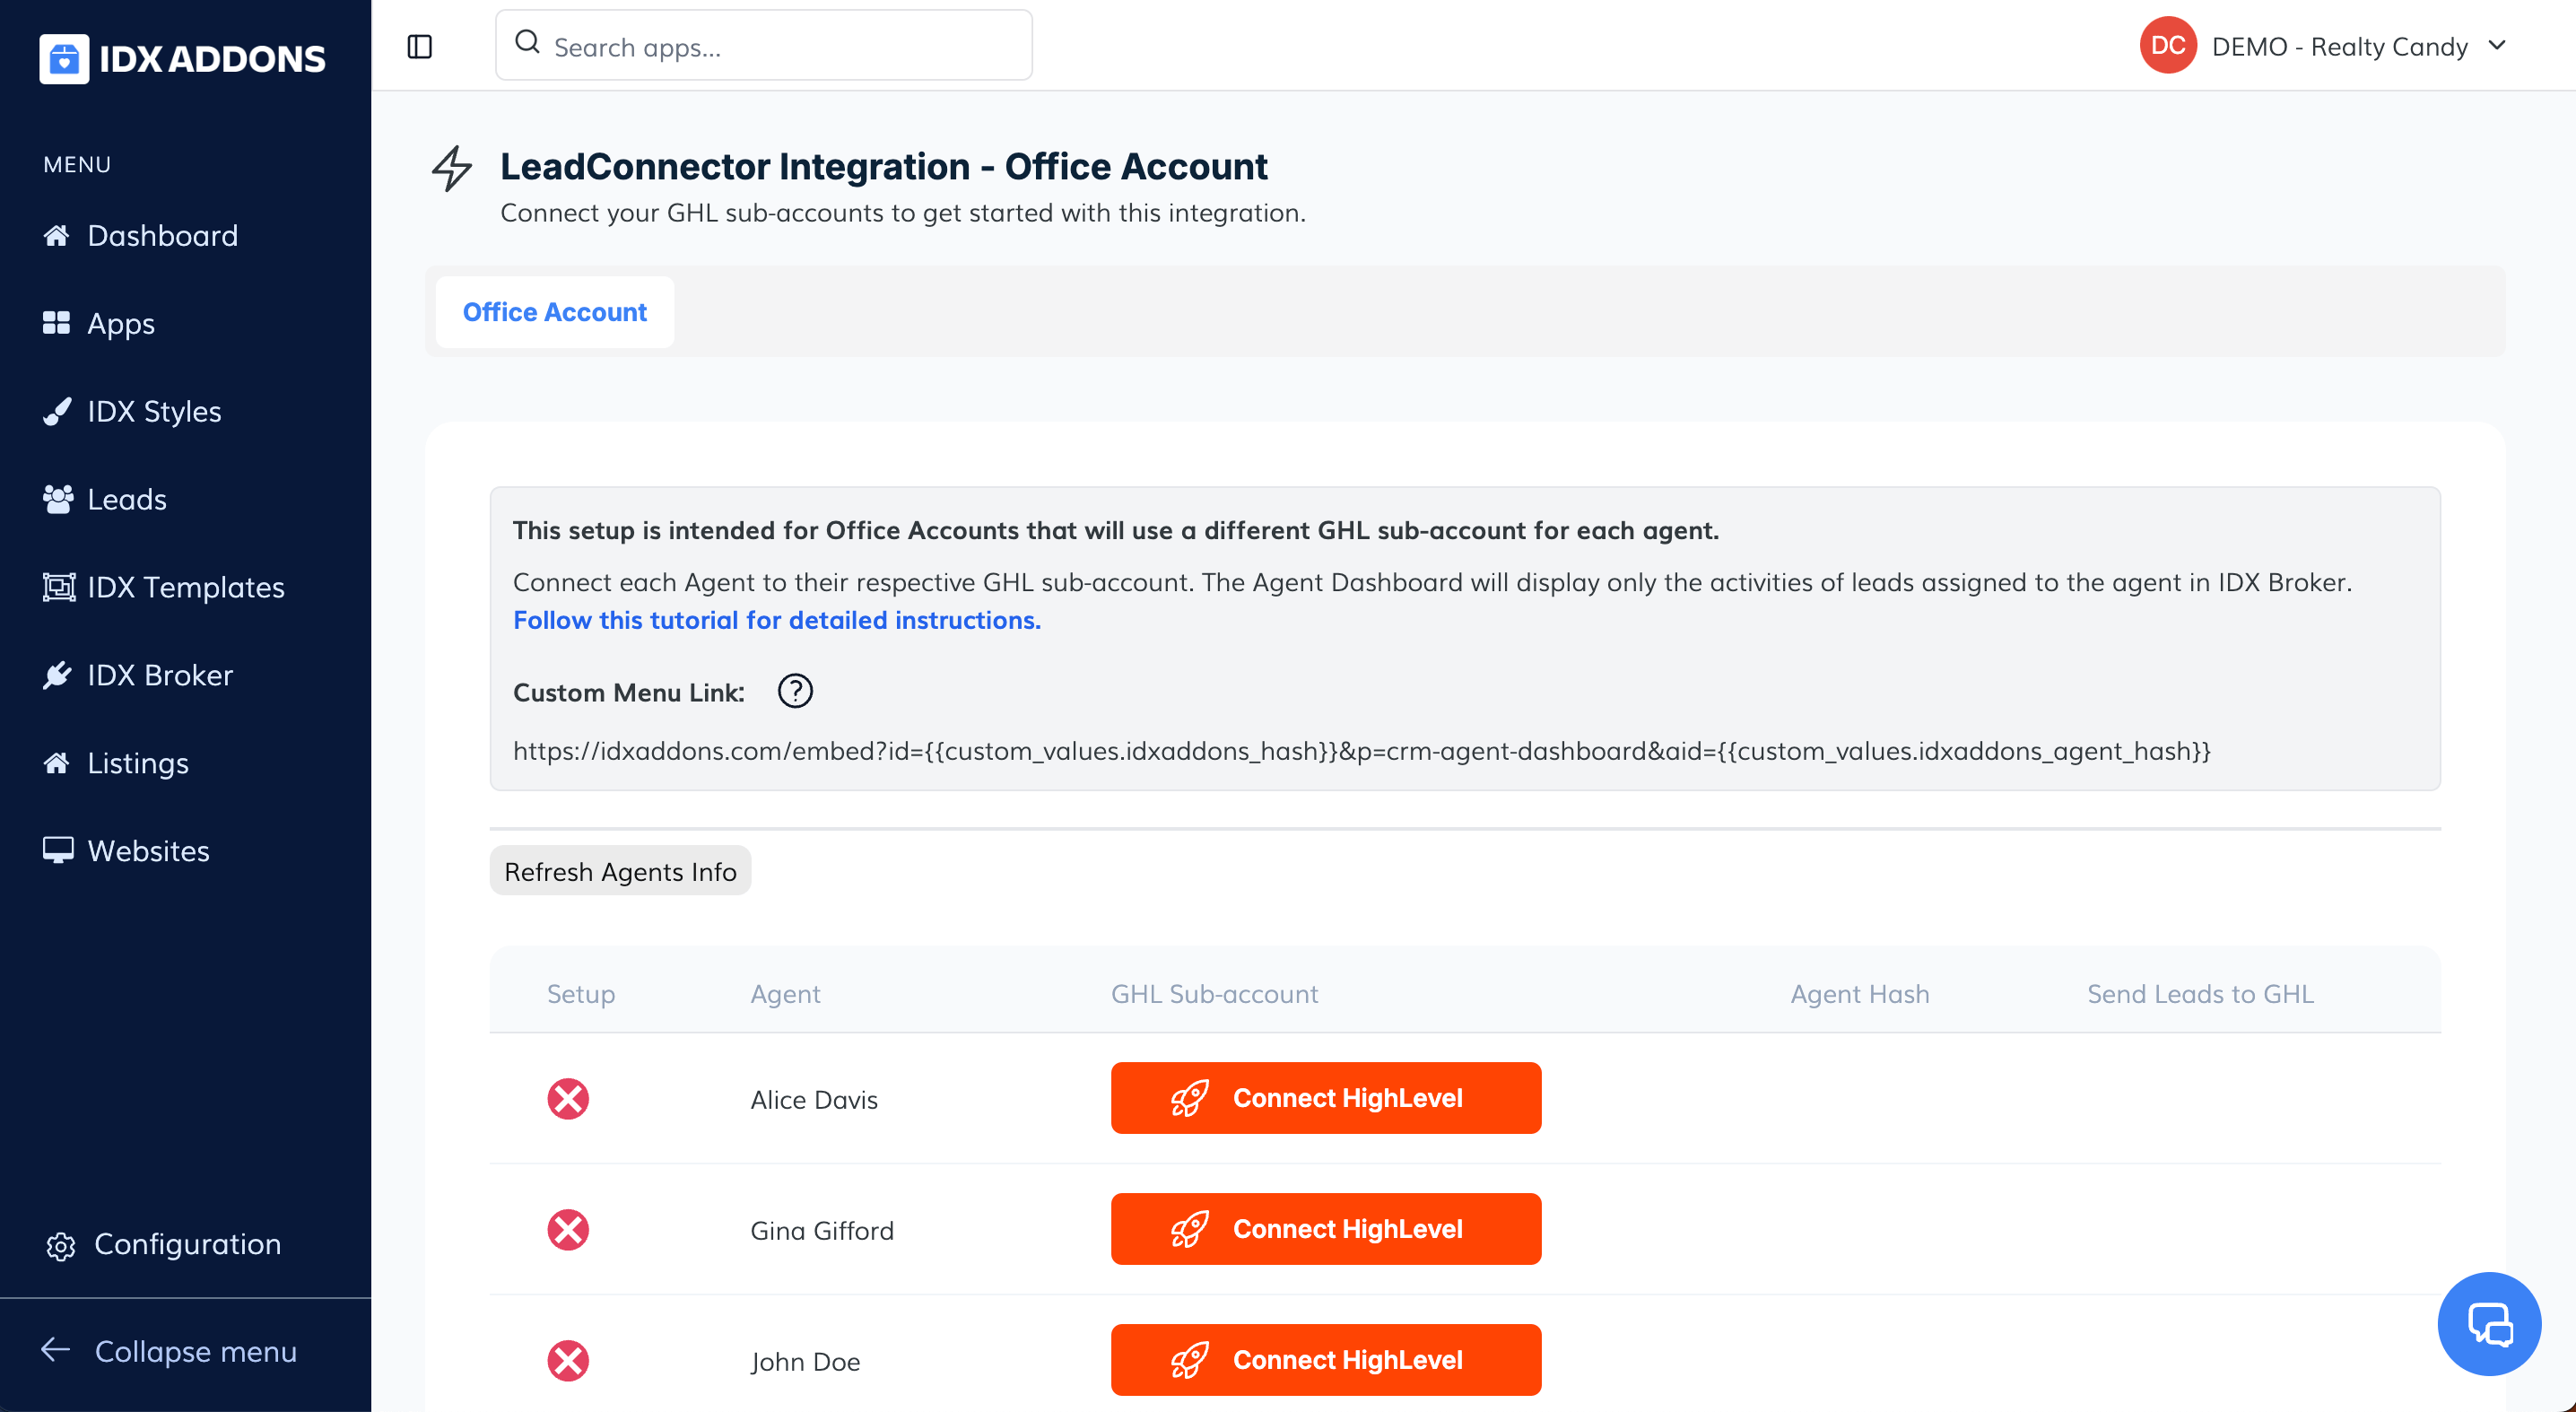
You will be redirected to the HighLevel page to select the sub-account you want to link to the Agent.
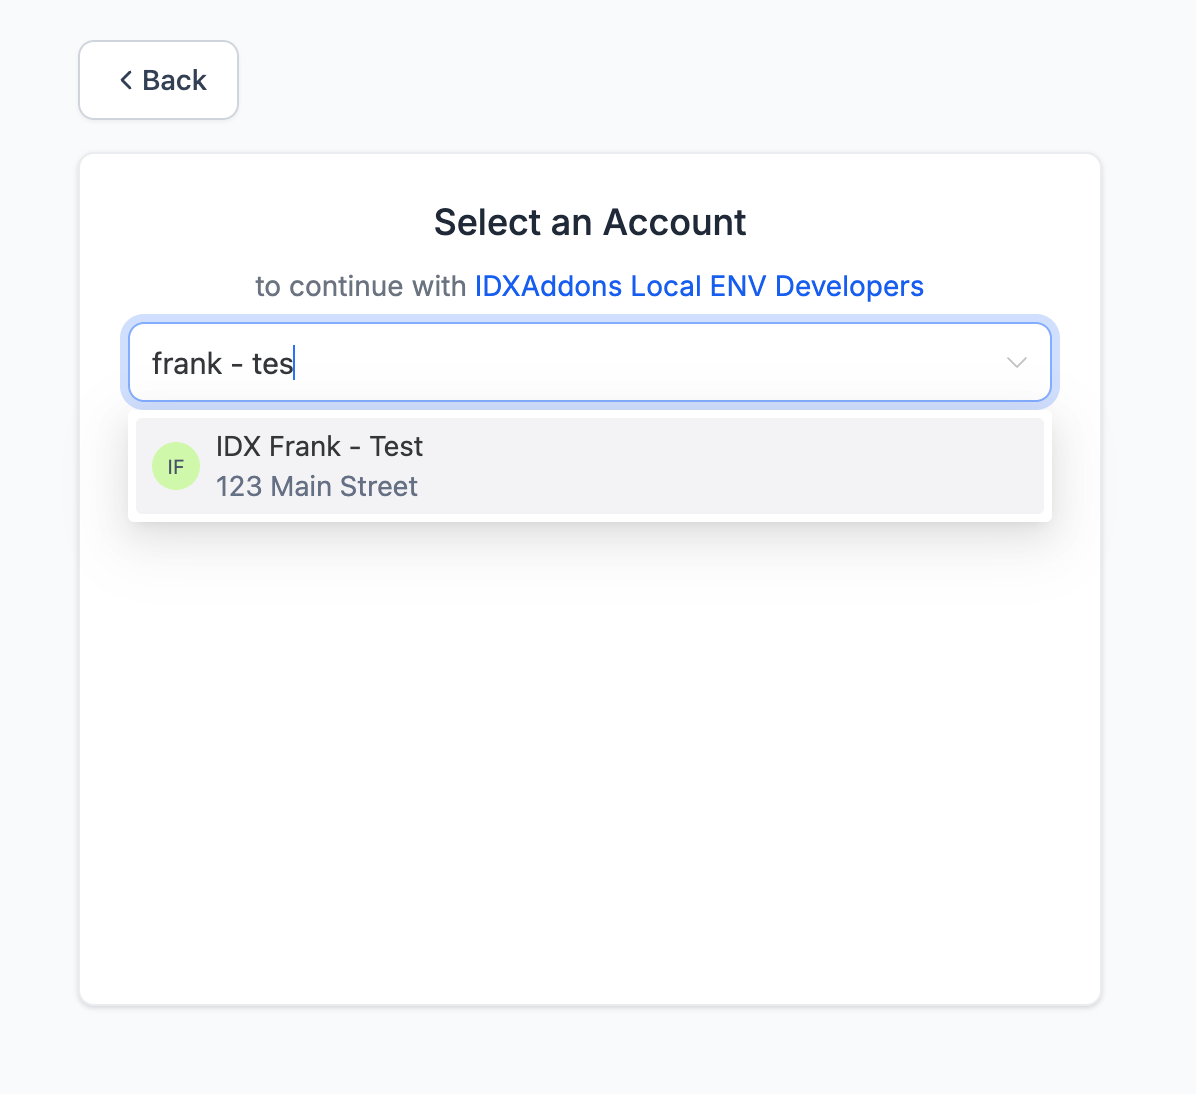
Then you will be redirected back to the IDXAddons page with the message "Setting up". This means that the sub-account is being linked to the Agent. This process can take a couple of minutes while some Custom Fields are created in the HighLevel sub-account to track leads' activity.

Once the process is completed, you will see a success message and the Agent will be linked to the sub-account.

Now, go back to the HighLevel for Agents - Website Generator.
A success icon will appear next to the Agent you linked to the sub-account. This means that the Agent is ready to create a website.
You can now click on "Run Wizard" to start the setup process.
-
Setup
After you click on the "Create Custom Values" link, you will see a multi-step form to fill out.
Click on "Start Now" to start the setup process.

Select a name for your website and click on "Next".

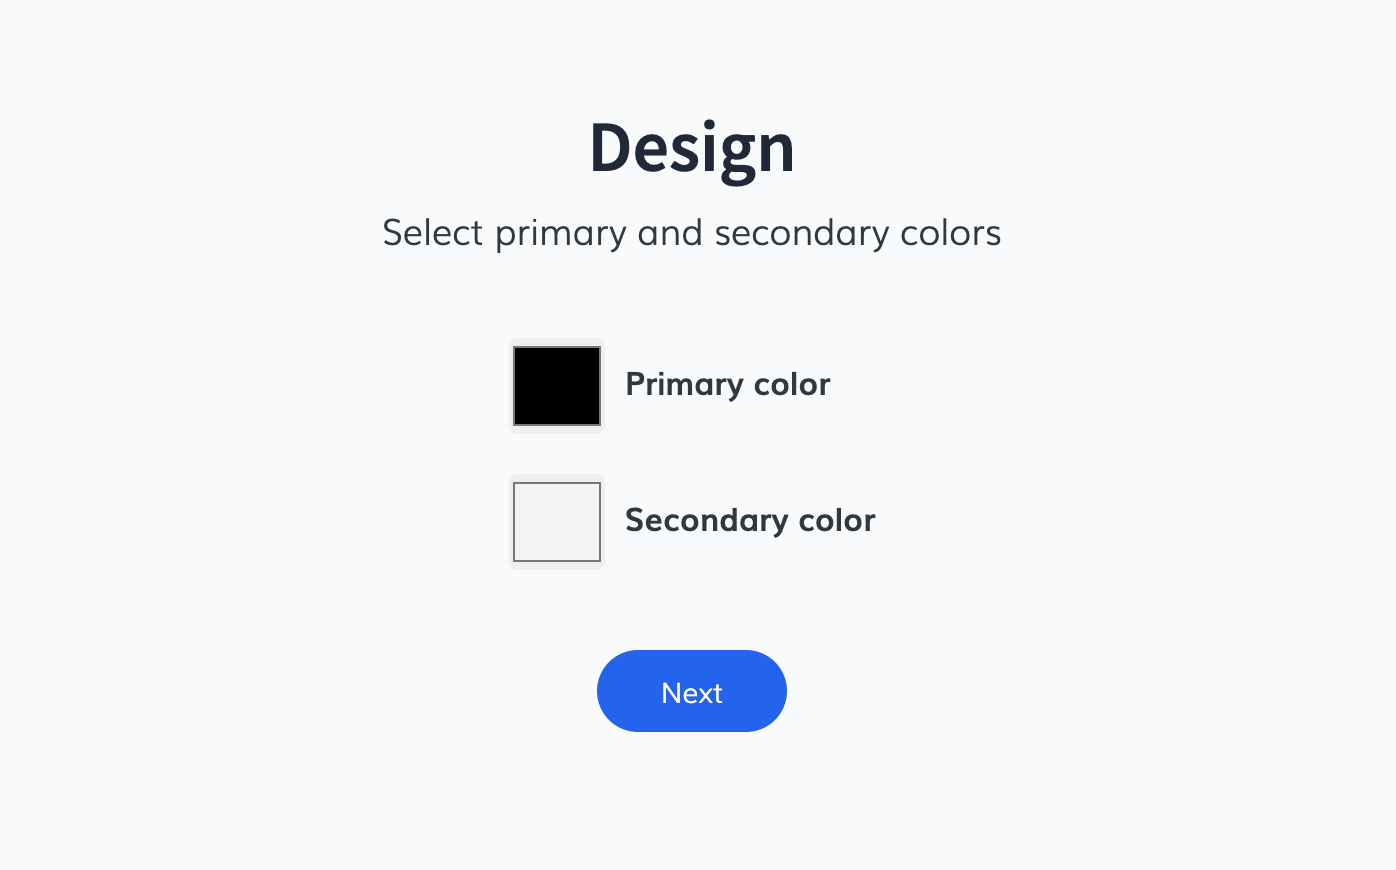
Select a Primary and Secondary color for your website and click on "Next". These colors will be applied to some elements of your website.
Select the apps that you want to add to your HighLevel website. You can select all of them or just the ones you want.
What IDXAddons apps will be added?
- Omnisearch widget
- Google Map widget
- Testmimonials widget
- Plunk Home Valuation
- AI-communities (only for IDX Broker Platinum clients)
- Data Graph widget
- Popular Listings widget
- Community Areas widget

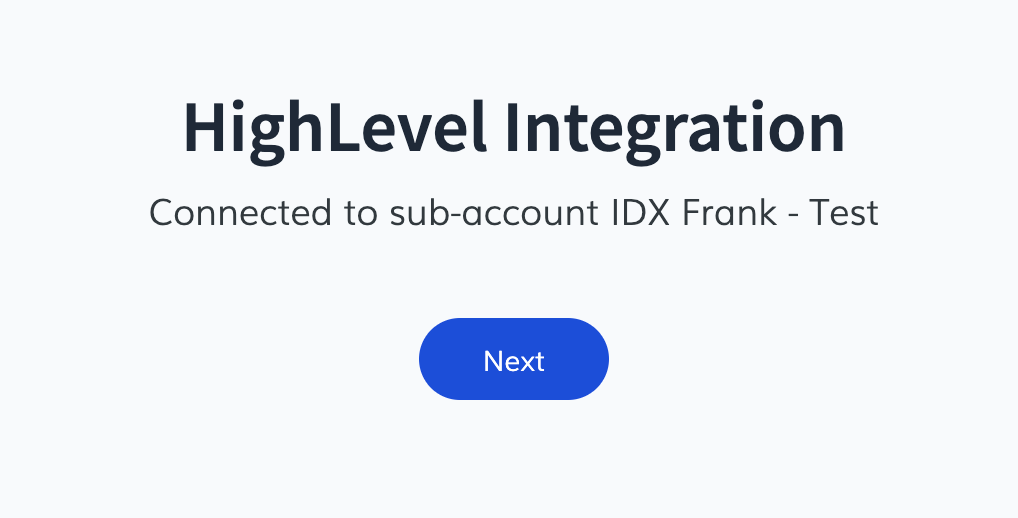
You will see a message showing the connected HighLevel sub-account. Click on "Next" to continue.
You will see a list of your HighLevel forms.

Select the one you want to use for your IDX Broker lead capture and click on "Next".

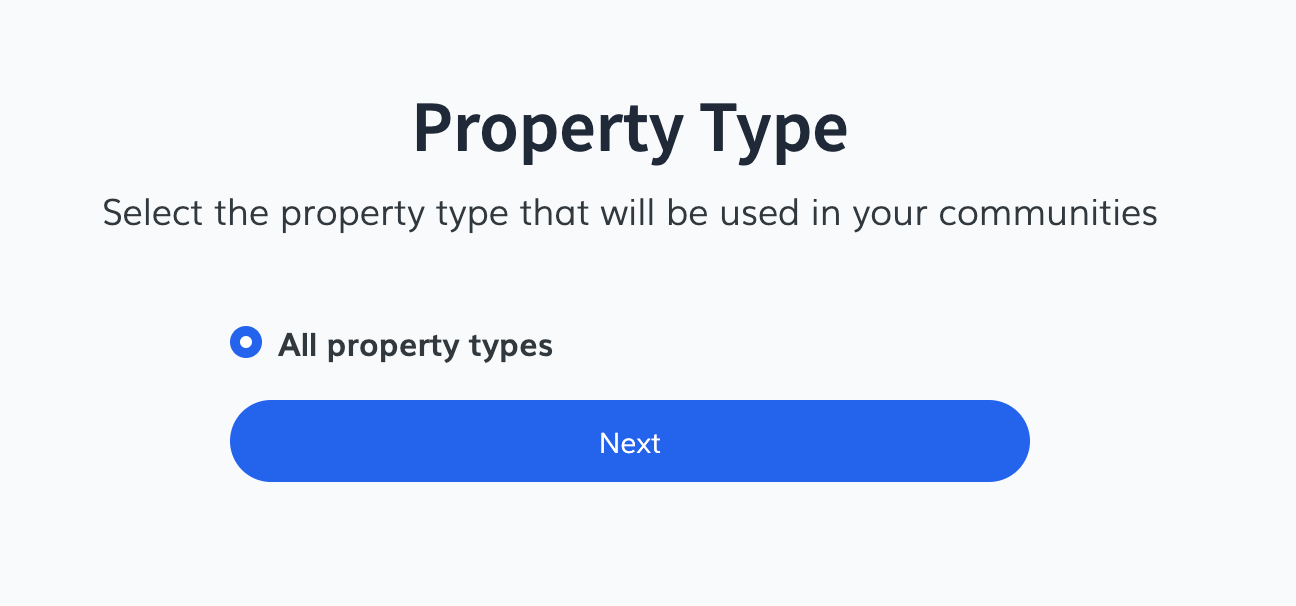
Now select the property type that will be used to create your community pages. Click on "Next" to continue.
Select a primary community for your website. This will be the main city or county displayed on your website.
The available options are retrieved from your MLS. We will create a community page for it using an IDX Broker Saved Link. Remember that if you have an IDX Broker Lite account, you will not be able to use the AI-communities feature.

Select 2 secondary communities for your website. We will generate IDX Broker Saved Links and community pages for them (for IDX Broker Platinum clients).


After clicking on "Next", we will start the process of creating your IDX Broker Saved Links and community pages, setting up the widgets and creating the Custom Values in your HighLevel sub-account.
Please stay on the page while the process is completed. It can take a couple of minutes.

After the Saved Links are created, we will send the data to HighLevel to create the Custom Values for your website.

After sending the data to HighLevel, you will see the values that were created.
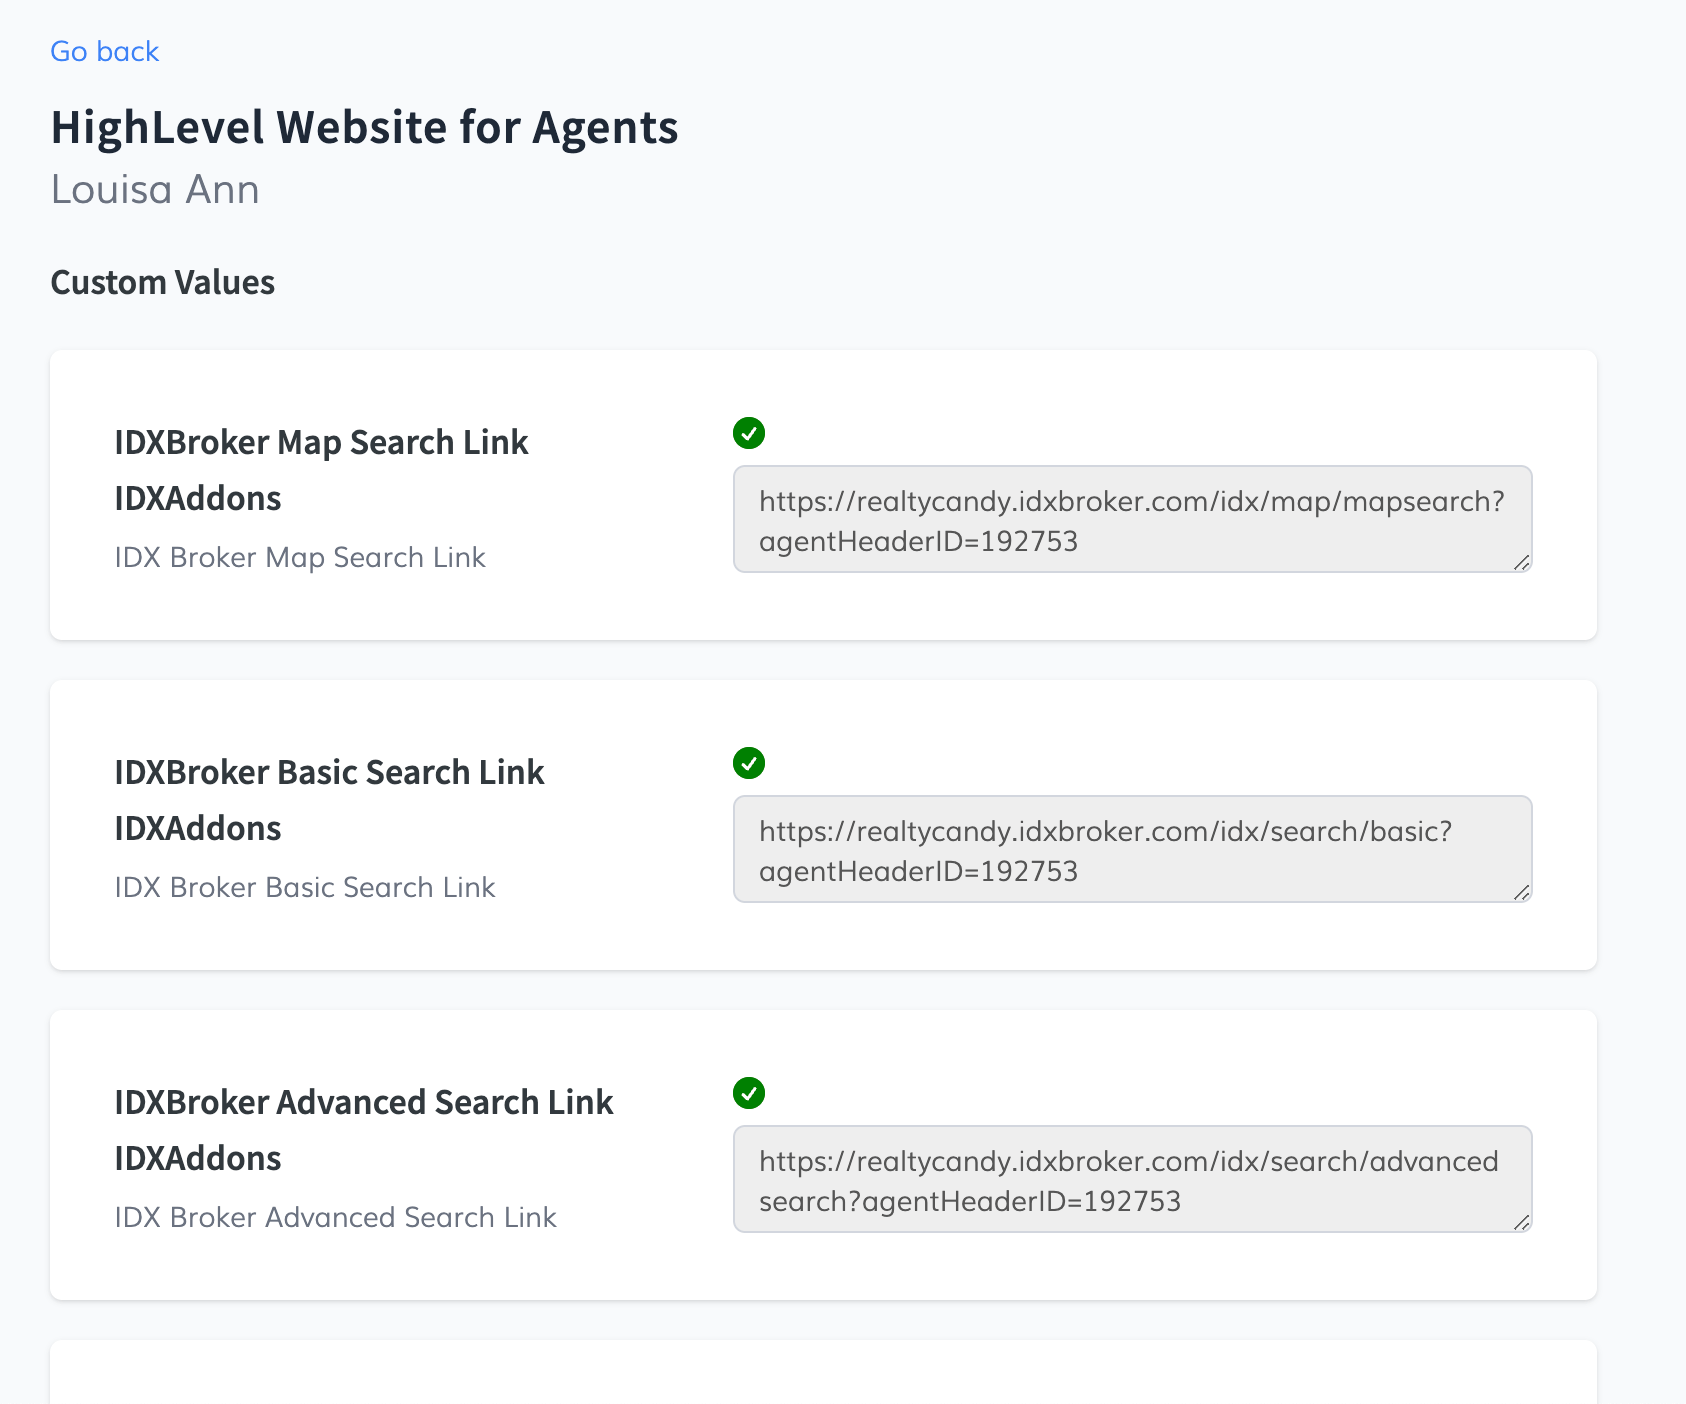
You can go to your GHL sub-account and check that the Custom Values were created.

-
Website Setup
Now that the IDXAddons setup is complete, we will start the GHL website setup.
You need to log in to https://app.gohighlevel.com/ with your HighLevel credentials (not using the white-label domain), if not, the shared link will not work.

After logging in, go to the Sites > Websites section. If you haven't created a website yet, the page will show like this.

To clone the website, copy the link we provide in the IDXAddons page and paste it in your browser. It will take you to the website clone page.
Click on Add Website.

A popup will appear with the Website Name prefilled. You can change the name of the website if you want.

Select the location or sub-account where the website will be cloned and click on "Clone Website".

After clicking on "Clone Website", the website will be cloned and you will be redirected to the Websites page. There you will see the website you just cloned and a spinning icon beside it. This means that the website is being created.

If the spinning icon continue showing after 3 minutes, refresh the page, so it shows the updated status of the website.

This is how the Websites page will look like after the website is created. The spinning icon will disappear.

Click on the website name to go to the website pages.

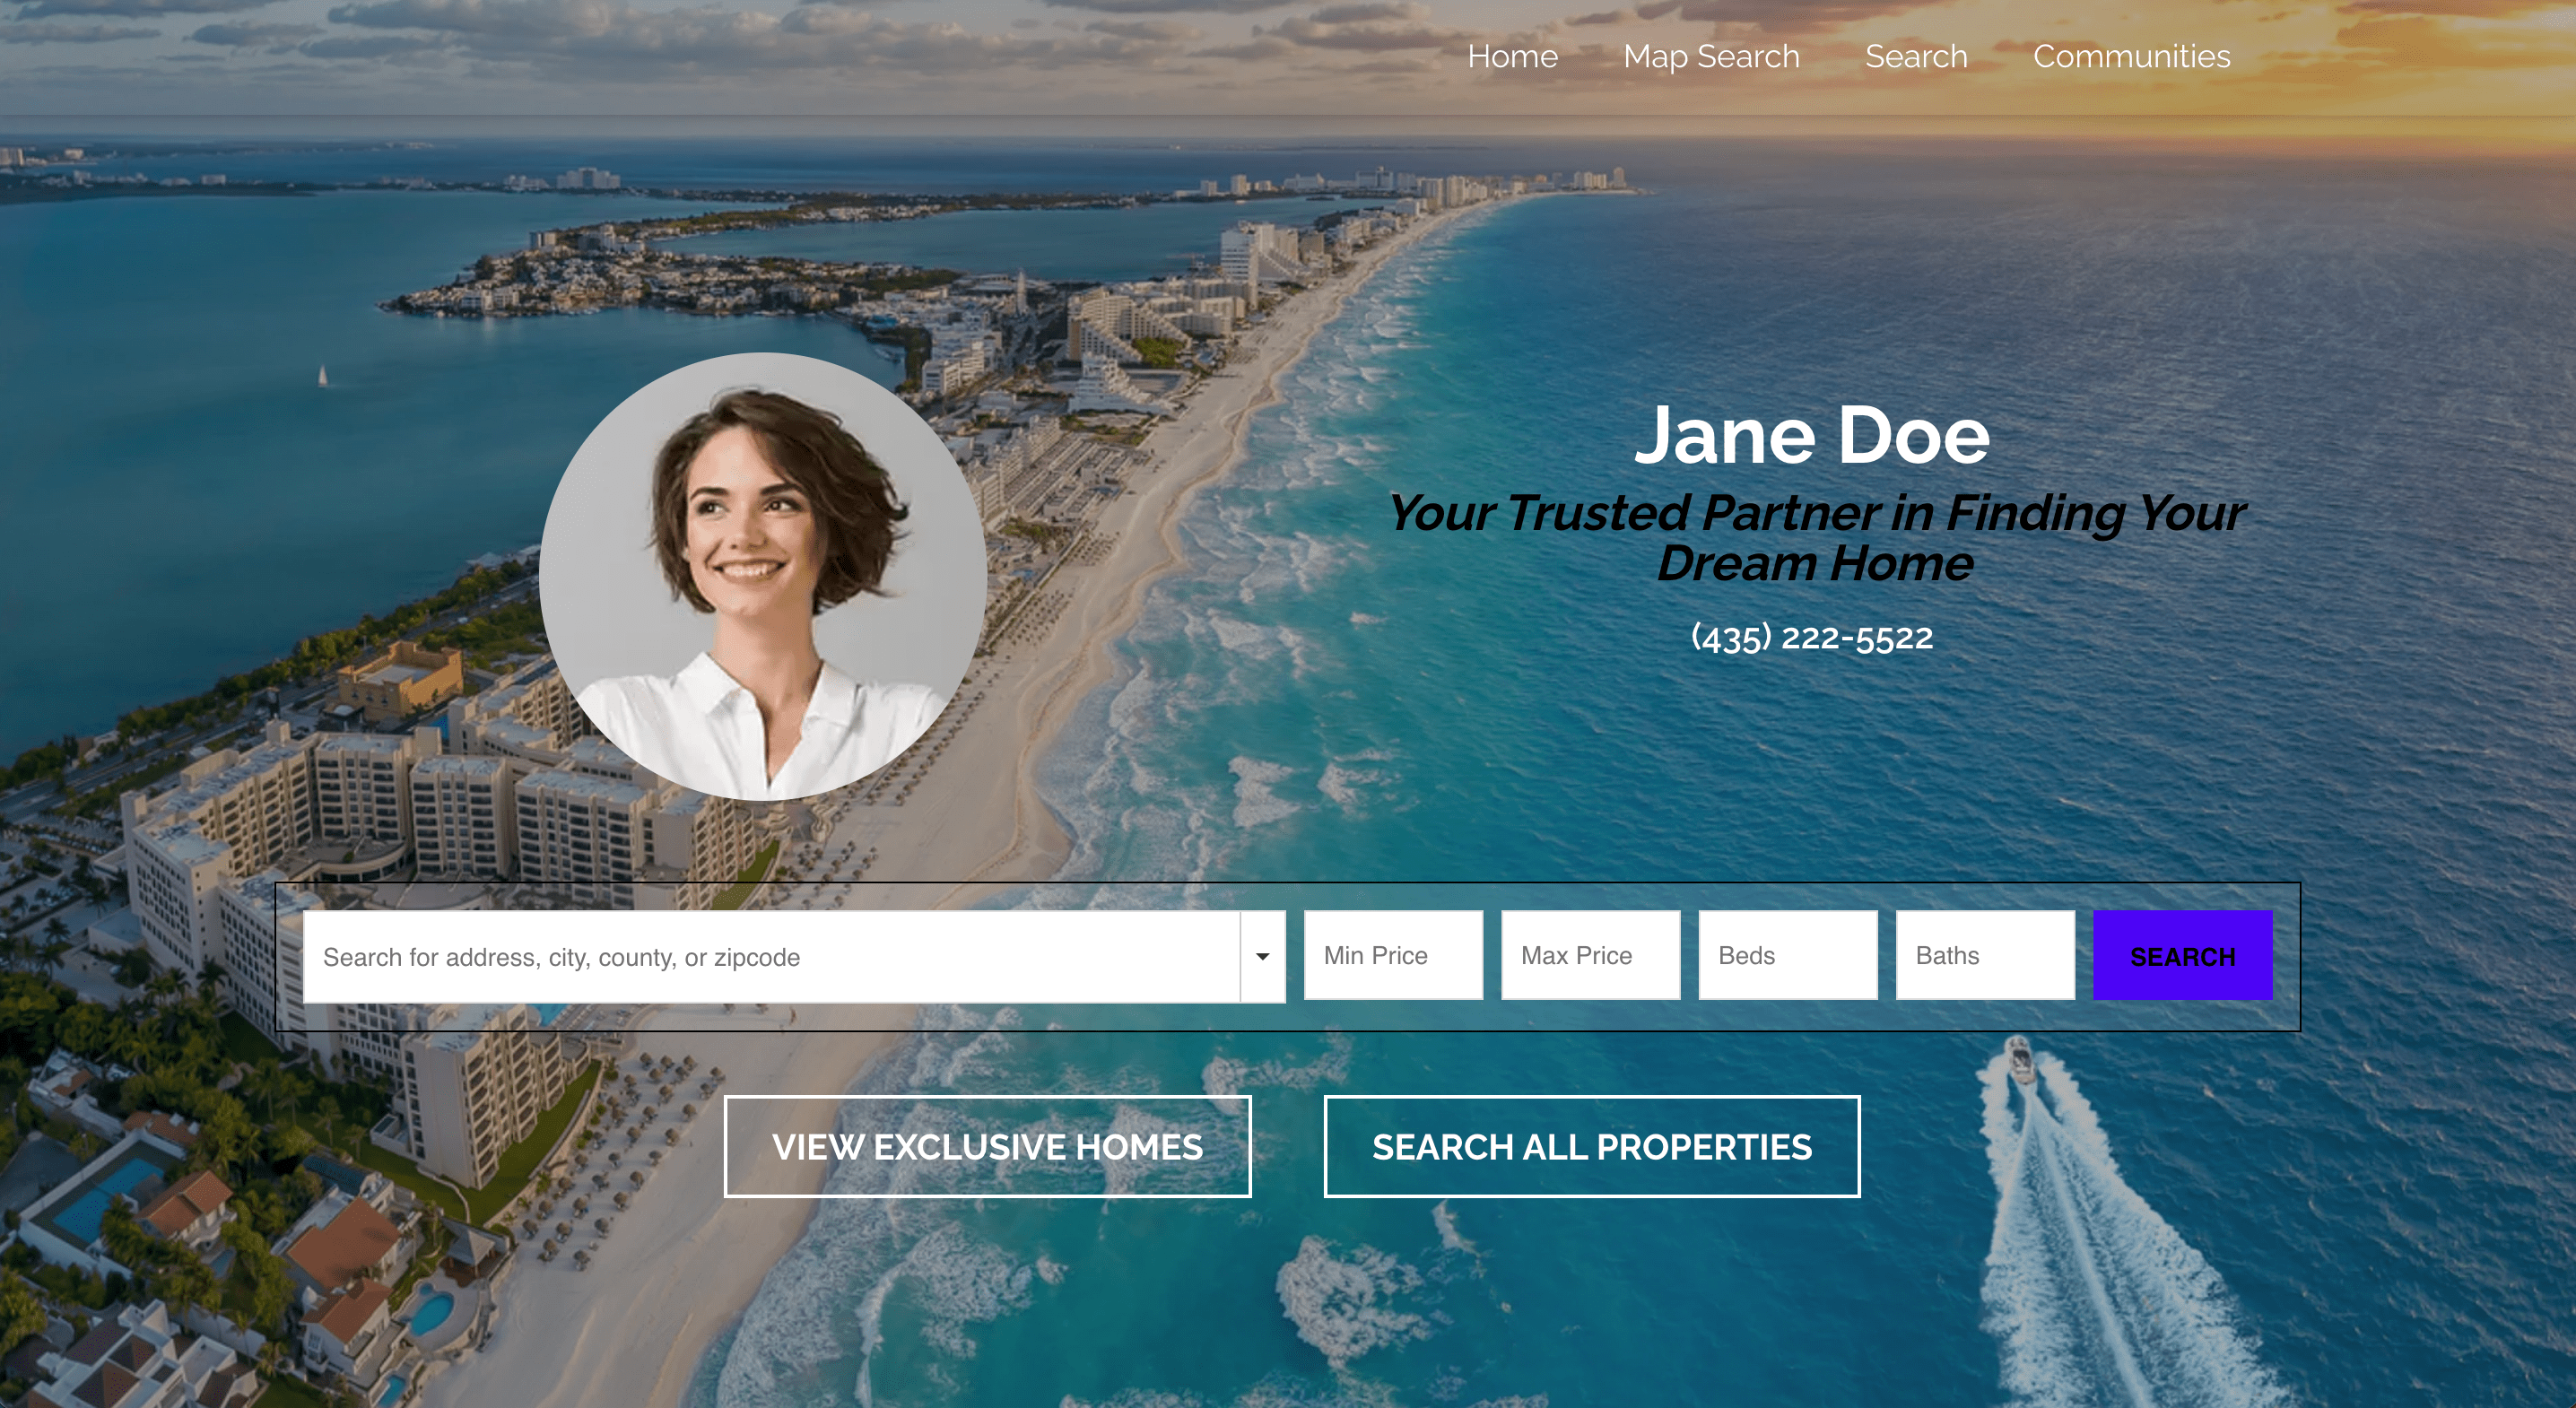
If you preview the website, you will see that the IDX Broker links and IDXAddons widgets are displaying with your information.
-
IMPORTANT:
- If your MLS approval is not complete, some widgets will not display properly, e.g. Google Map Widget, IDX Broker New Widgets.
- How to point the HighLevel domain? - Visit Domain Setup (Funnels & Websites)